WARNING
本文档由 AI 自动翻译,仅供参考。涉及关键操作或信息时,请以英文原文为准。
通过 MCP 使用 Cursor 检查和编辑 Penpot 文件
Penpot 是一款开源的、基于网页的设计和原型工具,支持 UI 设计、交互原型、组件系统以及开发者交付。它使用 CSS、SVG 和 HTML 等开放标准,使其成为设计文件与前端实现之间的实用桥梁。
在 Olares 上,你可以将 Penpot 作为自托管设计工作空间运行,并通过 Penpot MCP 将其连接到 Cursor。本指南将带你完成一个完整的工作流程:打开 Penpot 文件、让 Cursor 读取其结构、请求 Cursor 添加一个卡片式组件,并在 Penpot 中检查结果。
最新版本的 Penpot 中 MCP 配置方式已变更
Penpot 现在提供内置的 MCP 服务器,取代了此前基于插件的配置方式。如果你在此次更新前配置过 Penpot MCP,旧的配置已不再生效。请按照新流程重新连接 Penpot 和 Cursor。
Penpot MCP 端点现在默认使用 internal 认证级别。要从 Cursor 连接,你的电脑和 Olares 必须处于同一局域网,或者你需要在电脑上开启 LarePass VPN。
学习目标
在本指南中,你将学习如何:
- 从 Market 安装 Penpot。
- 启用内置的 Penpot MCP 服务器并获取连接 URL。
- 配置 Cursor,使其通过 MCP 读取你的 Penpot 文件。
- 使用 Cursor 检查画板并添加新的设计元素。
- 在 Penpot 中审查更改,并通过后续提示进行优化。
前提条件
- 你的电脑上已安装 Cursor。
- 你的电脑和 Olares 处于同一局域网,或已在电脑上开启 LarePass VPN。
- 在 Penpot 中已创建或导入一个 Penpot 文件。
安装 Penpot
打开 Market 并搜索 "Penpot"。
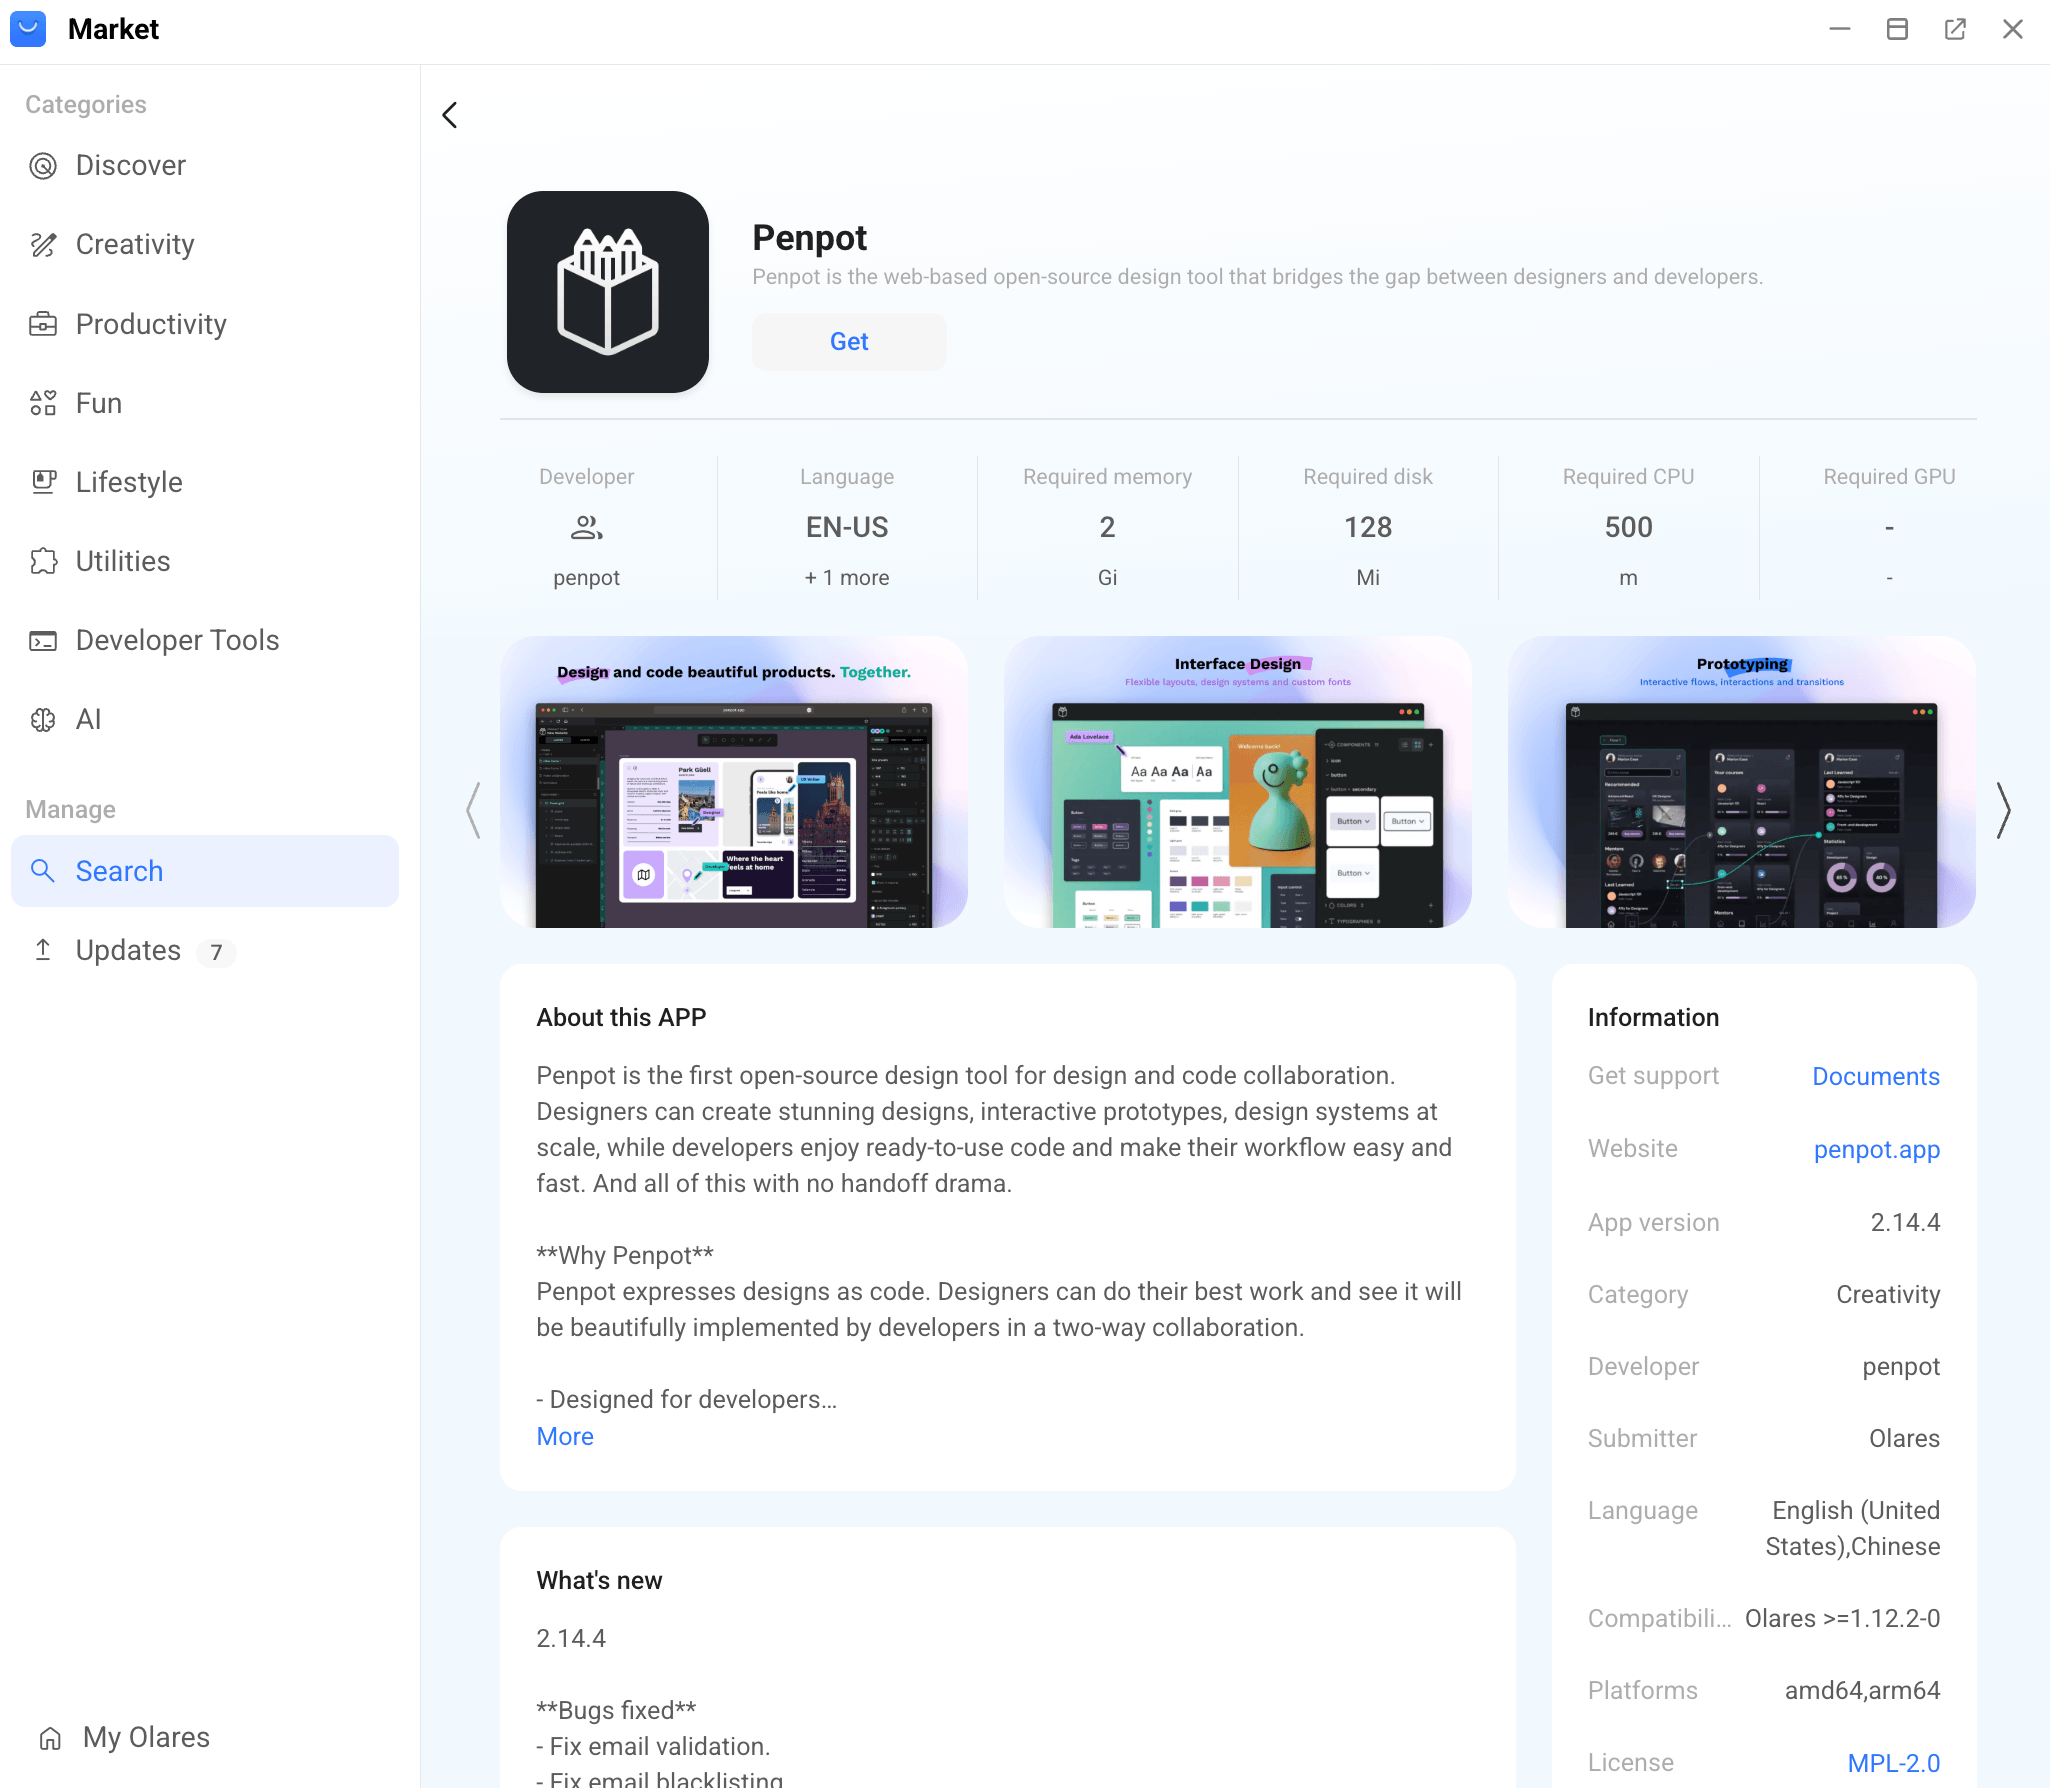
点击 Get,然后点击 Install,等待安装完成。
准备 Penpot 工作流程
本指南使用一个简单的任务:请求 Cursor 检查一个 Penpot 文件,并在一个画板中添加一个卡片式组件。
从 Launchpad 打开 Penpot。
创建一个新的 Penpot 文件,或打开一个已有文件。
选择你希望 Cursor 处理的页面和画板。
保持文件打开
在整个工作流程中,请保持 Penpot 文件在浏览器标签页中打开,以便随时查看 Cursor 所做的更改。
通过 MCP 连接 Penpot 和 Cursor
最新版本的 Penpot 内置了 MCP 服务器。在你的 Penpot 账户中启用它,复制生成的连接 URL,并将其添加到 Cursor。
在 Penpot 中启用 MCP 服务器
从 Launchpad 打开 Penpot。
点击右上角的头像,选择 Your account。
进入 Integrations > MCP Server,打开开关以启用 MCP 服务器。
生成访问令牌(access token),并复制 MCP 连接 URL。该 URL 包含你的访问令牌,格式如下:
texthttps://2550d96f0.alice.olares.com/mcp/stream?userToken=<your-access-token>
妥善保管连接 URL
连接 URL 中包含你的访问令牌。任何持有该 URL 的人都可以通过 MCP 访问你的 Penpot 文件。请勿分享该 URL,也不要将其提交到公开的代码仓库。
将 Cursor 配置为 MCP 客户端
在你的电脑上打开 Cursor。
进入 Cursor > Settings > Tools & MCPs,然后点击 Add Custom MCP。
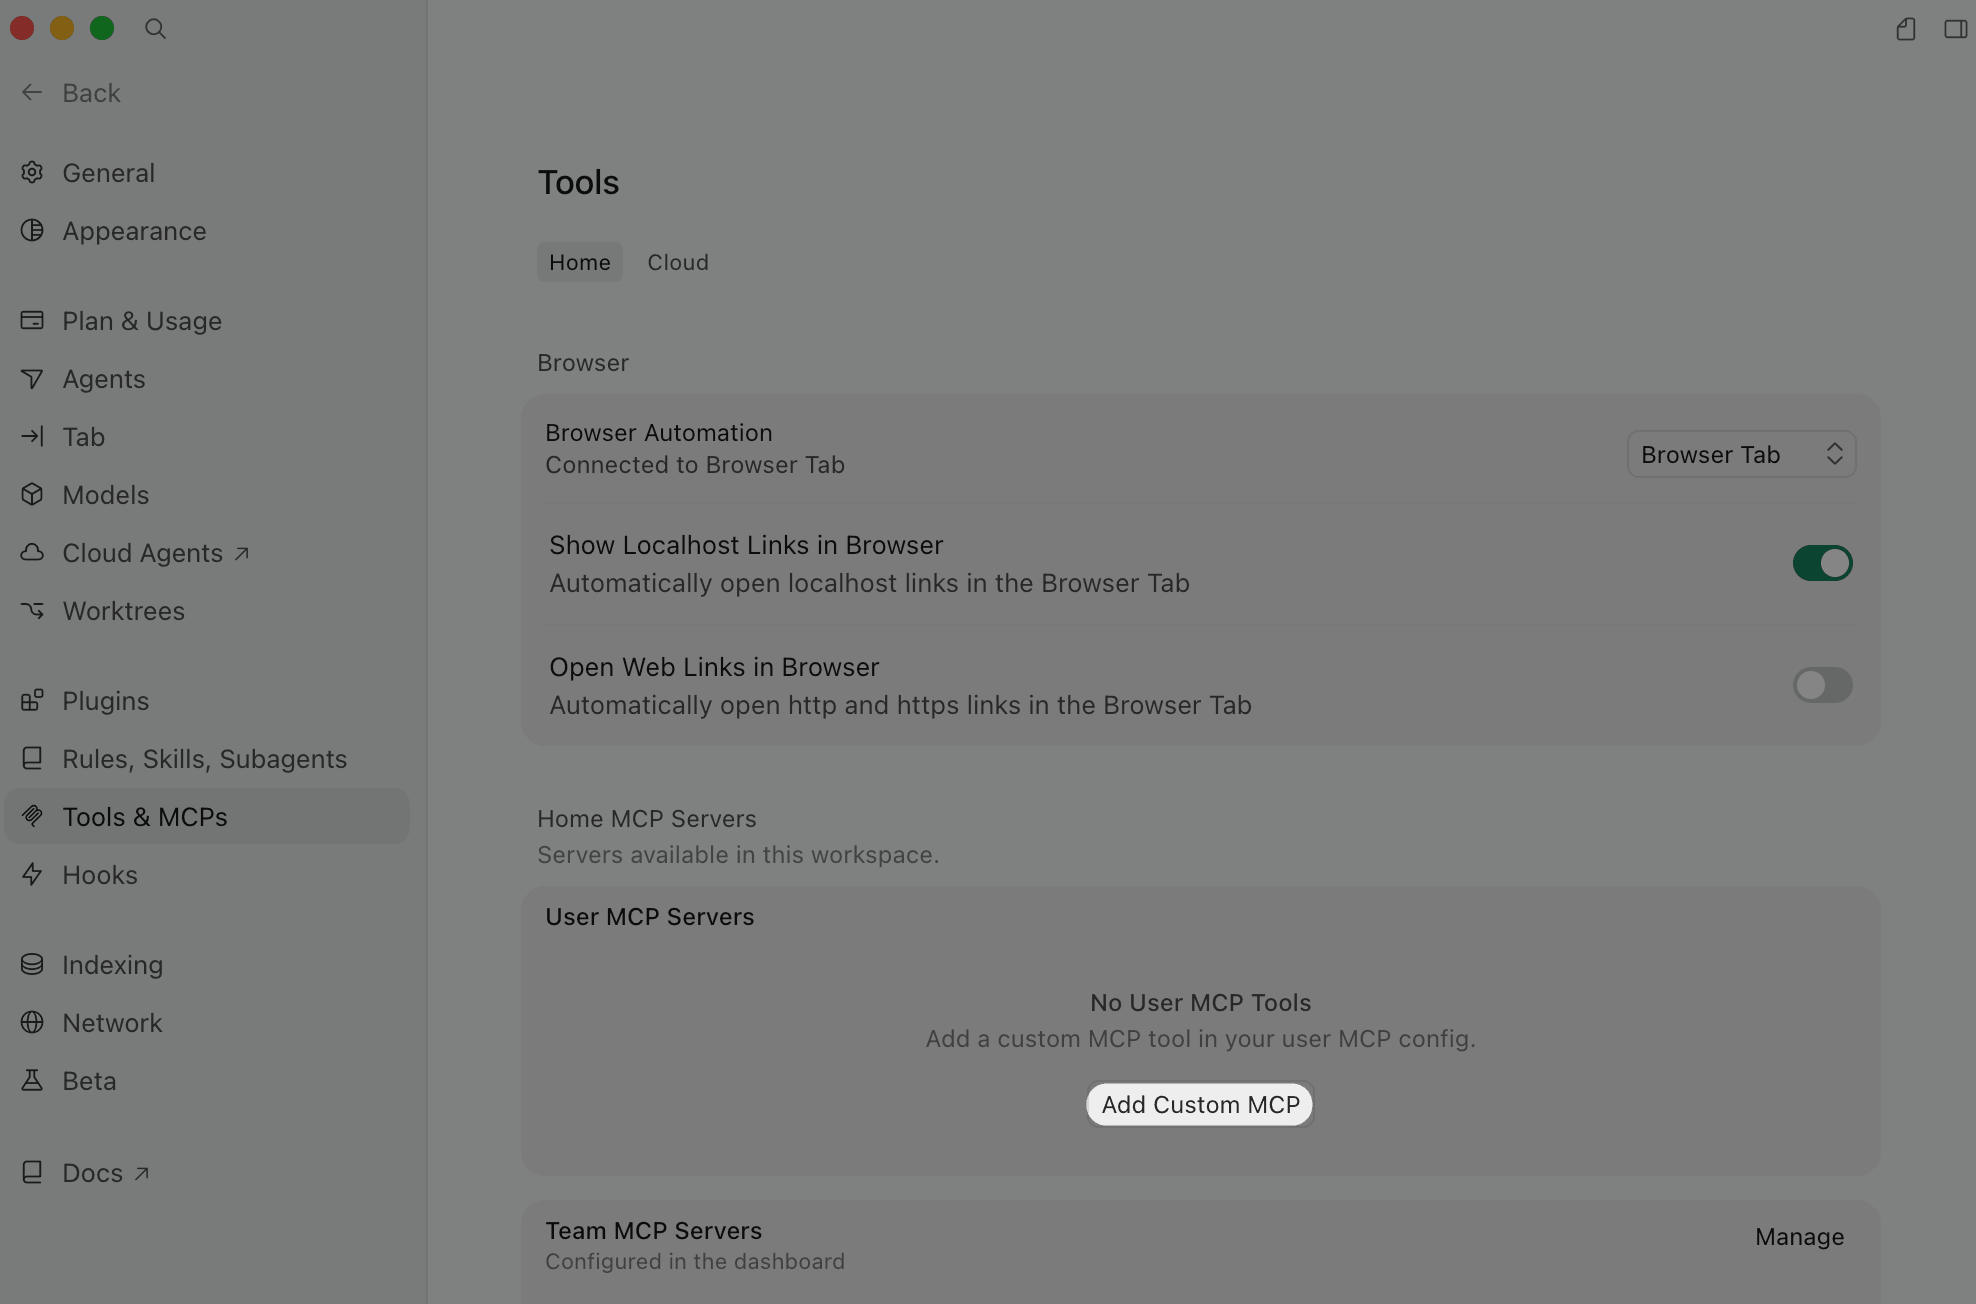
在
~/.cursor/mcp.json中,使用你复制的连接 URL 添加 Penpot MCP 服务器:json{ "mcpServers": { "penpot": { "url": "<your-penpot-mcp-connection-url>" } } }检查 JSON 语法
确保你完全按照上述格式复制,包括所有引号
"和大括号{}。JSON 无效会导致 Cursor 无法加载 MCP 服务器。保存文件。在 macOS 上,按
Cmd + S。在 Windows 上,按Ctrl + S。重启 Cursor,然后回到 Tools & MCPs,确认 penpot 已启用并成功连接。
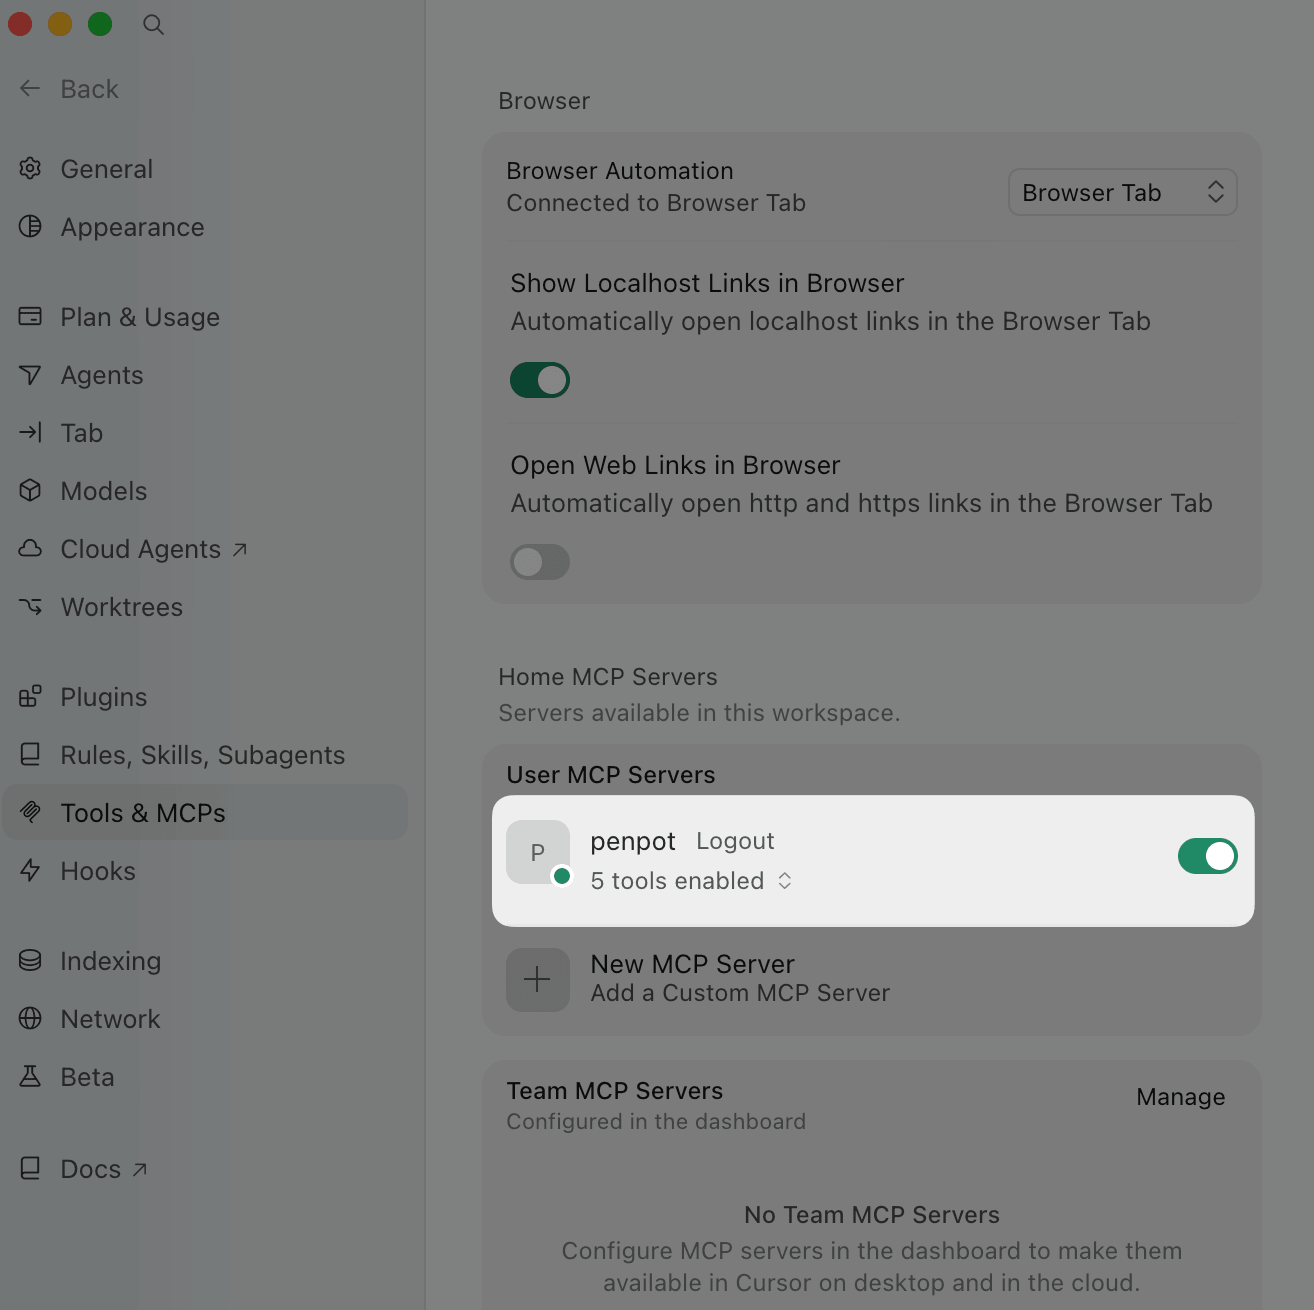
如果 penpot 连接失败,请确认你的电脑和 Olares 处于同一局域网,或在电脑上开启 LarePass VPN,然后再次重启 Cursor。
使用 Cursor 编辑 Penpot 文件
检查文件结构
首先,请求 Cursor 读取设计结构。
在 Penpot 中,打开你希望 Cursor 处理的文件。
在 Cursor 中,开启一个新对话并提问:
textList all frames in the current Penpot file.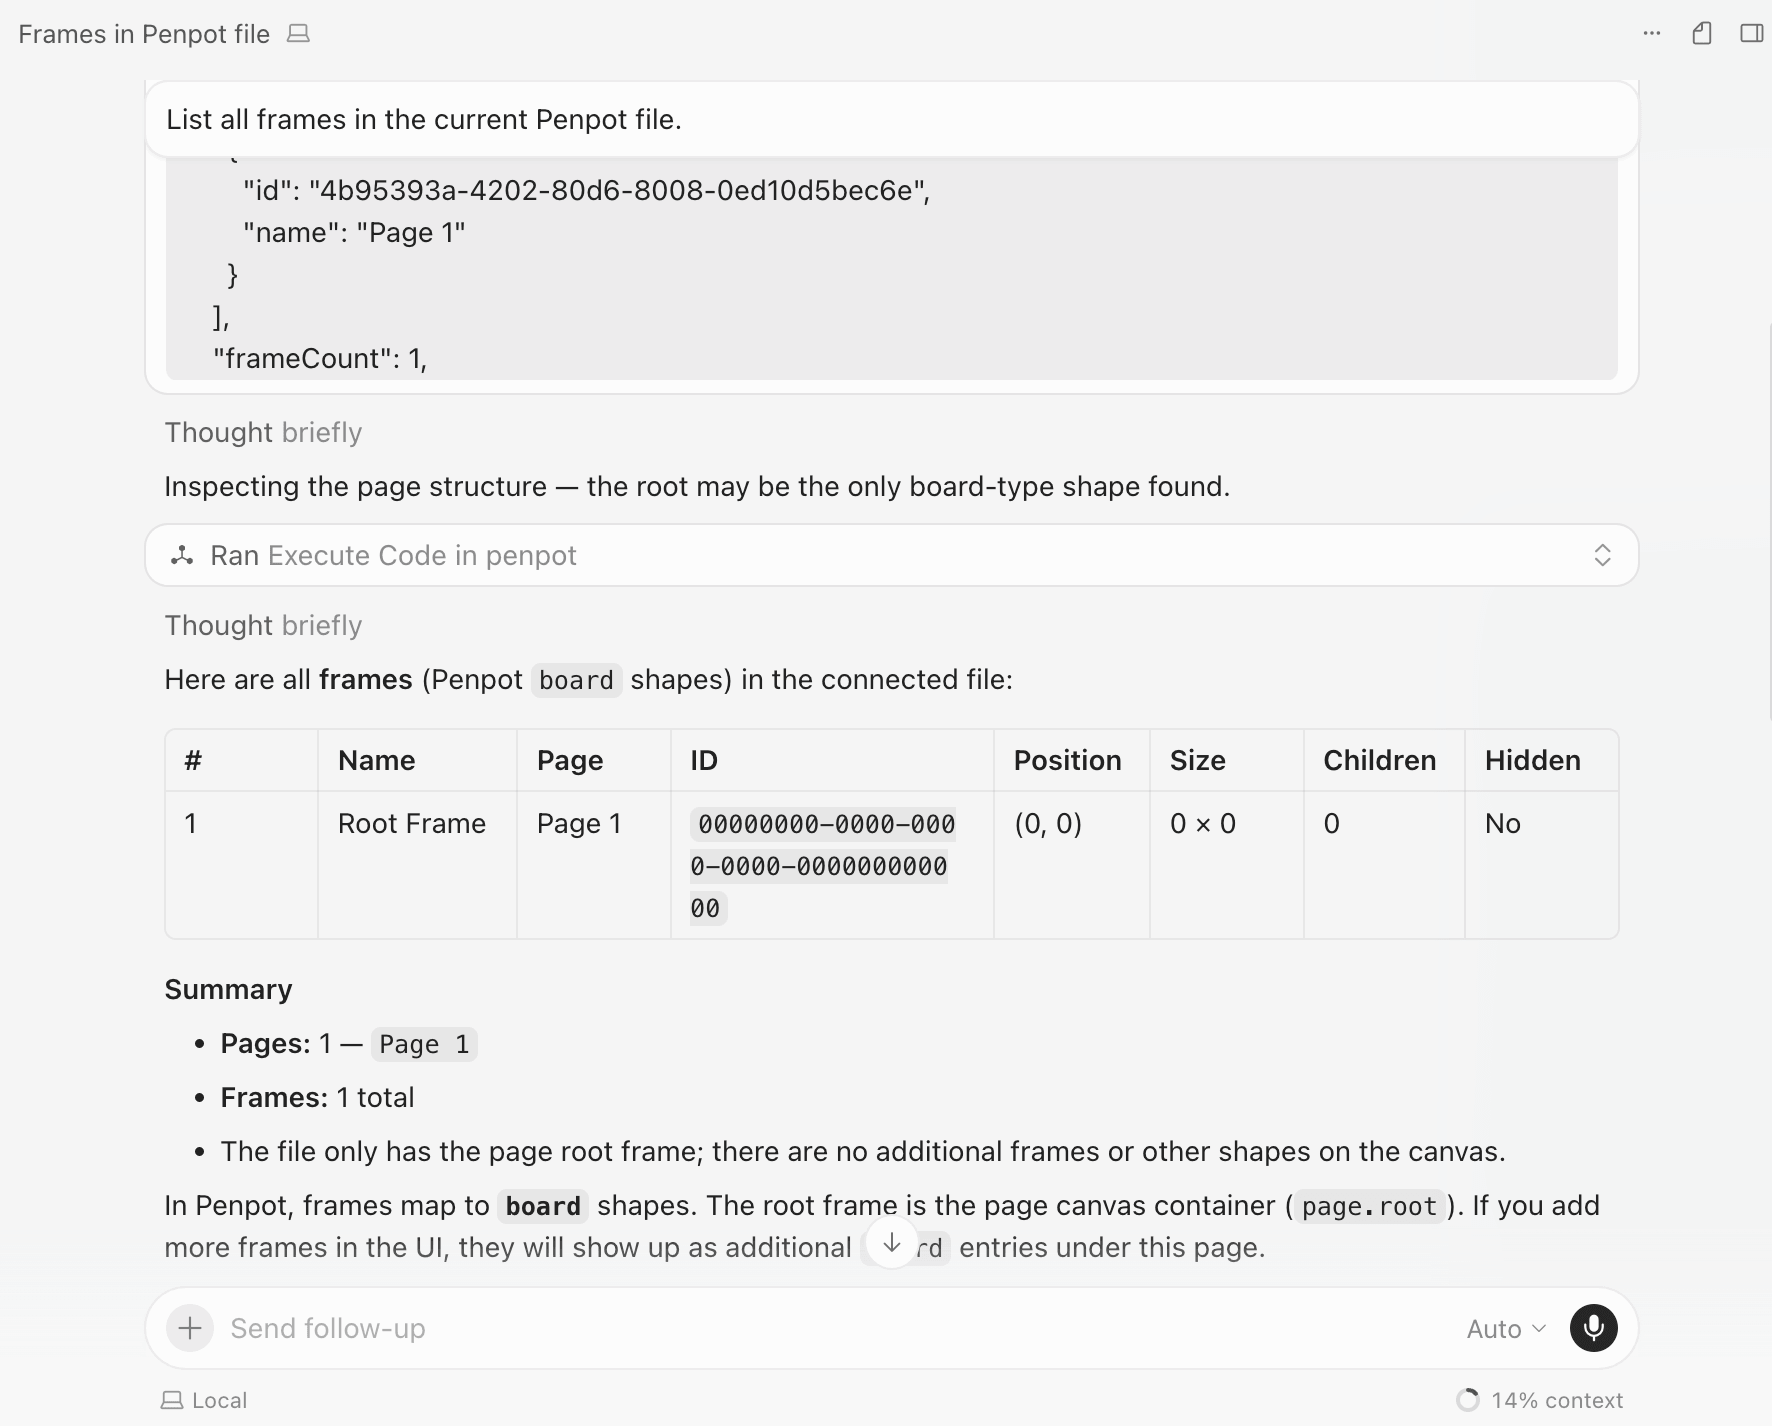
一次处理一个画板
如果文件包含多个画板,请在下一个提示中指定目标画板。这样可以使更改更集中,也更容易在 Penpot 中审查。
添加卡片式组件
在 Cursor 读取文件后,请它进行具体的设计更改。以下示例会在选定的画板中添加一个可复用的卡片式组件。
在 Cursor 中,发送类似这样的提示。将
Home替换为你想要修改的画板:textIn the current Penpot file, add a card-style component to the Home frame. The card should include a title, a short description, and one primary button. Match the existing spacing, colors, and typography as closely as possible. Name the main group "Feature card" and explain what you changed.如果 Cursor 要求你从多个选项中选择,请选择最符合你布局的选项。
等待 Cursor 完成工具调用。
返回 Penpot 并检查活跃页面。新的设计元素应该会出现在目标画板中。
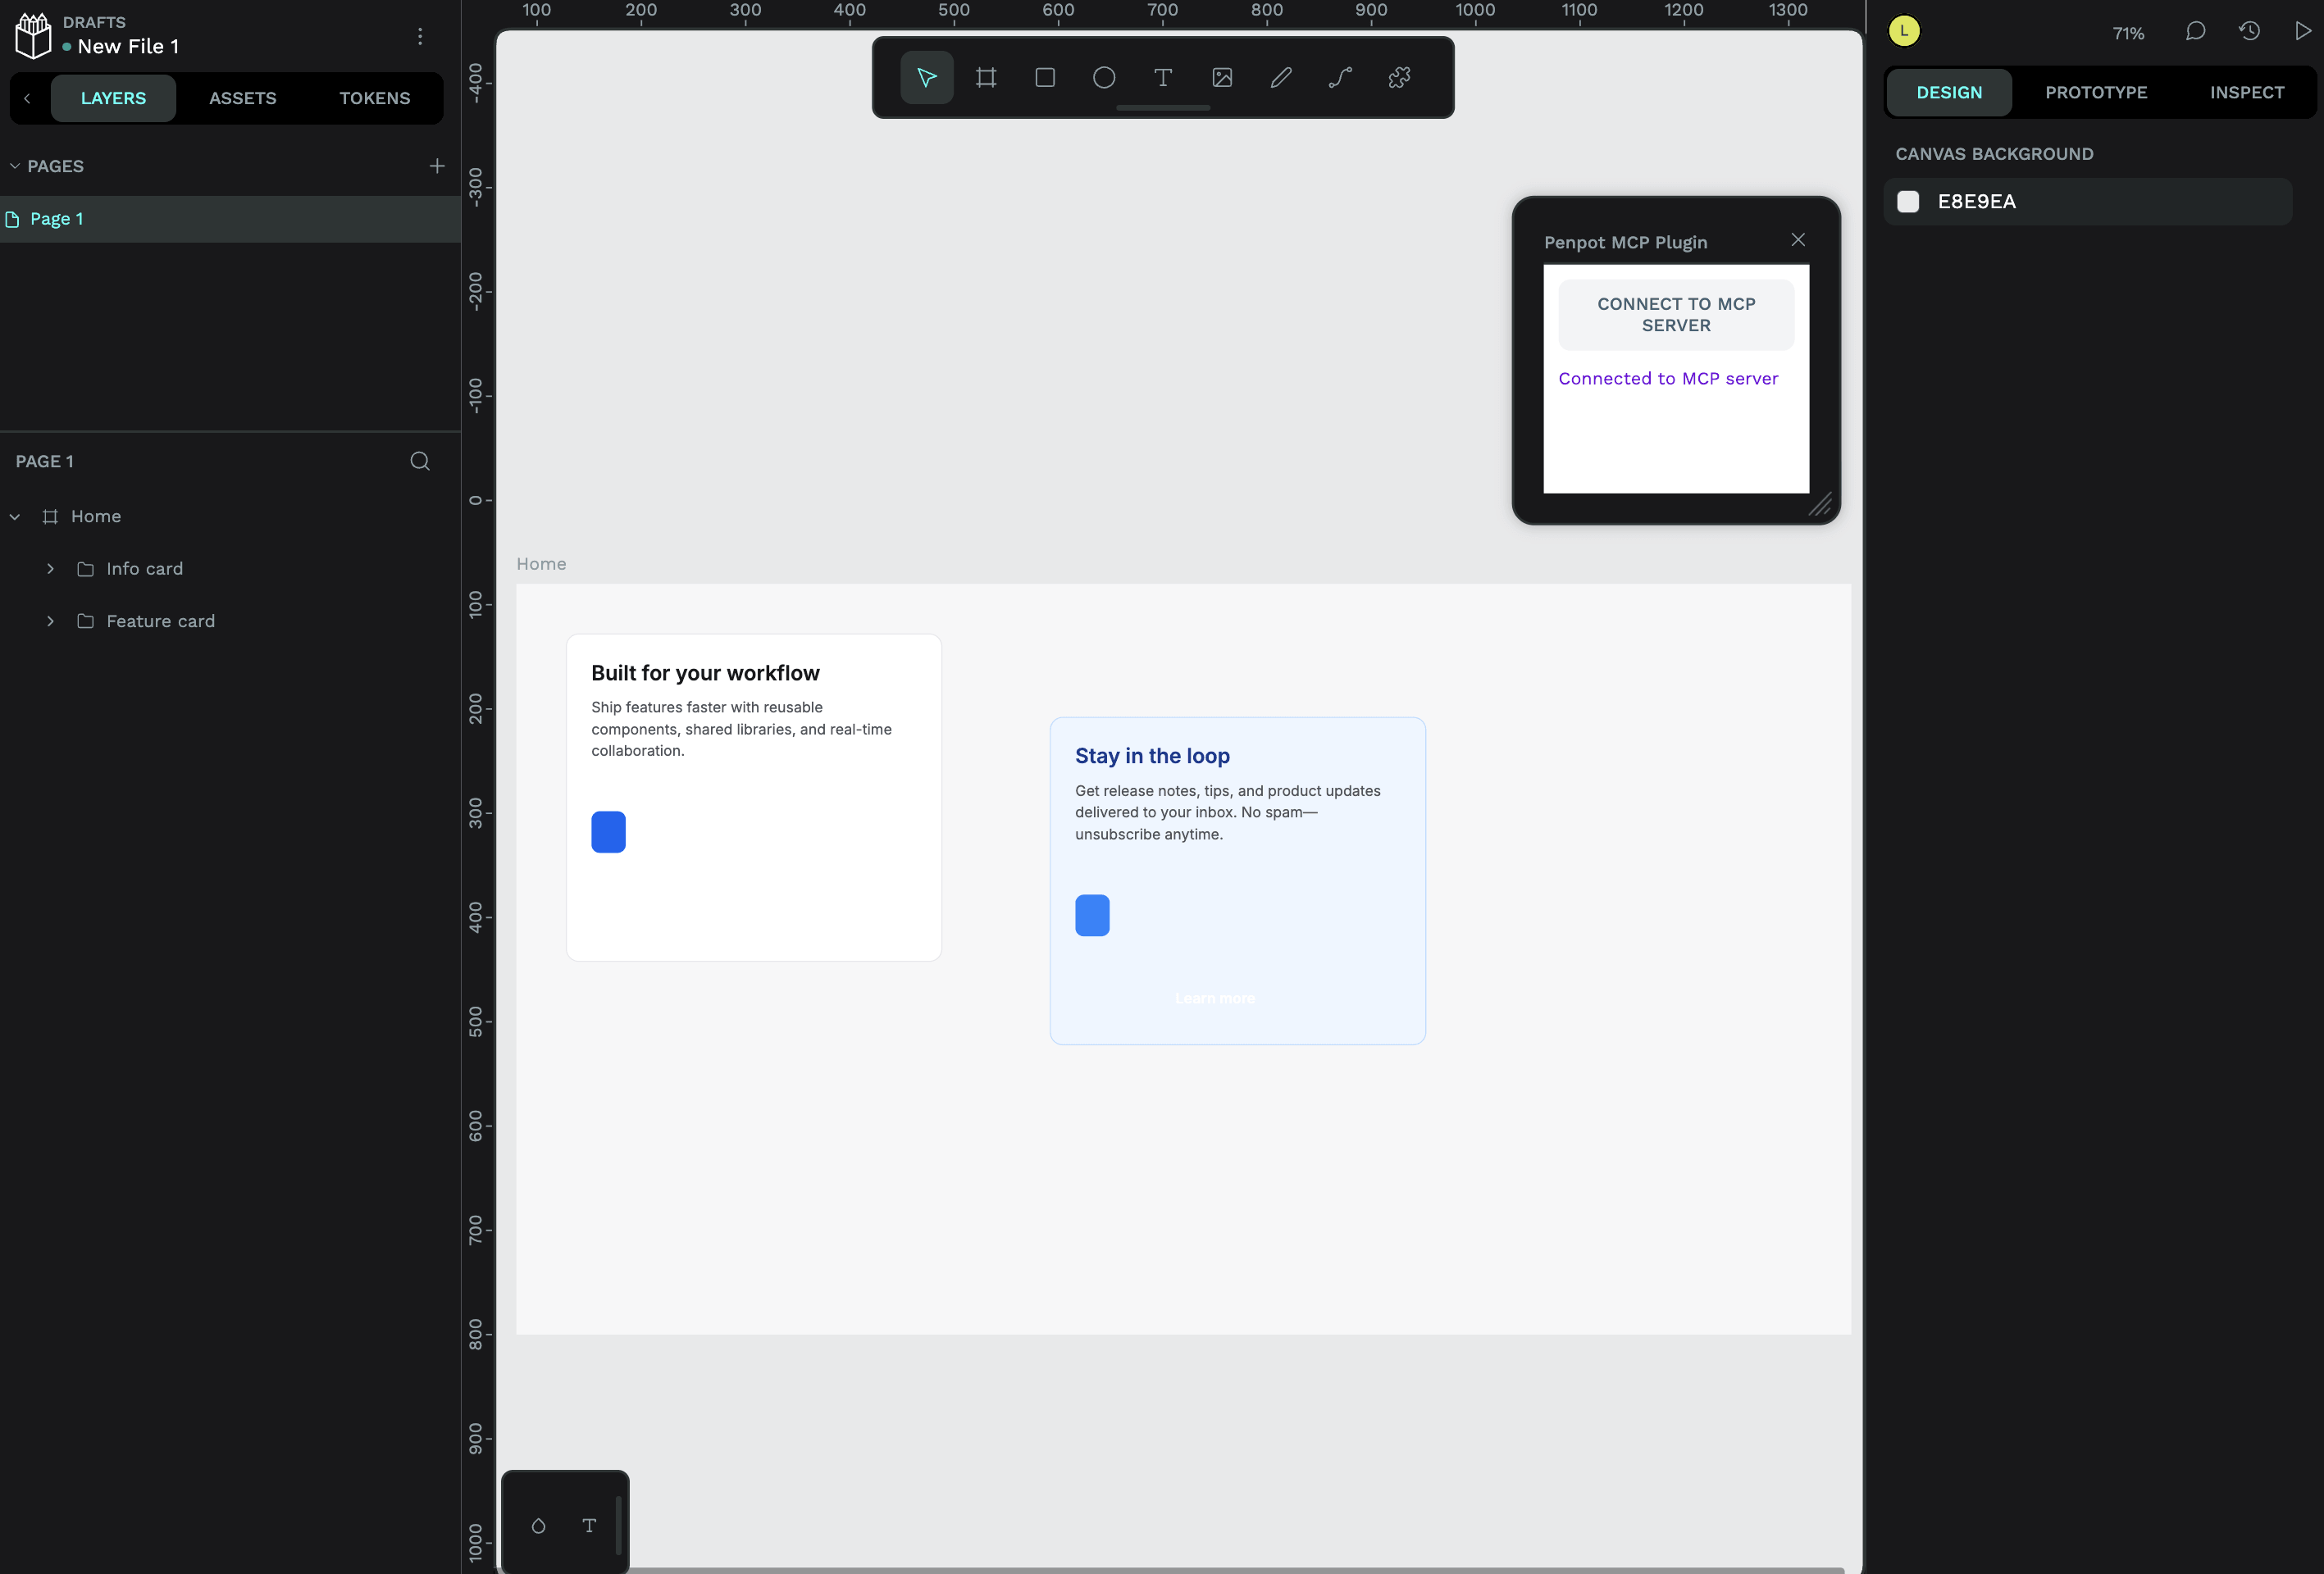
在 Penpot 中选择新元素,检查其图层名称、位置、文本和视觉样式。
审查并优化结果
将 Cursor 的首次编辑视为草稿。在 Penpot 中审查结果,然后向 Cursor 请求具体的调整。
使用如下提示:
Move the Feature card 24 px below the hero heading and align it with the left edge of the content column.Make the button label shorter and adjust the card width so it matches the other content blocks.Rename the card layers so they are easy for developers to inspect.当满足以下条件时,工作流程即告完成:
- Cursor 可以列出已连接 Penpot 文件中的画板。
- Cursor 可以解释它更改了哪个画板或图层。
- 新卡片出现在选定的 Penpot 画板中。
- 卡片使用清晰的图层名称,并与周围设计协调。
常见问题
Cursor 无法看到我的 Penpot 文件
原因
Penpot 账户中未启用 MCP 服务器、~/.cursor/mcp.json 中的连接 URL 缺失或已过期,或者 Cursor 无法通过网络访问 Olares。
解决方案
- 在 Penpot 中,进入 Your account > Integrations > MCP Server,确认 MCP 服务器已启用。
- 如果你重新生成过访问令牌,请复制新的连接 URL 并更新
~/.cursor/mcp.json。 - 确认你的电脑和 Olares 处于同一局域网,或在电脑上开启 LarePass VPN。
- 重启 Cursor 并重试你的提示。
了解更多
- Penpot Help Center:官方 Penpot 指南和产品文档。
- Model Context Protocol:了解 MCP 如何将 AI 客户端连接到外部工具和数据源。