WARNING
本文档由 AI 自动翻译,仅供参考。涉及关键操作或信息时,请以英文原文为准。
使用 Context7 将 AI 编码助手连接到最新文档
Context7 是一个模型上下文协议(MCP)服务器,为 AI 编码助手提供实时、准确的库文档。你的 AI 工具无需依赖过时的训练数据,而是可以按需拉取任何库的最新文档。
在 Olares 上,你可以将 Context7 连接到 Olares 托管的 AI 代理,如 Agent Zero、LibreChat 和 OpenCode,或连接到外部编码助手,如 Cursor 和 Claude Desktop。
本指南专注于建立 Context7 与你的 AI 工具之间的 MCP 连接。
学习目标
在本指南中,你将学习如何:
- 使用 Context7 Terminal 查找库文档。
- (可选)注册 API 密钥以获得更高的速率限制。
- 将 Context7 连接到 Olares 托管的 AI 代理。
- 将 Context7 连接到外部编码助手,如 Cursor。
前提条件
开始前,请确保你的 AI 代理(Agent Zero、LibreChat、OpenCode 等)已完全正常运行。你必须已配置它们的必要设置,如模型提供商、模型名称和基础 URL。
安装 Context7
打开 Market 并搜索 "Context7"。
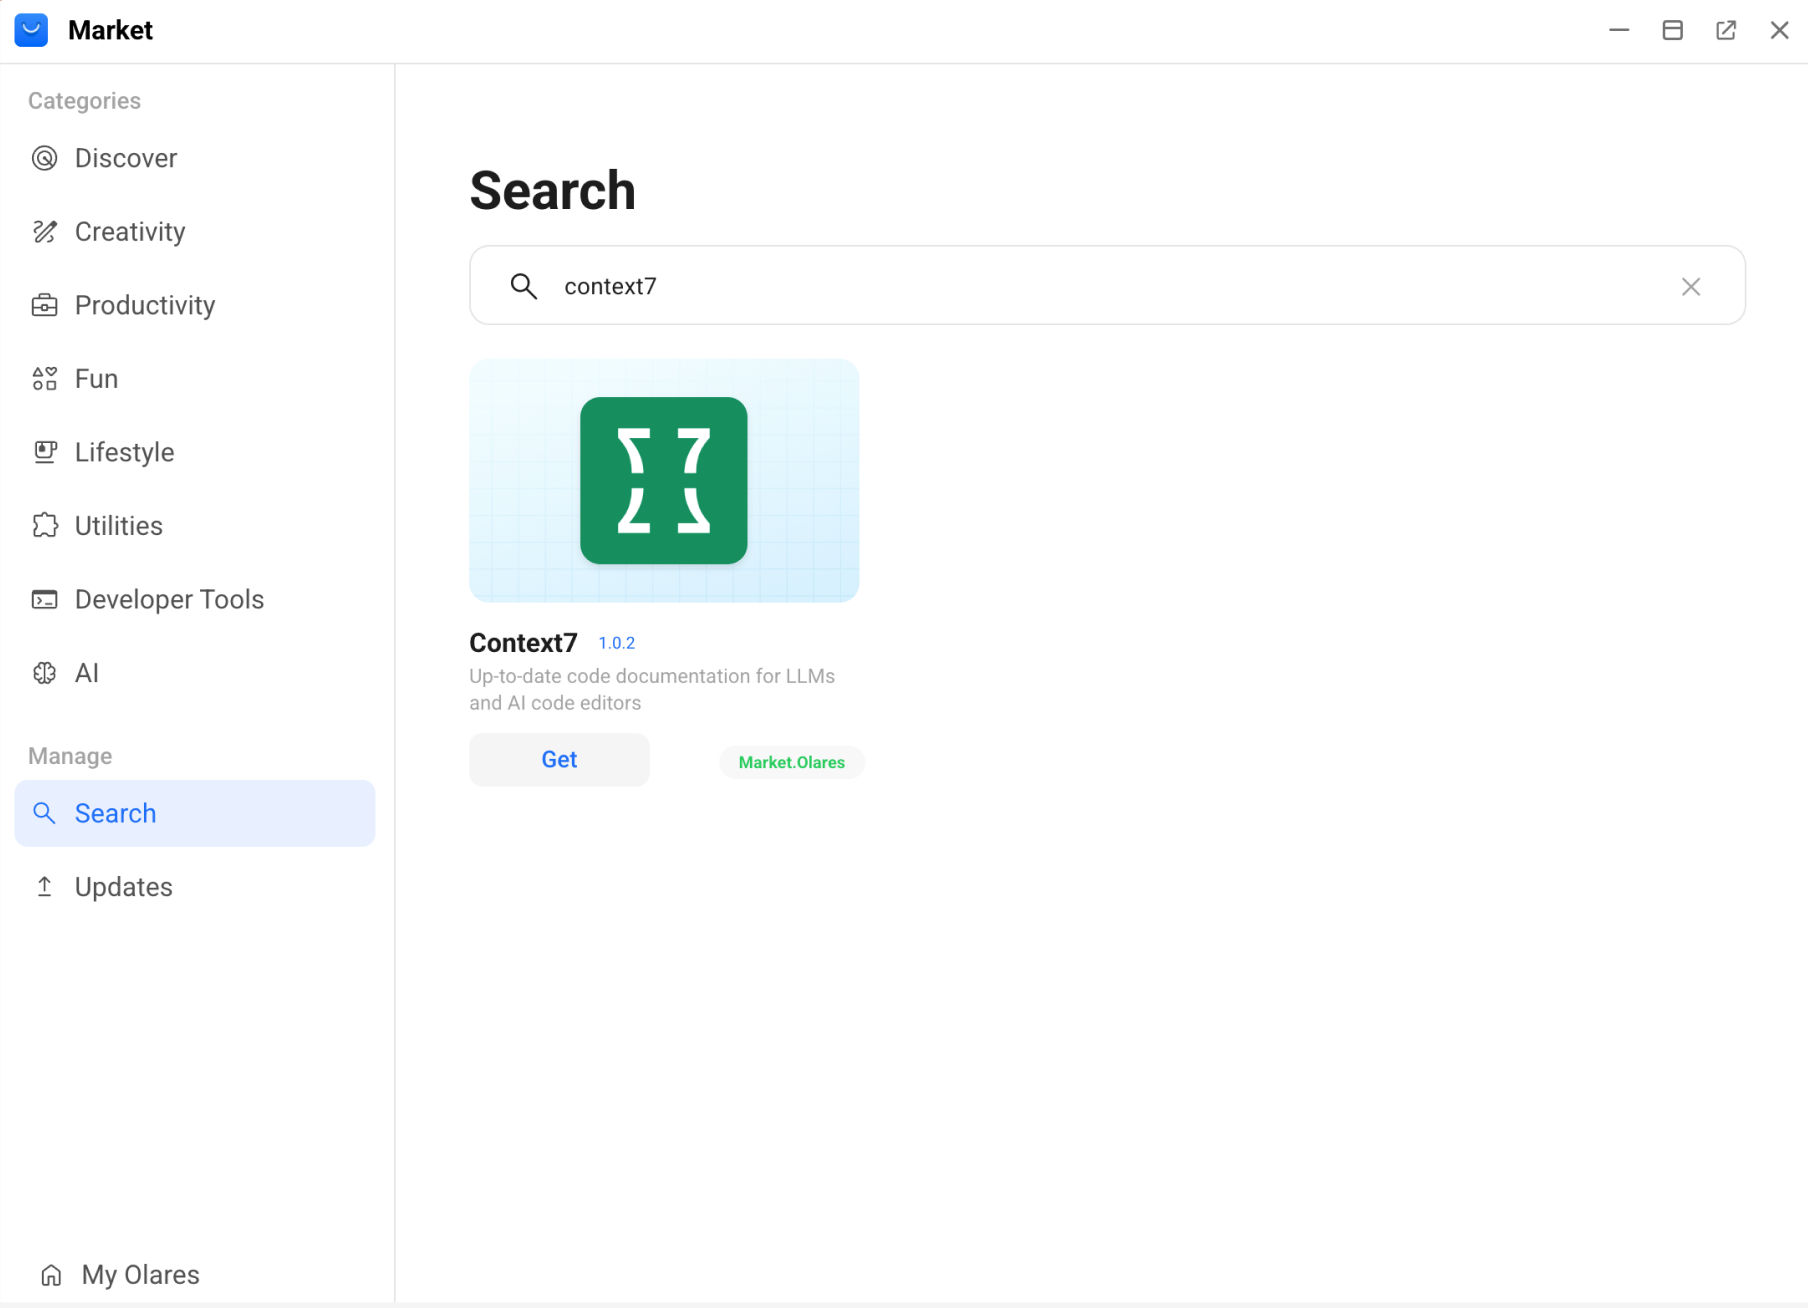
点击 Get,然后点击 Install。等待安装完成。
使用 Context7 Terminal 查找文档
Context7 Terminal 允许你手动搜索库并检索特定文档。使用它来测试查询、验证 Context7 是否正常工作,或在集成到 AI 代理之前调试库的可用性。
TIP
实际上,你通常会让 AI 代理通过 MCP 自动调用 Context7。Context7 Terminal 主要用于手动查找和调试。
搜索库
找到你将用于获取文档的正确库 ID。
从 Launchpad 打开 Context7 Terminal。
使用
ctx7 library <library-name> "your-query"按名称查找库,其中"your-query"描述你想要做什么。bash# 示例:使用 "hooks usage" 搜索 React 相关库 ctx7 library react "hooks usage" # 示例:使用 "routing" 搜索 Next.js ctx7 library nextjs "routing" # 示例:使用 "middleware" 搜索 Express ctx7 library express "middleware"输出返回匹配的库 ID(例如
/reactjs/react.dev),你可以在下一步中使用。bashTitle: React Context7-compatible library ID: /reactjs/react.dev Description: React.dev is the official documentation website for React, a JavaScript library for building user interfaces, providing guides, API references, and tutorials. Code Snippets: 2781 Source Reputation: High Benchmark Score: 85.1当返回多个结果时,最佳匹配通常是名称最接近、片段数量最多且声誉最强的那个。
获取文档
使用库 ID 检索特定库的详细、最新内容。
使用 ctx7 docs "library-id" "your-query",其中 "your-query" 用自然语言描述你想要了解的内容。
# 示例:获取关于 React 19 中用于异步数据的 'use' hook 的文档
ctx7 docs "/reactjs/react.dev" "How to use the 'use' hook for async data in React 19?"

# 示例:询问如何在 React 中筛选文档
ctx7 docs "/reactjs/react.dev" "find and filter documents"
有关更多信息,请参阅 Context7 CLI 参考。
(可选)注册和配置 API 密钥
Context7 支持匿名和认证使用:
- 匿名模式:开箱即用,无需注册。适合偶尔查询。
- 认证模式:如果你每天进行超过 50 次查询、需要更低延迟或想要访问私有知识库,建议使用。
要配置 API 密钥:
- 前往 Context7 仪表板。
- 在 API Keys 部分,点击 Create API Key。
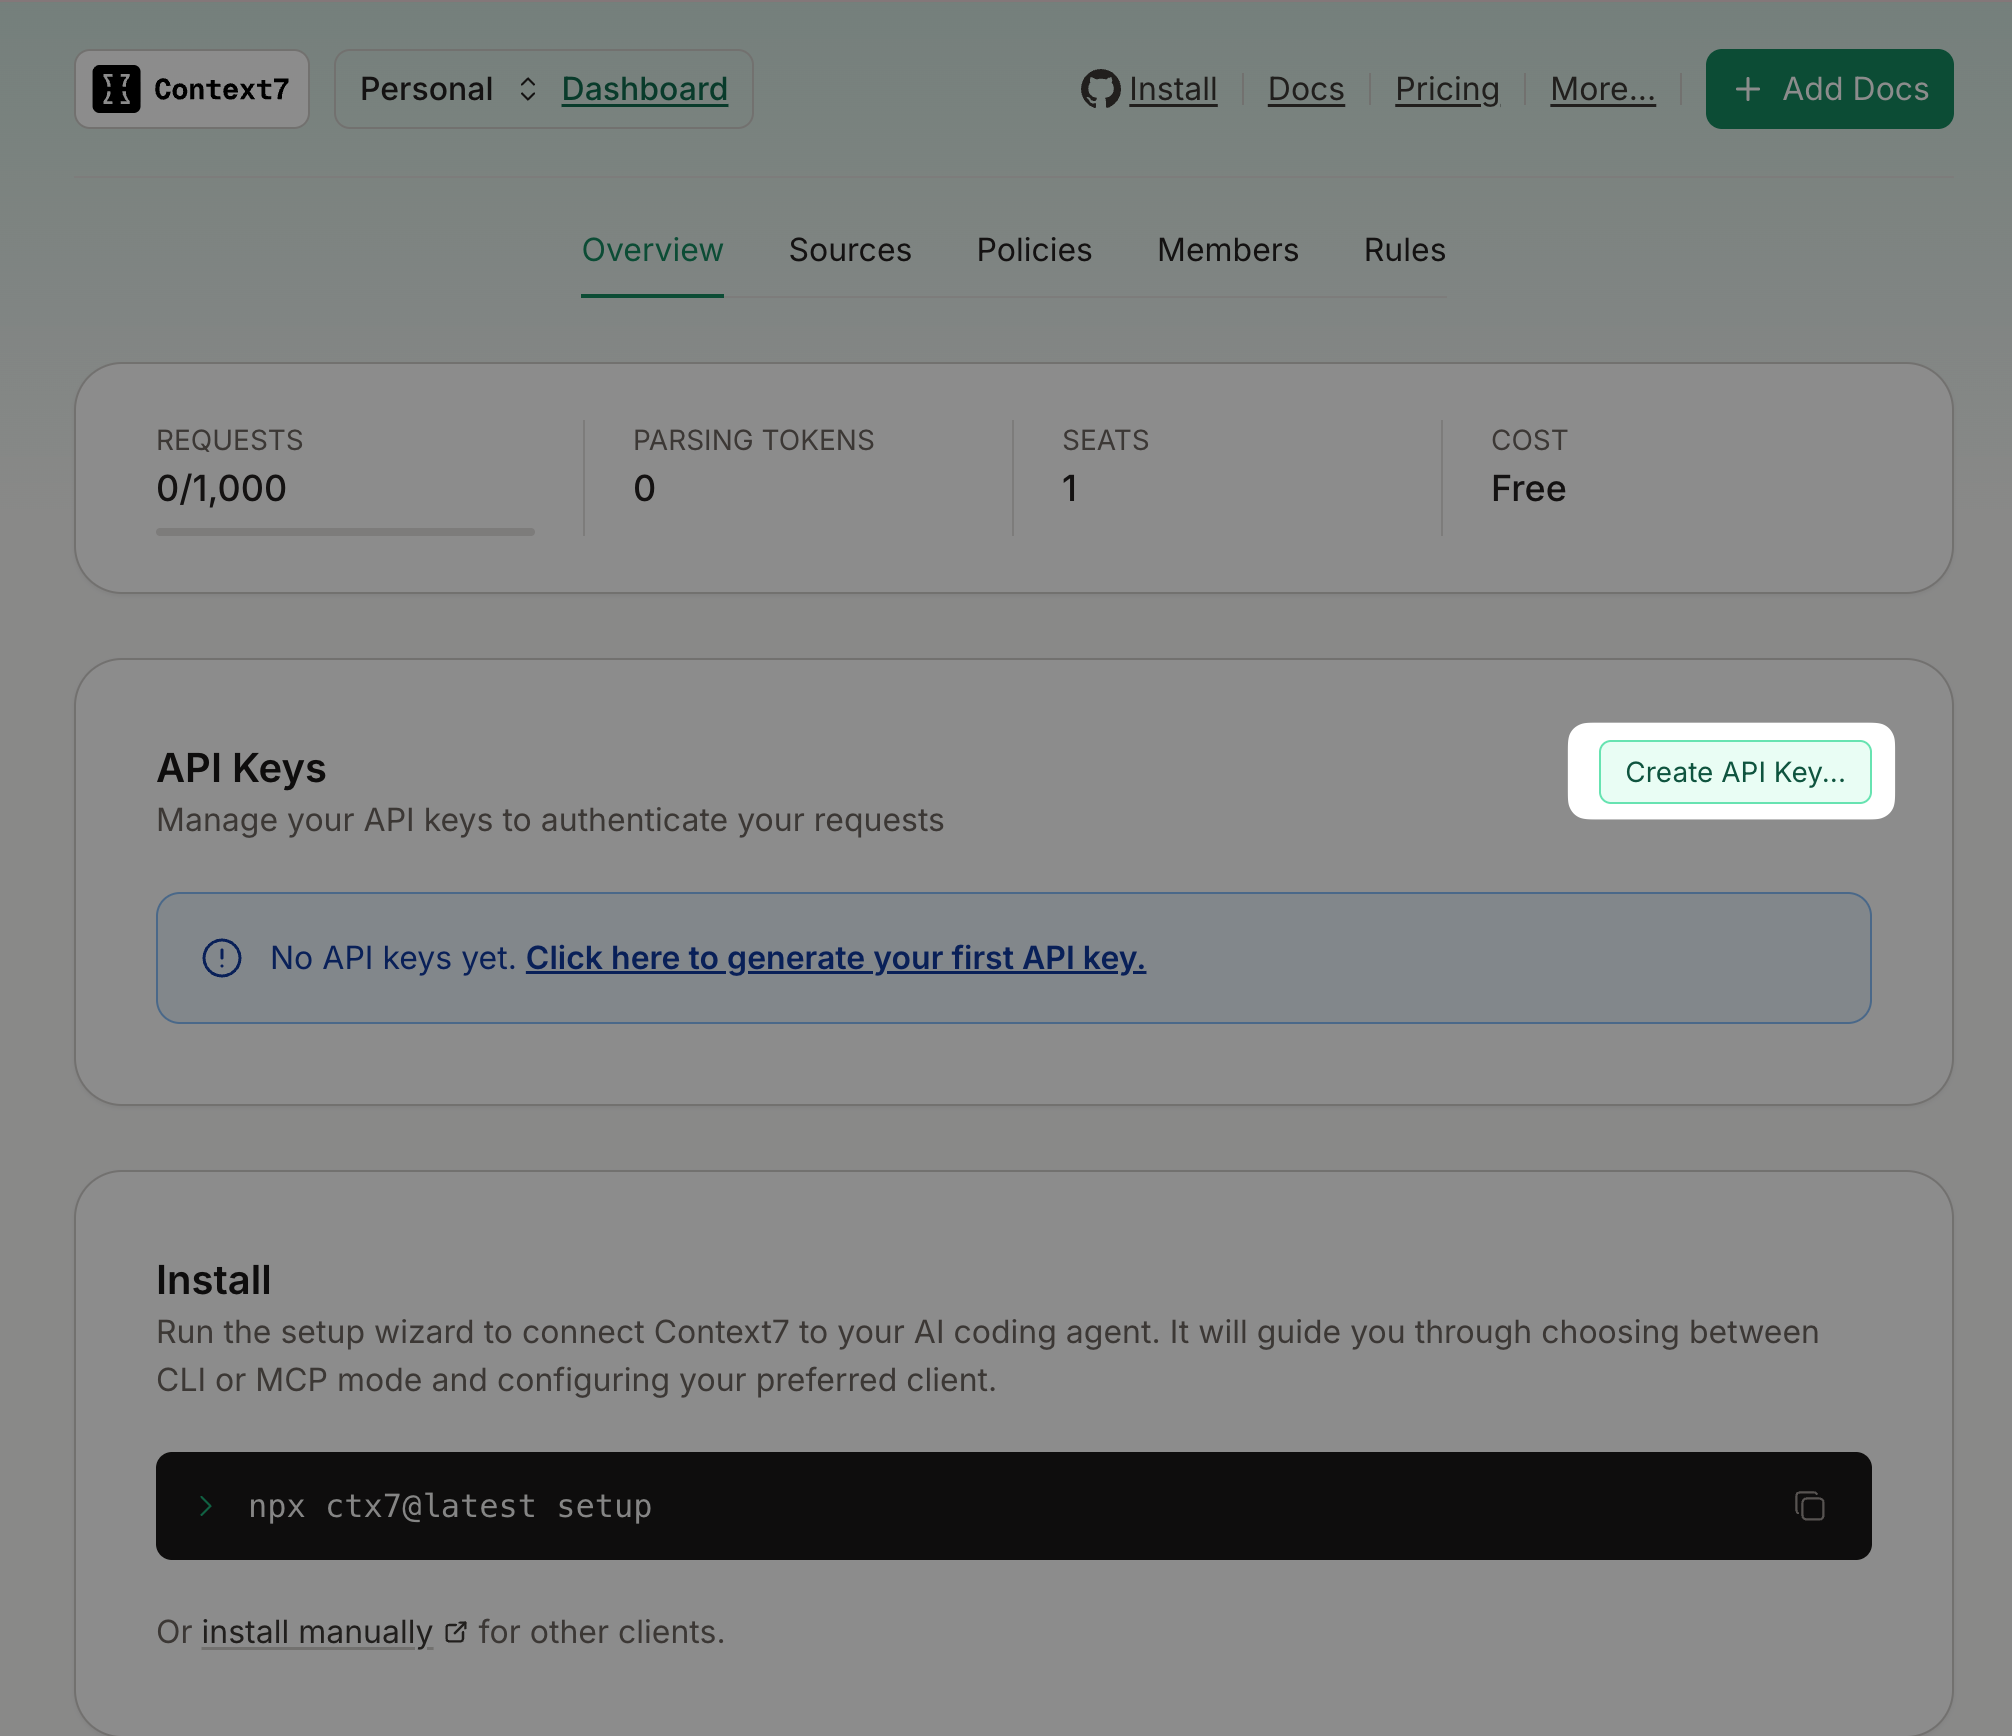 3. 可选地为 API 密钥输入一个名称,点击 Create API Key,然后复制以
 ctx7sk 开头的密钥。
立即保存密钥
立即保存密钥。你将不会再次看到它。
- 点击 Done。
- 在 Olares 中,打开 Settings,然后前往 Applications > Context7 > Manage environment variables。
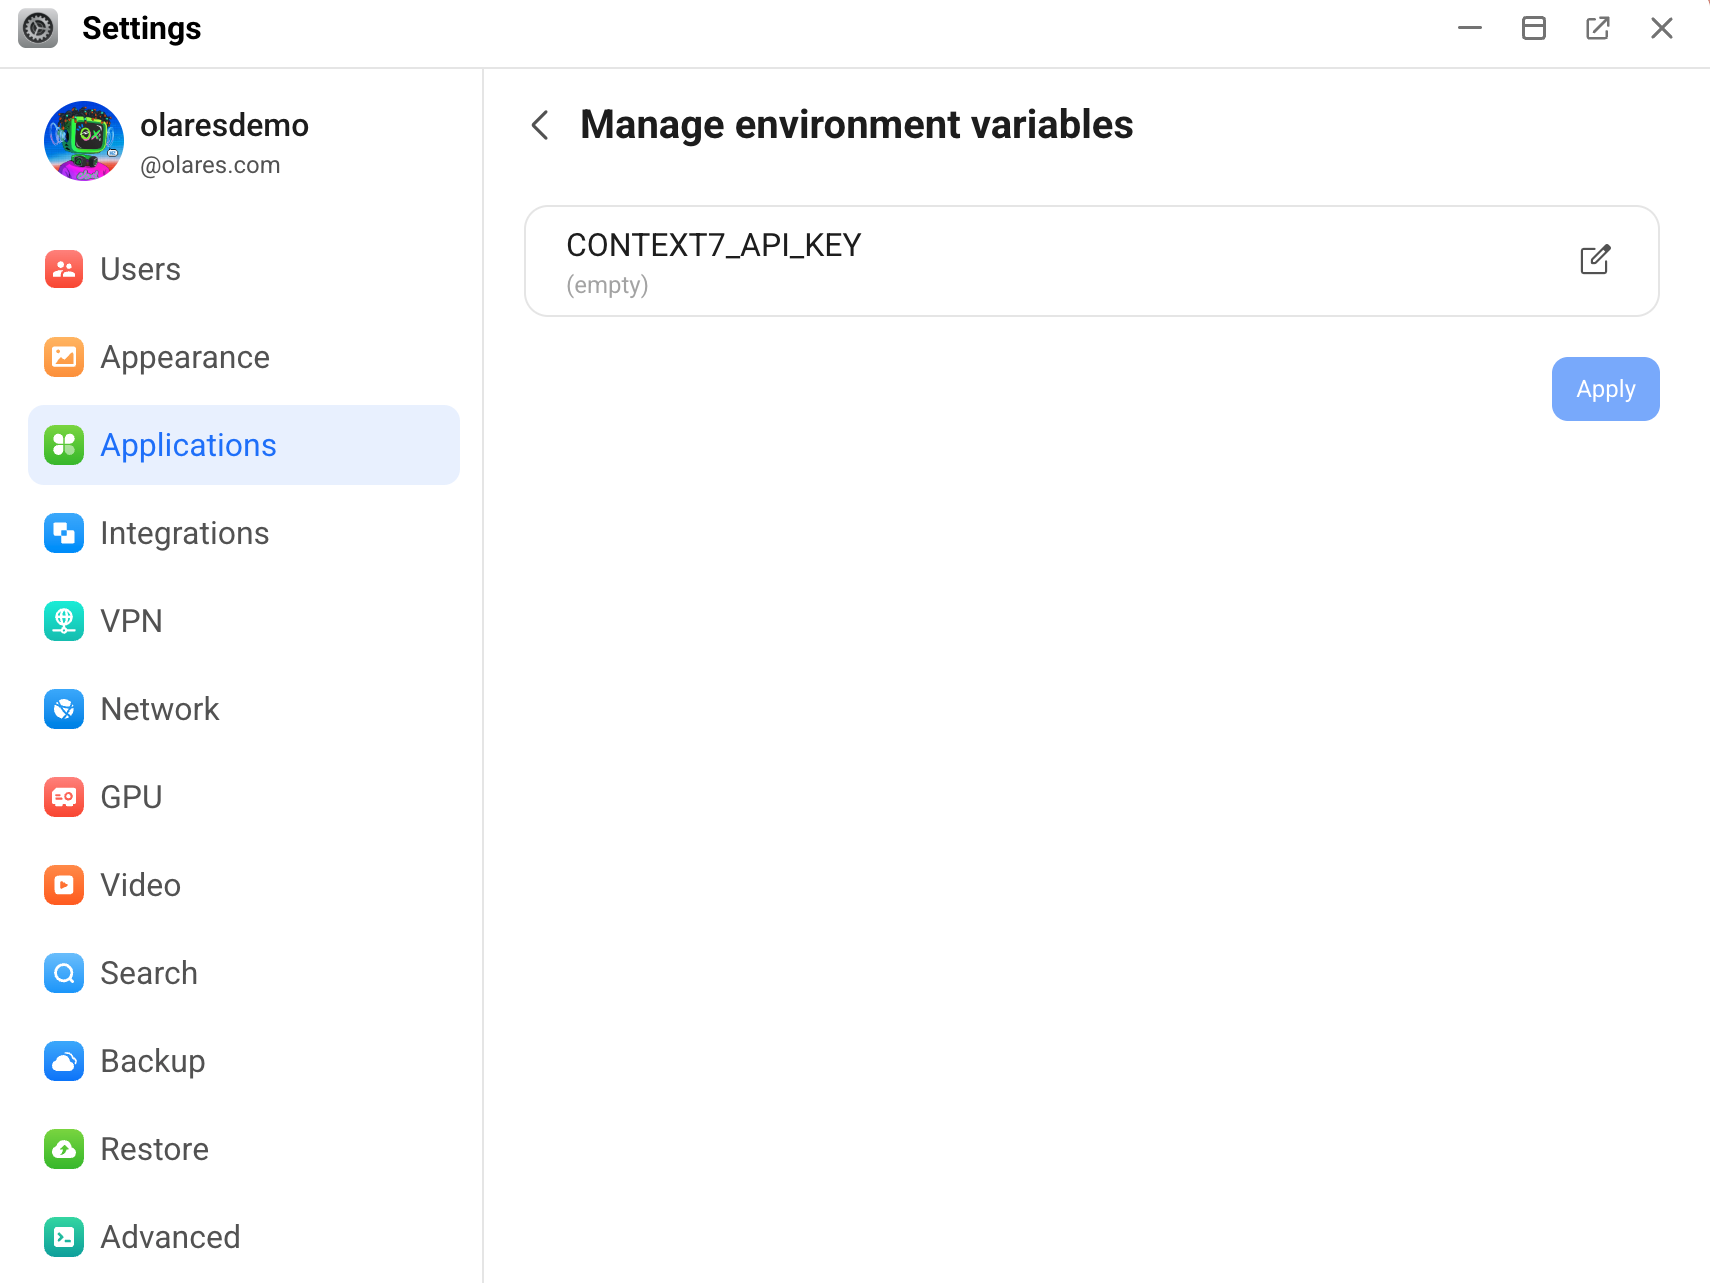
点击 edit_square,粘贴你的 API 密钥,然后点击 Confirm。
点击 Apply。Context7 应用自动重启。
要验证 API 密钥是否正确配置,请在 Context7 Terminal 中运行查询,然后检查 Context7 仪表板。
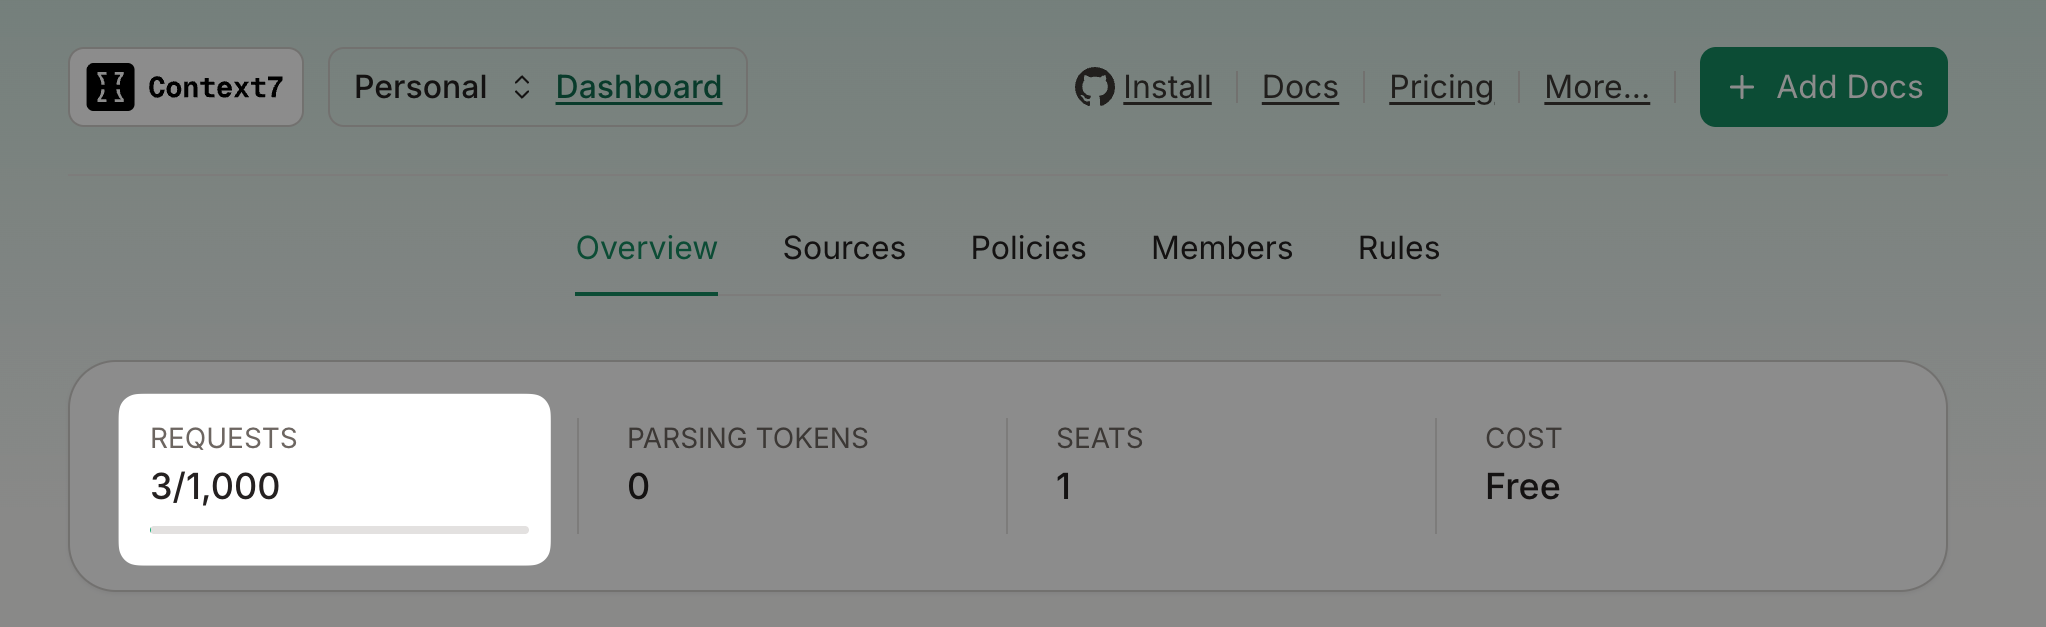
REQUESTS 数字(即 API 调用次数)表明 Olares 上的 Context7 正在使用该密钥进行认证请求。
将 Context7 连接到 Olares 应用
开始前,请确保你已在每个代理应用中配置了必要的设置,如模型提供商、模型名称和基础 URL。
获取 Context7 MCP 端点
应用端点(endpoint)如何工作
当客户端连接另一个 Olares 应用时,会使用该应用的端点作为网络地址。如果应用提供多个端点,请选择与客户端所需功能或协议相匹配的端点。
对于 Context7:
- 前往 Olares Settings > Applications > Context7 > Entrances。
- 选择 Context7 MCP,然后复制 Endpoint URL。
在 MCP 客户端中配置时,在该 Endpoint 后添加 /mcp。
Agent Zero
在 Agent Zero 中将 Context7 添加为 MCP 服务器,然后配置你的模型提供商以启用代理调用文档工具。
打开 Agent Zero,前往 Settings > MCP/A2A,然后点击 Open。
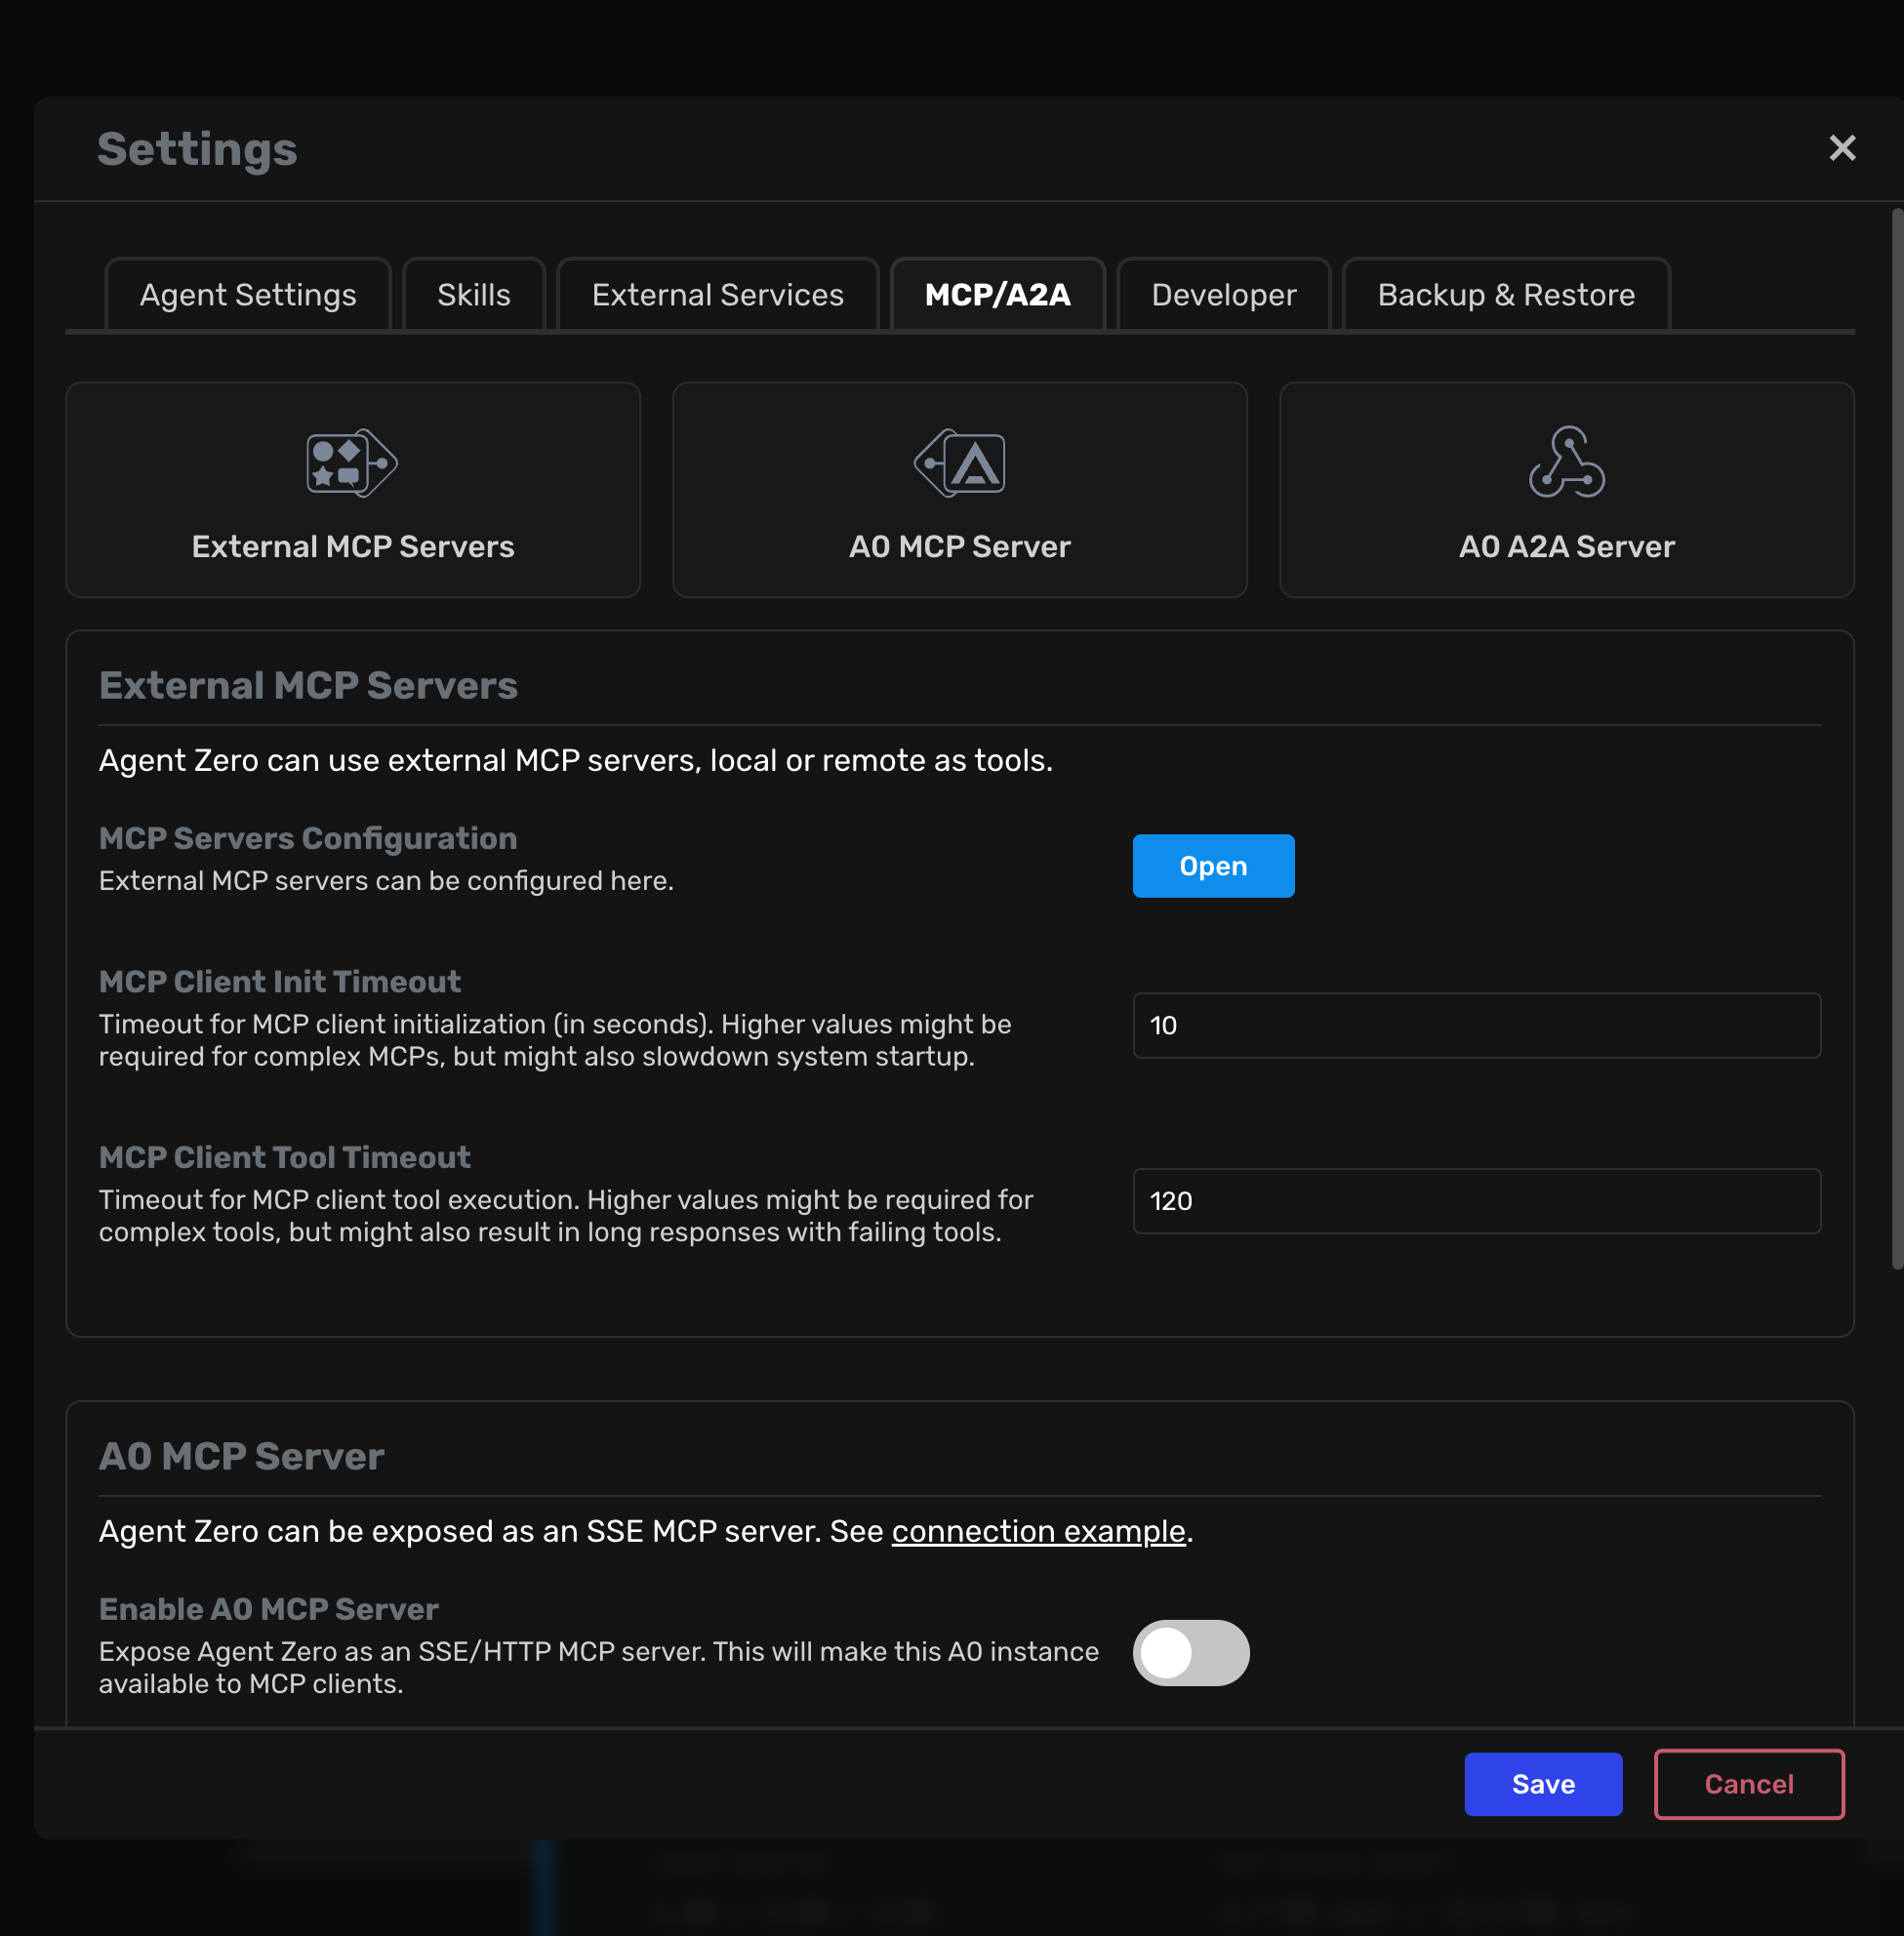
在 MCP Servers Configuration 窗口中,添加一个新的 MCP 服务器,配置如下。将
<your-context7-endpoint>替换为你的 Context7 MCP 端点:json{ "mcpServers": { "context7": { "type": "streamable-http", "url": "<your-context7-endpoint>/mcp" } } }点击 Apply now,然后关闭窗口。
点击 Save。
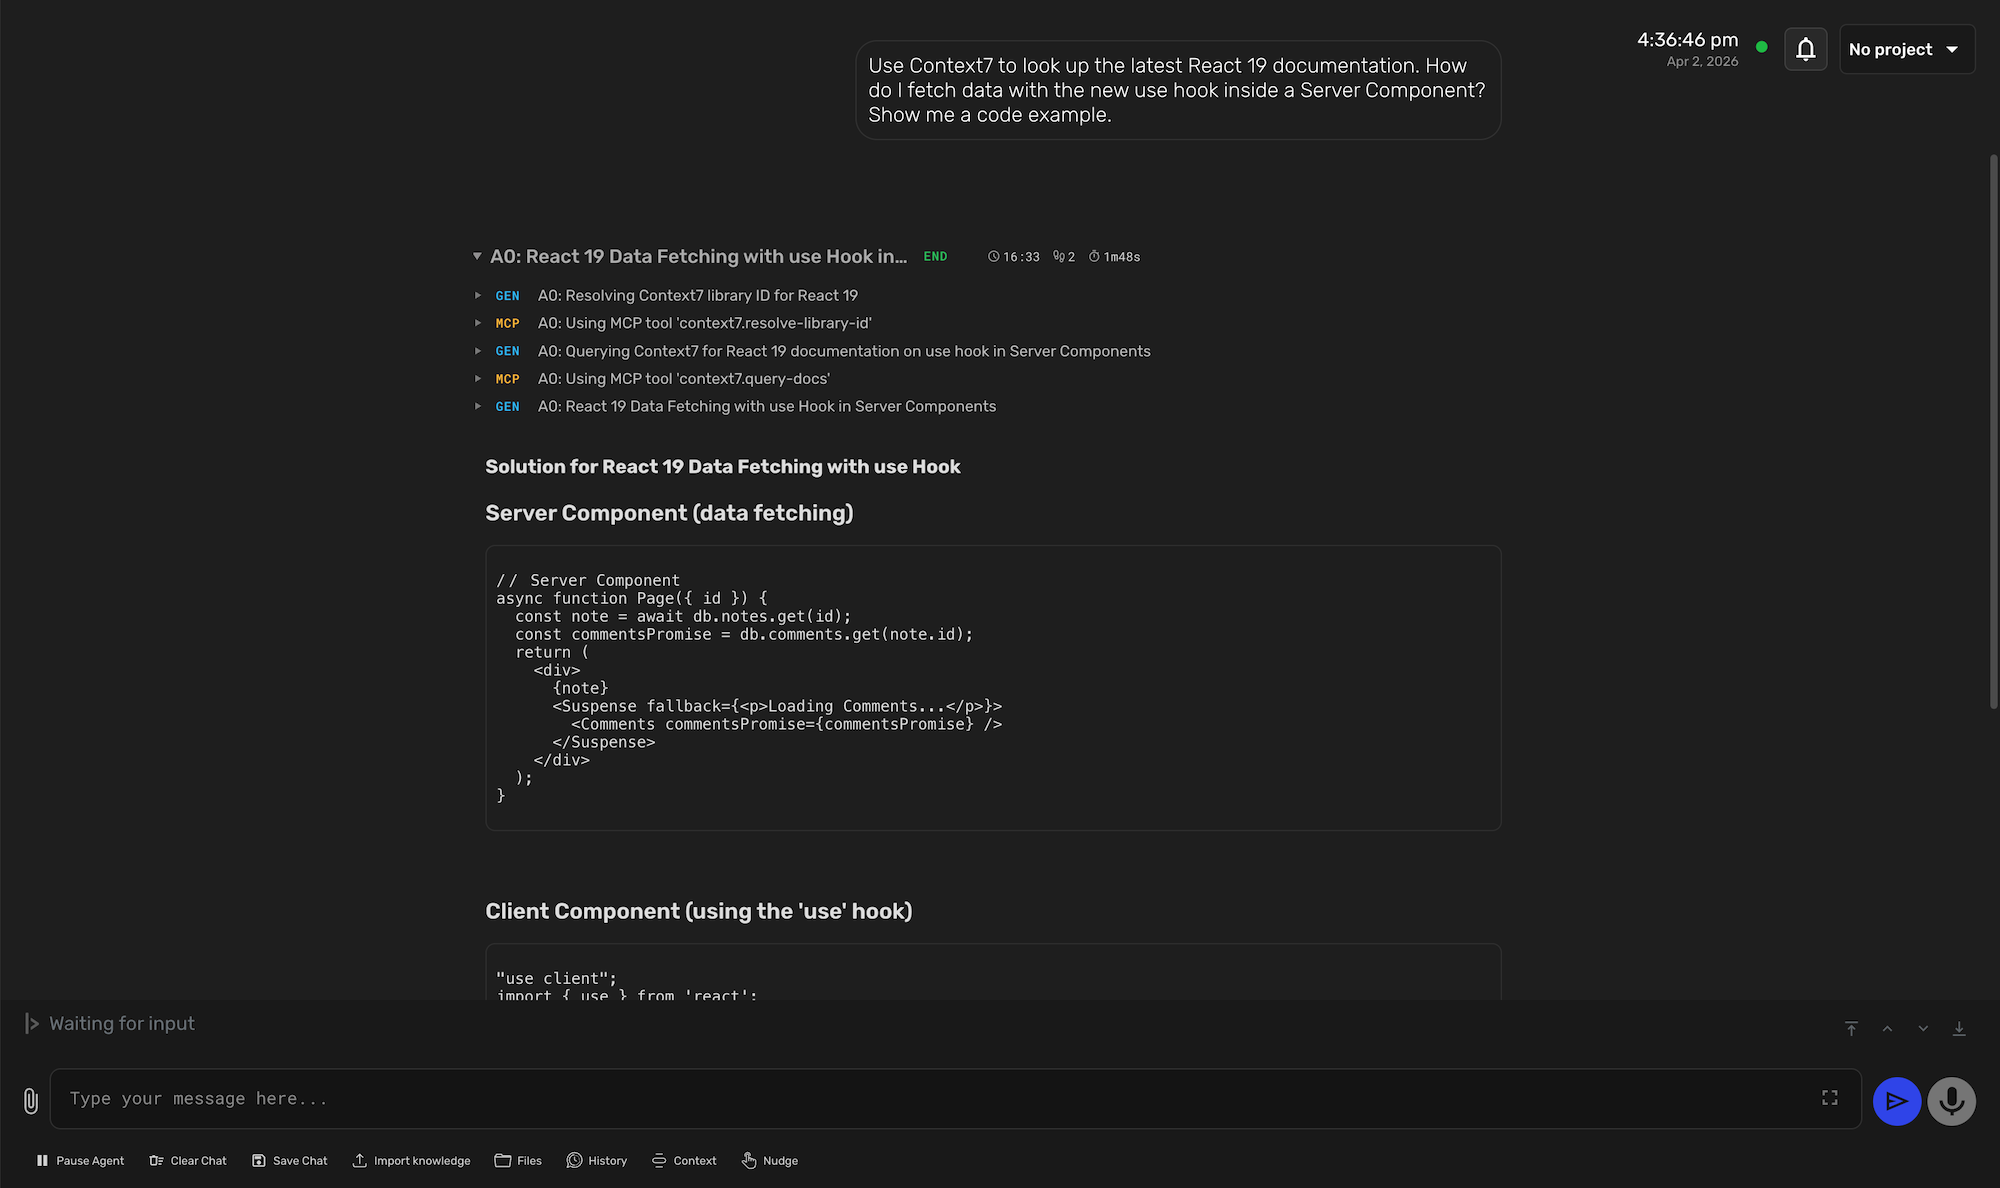
开始对话。例如,
textUse Context7 to look up the latest React 19 documentation. How do I fetch data with the new use hook inside a Server Component? Show me a code example.当 Context7 成功调用时,你会看到与 MCP 的通信过程以及为你的问题提出的解决方案。
LibreChat
在 LibreChat 中启用 Context7 MCP 服务器,然后从聊天输入中选择它以开始使用实时文档。
打开 LibreChat,然后点击右侧边栏上的 MCP Settings 图标。
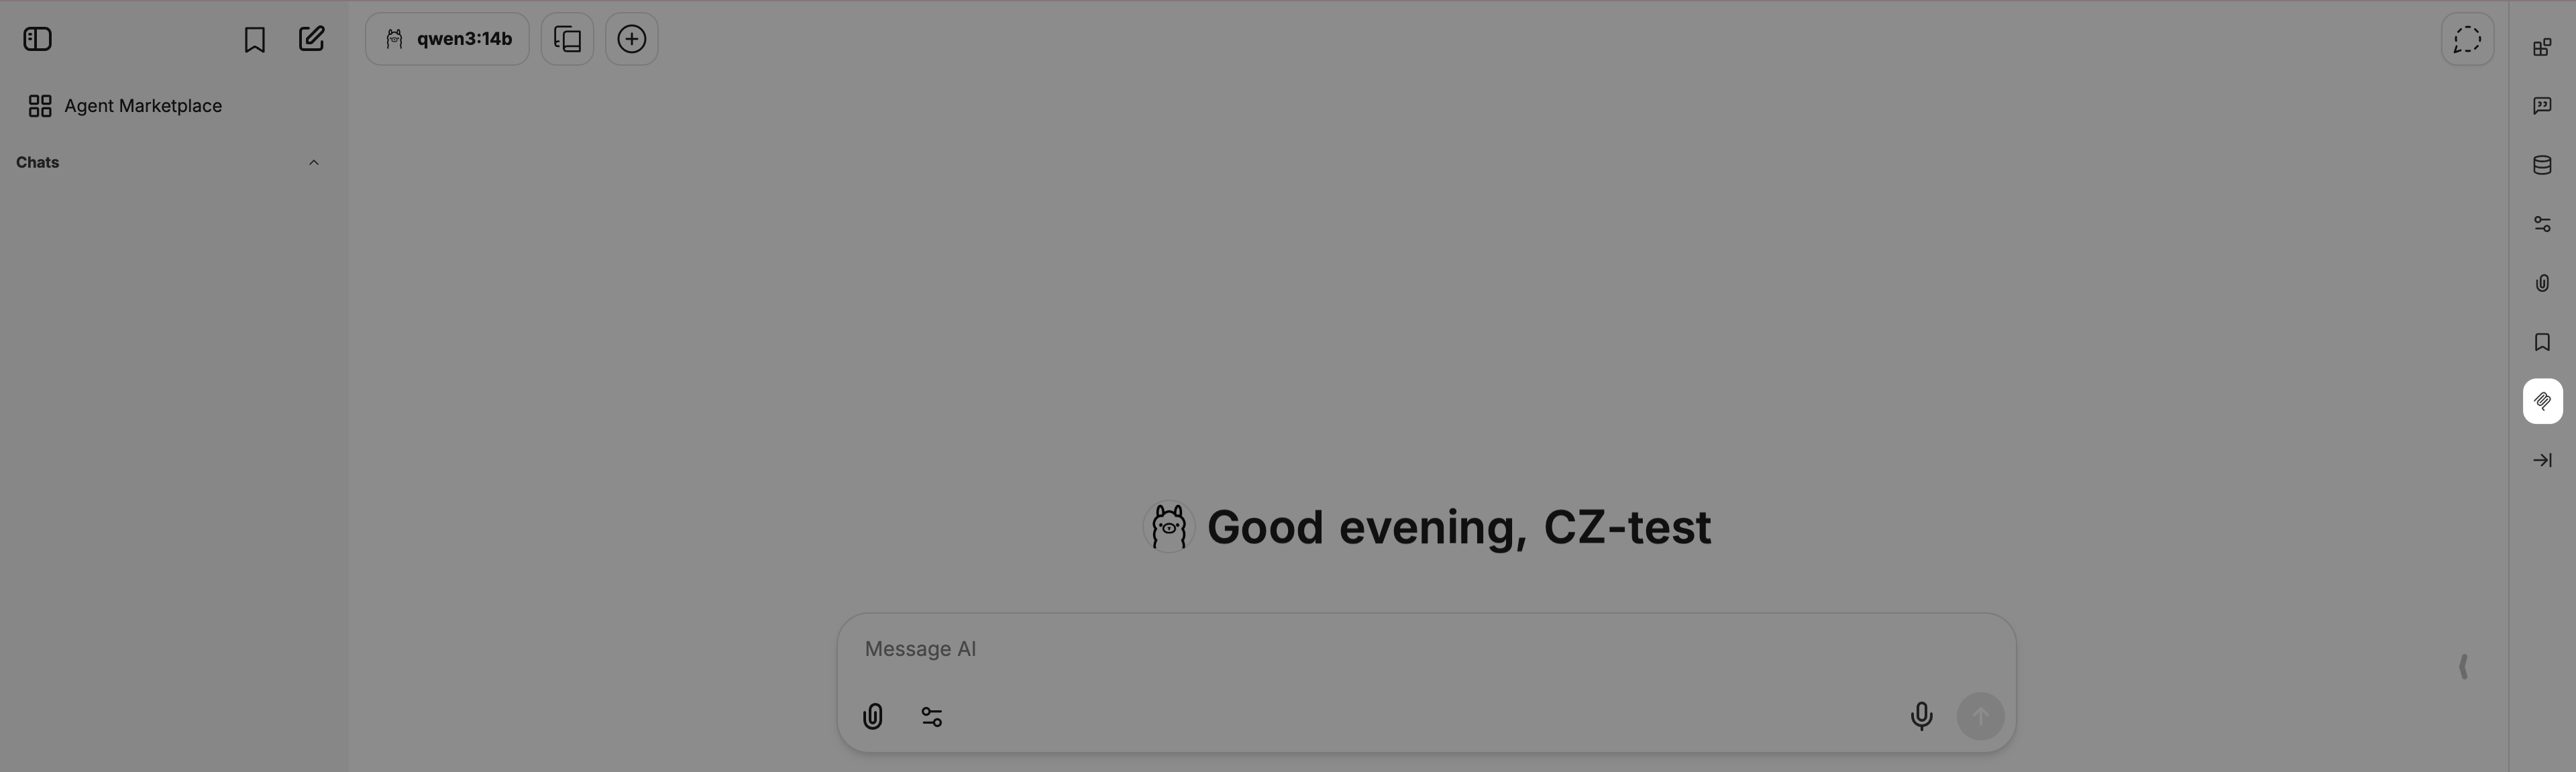
点击 Filter MCP servers by name 旁边的 add_2。
在 Add MCP Server 窗口中:
a. Name: 输入服务器名称,例如
context7。b. MCP Server URL: 以
<your-context7-endpoint>/mcp格式输入 URL。将<your-context7-endpoint>替换为你的 Context7 MCP 端点。c. I trust this application: 选择此选项。
d. 点击 Create。你会收到
MCP server created successfully消息。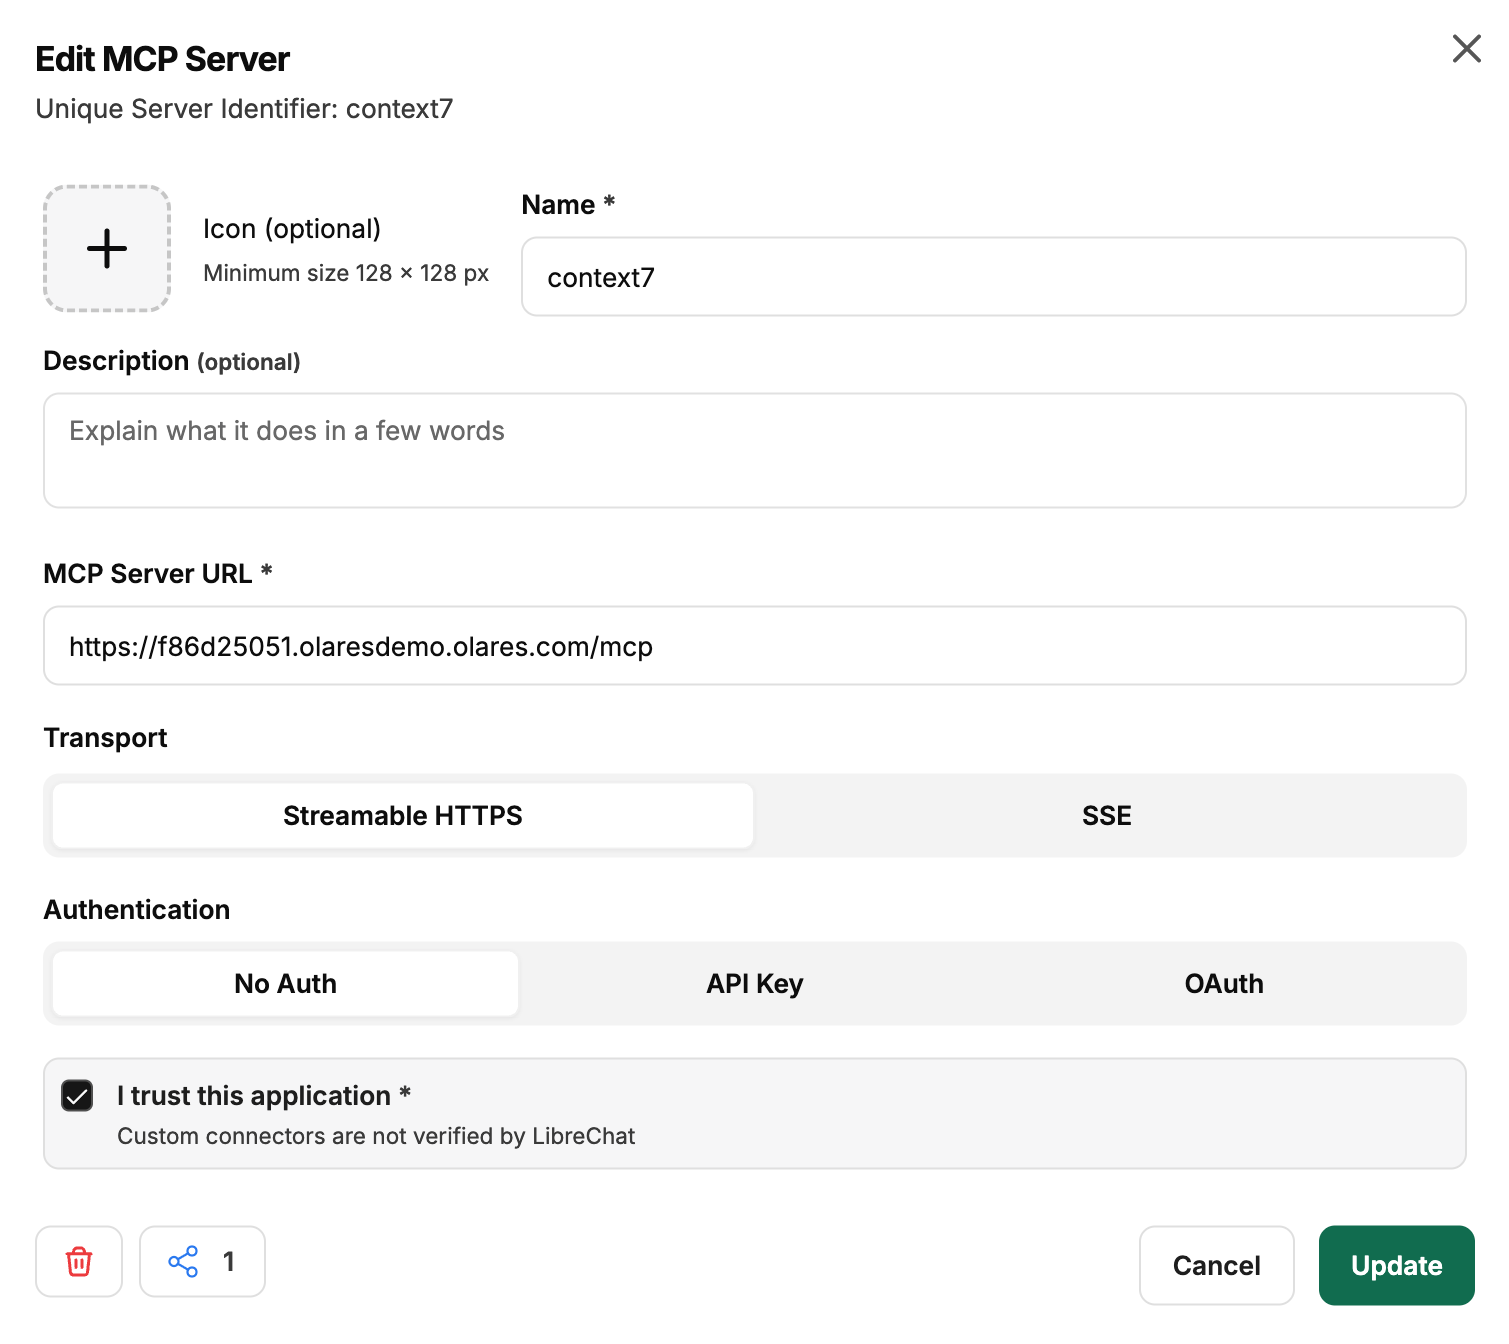
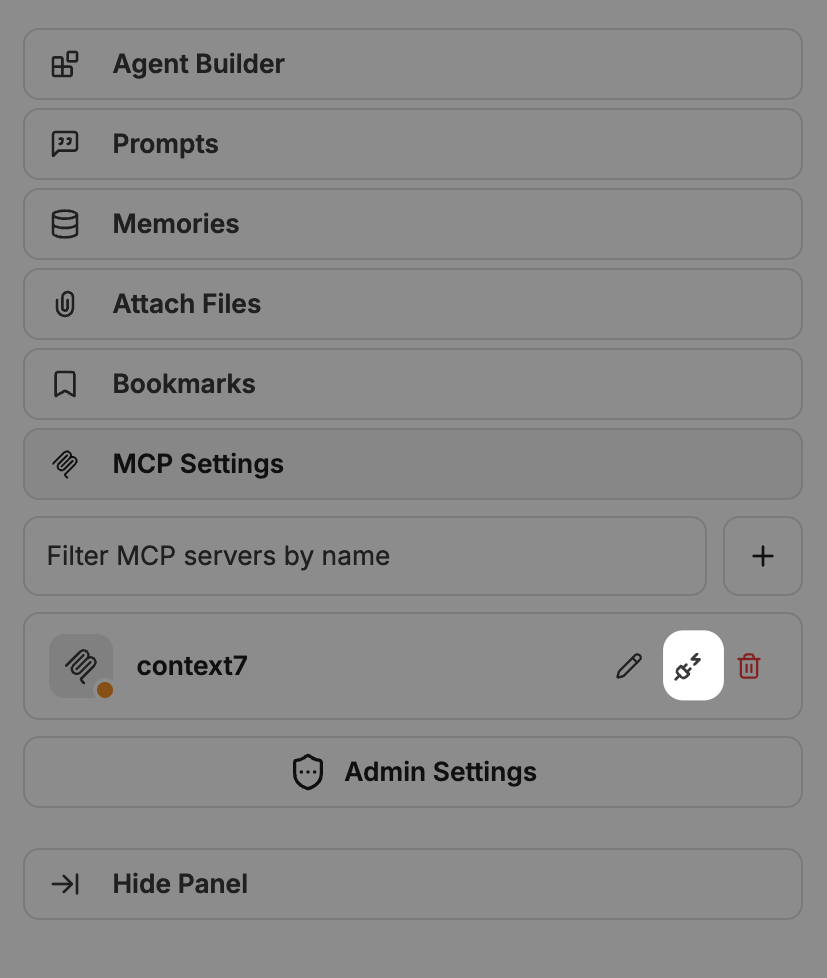
在右侧边栏上,找到新添加的 MCP 服务器 context7,然后点击 Connect 图标。
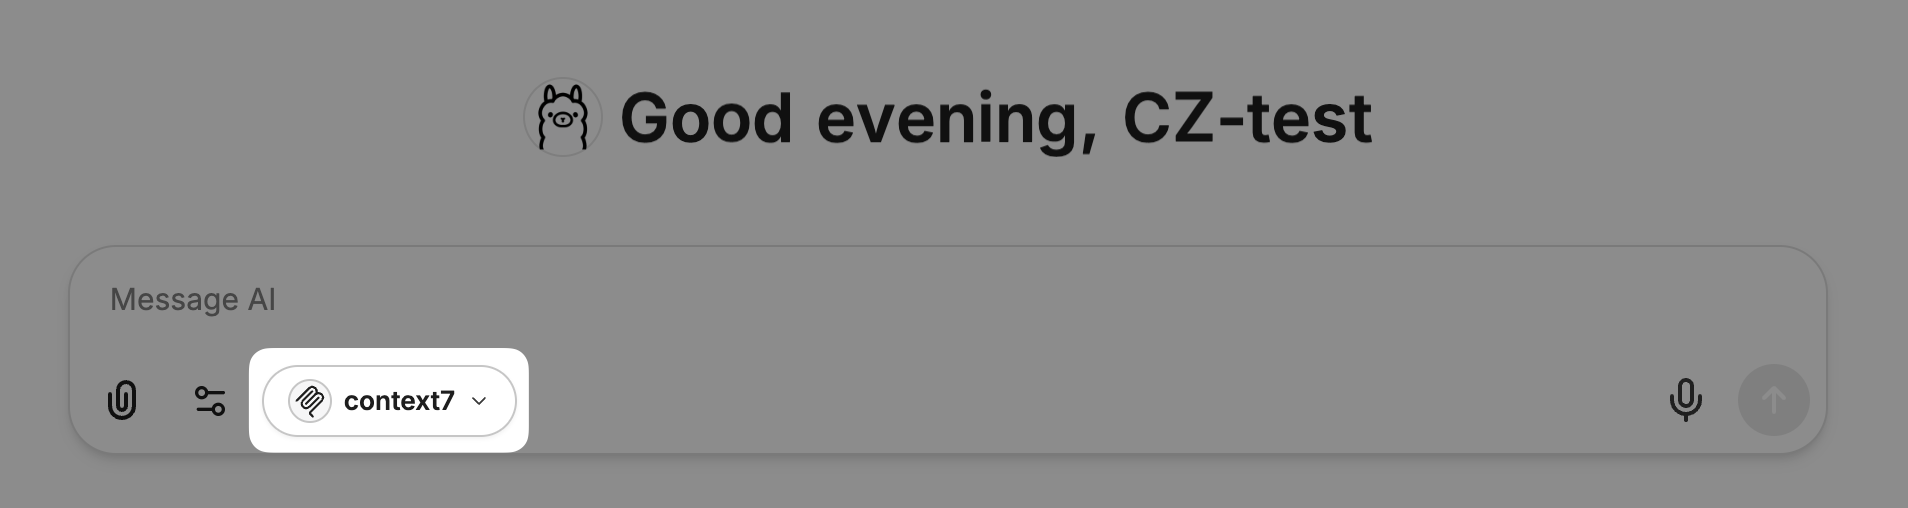
在聊天窗口中,确保从 MCP Servers 列表中选择了 context7。
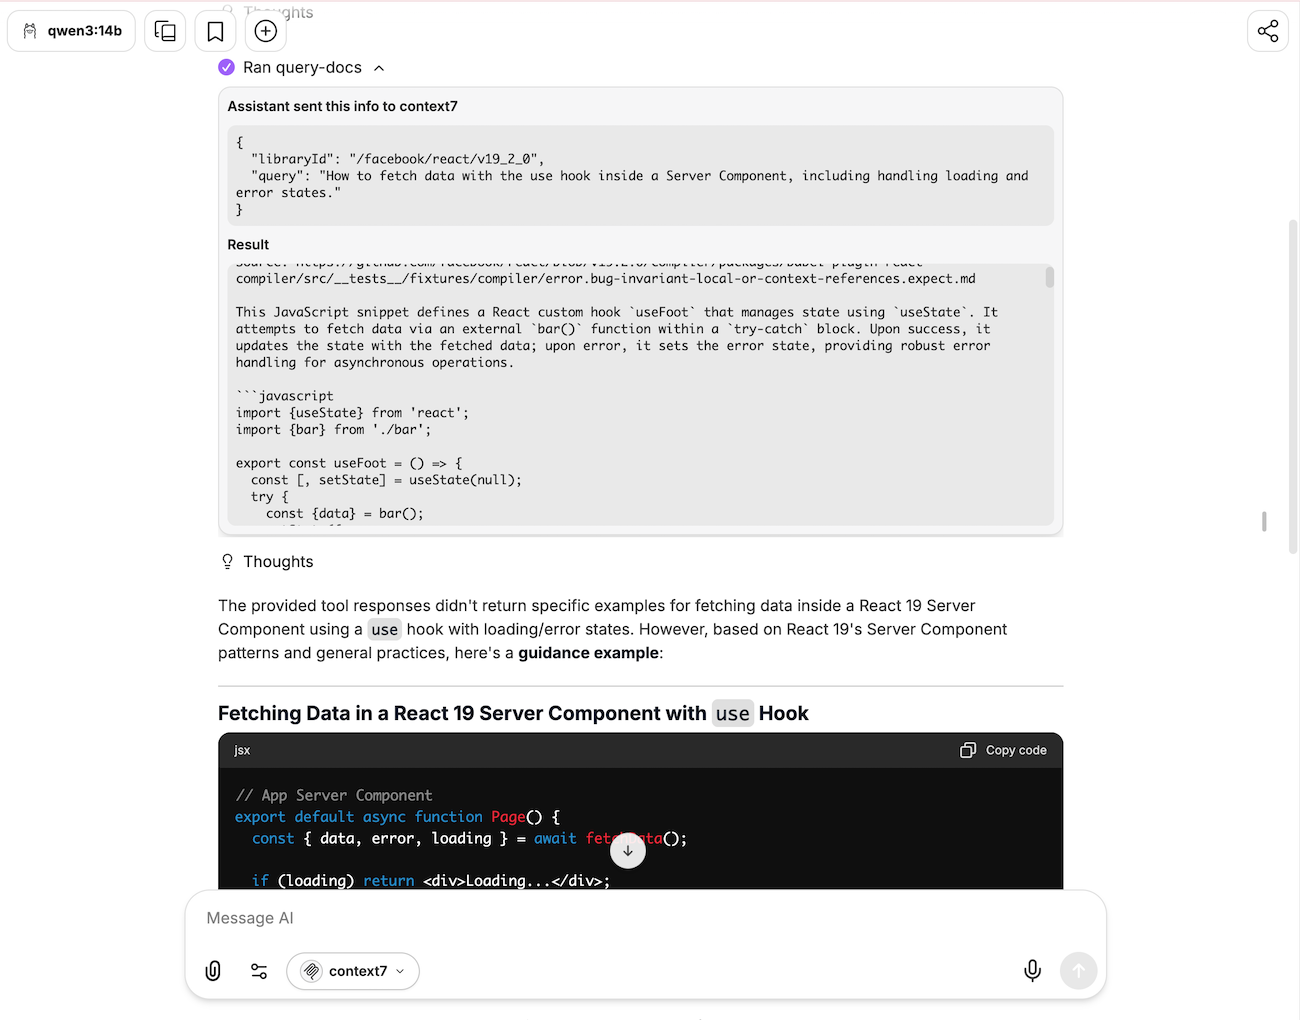
提出一个问题。例如,
textUse the context7 to look up React 19 documentation. Then show me how to fetch data with the use hook inside a Server Component, including handling loading and error states.你会从响应中看到信息被发送到了 Context7,这表明集成正在工作。
OpenCode
创建配置文件以将 Context7 注册为远程 MCP 服务器,然后重启 OpenCode 容器以加载它。
打开 OpenCode,然后点击右上角的 terminal。
输入以下命令以创建配置文件。将
<your-context7-endpoint>替换为你的 Context7 MCP 端点。bashcat << 'EOF' > /home/opencode/.config/opencode/opencode.json { "$schema": "https://opencode.ai/config.json", "mcp": { "context7": { "type": "remote", "url": "<your-context7-endpoint>/mcp", "enabled": true } } } EOF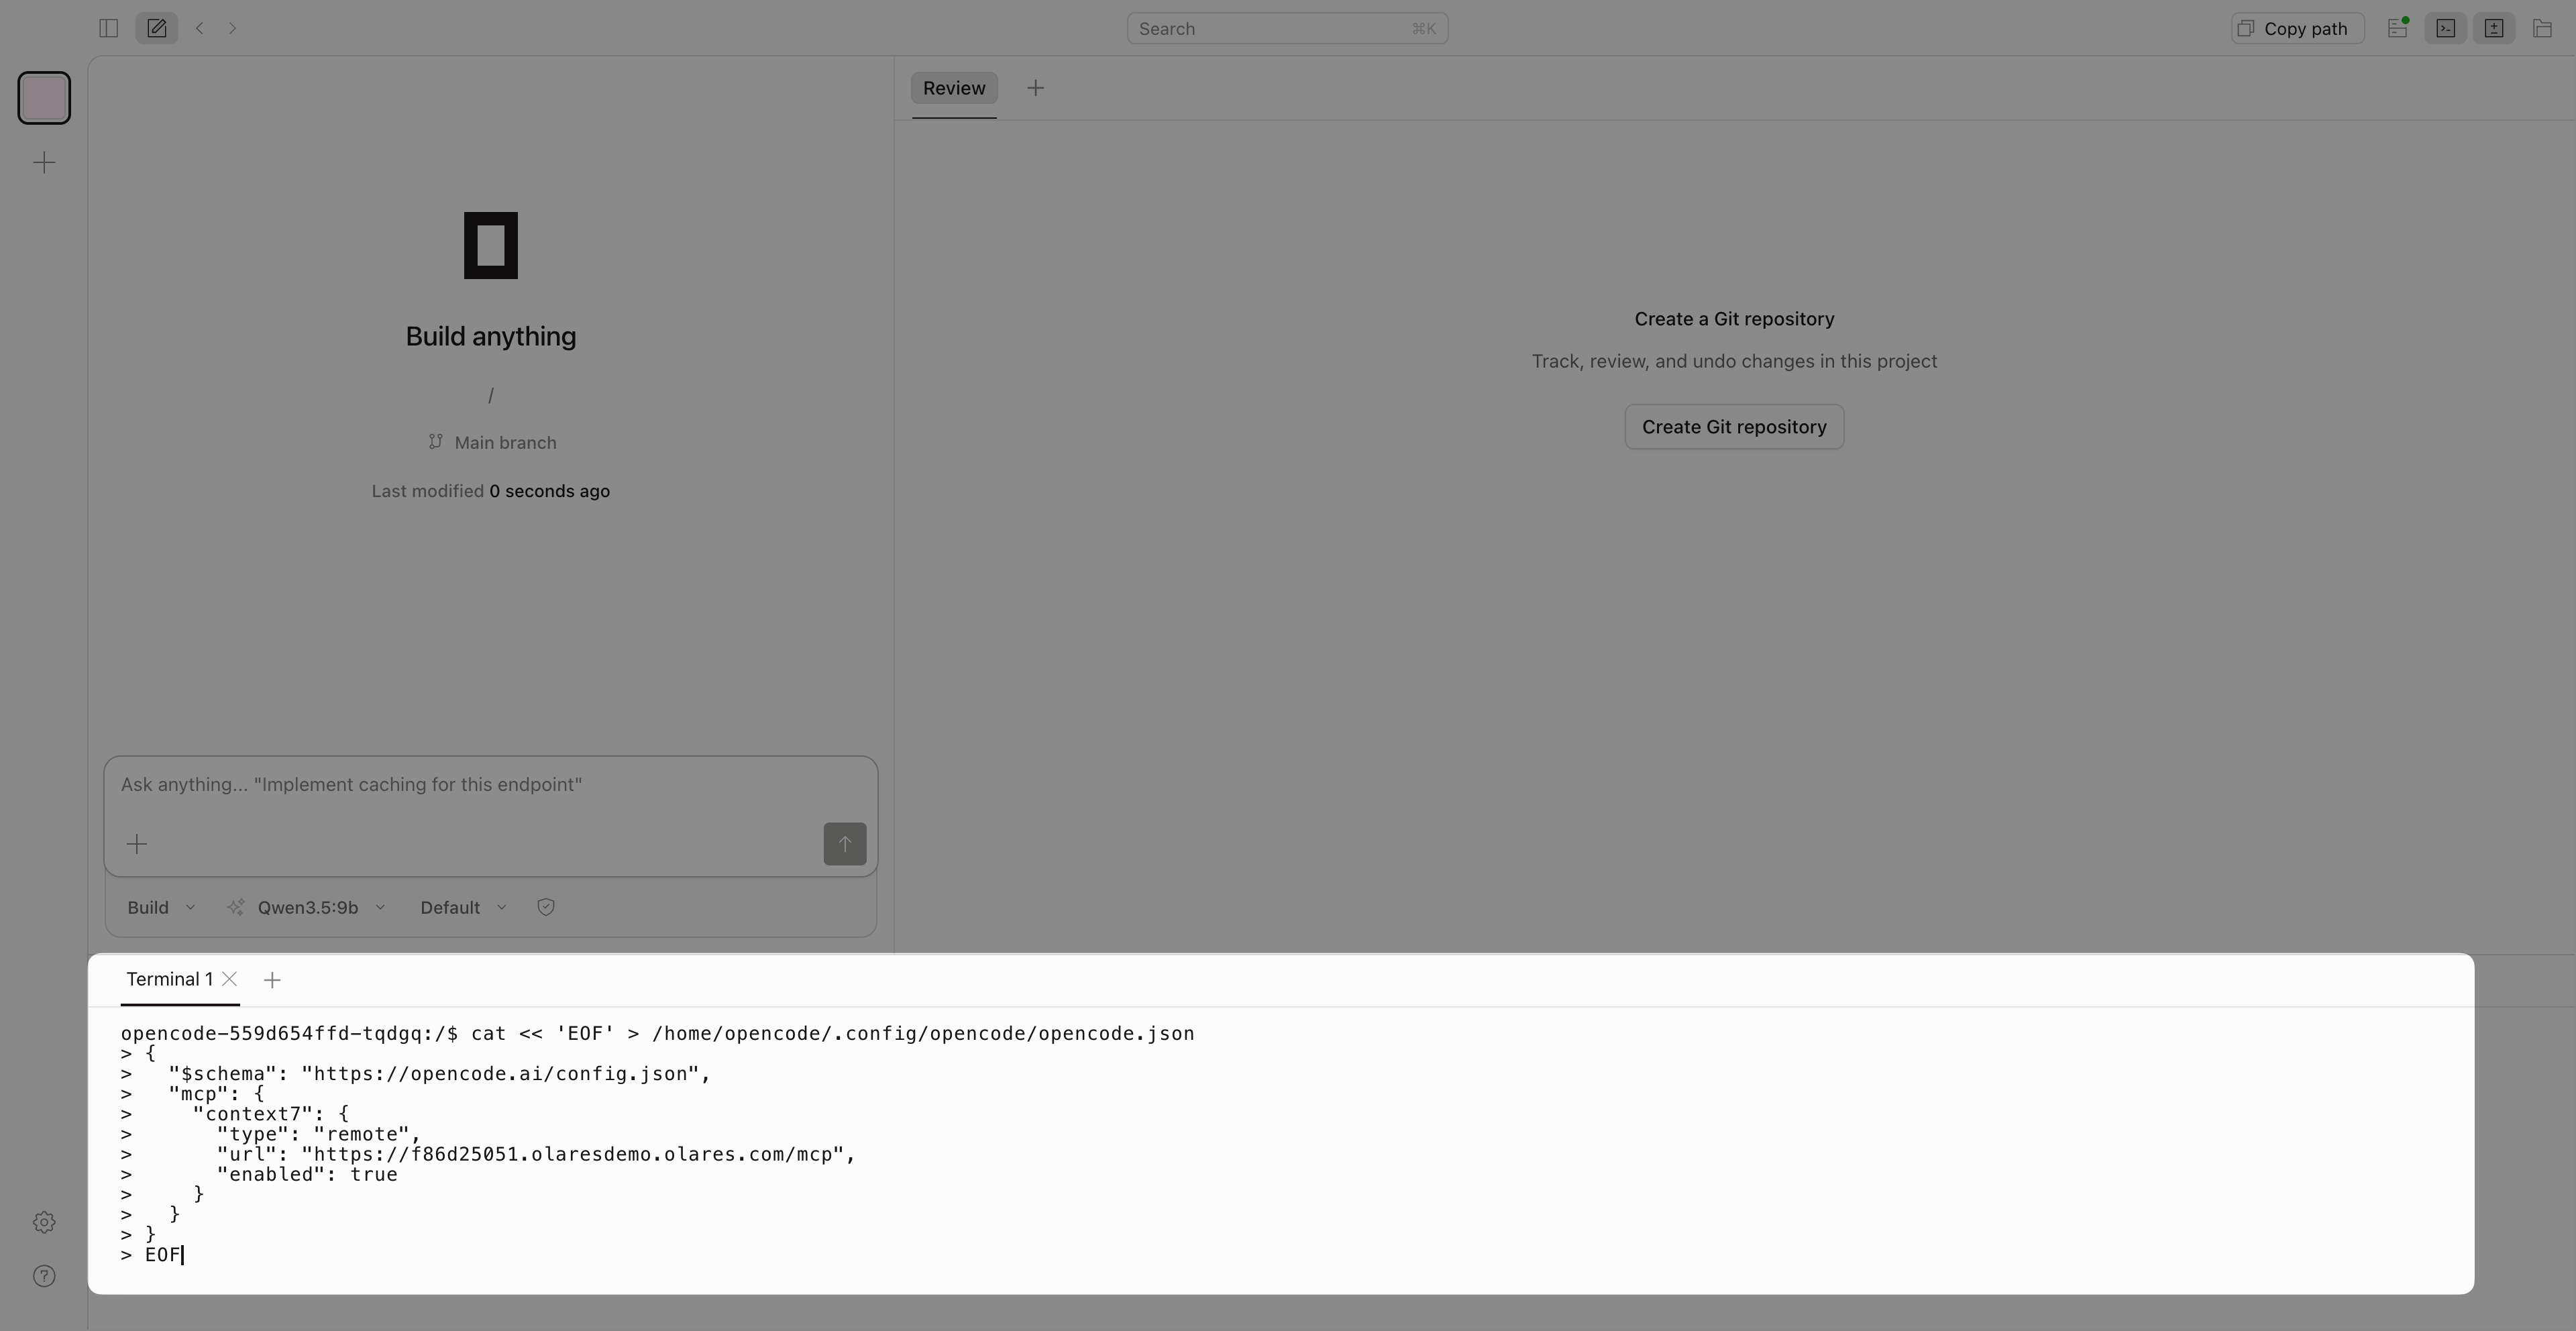
打开 Control Hub,找到 opencode 部署,然后点击 Restart。
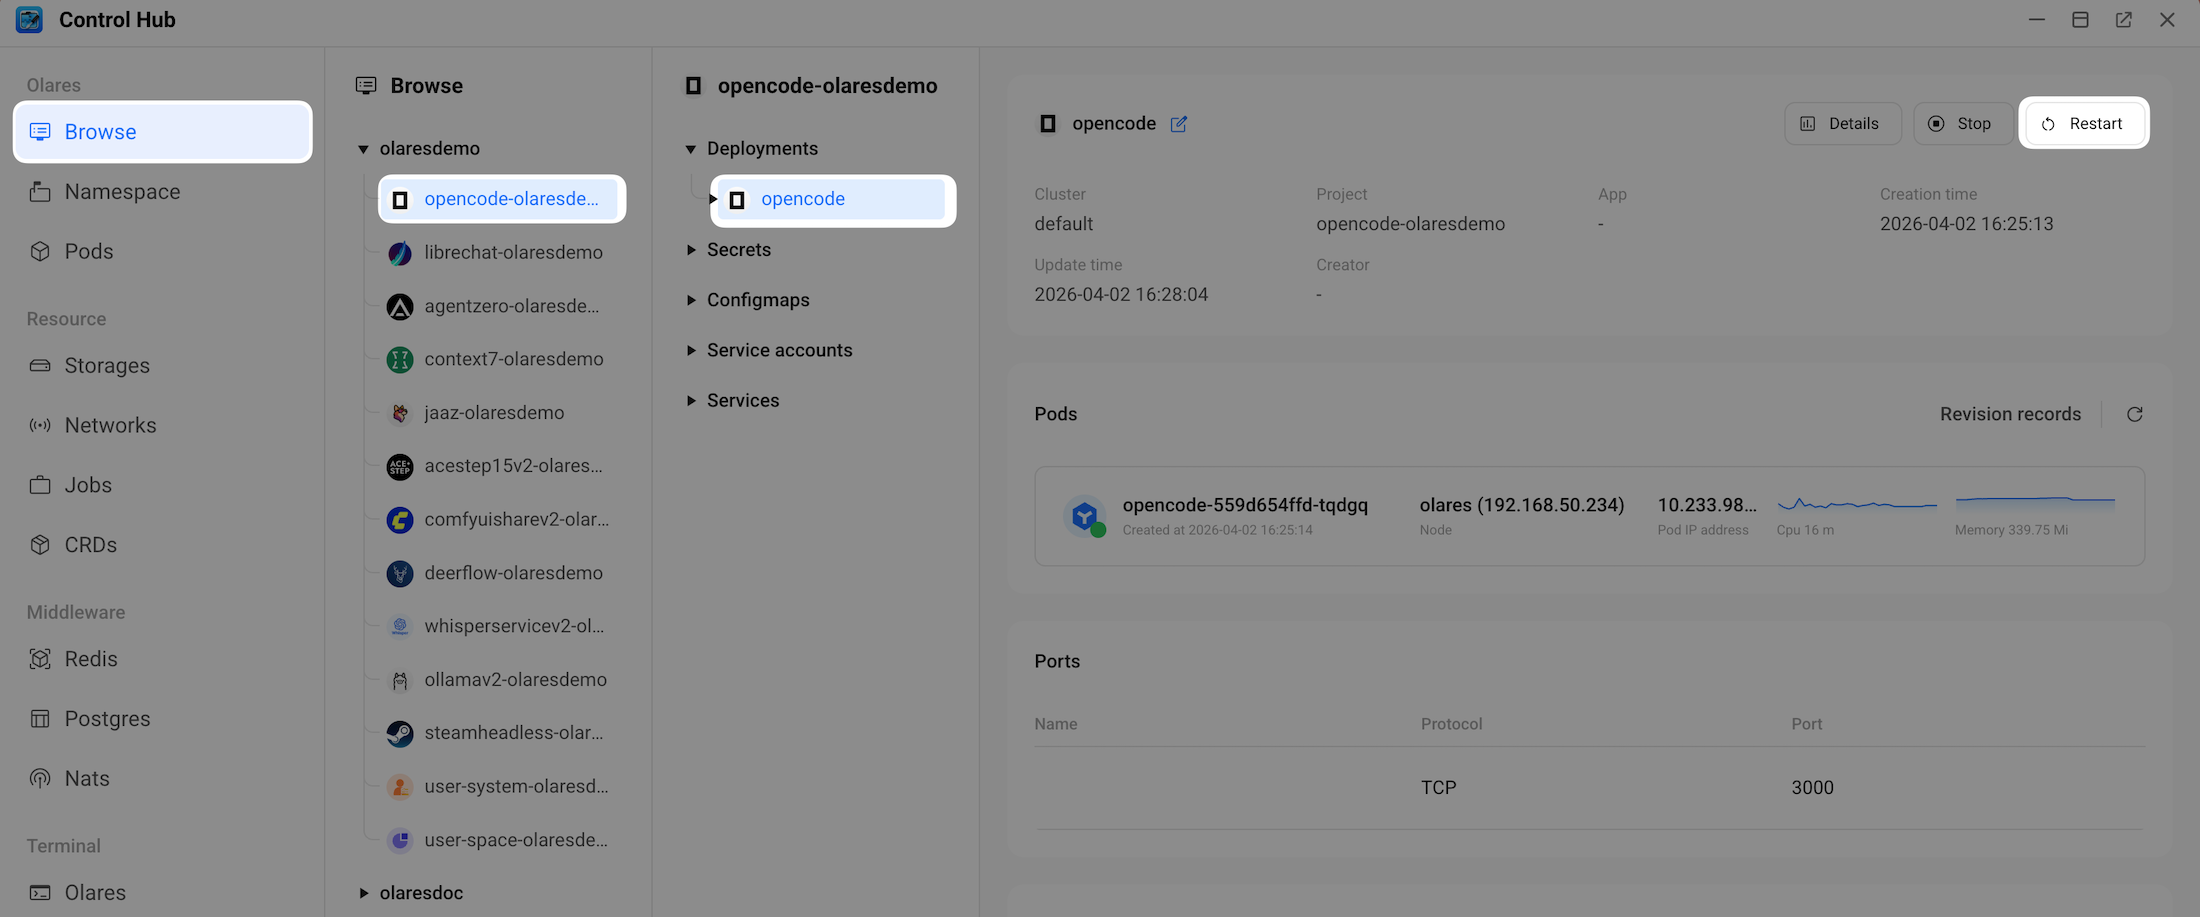
等待状态指示器变为绿色。
重新打开 OpenCode。
点击右上角的 Status 图标,点击 MCP 选项卡,然后验证 context7 已启用。

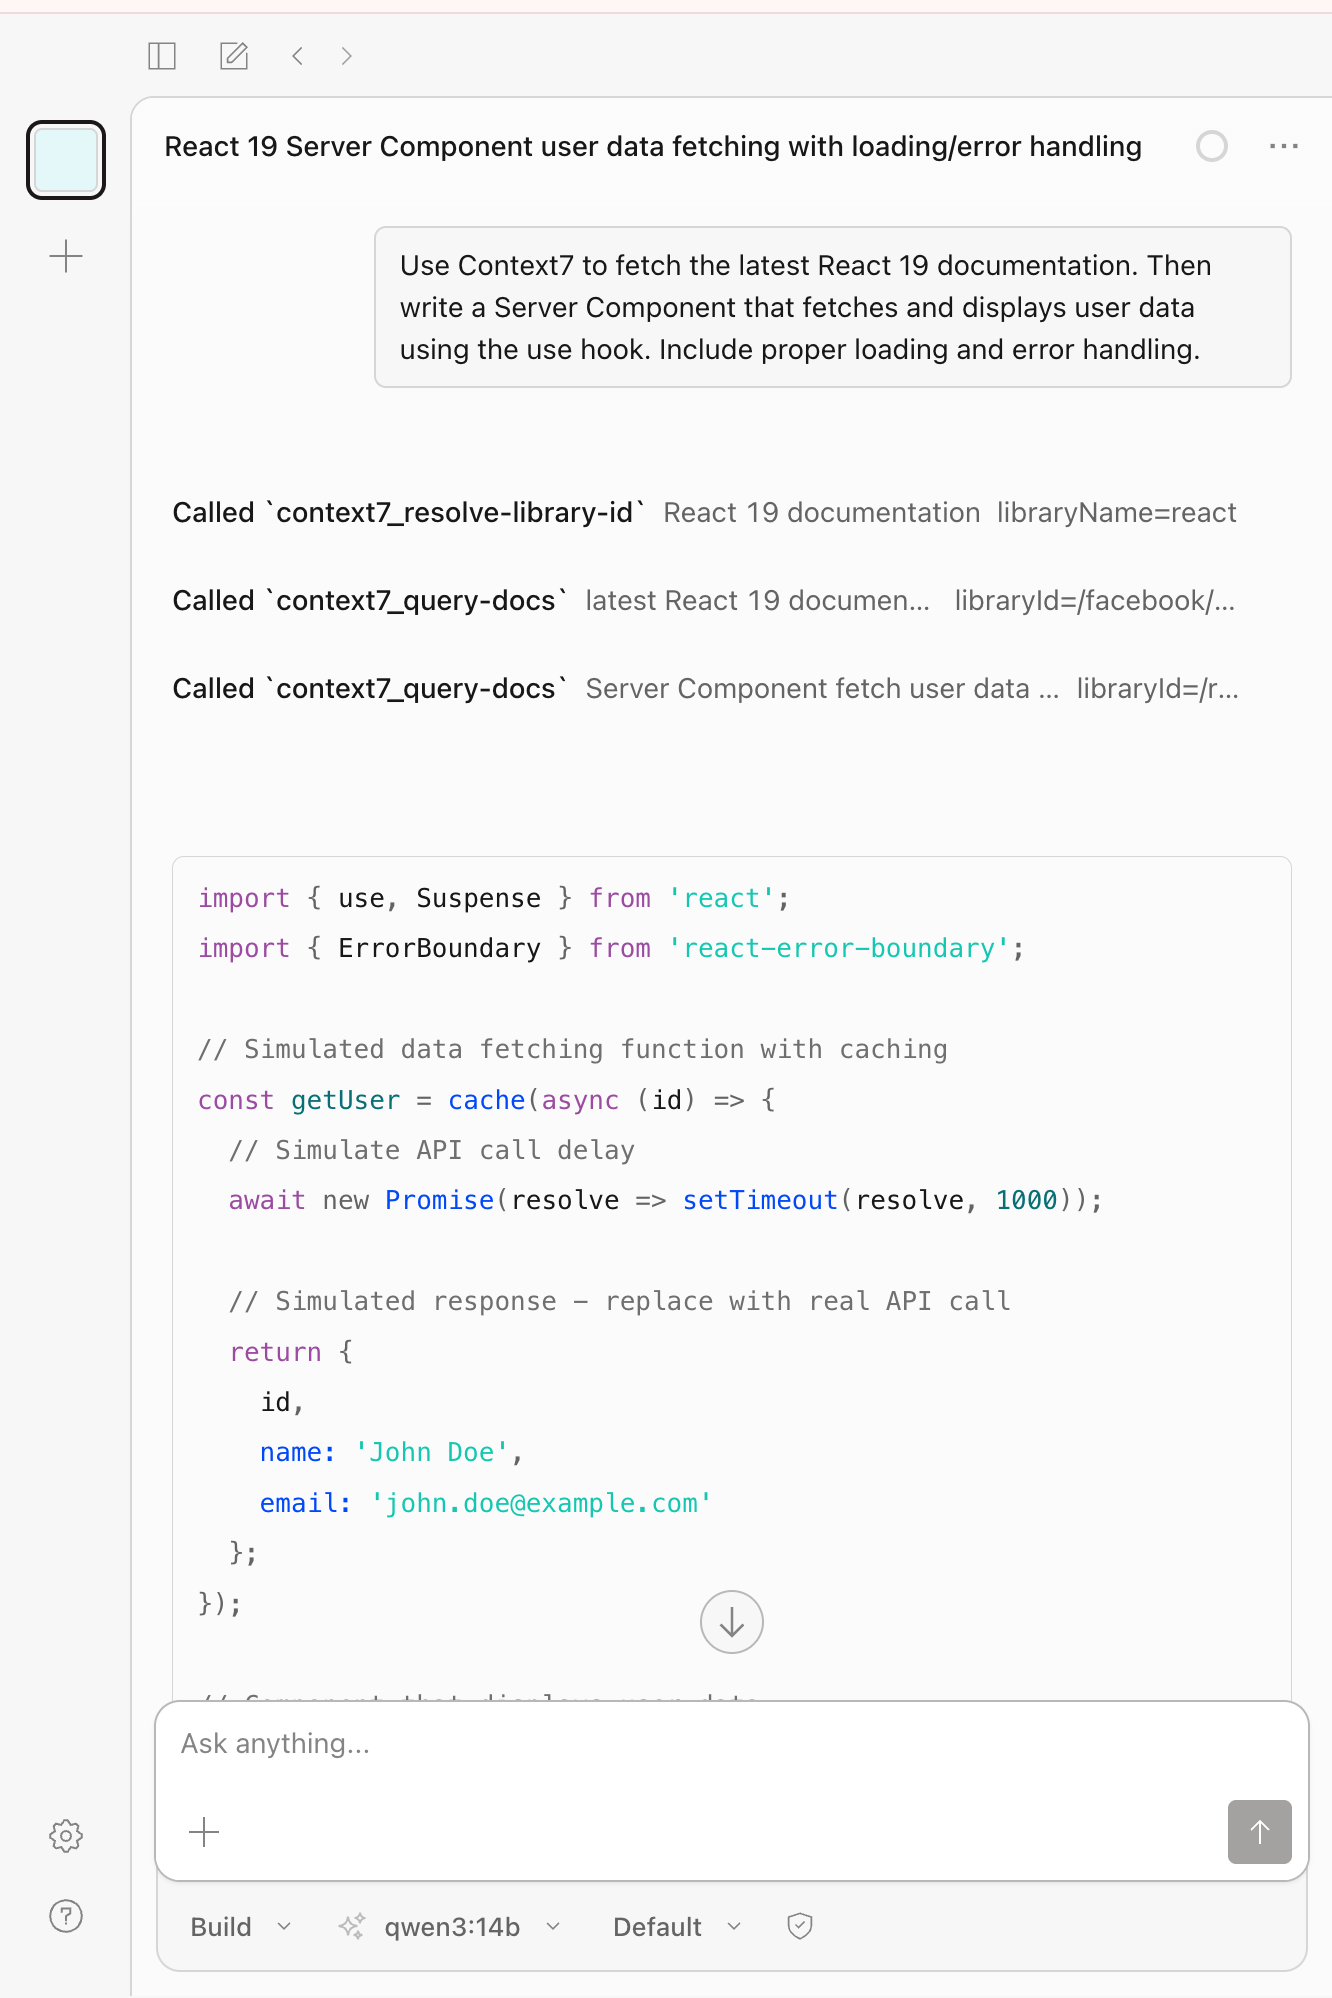
在聊天中,提出一个问题。例如,
textUse Context7 to fetch the latest React 19 documentation. Then write a Server Component that fetches and displays user data using the use hook. Include proper loading and error handling.你会看到调用 context7 生成响应的过程,这表明集成正在工作。
通过 MCP 连接外部客户端
你也可以将 Context7 连接到你电脑上运行的编码助手,如 Cursor 或 Claude Desktop。本部分以 Cursor 为例。
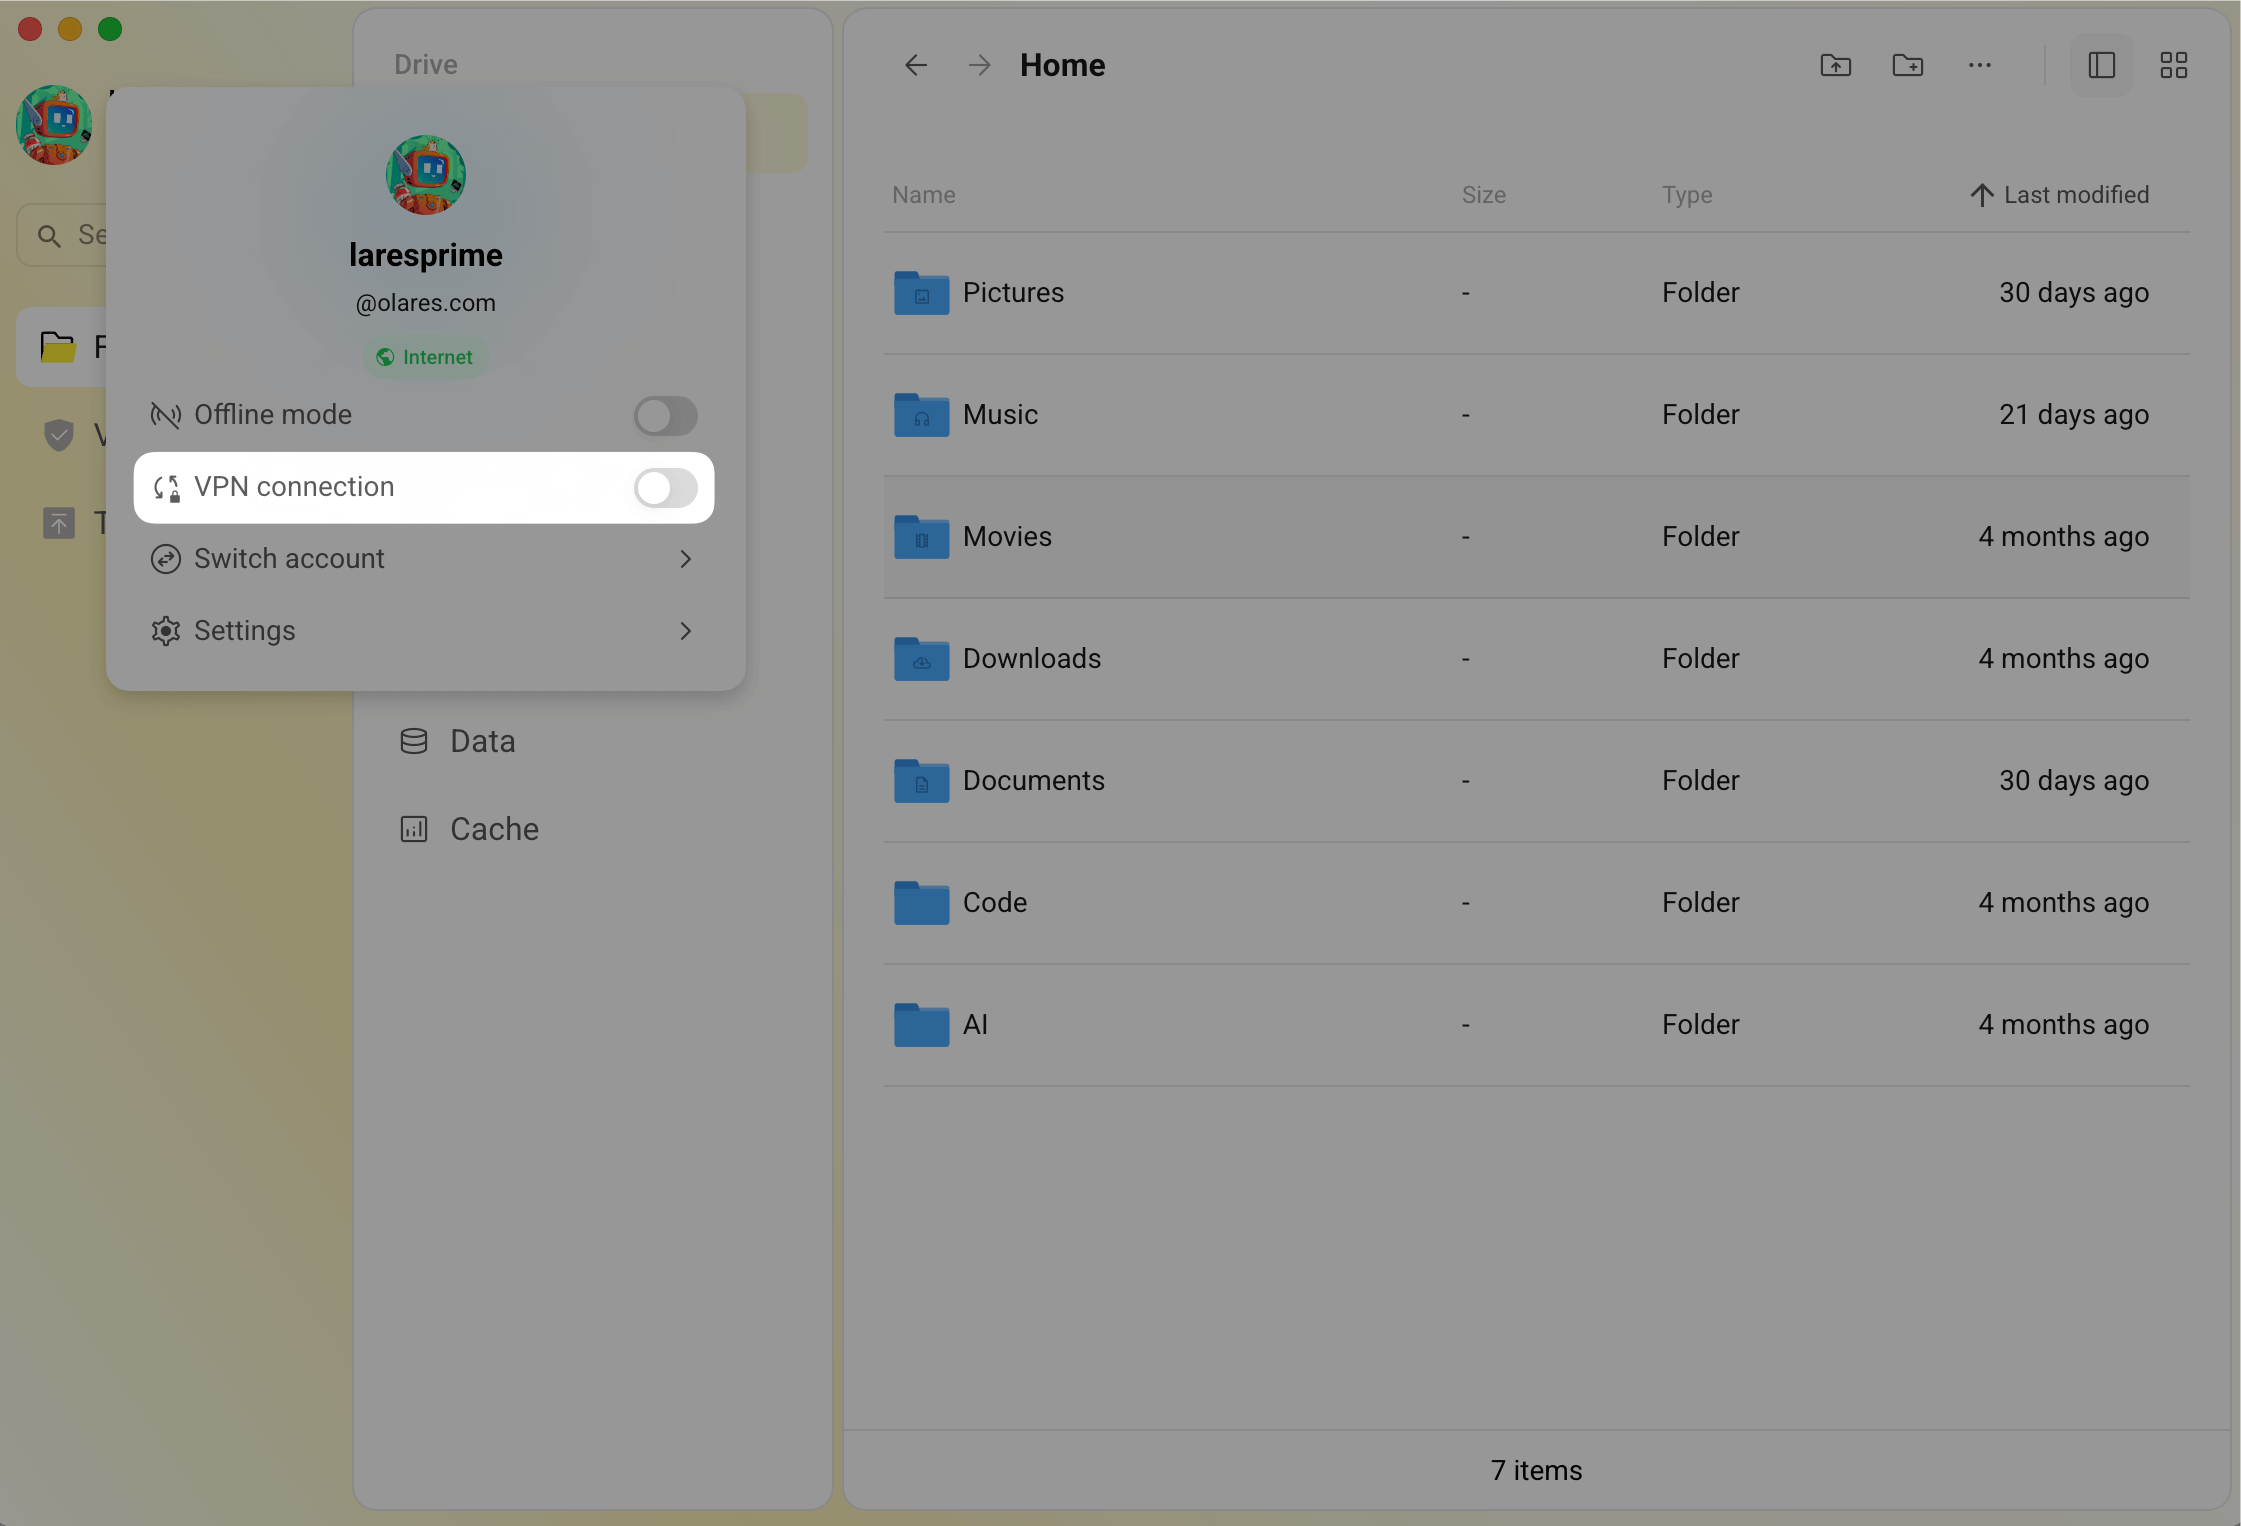
在你的电脑上打开 LarePass 桌面客户端,然后启用 VPN connection 以连接到 Olares。
在同一本地网络上?
如果你的电脑和 Olares 在同一局域网上,可以跳过 VPN,改用
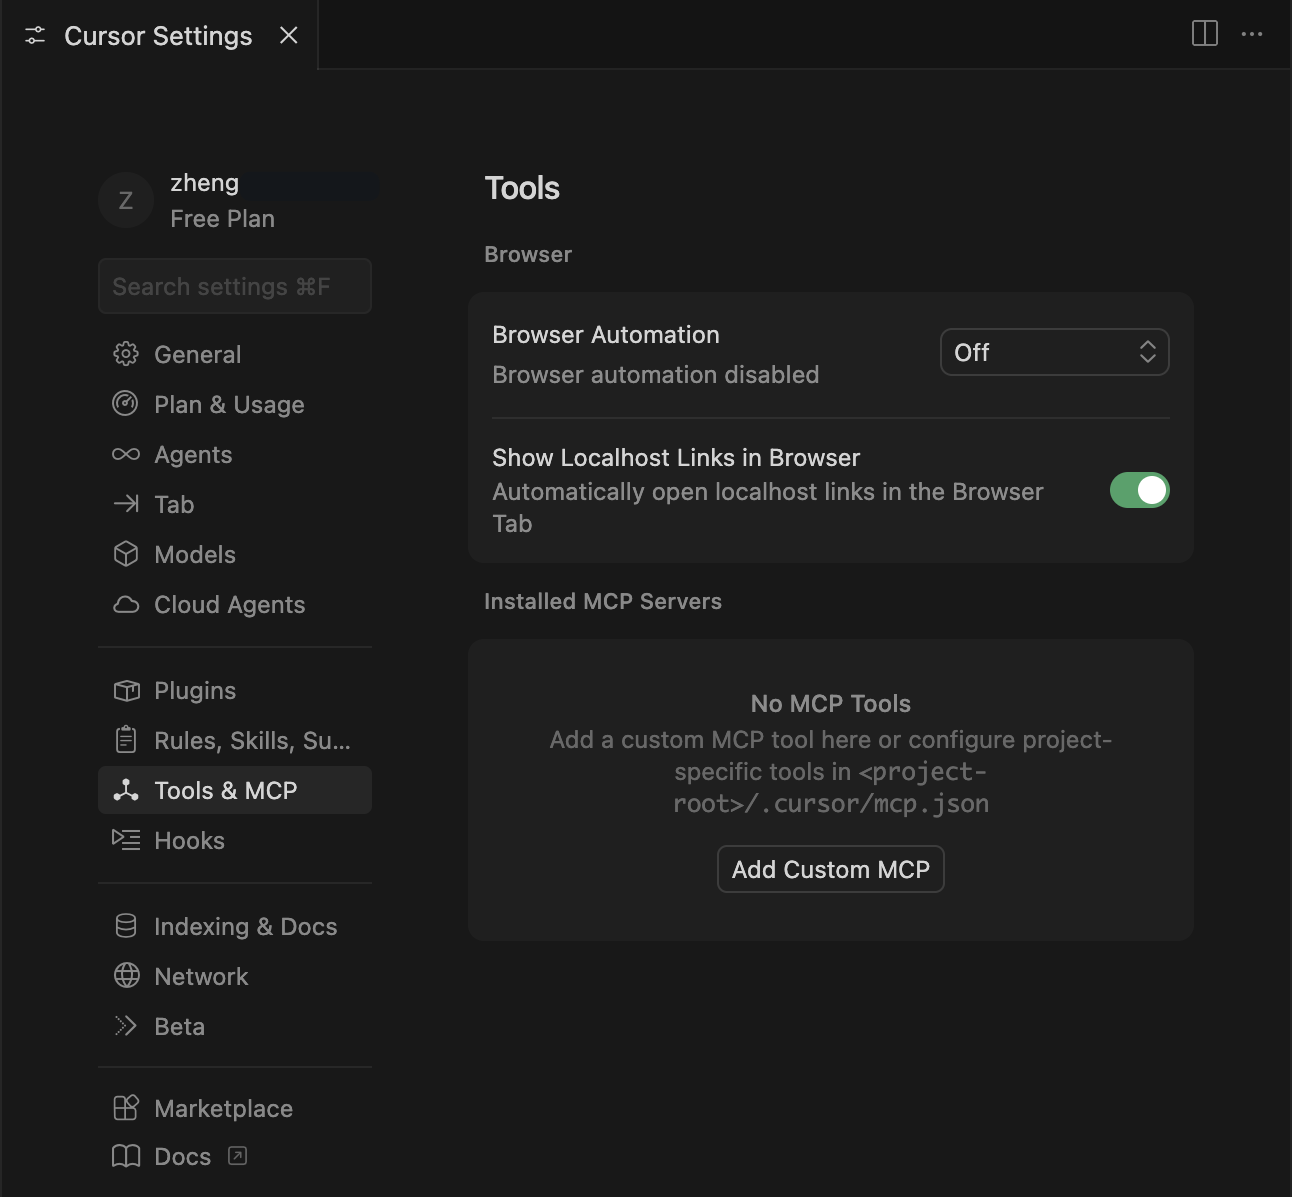
.local域名。在步骤 3 中,将https://<route-id>.<username>.olares.com改为http://<route-id>.<username>.olares.local。有关详细信息,请参阅使用.local域名。打开 Cursor,然后前往 Settings > Tools & MCP > Add custom MCP。
在
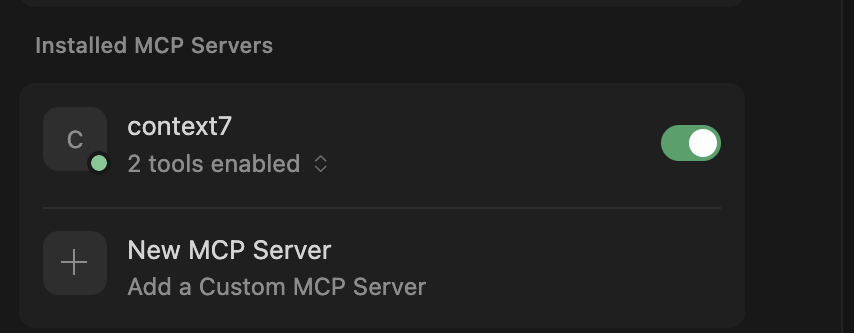
mcp.json文件中输入以下配置。将<your-context7-endpoint>替换为你的 Context7 MCP 端点。json{ "mcpServers": { "context7": { "url": "<your-context7-endpoint>/mcp" } } }保存更改。现在 Context7 已启用。
在聊天中提问。例如,
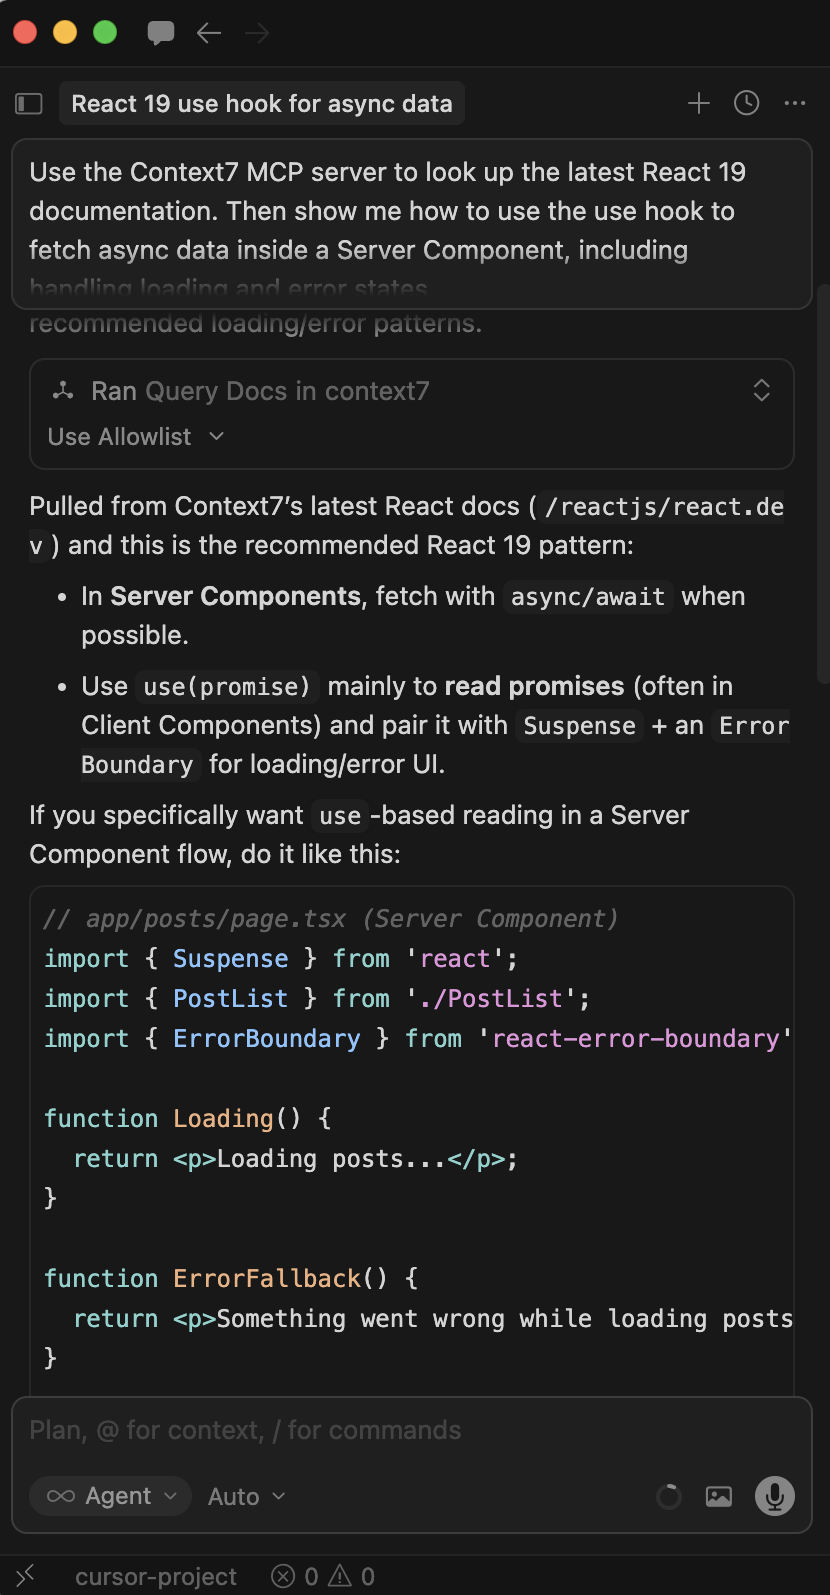
textUse the Context7 MCP server to look up the latest React 19 documentation. Then show me how to use the use hook to fetch async data inside a Server Component, including handling loading and error states.当 Context7 成功调用时,你会在 Cursor 的响应中看到工具使用通知。
其他 MCP 客户端
相同的方法适用于 Claude Desktop 和其他兼容 MCP 的工具。使用配置格式并将 <your-context7-endpoint> 替换为你的 Context7 MCP 端点。
{
  "mcpServers": {
    "context7": {
      "url": "<your-context7-endpoint>/mcp"
    }
  }
}管理 Context7 技能
Context7 支持可安装的技能来扩展其功能。你可以使用 Context7 Terminal 搜索、安装和管理技能。
搜索和安装技能
从市场发现可用的技能并安装它们以扩展 Context7 的功能(例如,PDF 处理、测试框架)。
# 按关键词搜索技能
ctx7 skills search pdf
ctx7 skills search "react testing"

# 浏览仓库中的所有技能
ctx7 skills info /anthropics/skills

# 安装特定技能
ctx7 skills install /anthropics/skills pdf

# 根据你的项目获取技能建议
ctx7 skills suggest
列出和移除技能
查看已安装的技能并移除不再需要的技能。
# 列出已安装的技能
ctx7 skills list

# 列出特定客户端的技能
ctx7 skills list --claude
ctx7 skills list --cursor

# 移除技能
ctx7 skills remove pdf
有关更多信息,请参阅 Context7 Skills Marketplace。
常见问题
我可以从外部程序调用 Olares 托管的 Context7 API 吗?
不可以。Olares 上的 Context7 实例作为 AI 助手的 MCP 服务器,而不是通用的 API 端点。如果你需要编程 API 访问,请使用 context7.com 上的官方 Context7 API。
为什么我的 AI 仍然产生幻觉(给出错误或过时答案)?
你的 AI 可能没有意识到它可以访问 Context7。除非你明确要求它使用 Context7,否则它可能会回退到自己的训练数据,这可能是过时的。
要解决此问题,请在问题中添加类似 "Use Context7" 的短语。例如,问 "Use Context7 to find how to use the use hook in React 19" 而不是 "How do I use the use hook in React 19"。
常见问题
基于 ARM 的机器上 OpenCode 需要手动配置
如果你在基于 ARM 的机器上运行 OpenCode V1.0.4,终端命令无法正确应用配置更改。相反,你必须通过 Files 应用手动配置:
打开 Files 并导航到 Application > Data > opencode > .config > opencode。
右键点击
config.jsonc并选择 Rename。将文件重命名为config.json以便你可以在 Files 中直接编辑它。OpenCode 识别两种扩展名。双击
config.json打开它,然后点击 edit_square 进入编辑模式。将以下
mcpJSON 块粘贴到文件中。将<your-context7-endpoint>替换为你的 Context7 MCP 端点。json"mcp": { "context7": { "type": "remote", "url": "<your-context7-endpoint>/mcp", "enabled": true } }点击 save 保存更改。