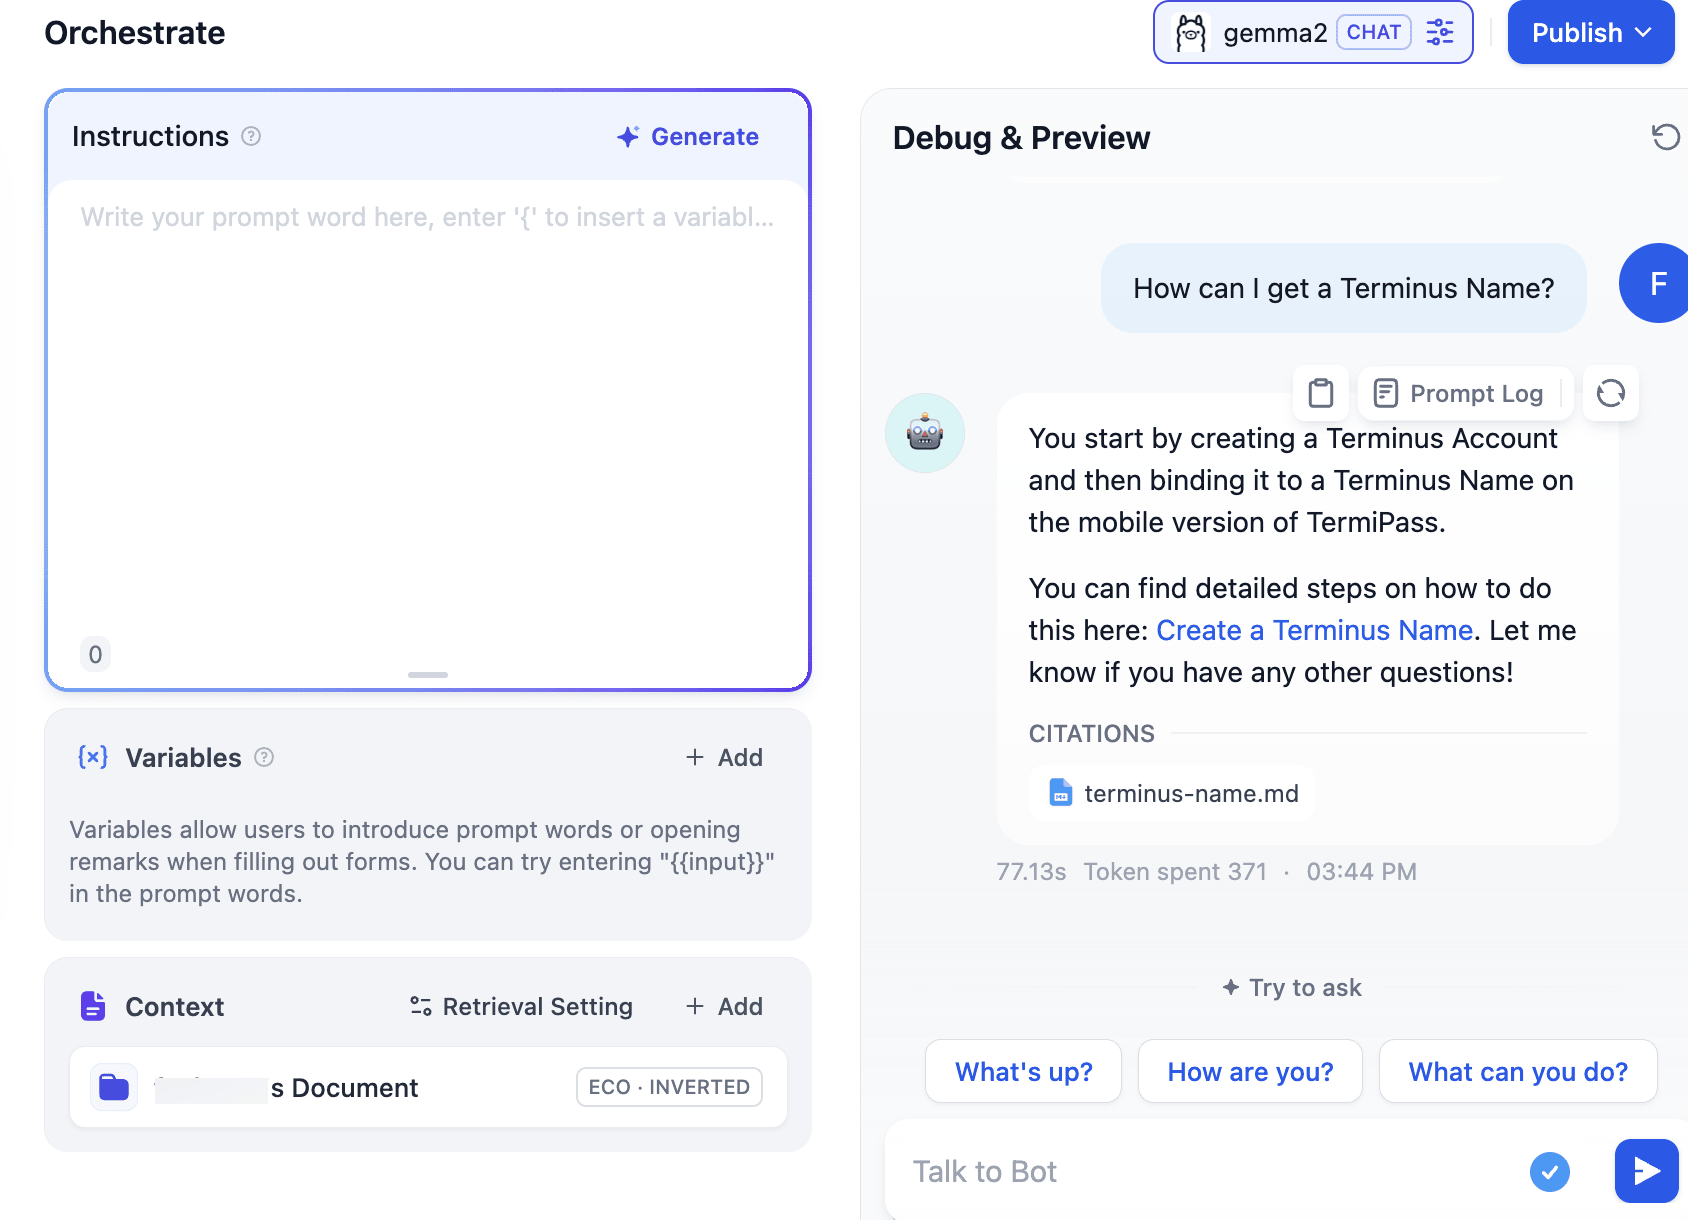
Customize your local AI assistant using Dify
Dify is an AI application development platform. It's one of the key open-source projects that Olares integrates to help you build and manage AI applications while maintaining full data ownership. Additionally, you can integrate your personal knowledge base documents into Dify for more personalized interactions.
Before you begin
- An Olares device running Olares 1.12.7 or later, with sufficient disk space and memory.
- Access to Router for local model connections.
- Install Qwen3.8-27B (llama.cpp) from Market.
Optional: Use a different model
Install another chat model from Market, or create a model instance with Engine Base apps. Then select it as the default chat model on Router's Default models page. Clients configured with default-chat use the new default without changing their model settings.
To keep a client on one specific model, use the full model name from Router's How to call this model window instead.
Install Dify
INFO
Starting from Olares 1.11.6, if "Dify For Cluster" or "Dify" was previously installed, uninstall them before proceeding.
- Install "Dify Shared" from Olares Market.
- Launch Dify from your desktop. Please ensure the admin has already installed Dify Shared.
Create an AI assistant app
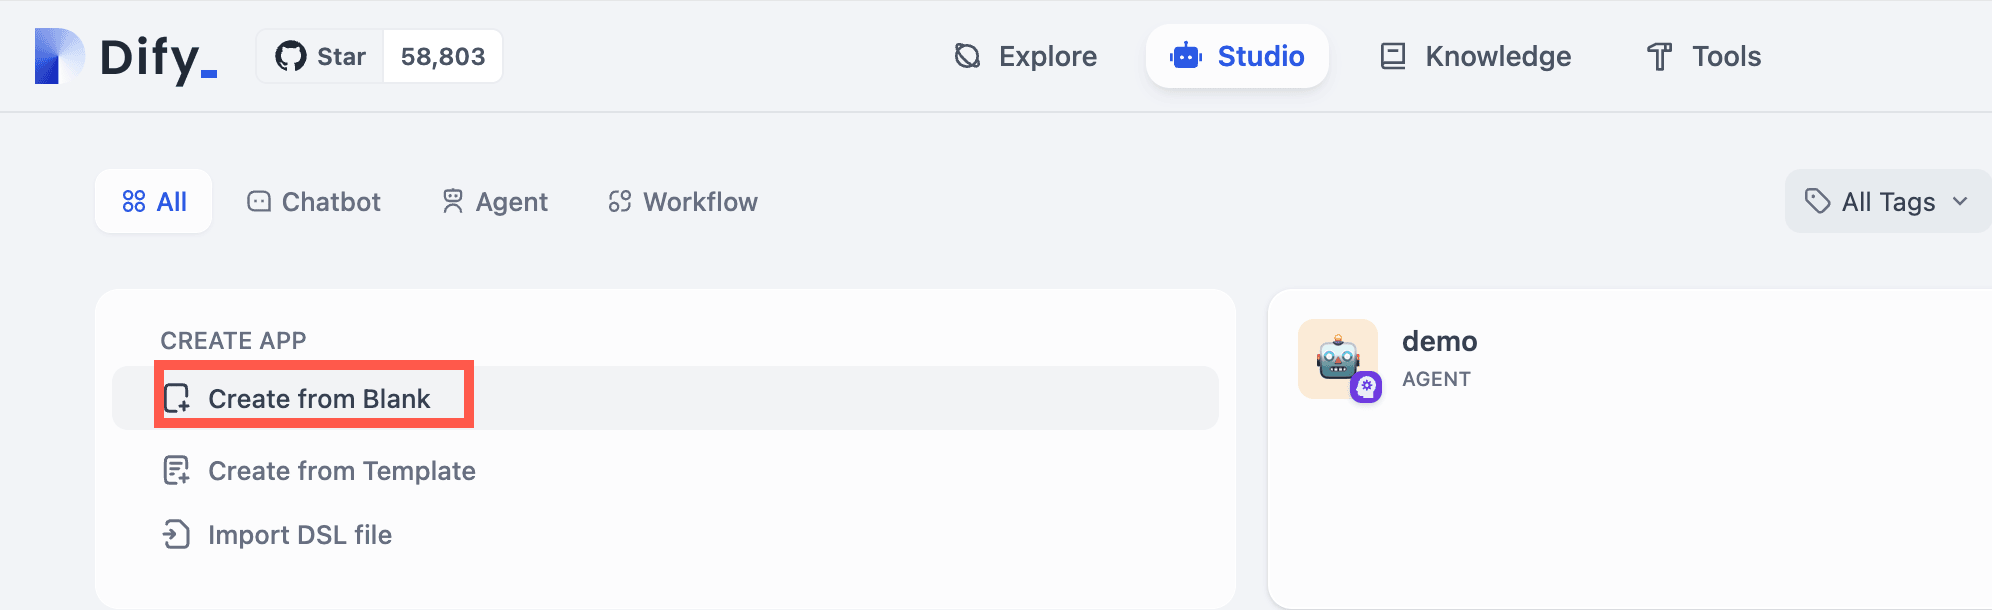
Open Dify, navigate to the Studio tab, and select Create from Blank to create an app for the AI assistant. Here, we created an agent named "Ashia".
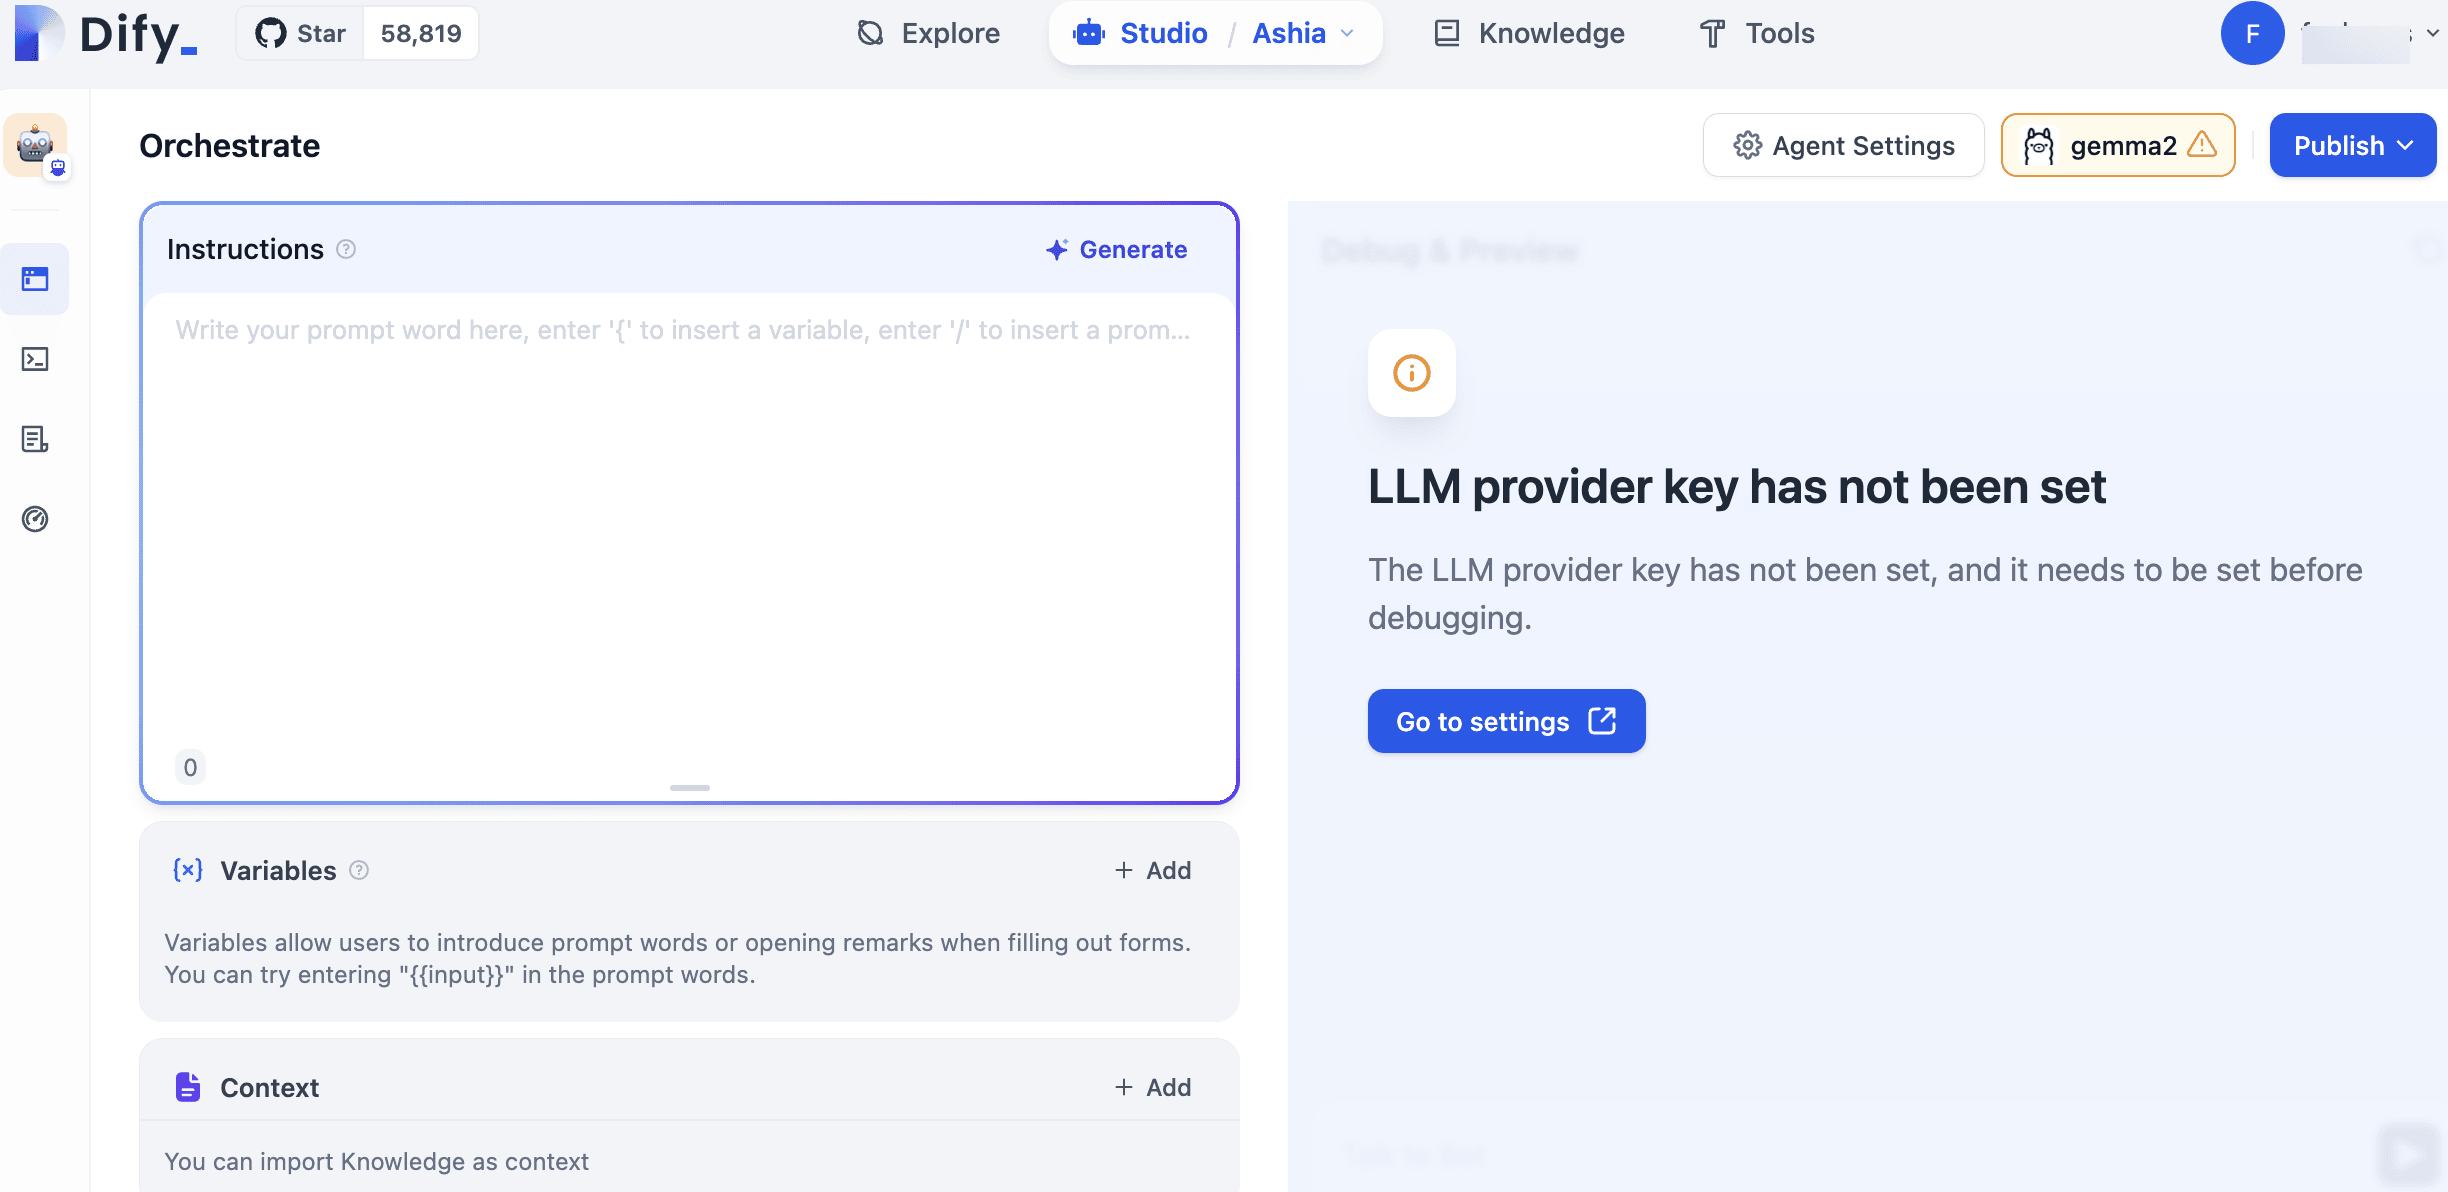
Click Go to settings on the right to access the model provider configuration page. You can choose between remote models or locally hosted models.
Add a chat model through Router
Open Router from Launchpad. On Default models, set Qwen3.8-27B (llama.cpp) as the default chat model.
Go to LLM, find Qwen3.8-27B (llama.cpp), and click View connection example on its row.
In How to call this model, select Apps in Olares and copy the Base URL, including
/v1.Use
default-chatas the model name in the client. Apps in Olares do not need a Router API key. Leave the key empty where possible, or useolaresif the client requires a value.default-chatis a routing name and is not returned by the model-list API. Add it manually if the client fetches a model list. If the client only supports selecting a listed model, use the full model name from Router instead.In Dify, open Settings > Model Provider, then install and select the OpenAI-API-compatible provider plugin.
Add a model with Model Name set to
default-chatand the model type set to chat or LLM.Set Base URL to the URL copied from Router, including
/v1. Leave the API key empty if allowed, or enterolaresif required.Save the configuration.
Configure Ashia
Navigate to Dify's Studio tab and enter Ashia.
From the model list on the right, select the
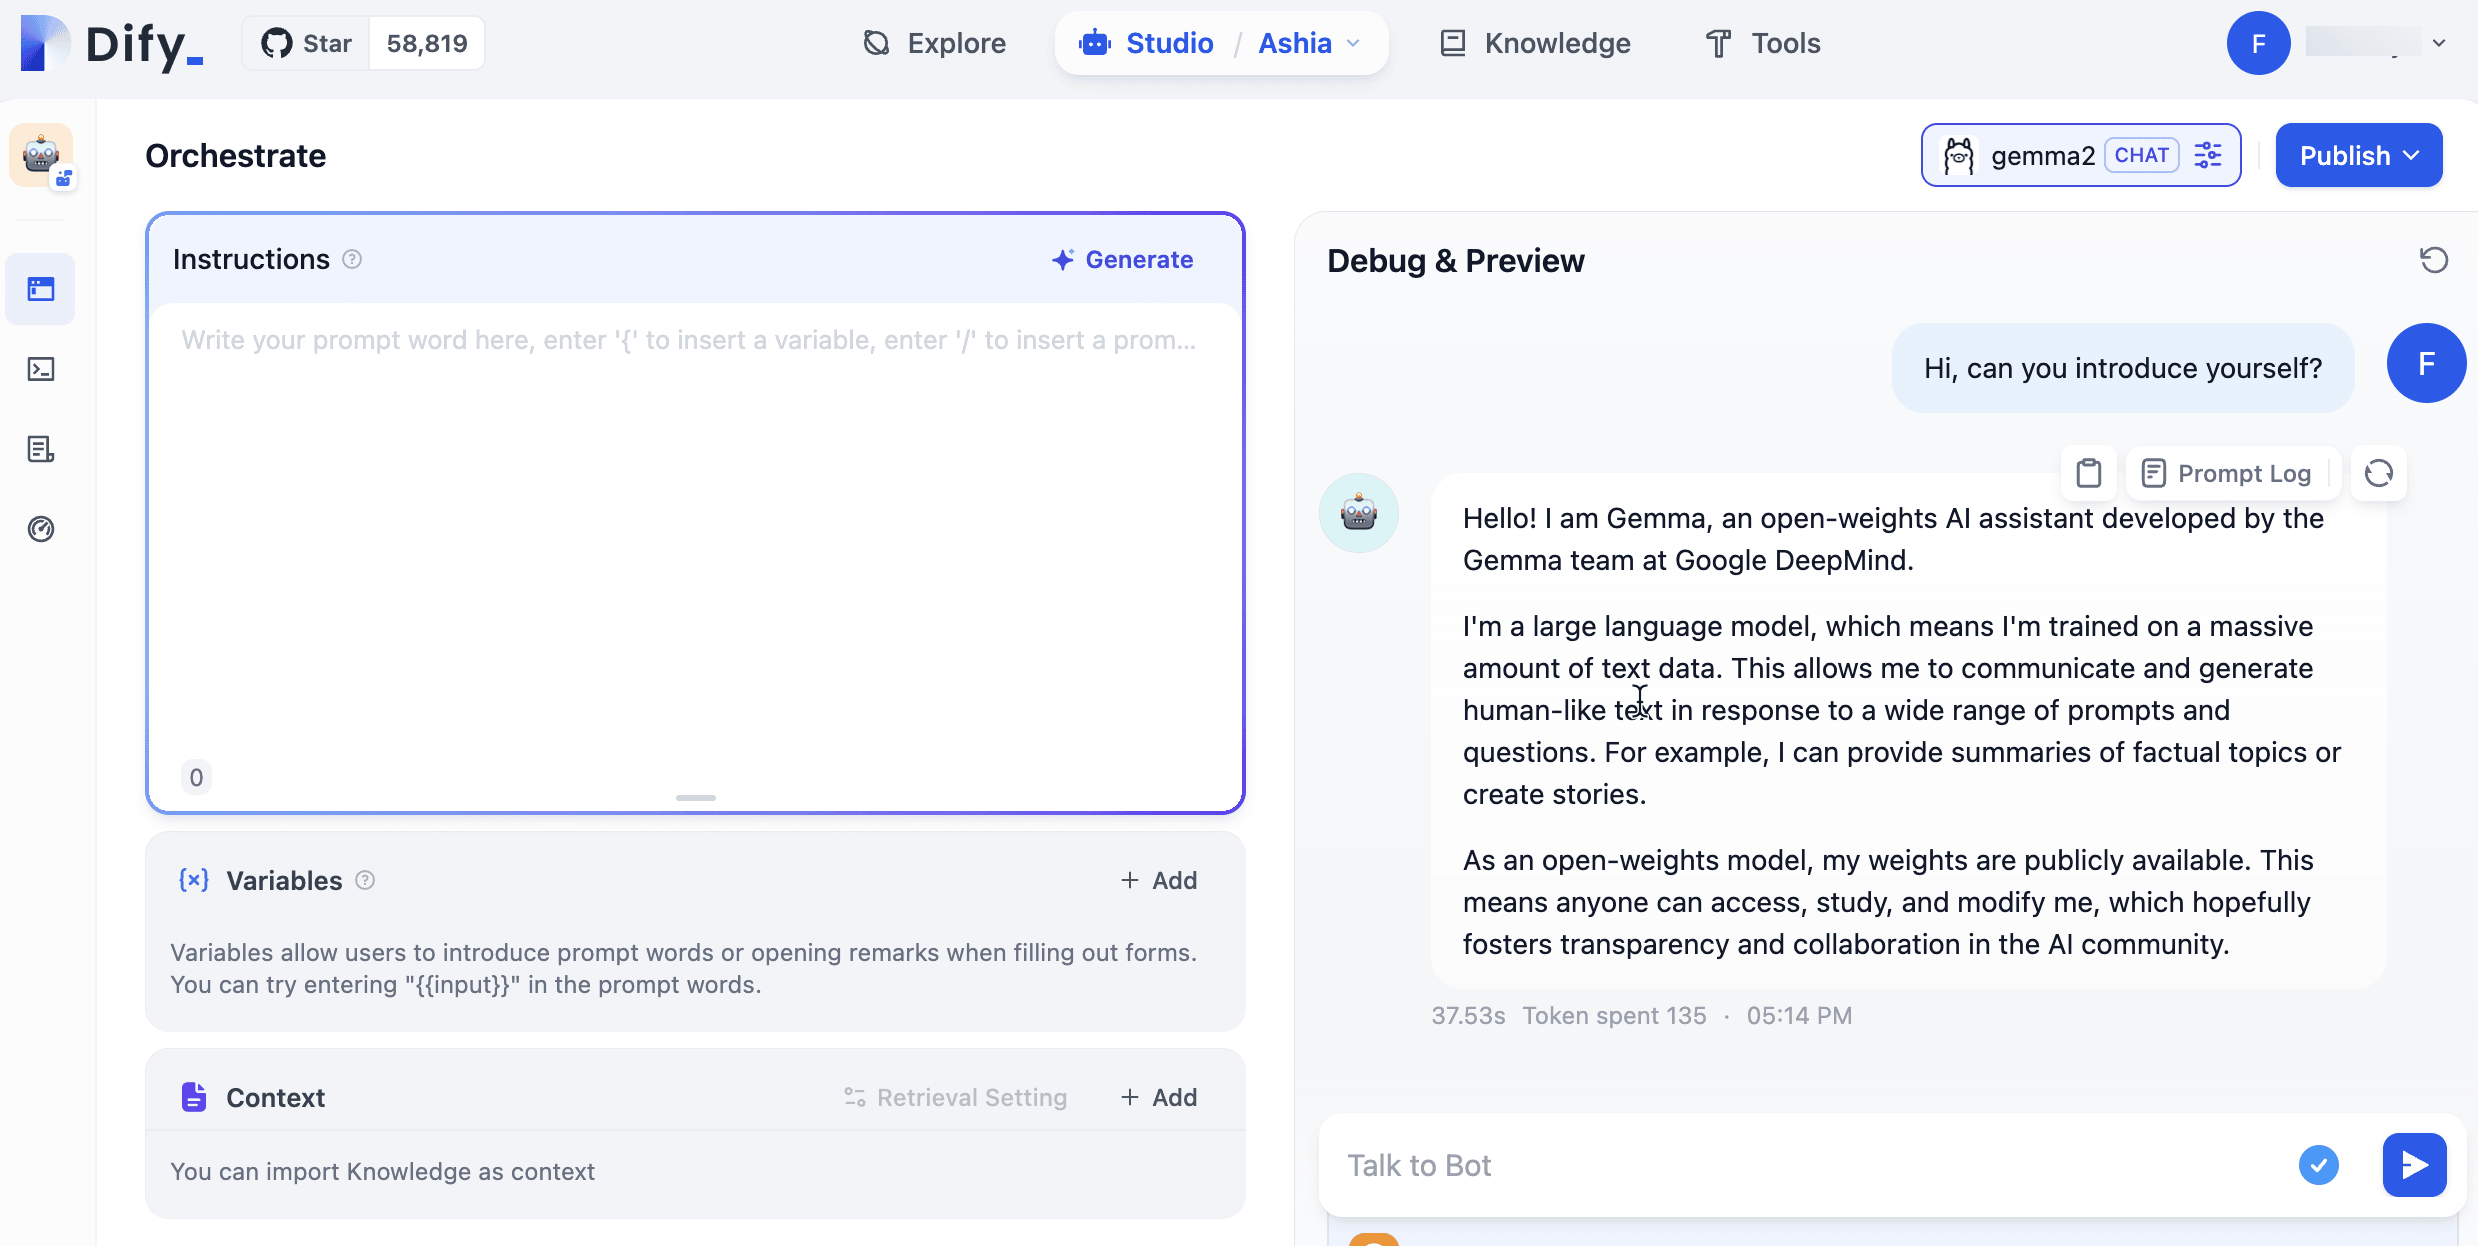
default-chatmodel you just configured.Click Publish. Now you can chat with Ashia in the Debug & Preview window.
Set up local knowledge base
- In Dify, navigate to the Knowledge tab.
- Locate your default knowledge base. It will be named after your Olares ID and monitors the
/Documentsfolder in Files.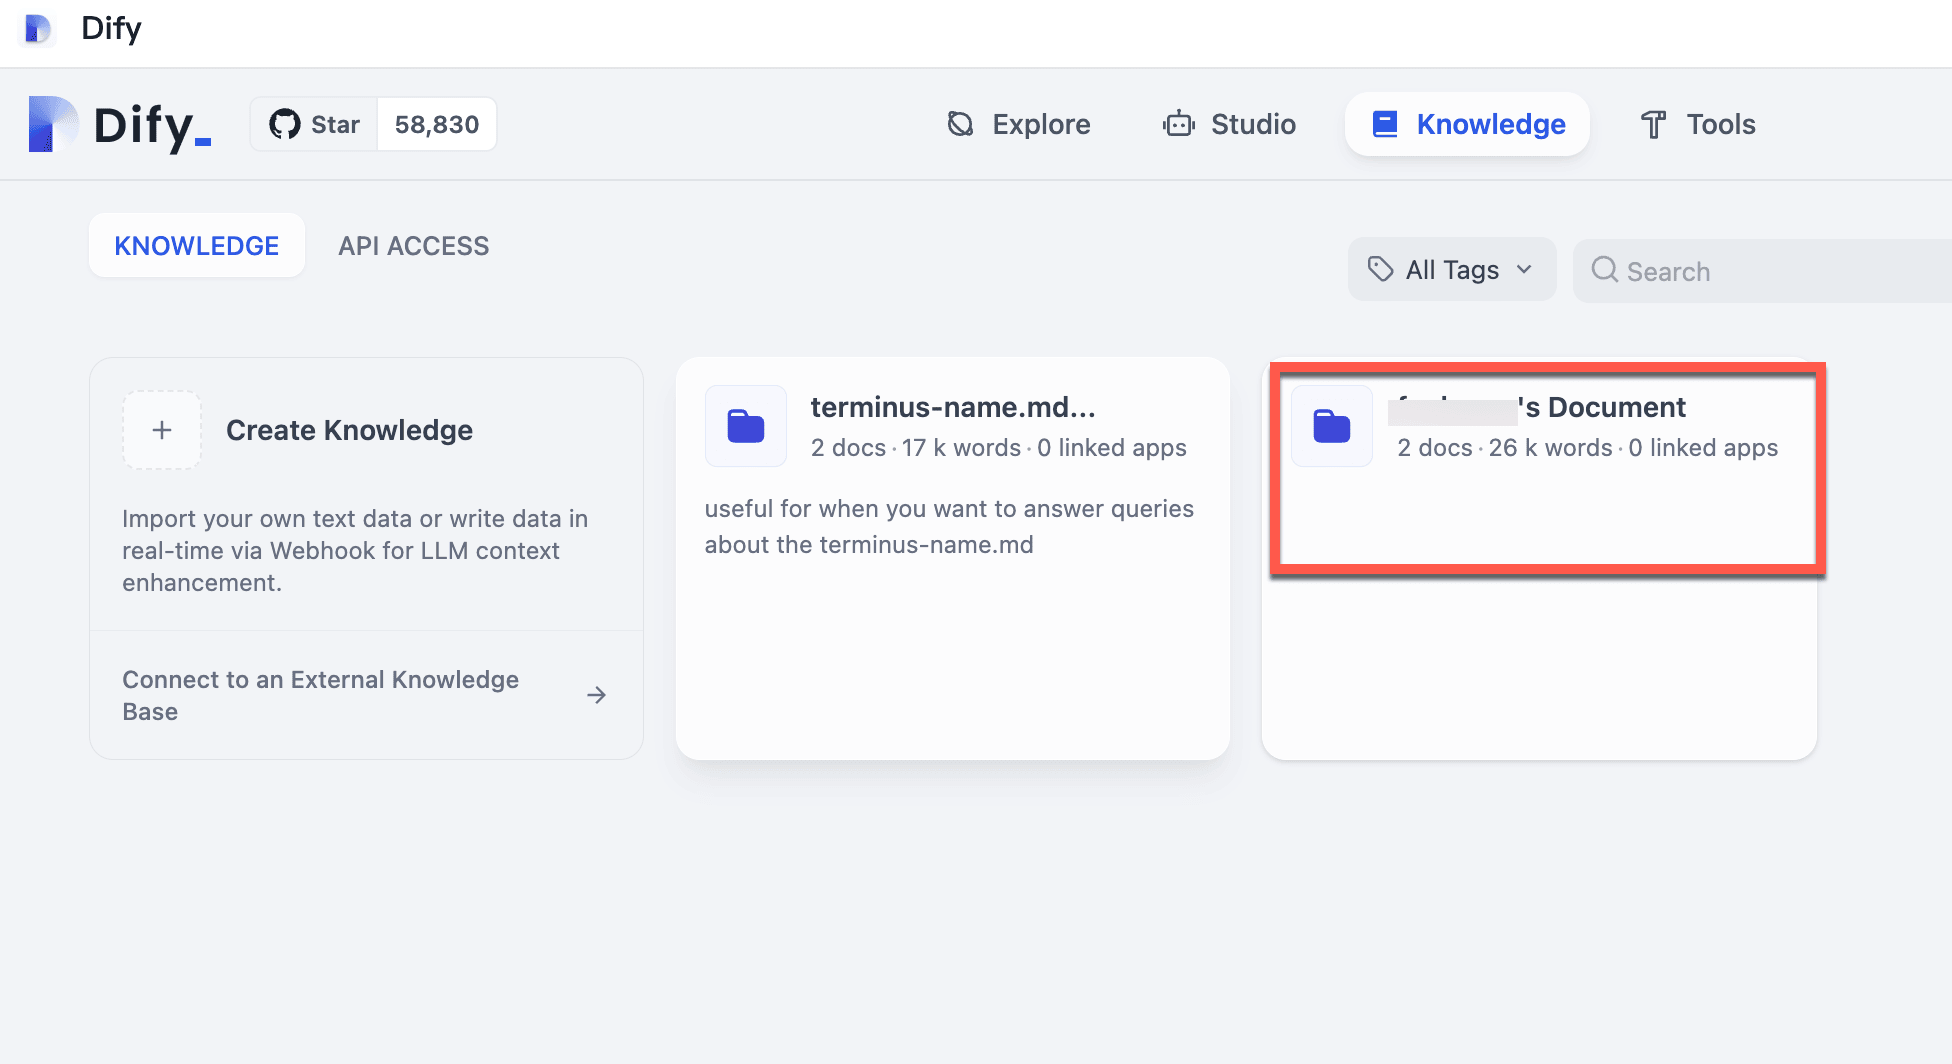
- Enter
/Documentsand add documents to the knowledge base.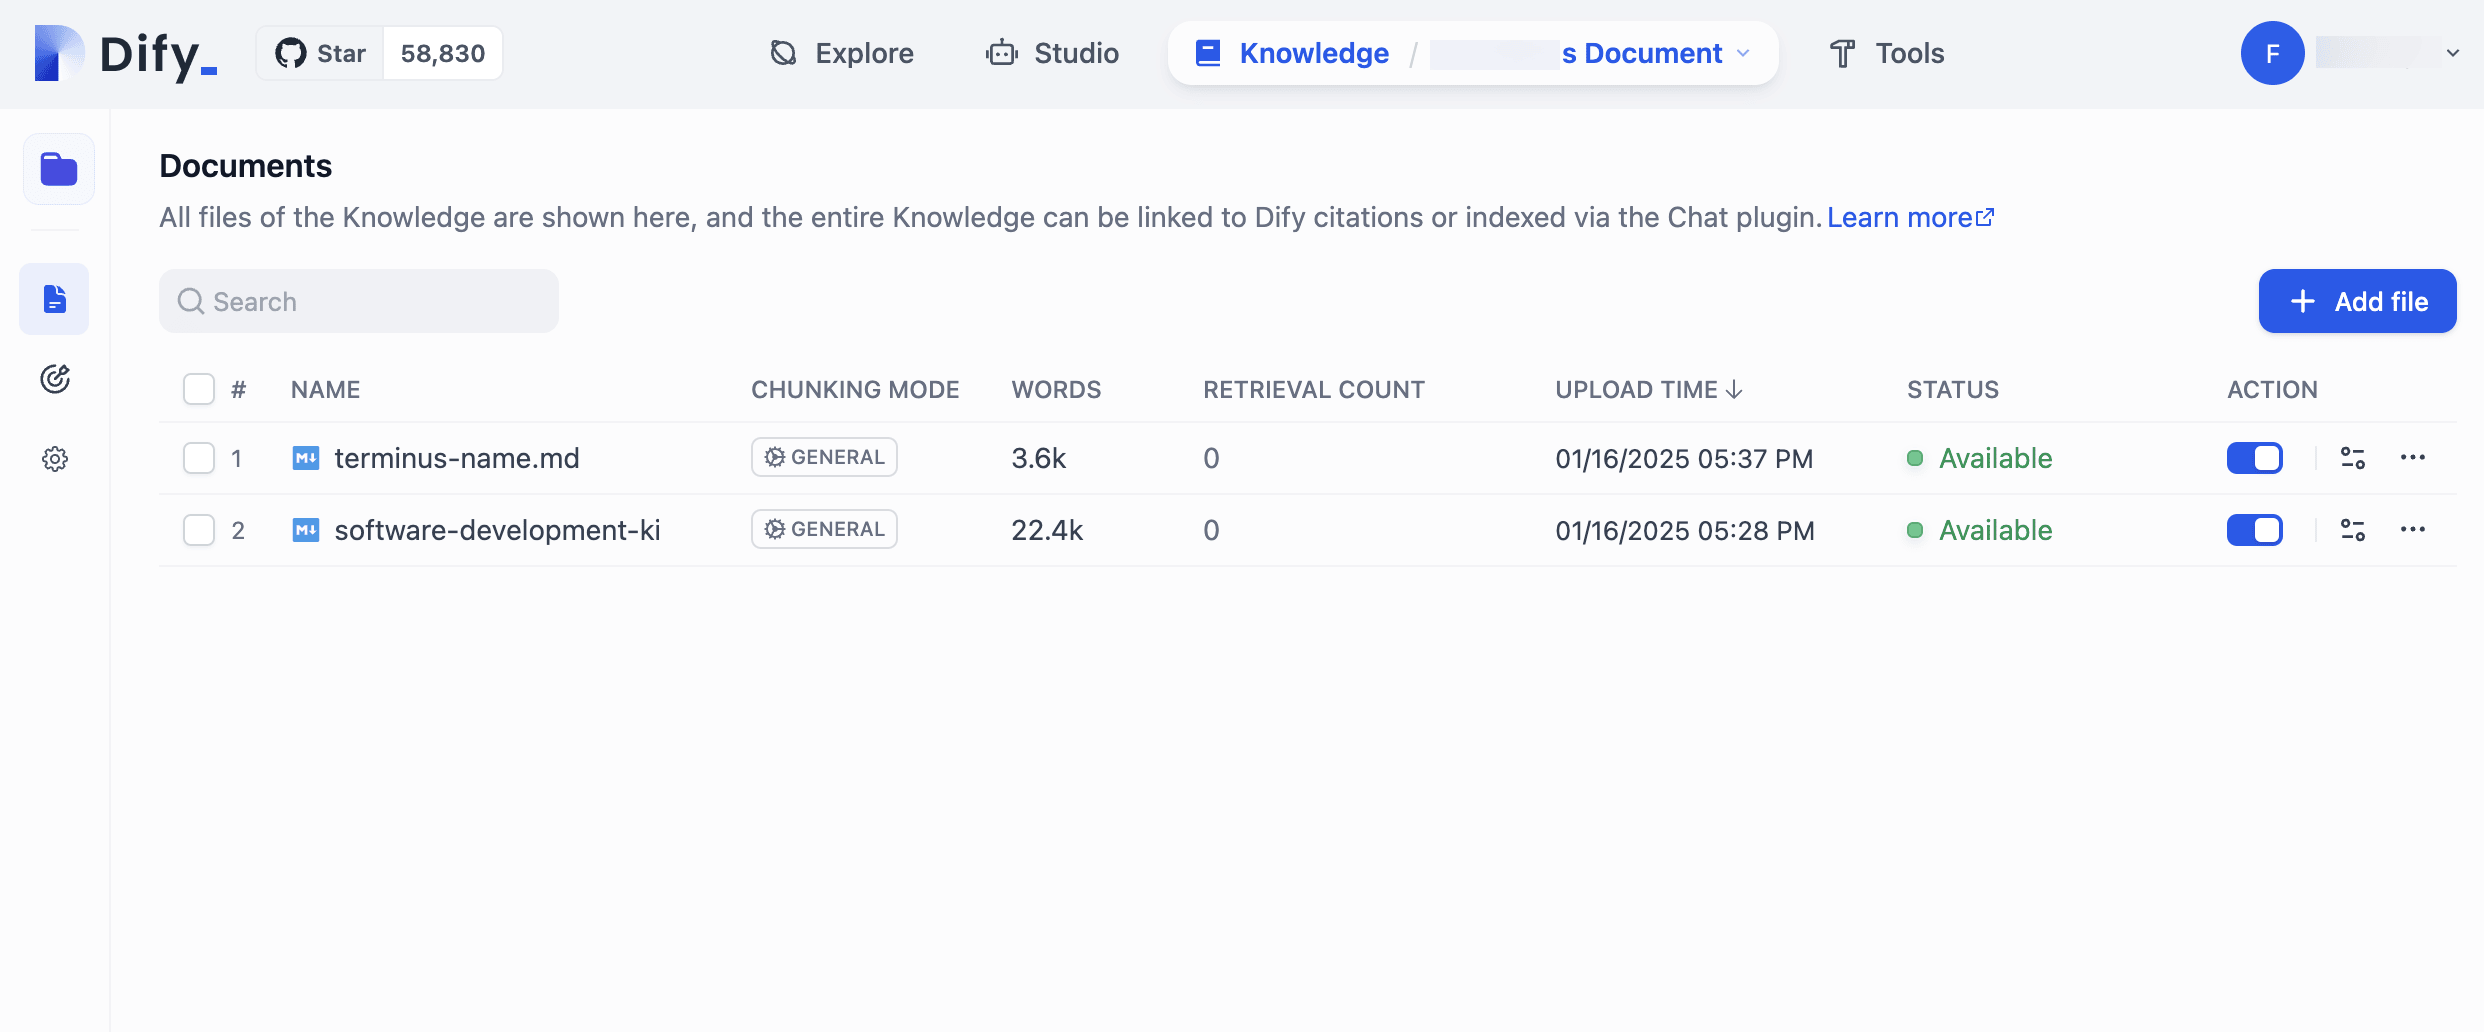
- In Ashia's orchestration page, click addAdd to add context support for Ashia.
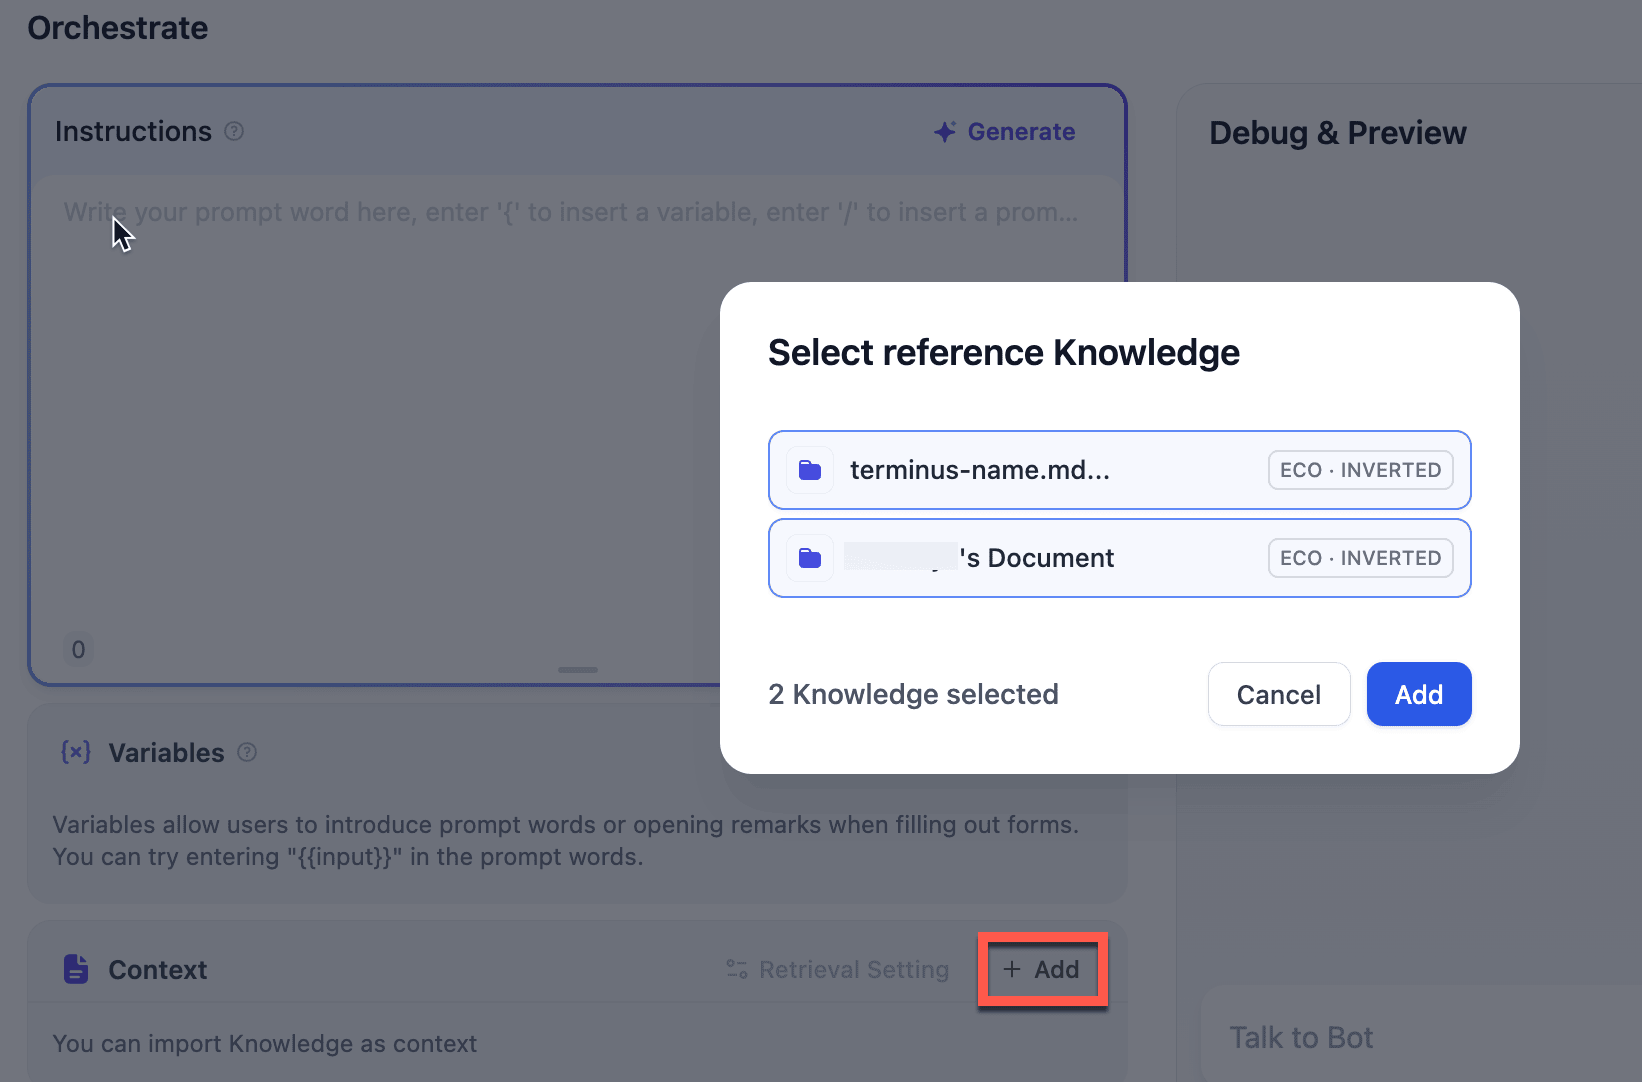
- Click Publish. Now try asking a domain-specific question with the help of the knowledge base.