Chat with documents and knowledge bases in Open WebUI
Open WebUI supports retrieval-augmented generation (RAG) to help local AI models answer questions based on your uploaded documents or curated knowledge bases.
This guide explains how to analyze individual documents during a chat session and how to build persistent knowledge collections for reuse.
Learning objectives
In this guide, you will learn how to:
- Configure an embedding model to process document text.
- Upload and analyze individual documents in a chat session.
- Build and manage a persistent knowledge base.
- (Optional) Configure an advanced content extraction engine for complex document layouts.
Prerequisites
Before you begin, ensure you have the following in place:
- Open WebUI installed and configured with at least one connected local model.
- Administrator privileges for the Open WebUI instance.
- The following model:
Model type Model How to get it Embedding EmbeddingGemma Install from Market
Configure embedding model
Document understanding requires an embedding model to convert text into vector data. To configure Open WebUI, you must first retrieve your embedding model details.
Get embedding model details
Open the embedding model app from Launchpad. Its Model Console opens automatically.
Wait until Model shows READY and Engine shows RUNNING.
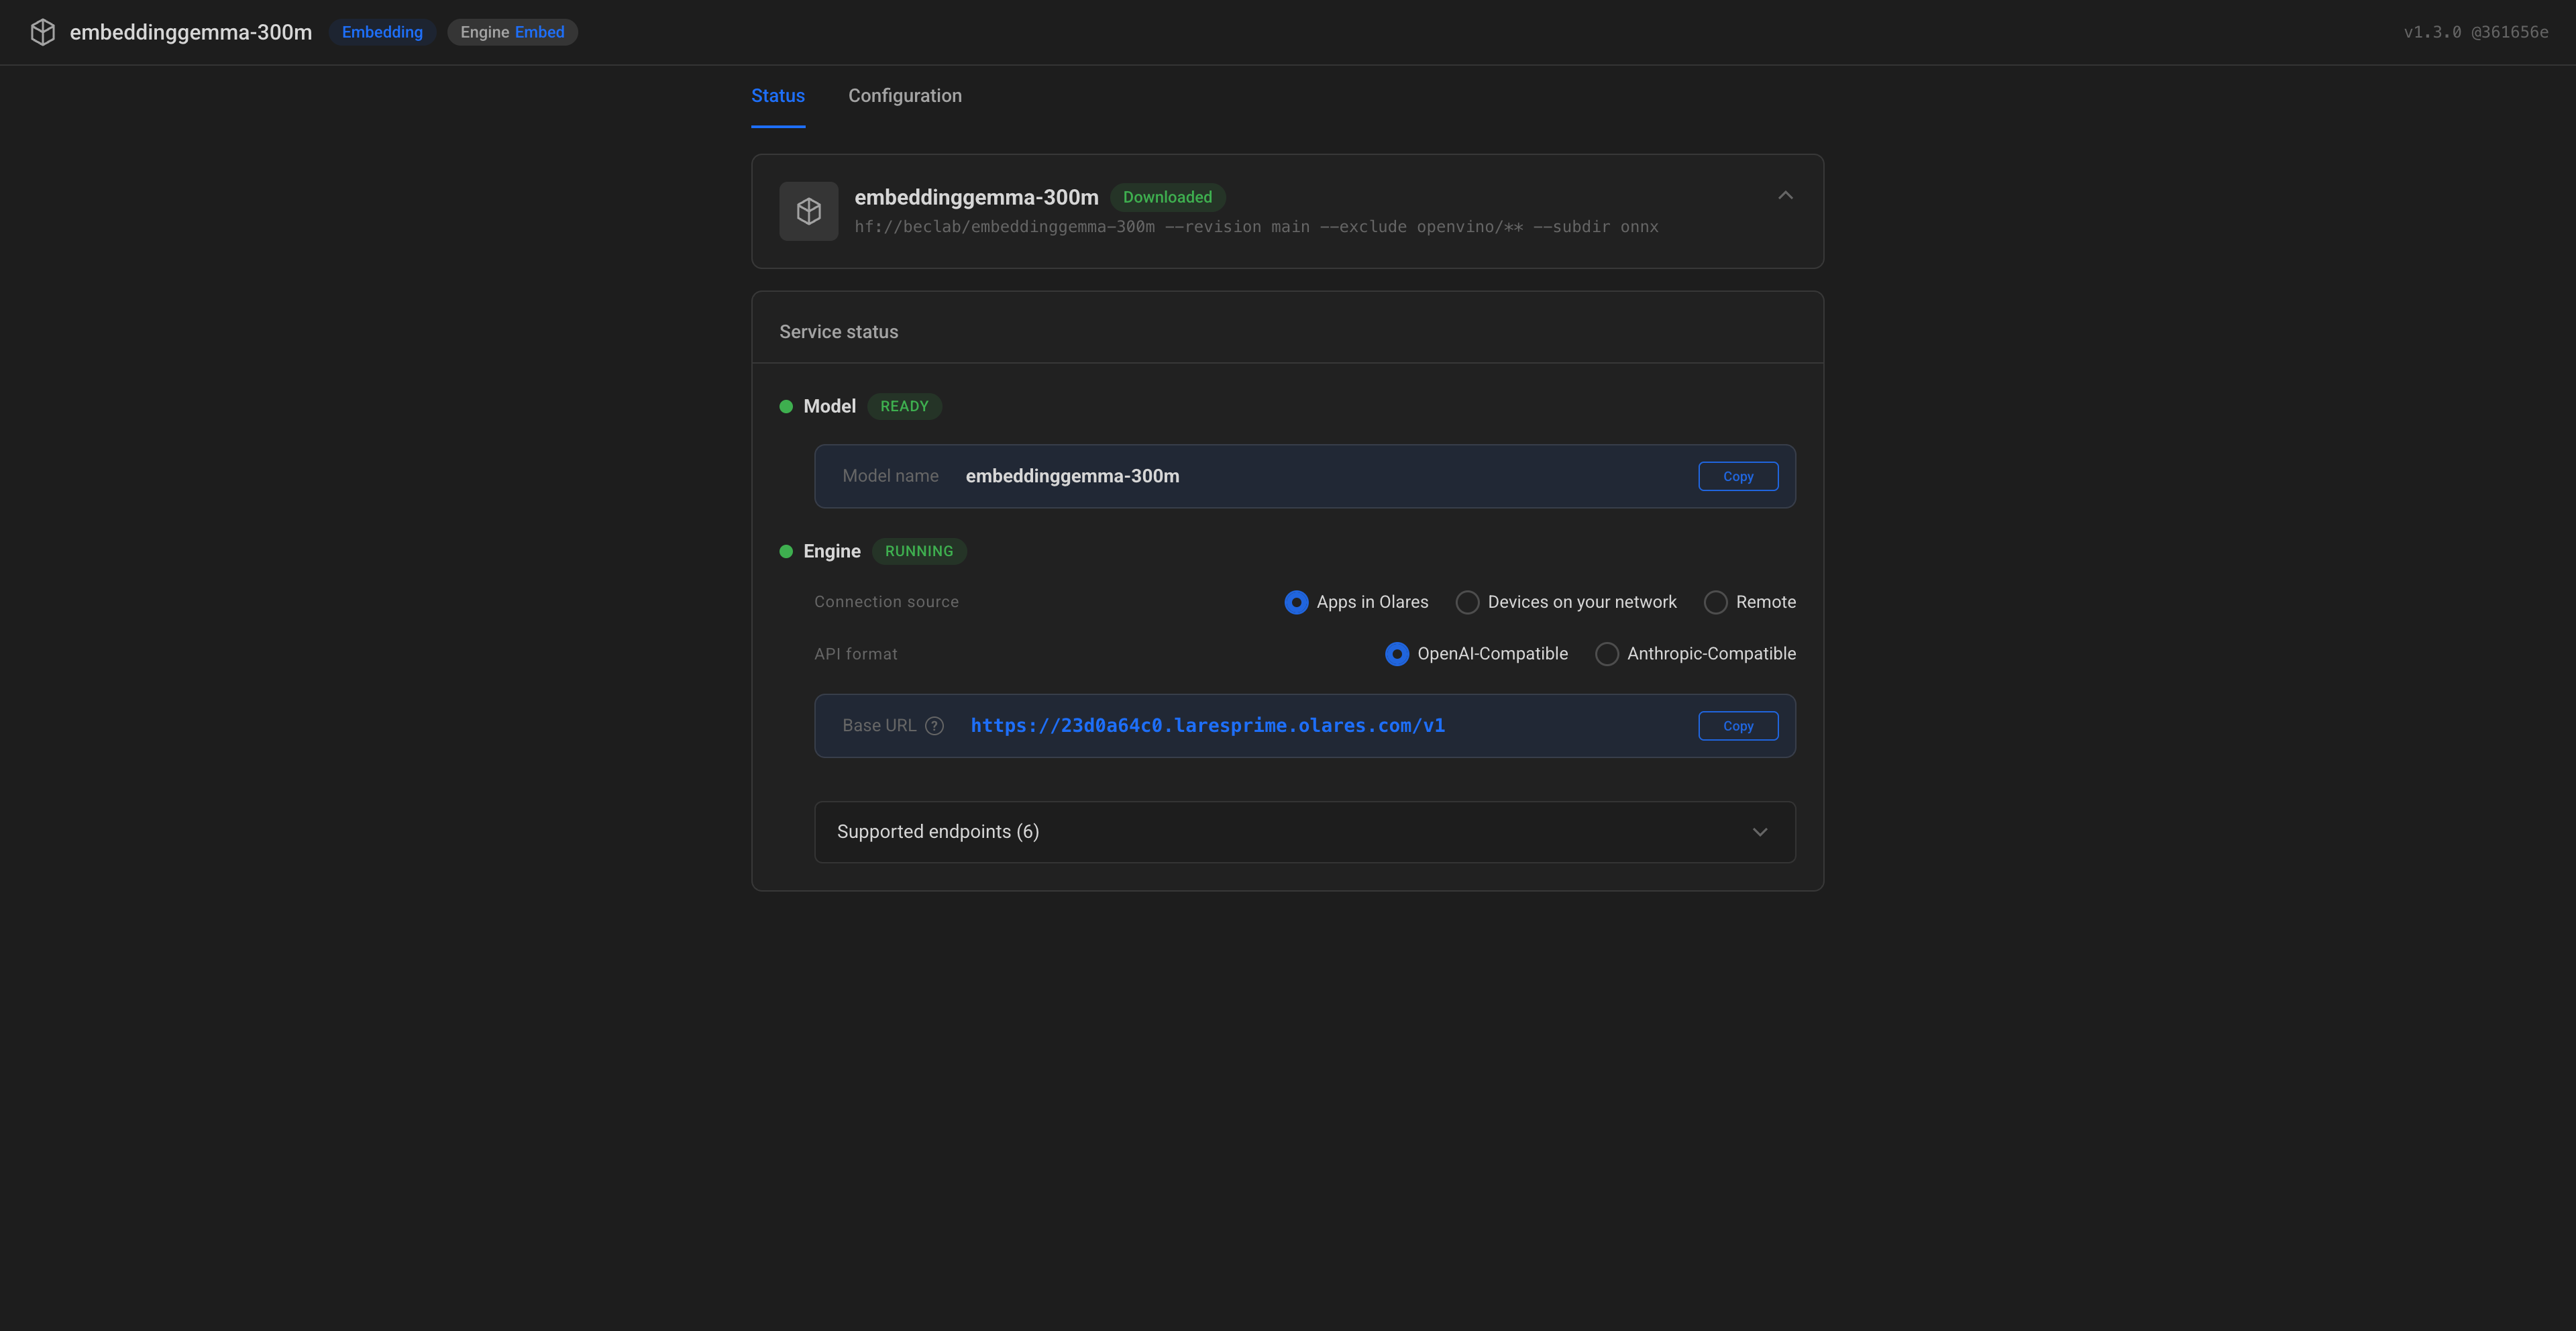
Under Model, copy the Model name exactly as shown.
Under Engine:
a. Connection source: Select Apps in Olares.
b. API format: Select OpenAI-Compatible.
c. Copy the provided Base URL exactly as shown.
Apply embedding settings in Open WebUI
In Open WebUI, select your profile icon, and then go to Admin Panel > Settings.
On the left sidebar, locate the Tools section, and then select Documents.
Under the Embedding section, specify the following settings:
- Embedding Model Engine: Select OpenAI.
- API Base URL: Enter the embedding model Base URL you copied from the Model Console.
- Embedding Model: Enter the embedding Model name you copied from the Model Console.
Scroll down to the bottom of the page, and then click Reindex in the lower-right corner to apply the changes.
Select Save.
Analyze individual documents
Attach documents directly to a chat session for one-off analysis and summarization.
Start a new chat.
Select the model.
Click add_2 under the message input field, and then select Upload Files.
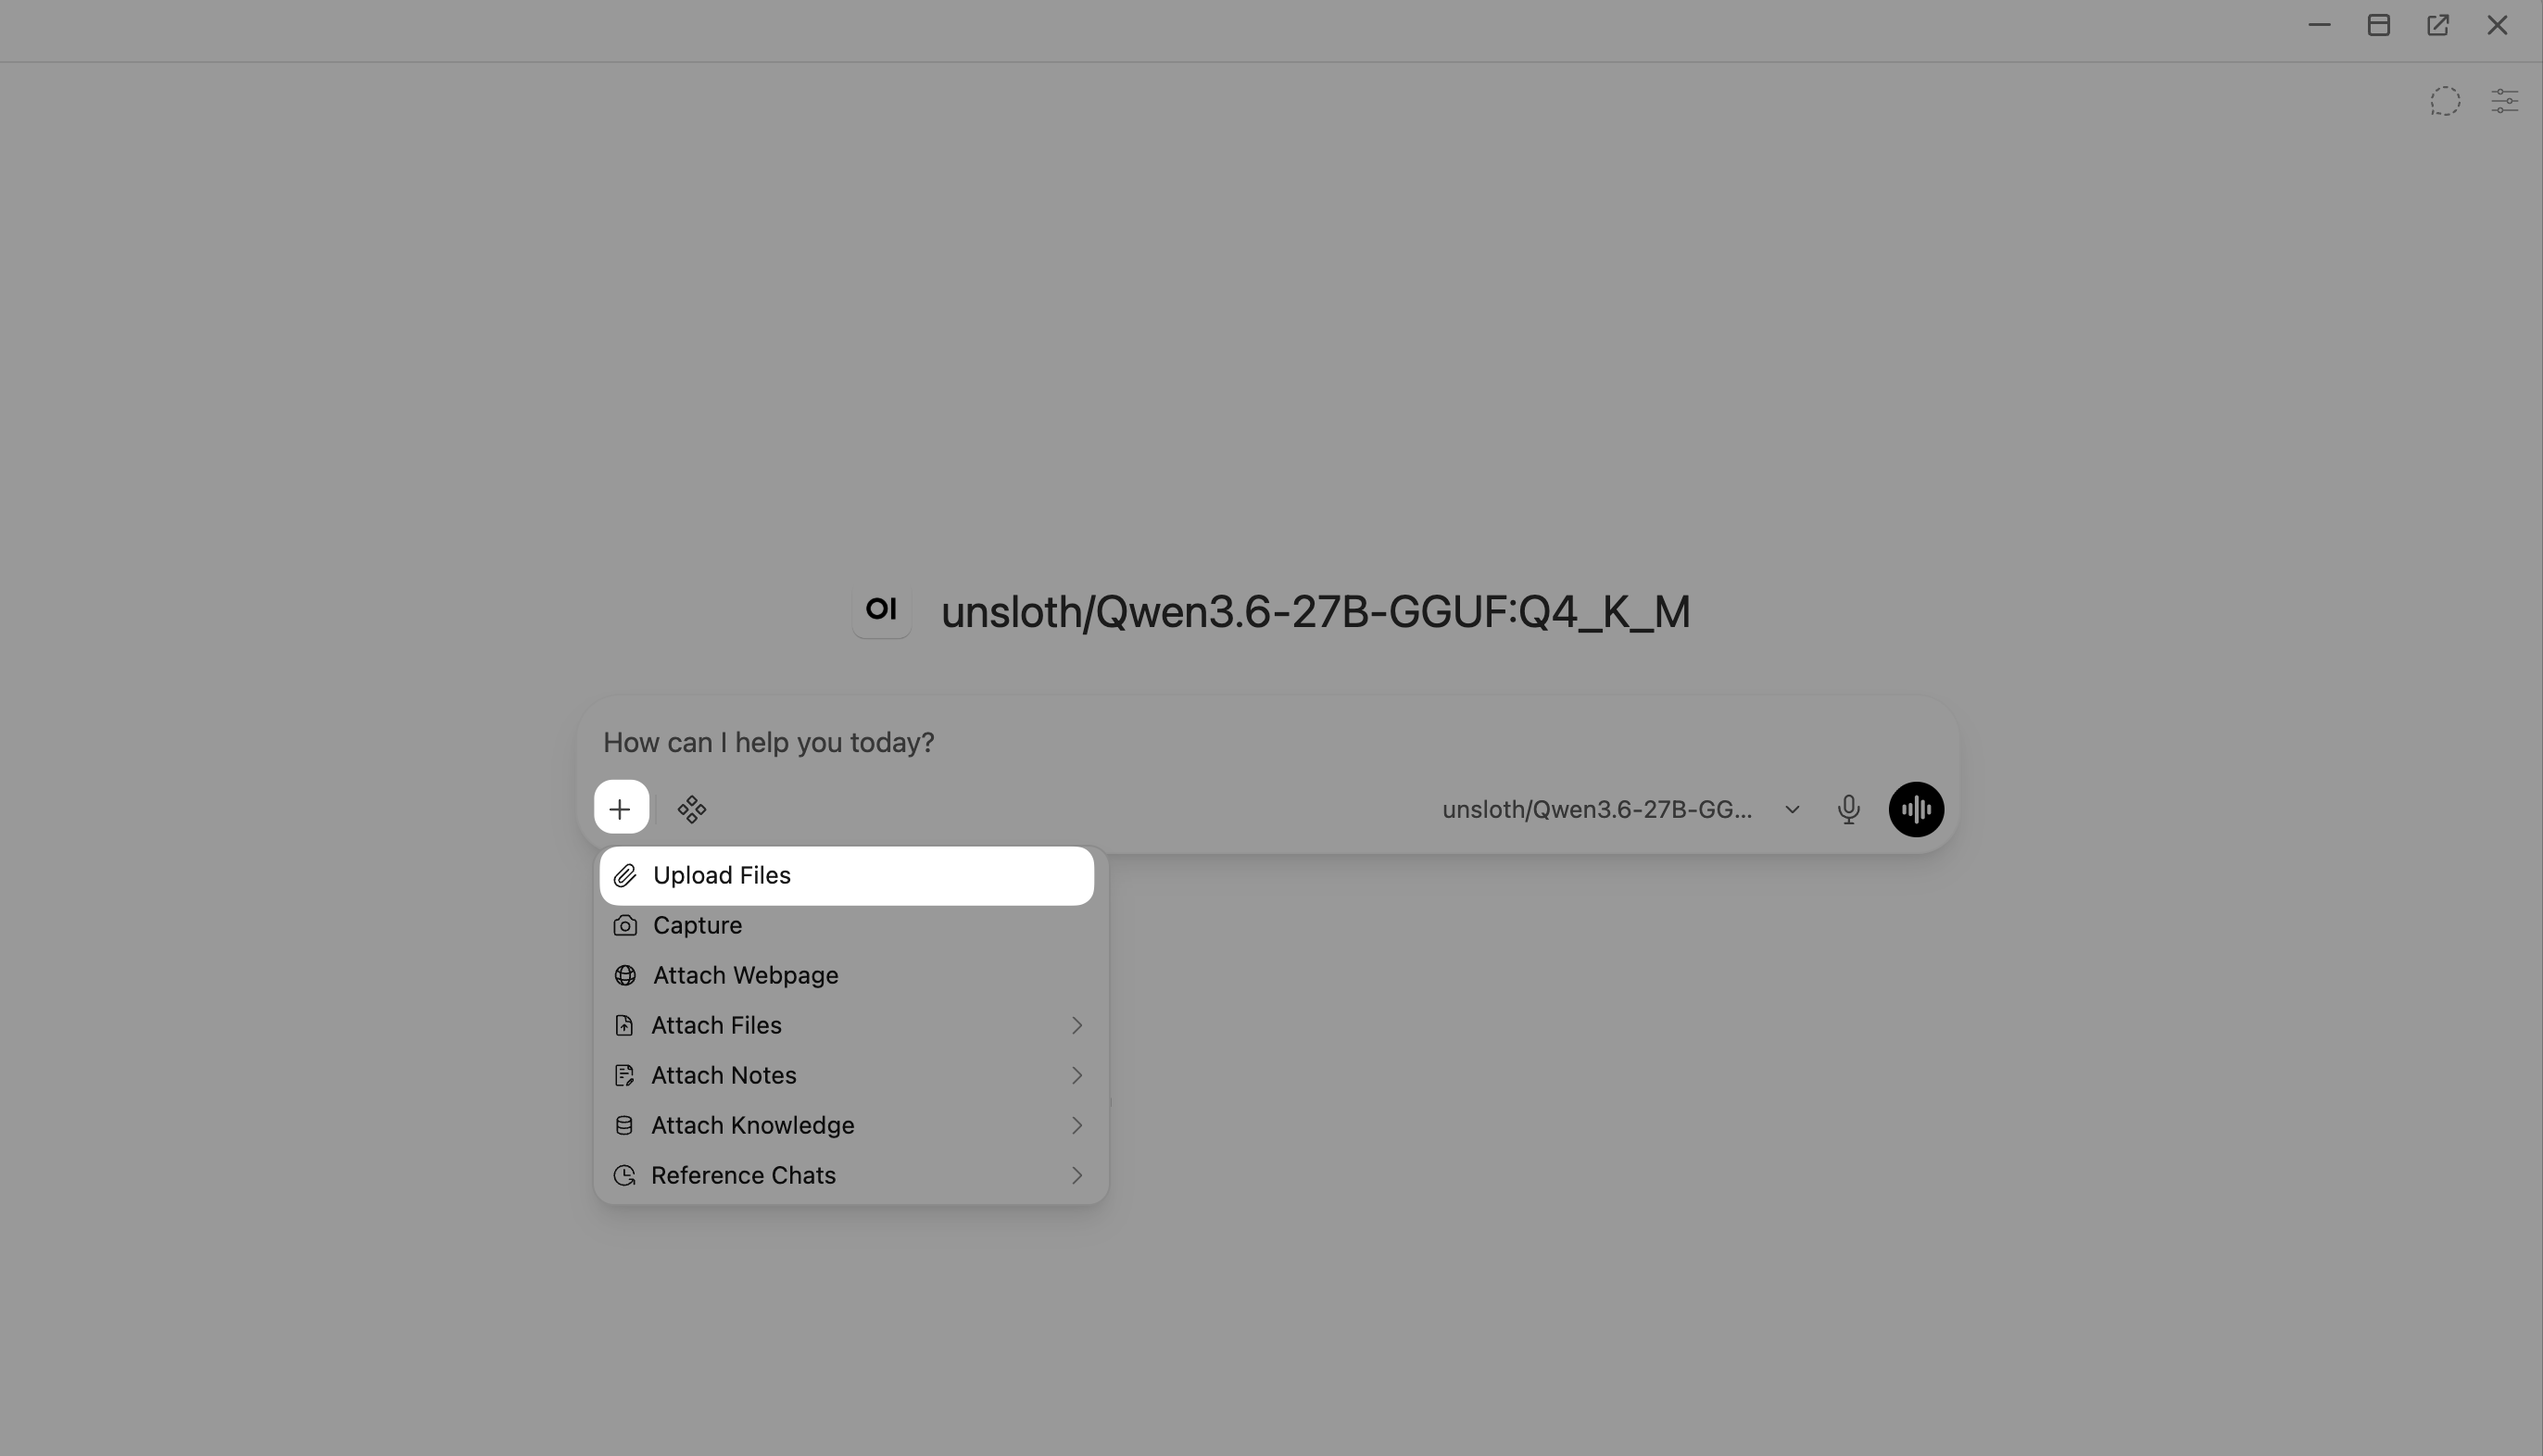
Upload a PDF or a text file.
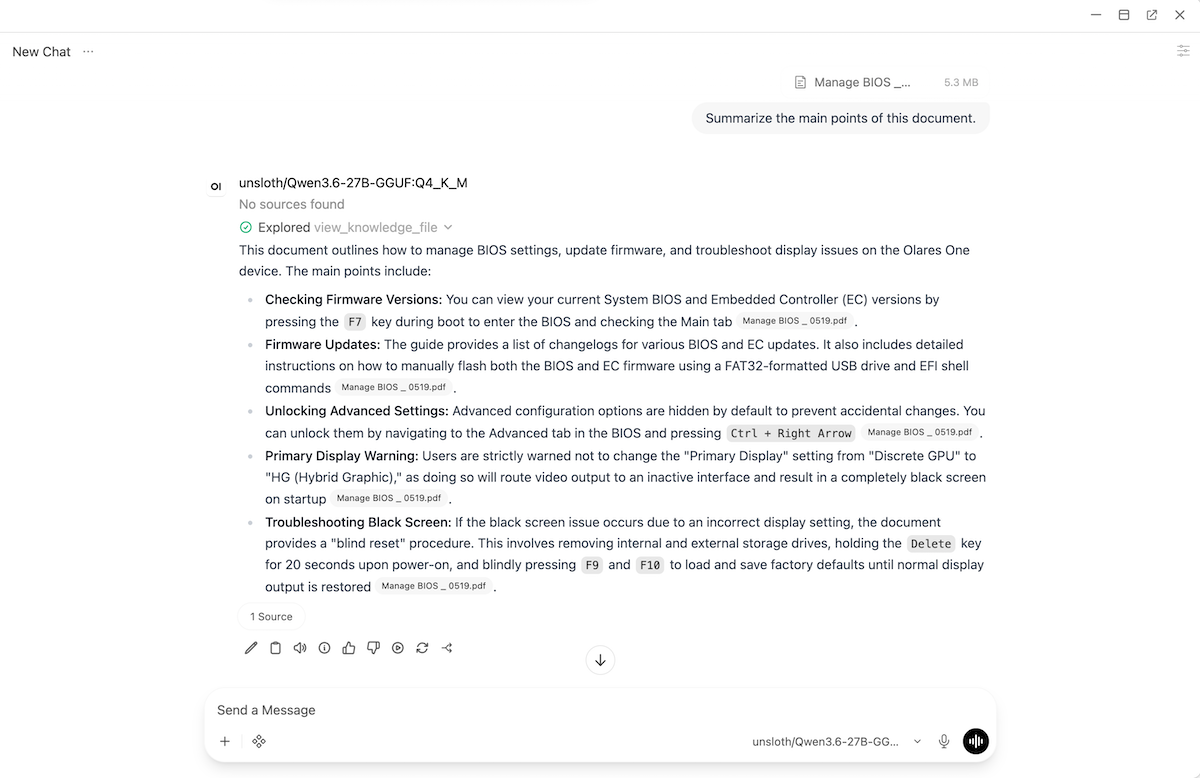
Enter a prompt asking the model to analyze the document. For example:
plainSummarize the main points of this document.Submit the prompt. If the generated response includes file citations, Open WebUI successfully added the document to the context.
Build a knowledge base
For documents you want to reuse across multiple chats, create a persistent knowledge base.
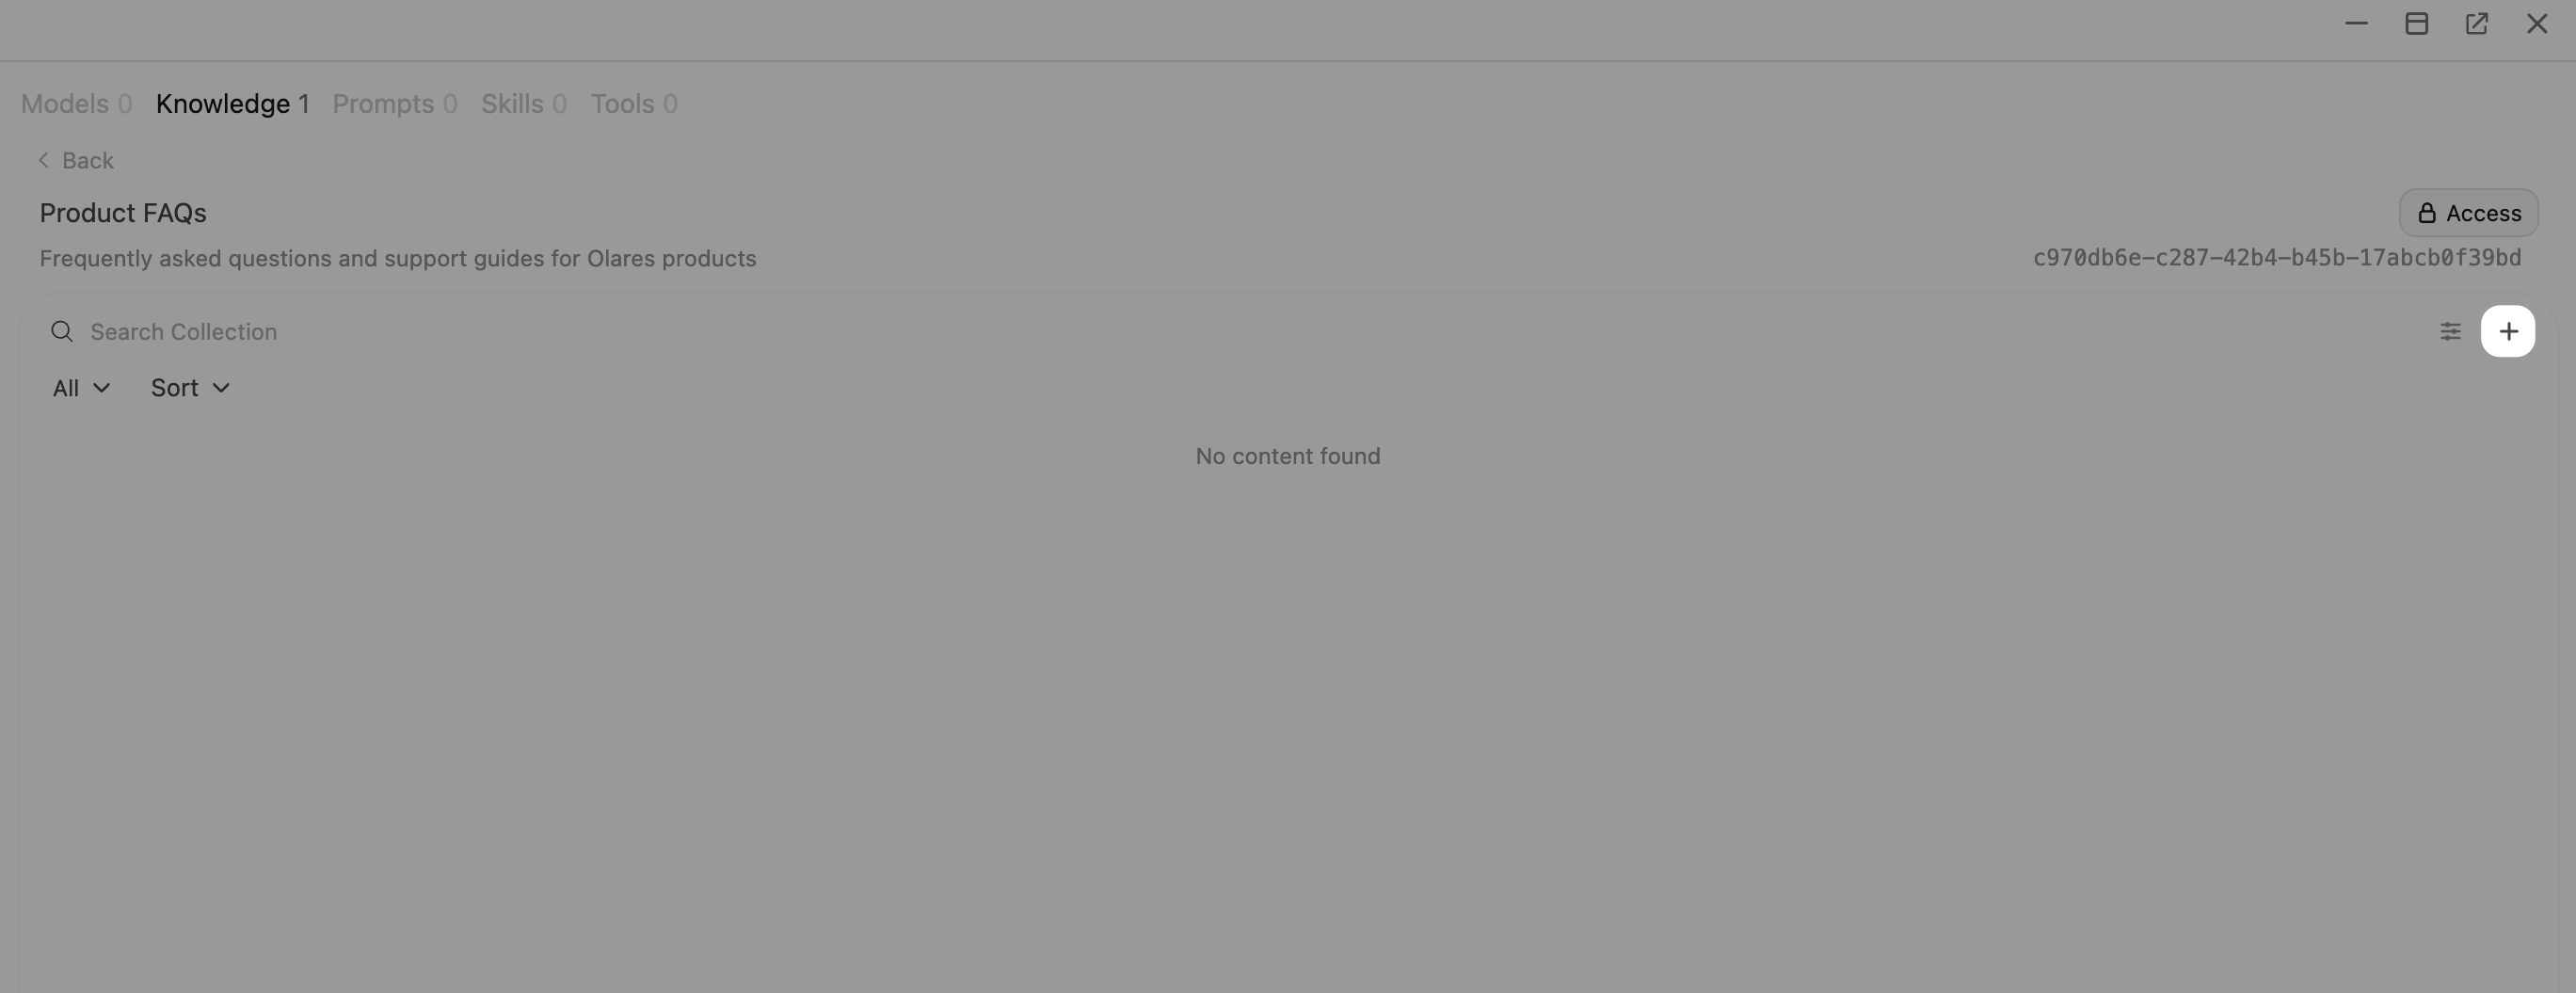
In Open WebUI, click your profile icon, and then go to Workspace > Knowledge.
Click Create.
In the What are you working on field, enter a name for your knowledge base. For example:
Product FAQs.In the What are you trying to achieve field, enter a description. For example:
Frequently asked questions and support guides for Olares products.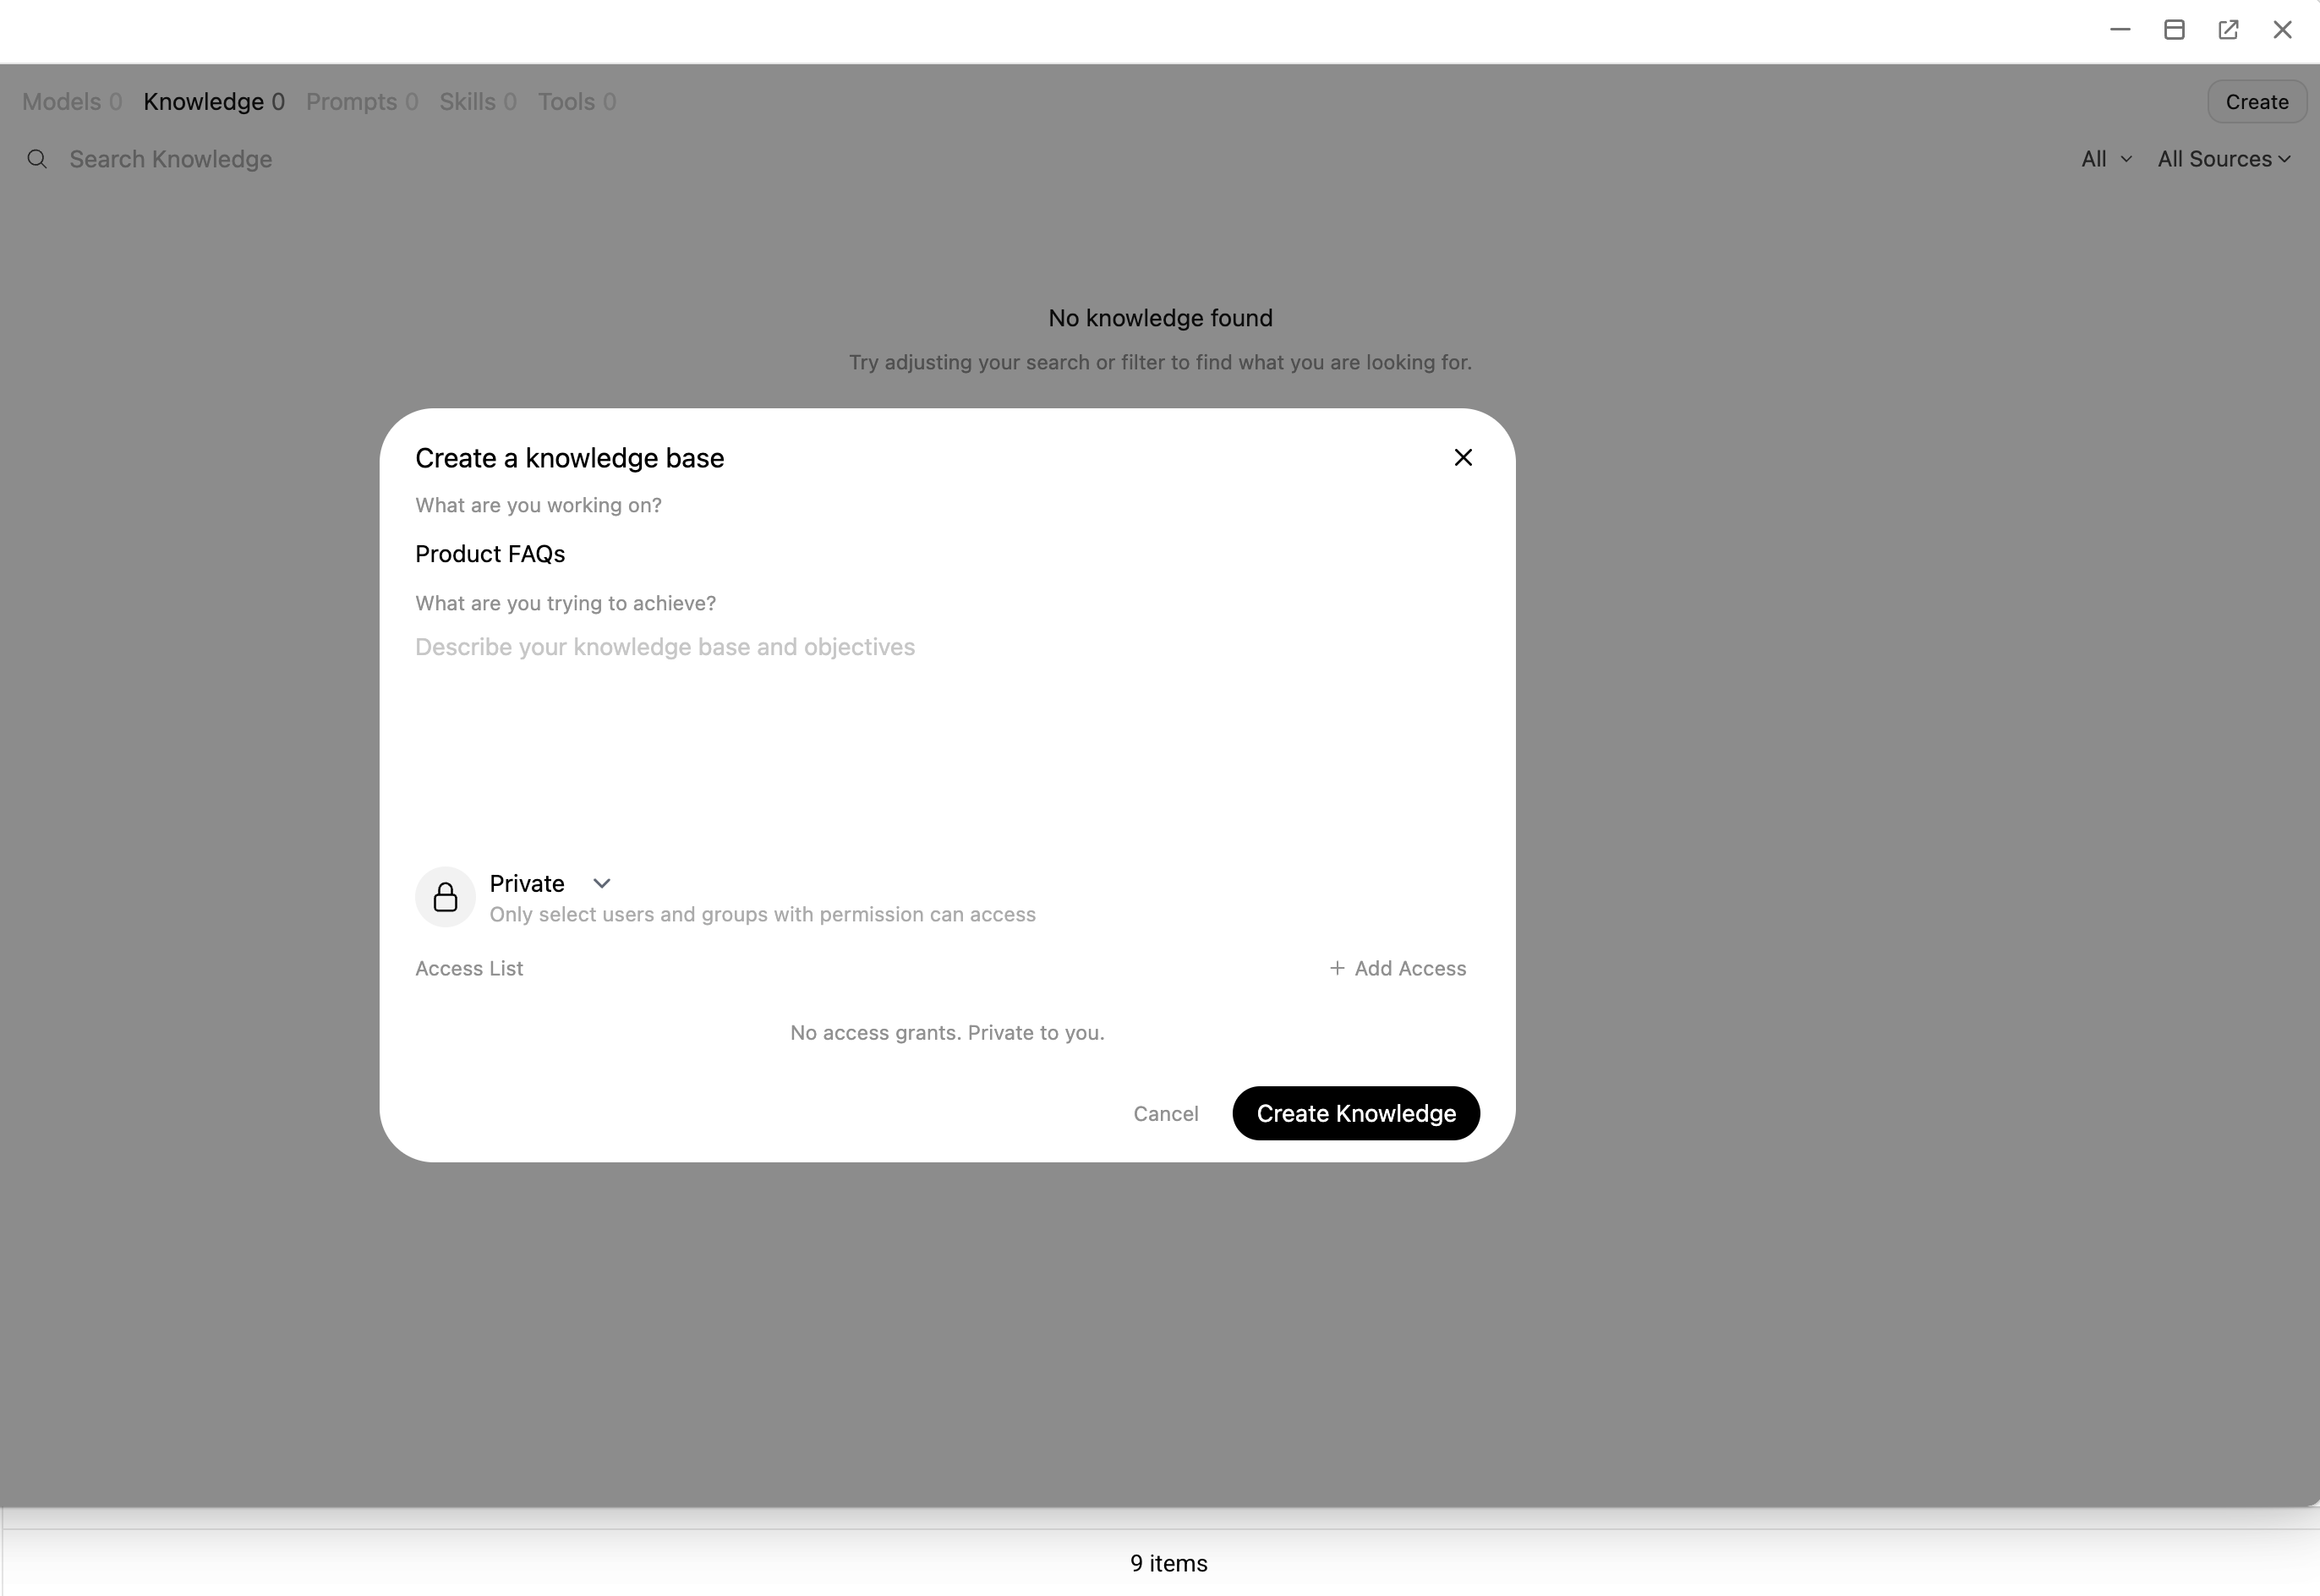
Click Create Knowledge to save the collection.
Click add > Upload files, and then upload your files to populate the knowledge base.
Attach a knowledge base to a chat
Once you have created a knowledge base, attach it to a chat so the model can reference its content.
Start a new chat.
Select the model.
Click add_2 under the message input field, and then select Attach Knowledge.
Choose the knowledge collection you want to use.
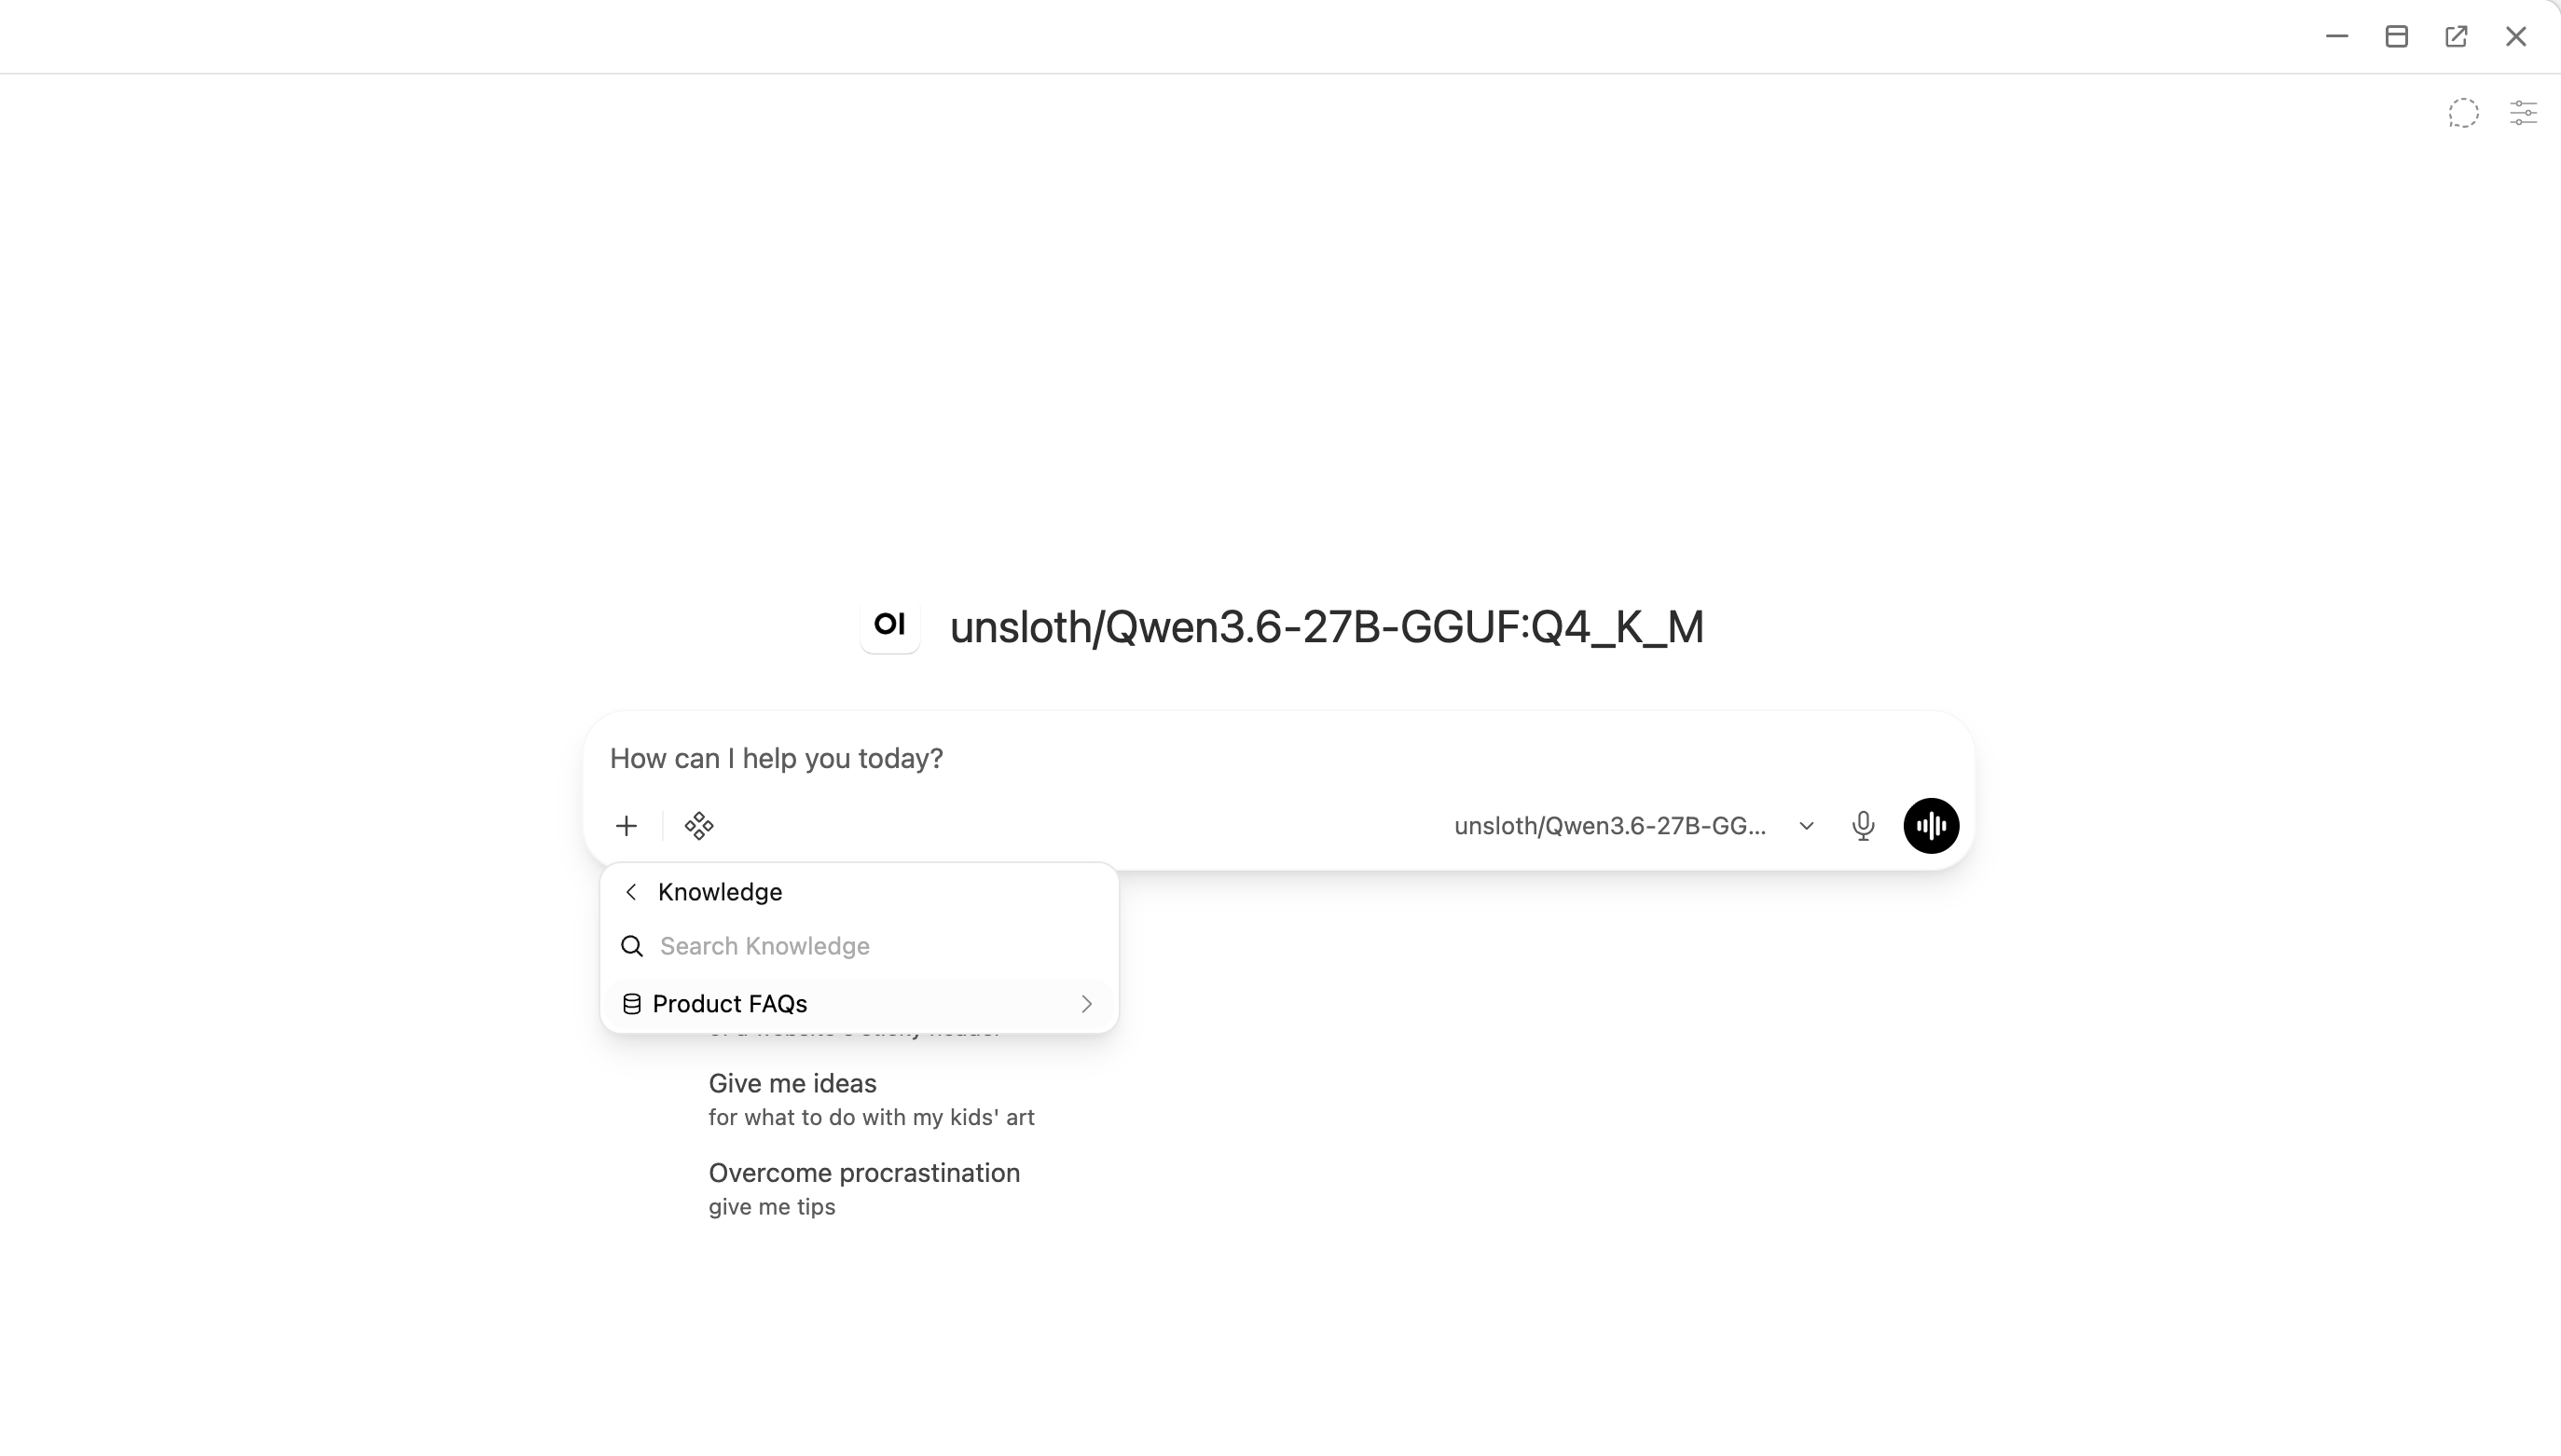
Ask questions related to the knowledge base content. The model will retrieve relevant passages and cite them in its response.
(Optional) Configure an advanced extraction engine
By default, Open WebUI uses a simple text extraction engine. For complex document layouts containing tables or complicated formatting, switch to PaddleOCR for better accuracy.
Performance impact
PaddleOCR requires more GPU VRAM and processes documents slower than the default engine. Use this engine only when document layout quality is critical.
Install the PaddleOCR app from Market.
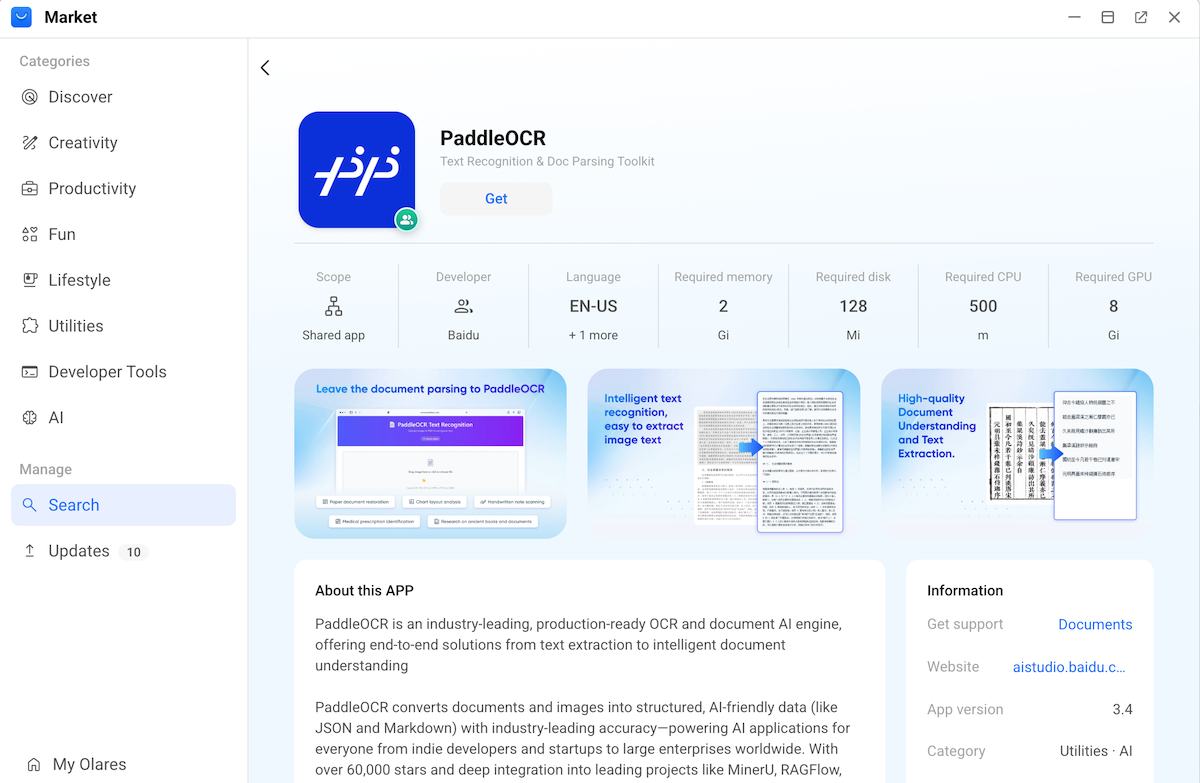
Get the PaddleOCR endpoint URL:
a. Open Olares Settings, and then go to Applications > PaddleOCR > Entrances.
b. Click PaddleOCR, and then copy the endpoint URL. For example,
https://17b4c78a.laresprime.olares.com.In Open WebUI, go to Admin Panel > Settings.
On the left sidebar, locate the Tools section, and then select Documents.
Under the Content Extraction section, configure as follows:
a. Content Extraction Engine: Select PaddleOCR-vl in the drop-down list.
b. API Base URL: Enter the PaddleOCR endpoint URL.
c. API Token: Enter any text such as
local. Do not leave this field empty.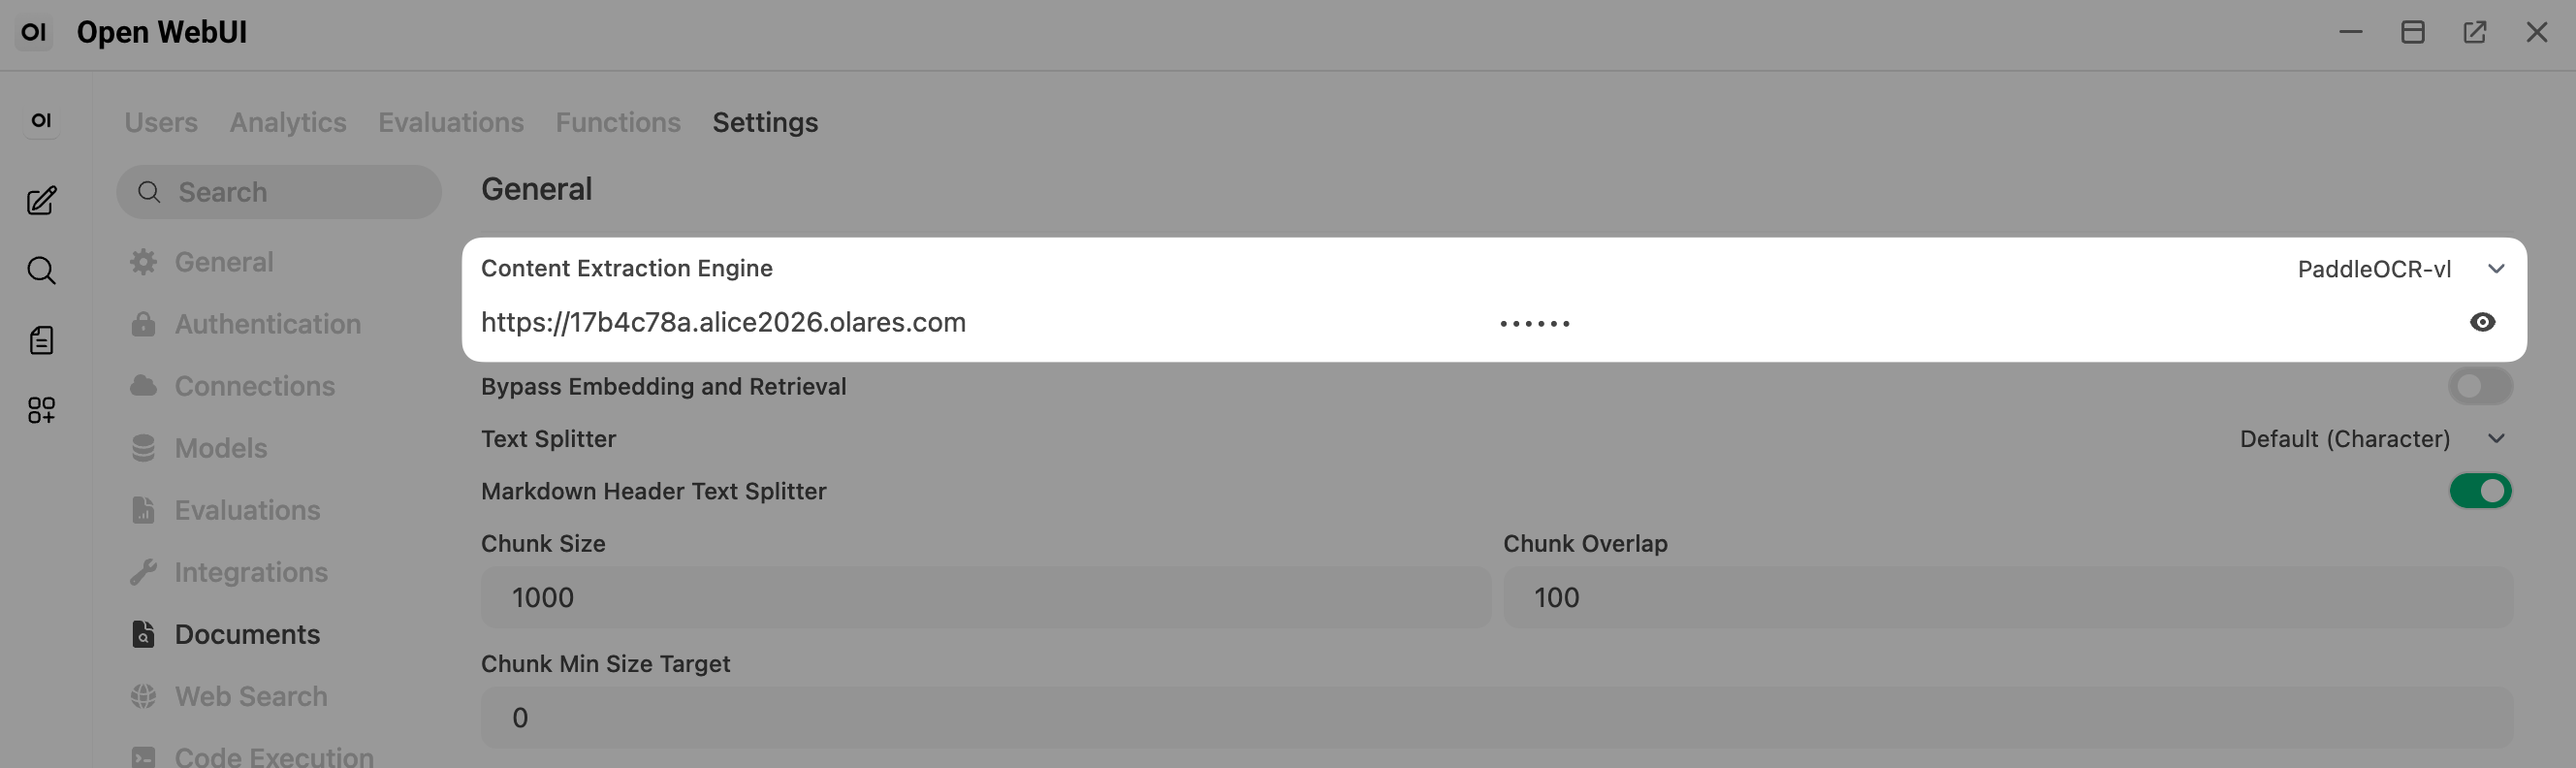
Click Save.