Run NemoClaw with a local LLM
NemoClaw is an open-source reference stack from NVIDIA that runs OpenClaw with the NVIDIA OpenShell runtime bundled.
This guide walks you through running NemoClaw on Olares with the Qwen3.6-27B (llama.cpp) model app as the backend LLM.
Alpha software
NemoClaw is an early preview release from NVIDIA and is not recommended for production use. For official updates and community feedback, see NVIDIA/NemoClaw.
Learning objectives
In this guide, you will learn how to:
- Install and configure NemoClaw with a local LLM.
- Start your first chat with the agent.
- Connect the agent to Discord for remote chat.
- Enable real-time web search.
Prerequisites
Before you begin, you need:
Admin privileges to install apps from Market and edit application settings.
The following model:
Model type Model How to get it Chat Qwen3.6-27B (llama.cpp) Install from Market
Get model connection details
How model connections work
A standalone model on Olares runs as a separate service from the client app. To connect them, the client needs the exact Model name and a Base URL that matches the API format it expects.
You can get both values from the model's console. For more details, see Connect AI apps.
NemoClaw needs the model name and its shared endpoint URL during installation.
For Qwen3.6-27B (llama.cpp), NemoClaw uses the OpenAI-compatible API format:
- Open the model app from Launchpad. Its Model Console opens automatically.
- Wait until Model shows READY and Engine shows RUNNING.
- Under Service status, make sure Apps in Olares is selected. Copy the Model name and Base URL exactly as shown.
Install NemoClaw
Open Market and search for "NemoClaw".
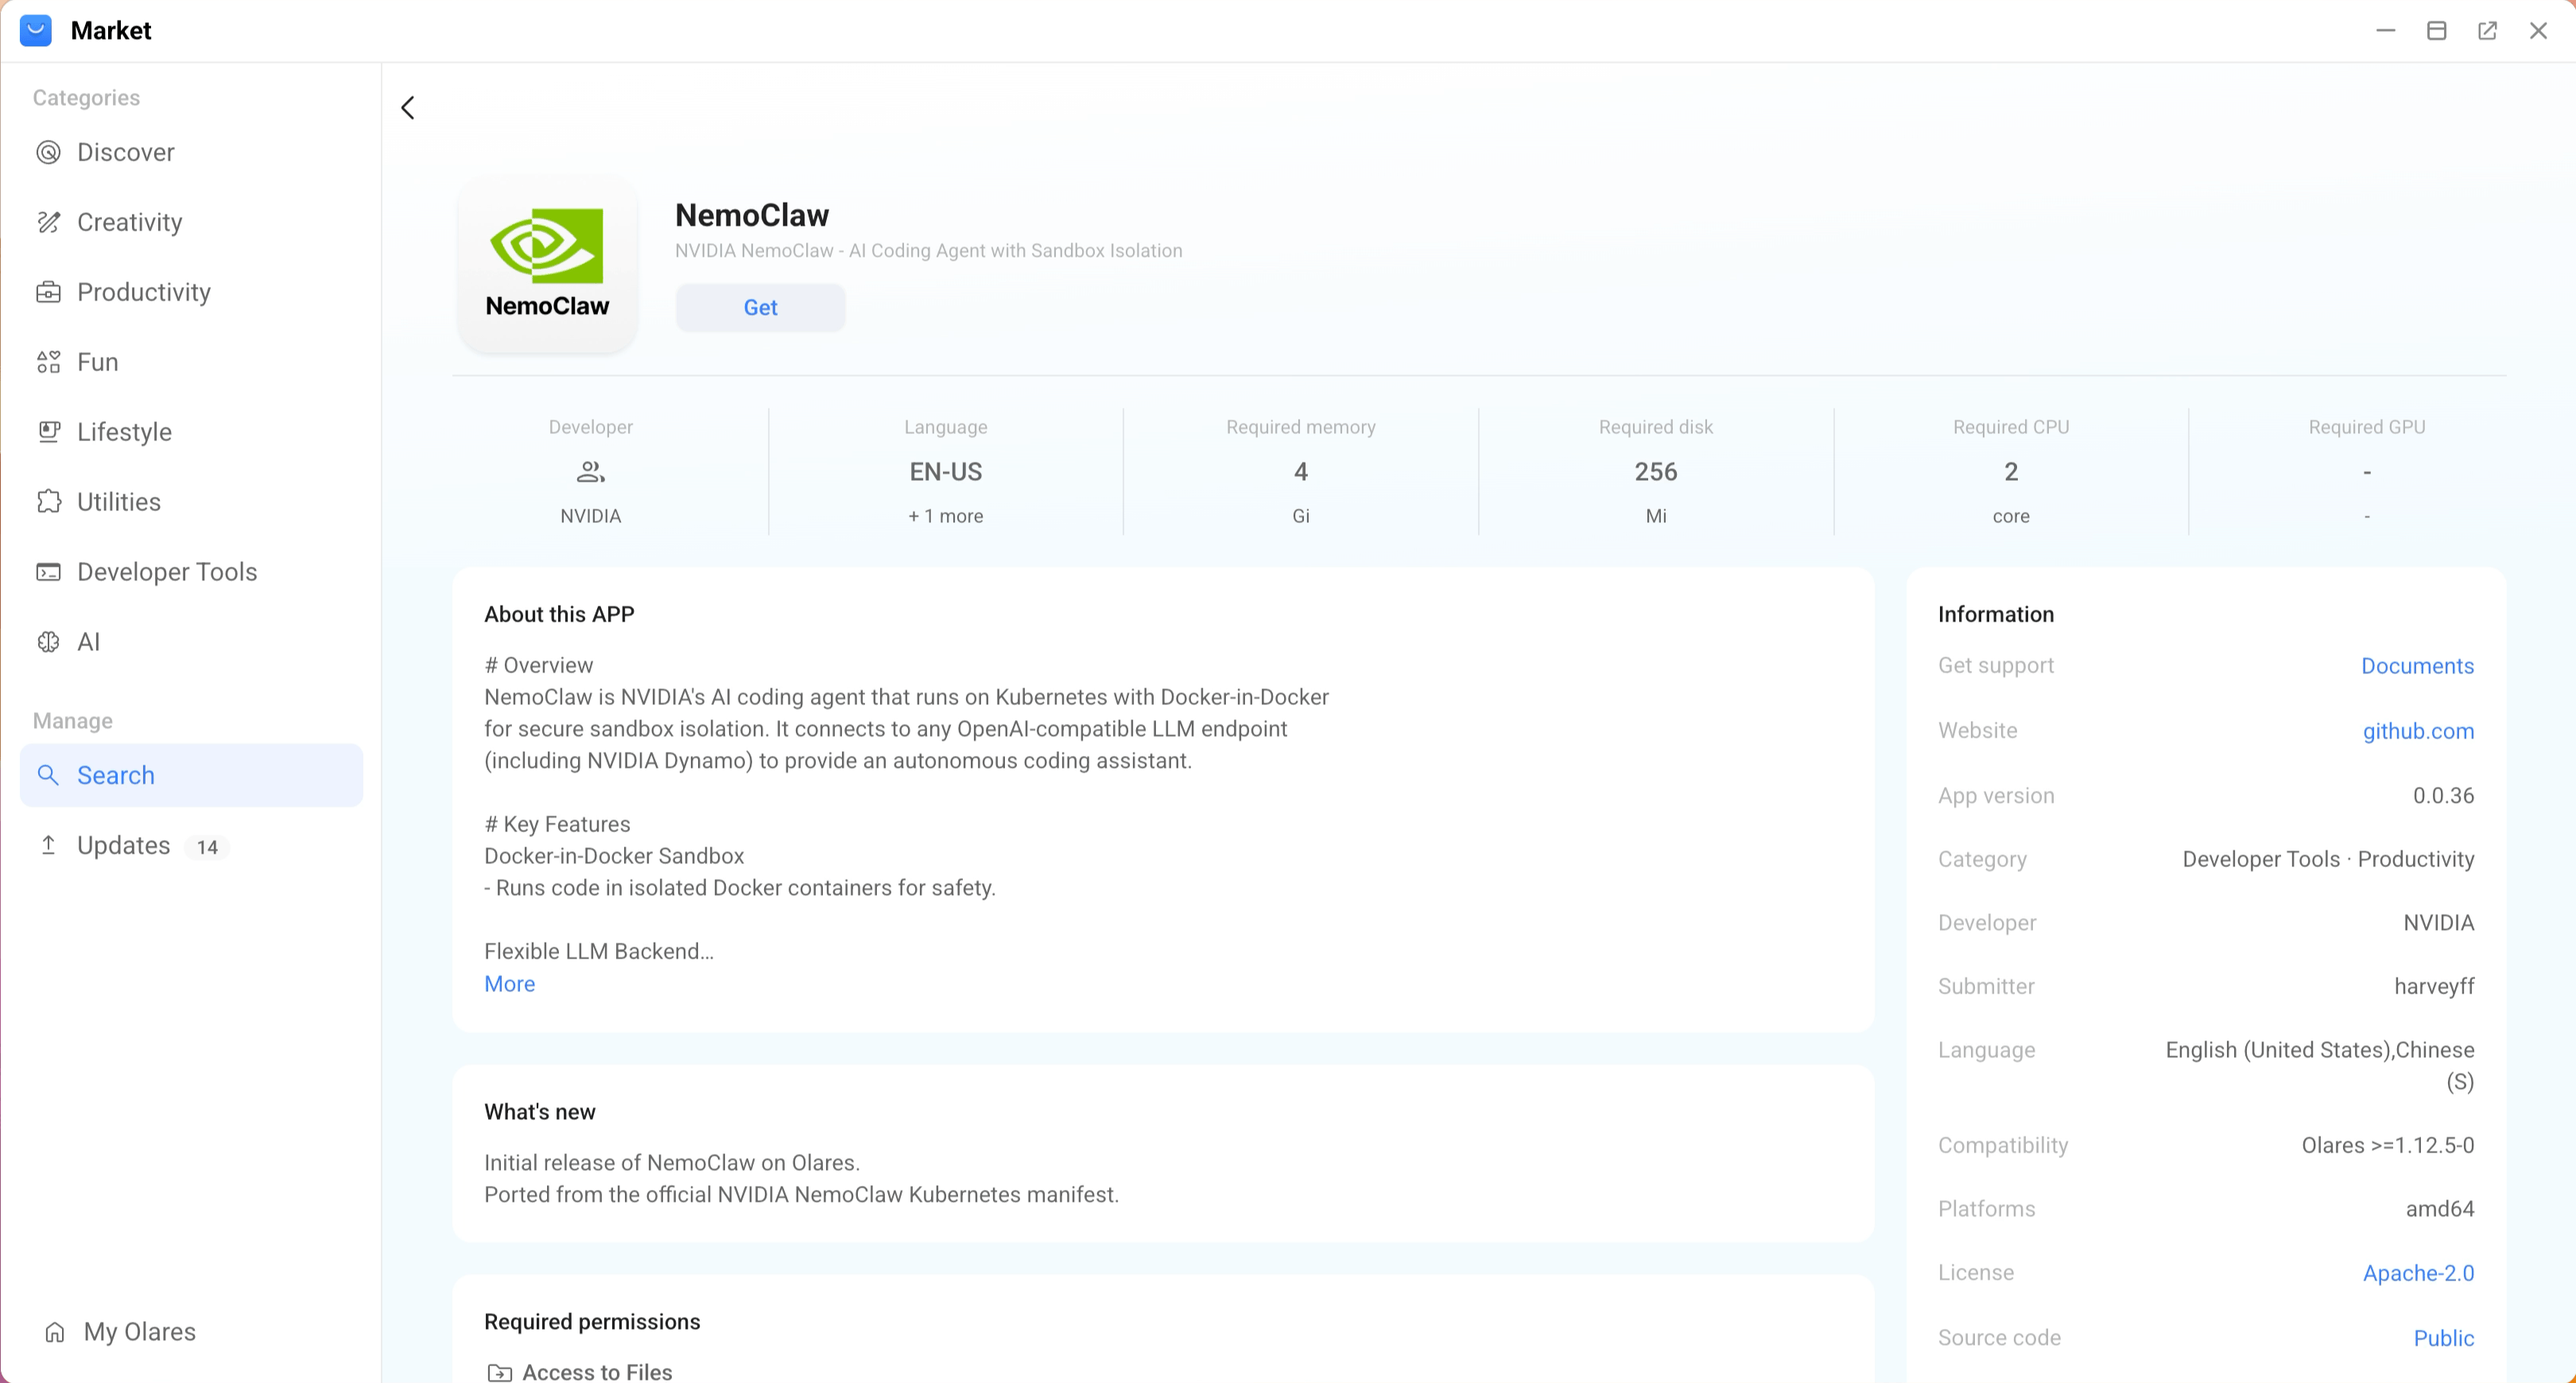
Click Get, then Install.
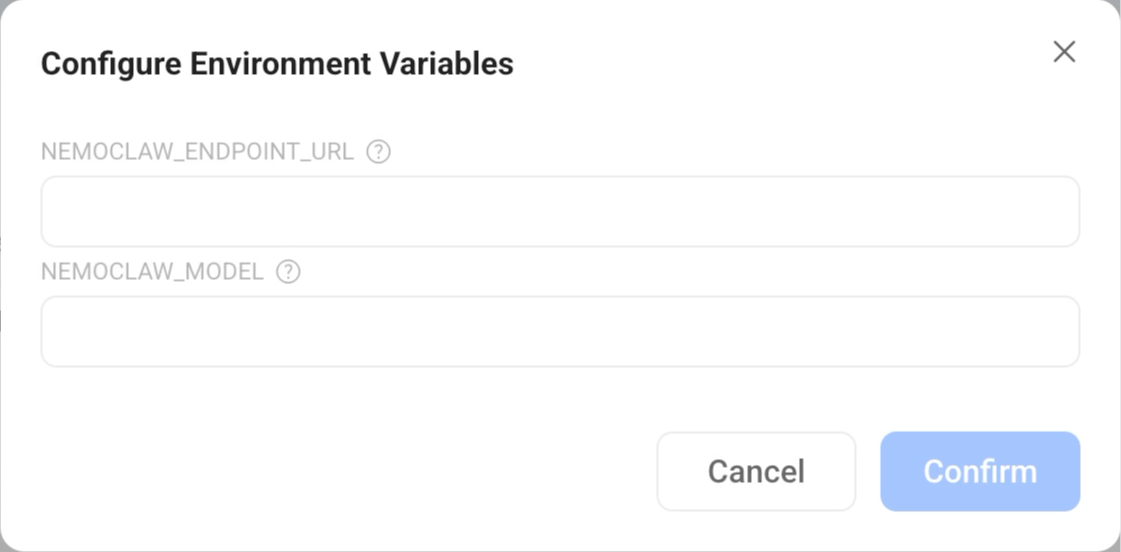
When prompted, set the environment variables:
- NEMOCLAW_ENDPOINT_URL: Paste the Base URL copied from the Qwen3.6-27B Model Console. Use it exactly as displayed.
- NEMOCLAW_MODEL: Enter the Model name copied from the Model Console. In this example, it is
unsloth/Qwen3.6-27B-GGUF:Q4_K_M.
TIP
You can change these environment variables later in Settings > Applications > NemoClaw > Manage environment variables.
Click Confirm and wait for installation to complete.
Installation takes about 15 minutes, depending on your network. During this time, NemoClaw installs the NVIDIA OpenShell runtime and runs the initial agent onboarding.
WARNING
Keep the model app running during installation. The initial onboarding requires the model to be reachable, and the installation won't complete if the model stops or becomes unavailable.
When the installation finishes, two shortcuts appear on Launchpad:
- NemoClaw CLI: The terminal interface for running NemoClaw and OpenClaw commands.
- OpenClaw Web UI: The browser-based dashboard for OpenClaw.
Start your first chat
NemoClaw lets you chat with your agent in either the OpenClaw Web UI or the OpenClaw TUI inside the NemoClaw CLI. Because the model and endpoint were configured during installation, you can skip the manual onboarding and go straight to a session.
Integrate with Discord
To chat with your NemoClaw agent remotely, connect it to a Discord bot. You need a Discord account and a server where you have permission to add bots.
Step 1: Create a Discord bot
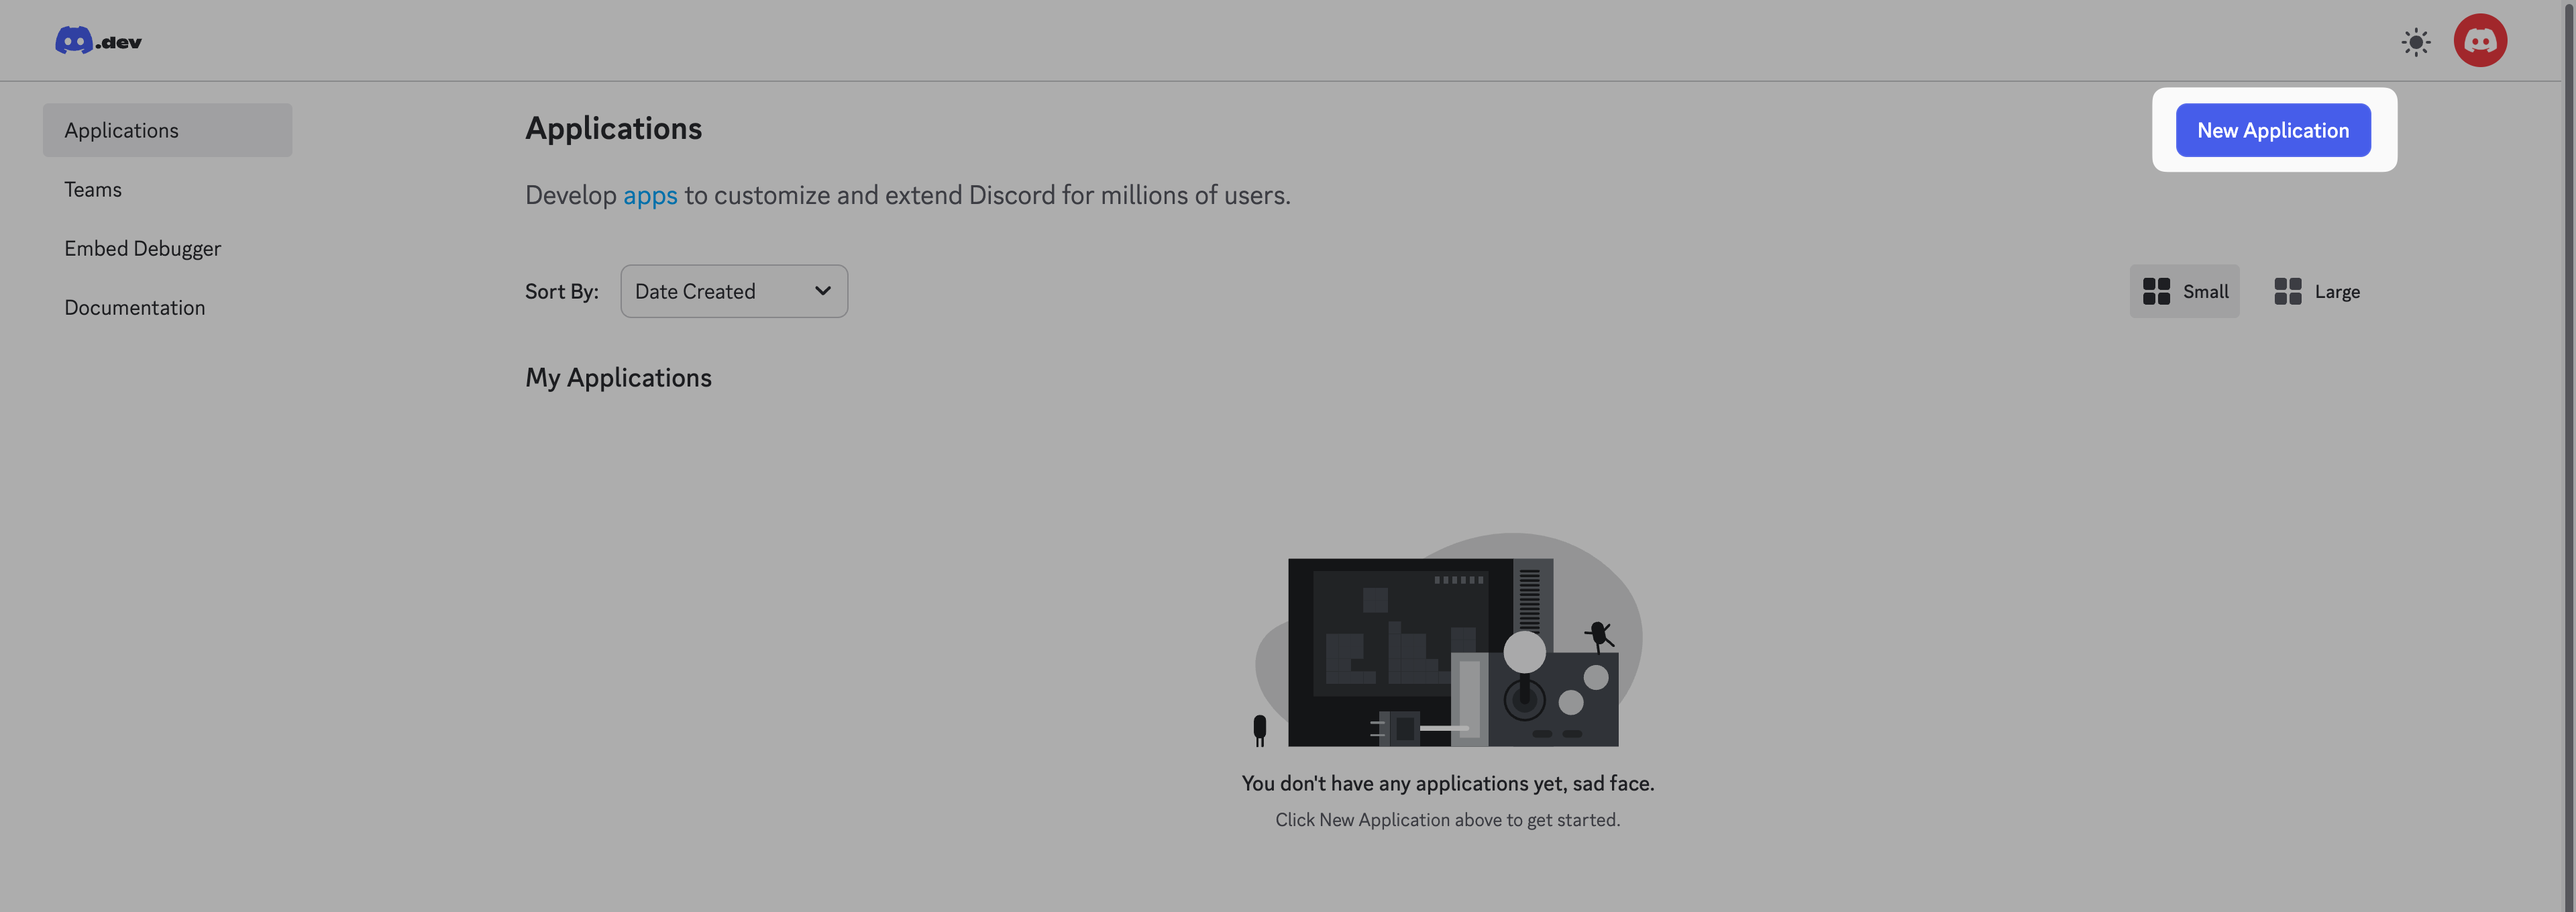
Log in to the Discord Developer Portal with your Discord account.
Click New Application.
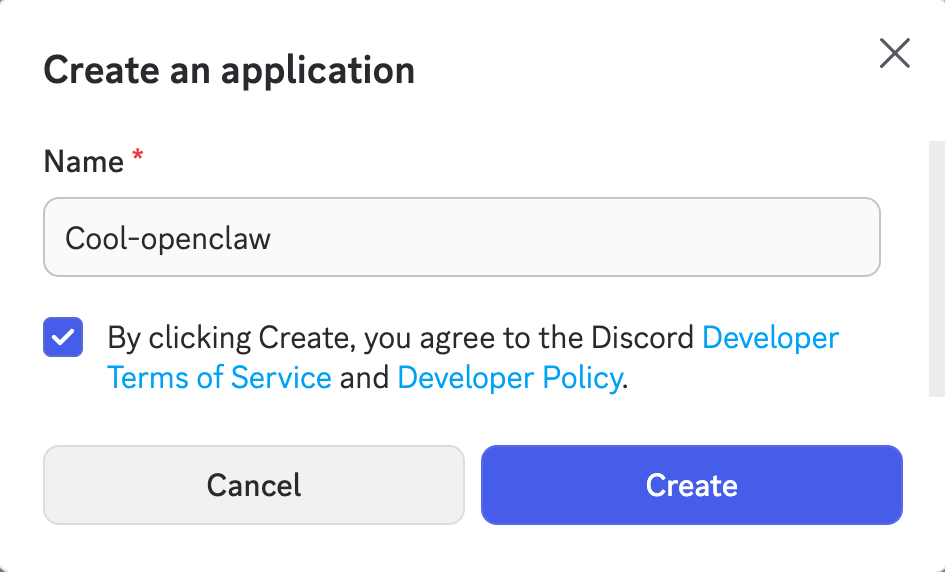
Enter a name for the new app, agree to the terms, and click Create.
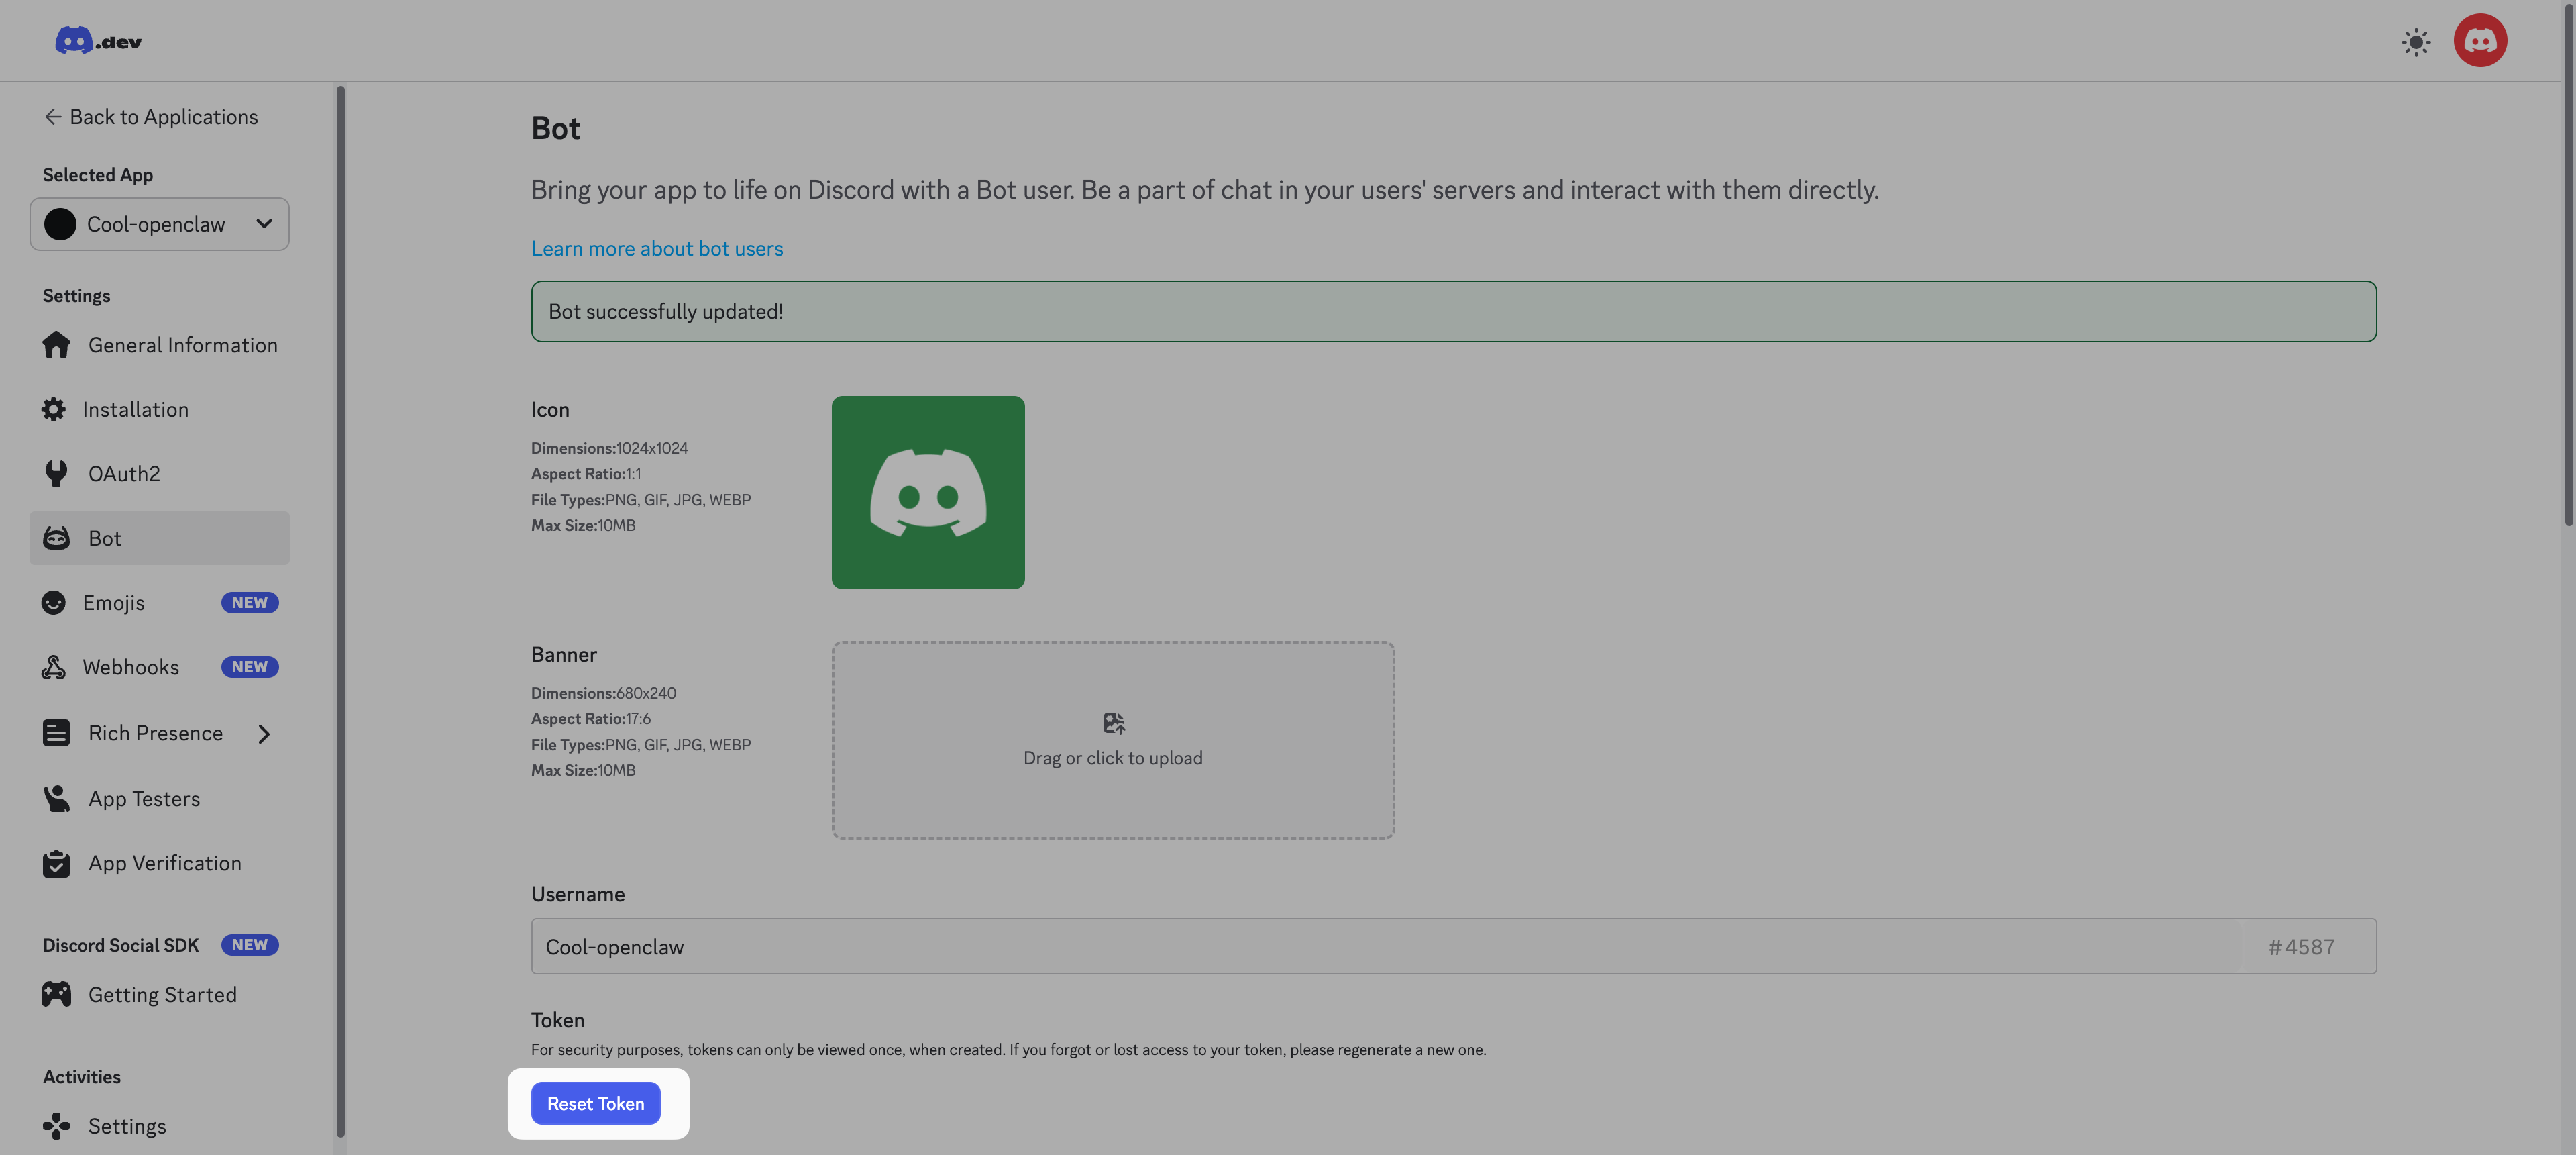
From the left sidebar, select Bot.
Scroll down to the Privileged Gateway Intents section and enable the following settings:
- Presence Intent
- Server Members Intent
- Message Content Intent
Click Save Changes.
Scroll up to the Token section, click Reset Token, and copy the generated token. You need this token in Step 3.
Step 2: Invite the bot to your server
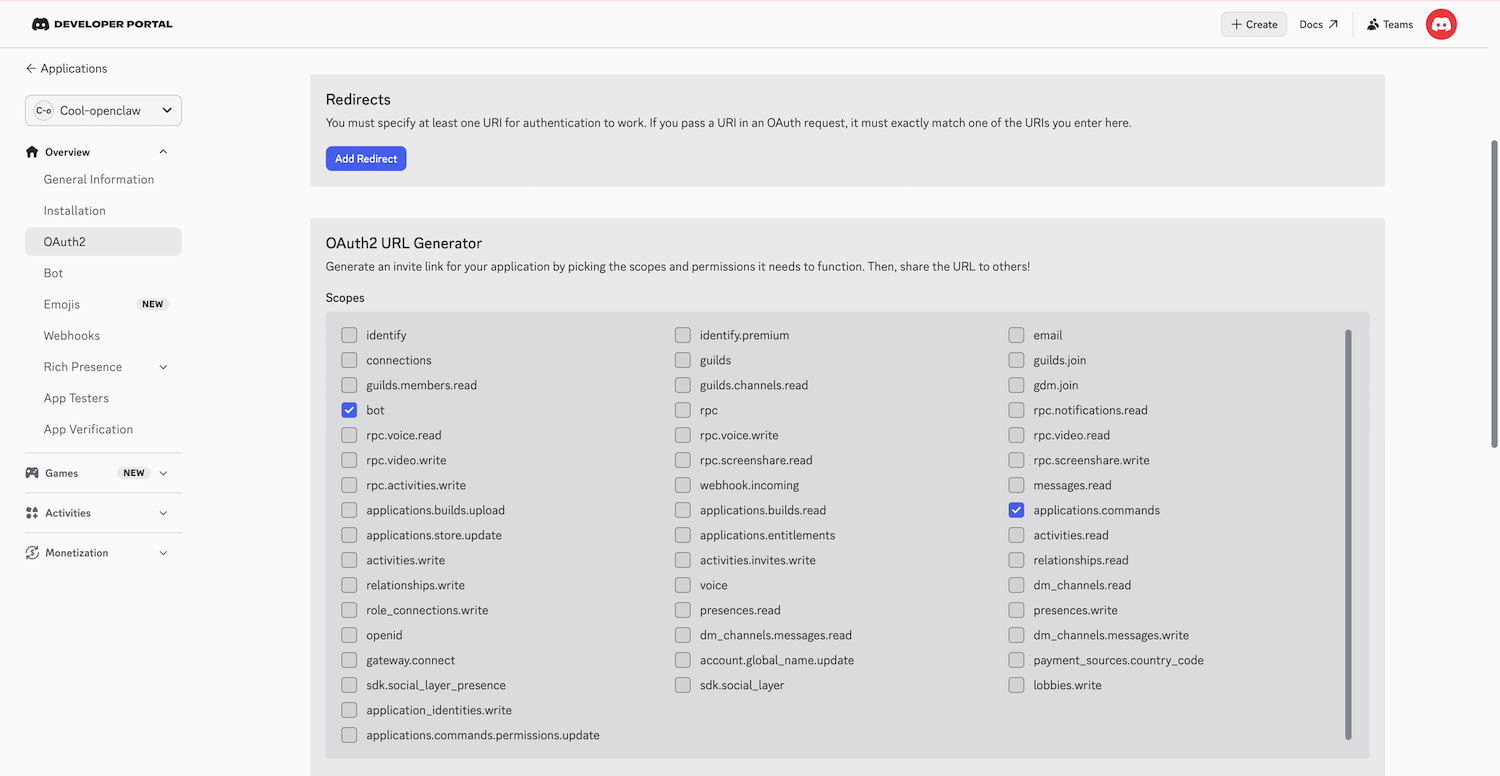
From the left sidebar, select OAuth2 and find the OAuth2 URL Generator section.
a. In Scopes, select Bot and applications.commands.
b. Scroll down to Bot Permissions and configure them as shown. You can adjust these later.
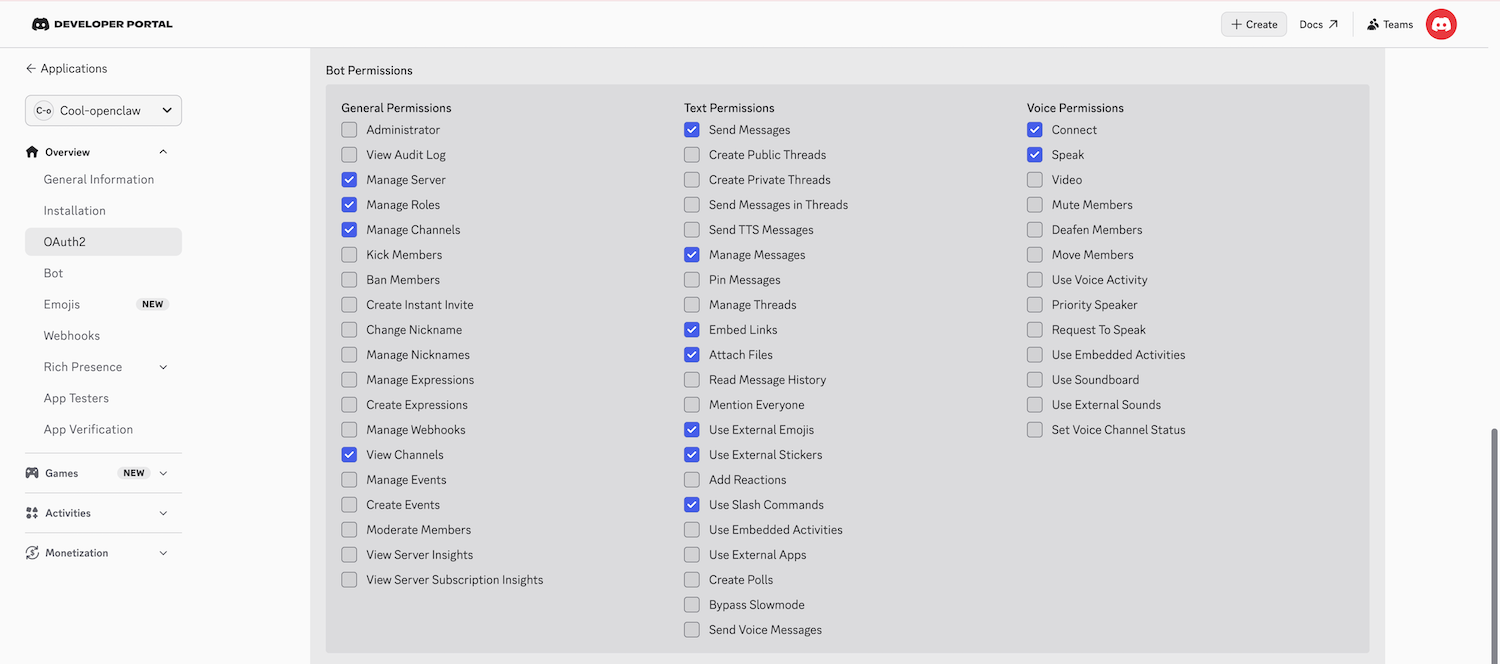
Copy the Generated URL at the bottom.
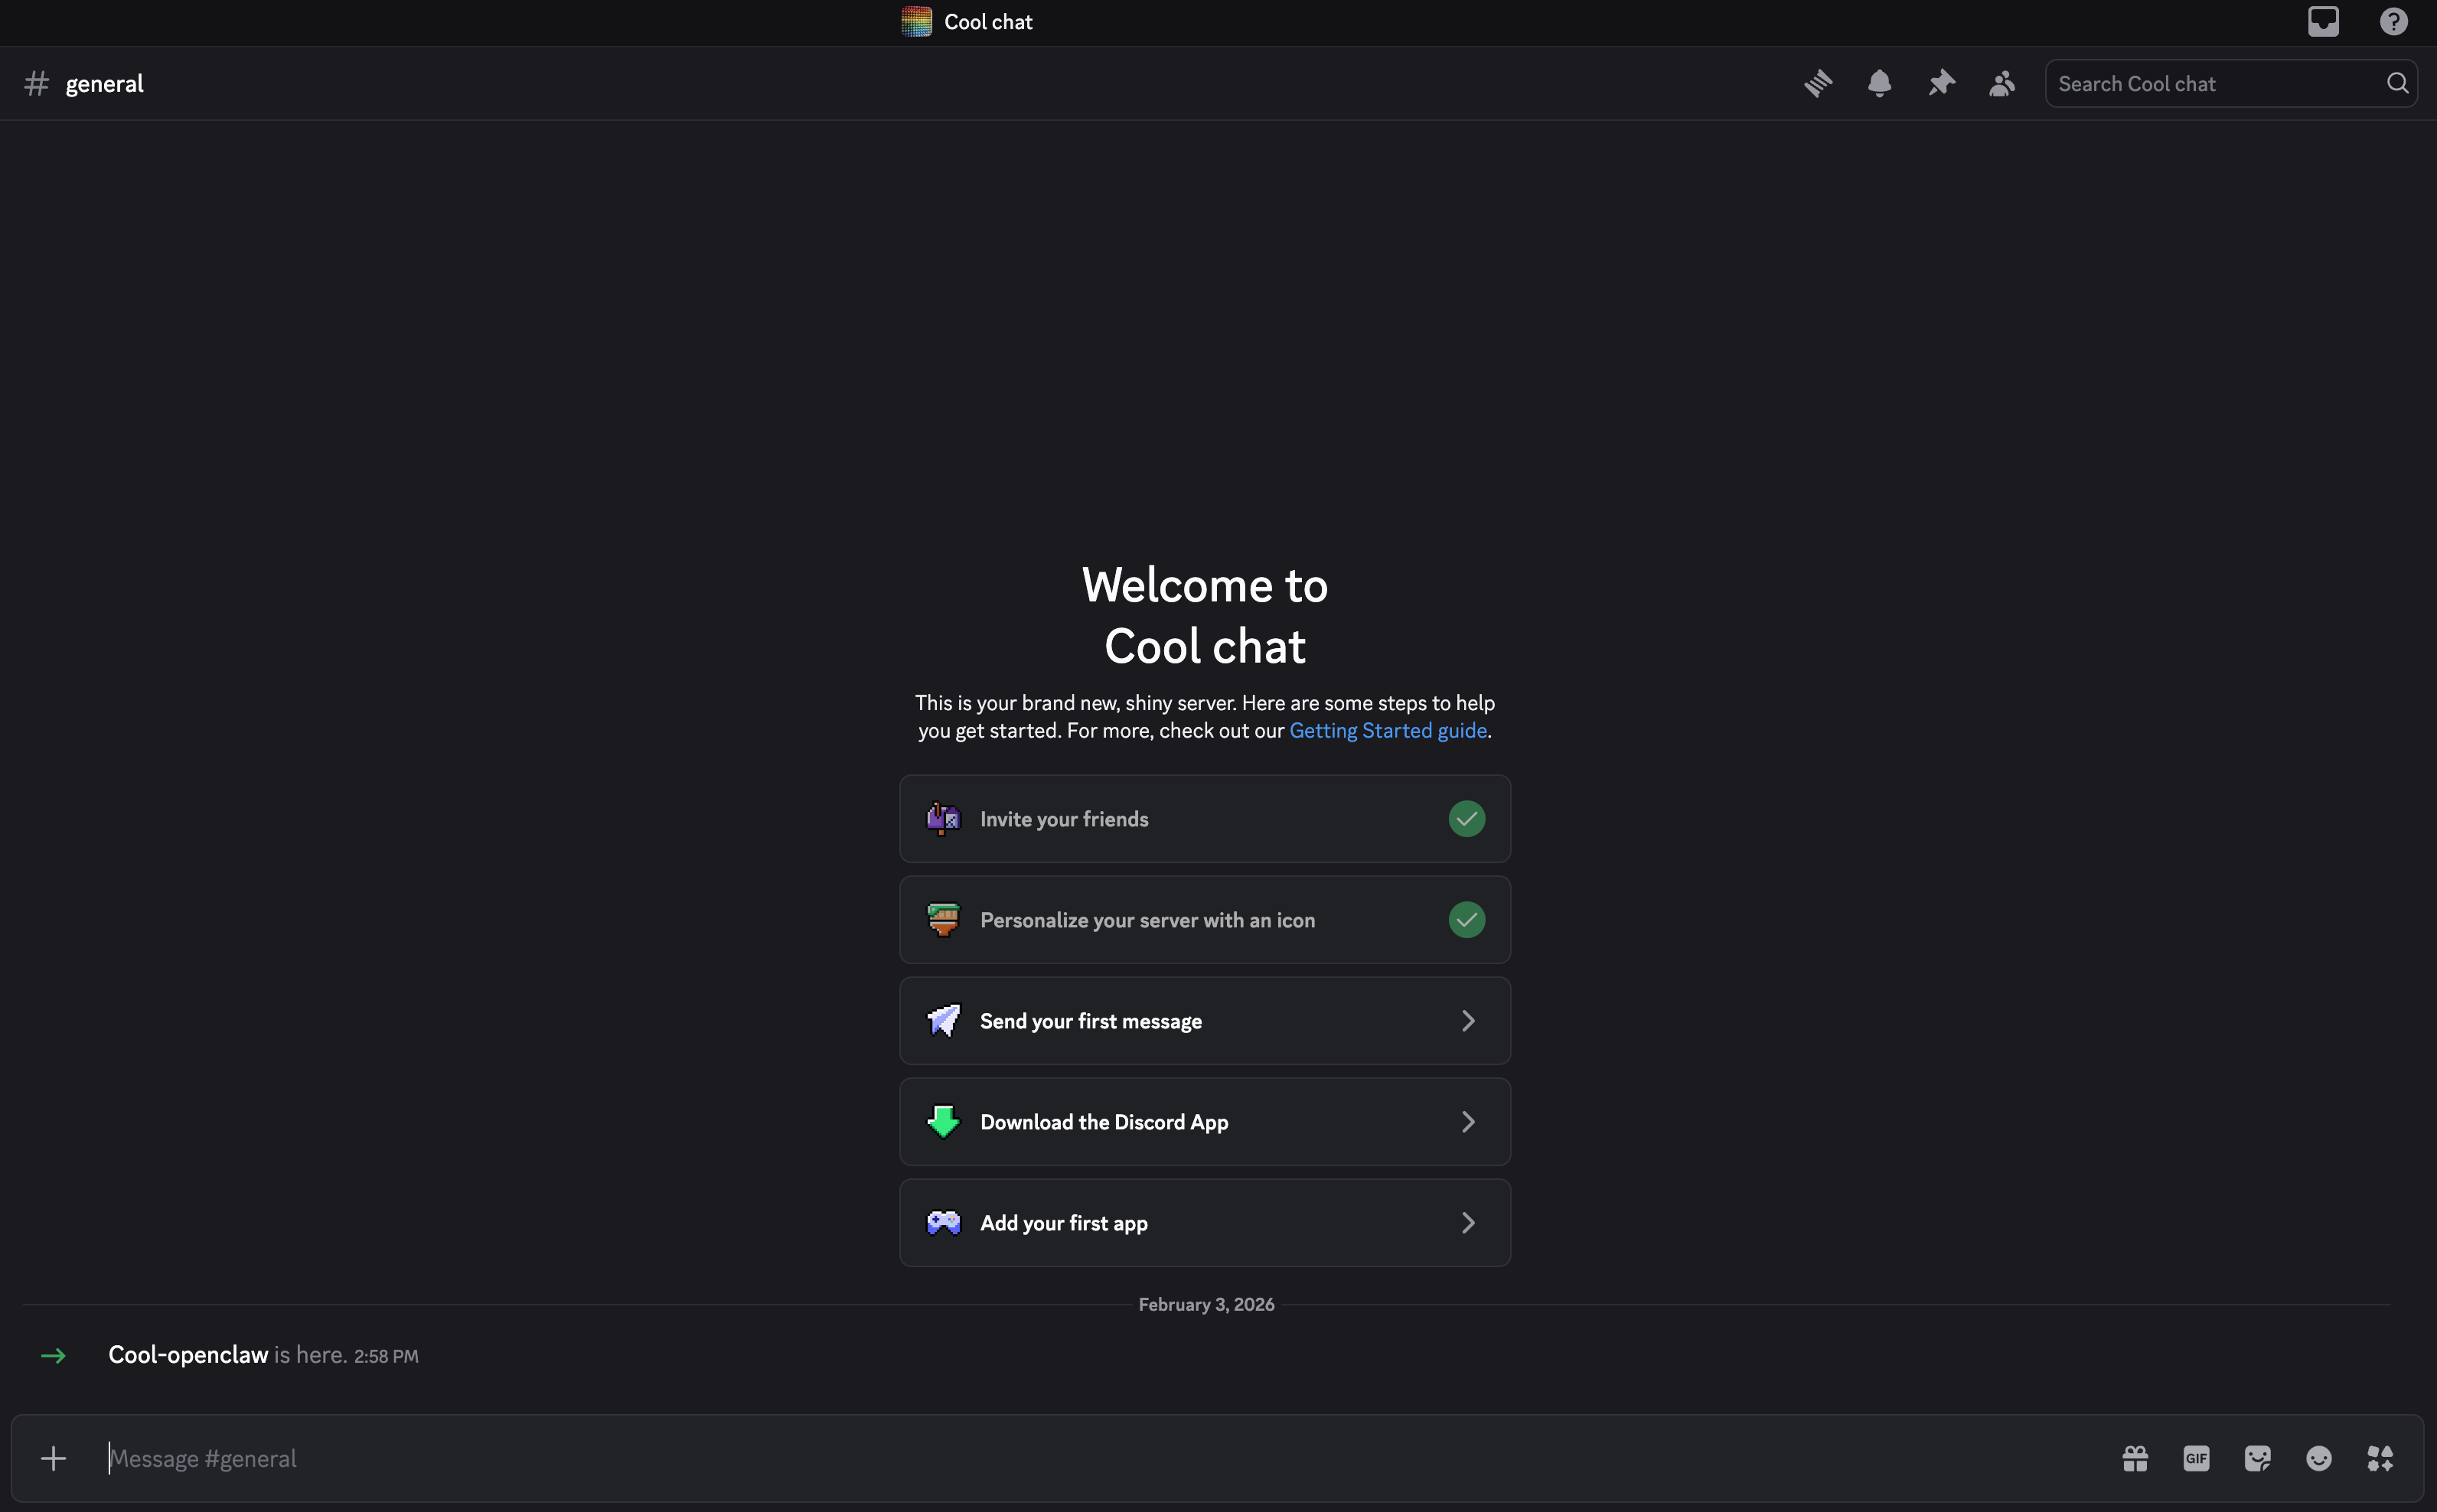
Paste the URL into a new browser tab, select your Discord server from Add to server, click Continue, and click Authorize.
The bot is authorized and added to your server.
Step 3: Configure the Discord channel
NemoClaw runs OpenClaw inside a sandboxed runtime, so you must configure the channel from within the runtime shell.
Open the NemoClaw CLI app from Launchpad.
Connect to the runtime sandbox:
bashnemoclaw my-assistant connectWait until the terminal shows the sandbox prompt, such as
sandbox@my-assistant:~$.Run the channel configuration wizard:
bashopenclaw config --section channelsFollow the prompts to add Discord:
Settings Option Where will the Gateway run Local (this machine) Channels Configure/link Select a channel Discord (Bot API) How do you want to provide this Discord bot token? Enter Discord bot token, and paste the token from Step 1. Configure Discord channels access Yes Discord channels access Open (allow all channels) When finished, when prompted to select a channel, select Finished.
When prompted to configure DM (Direct Message) access policies, select Pairing.
Discord channel stuck in startup-not-ready
If the Discord channel shows startup-not-ready in the OpenClaw Web UI, restart the gateway. See Common issues for the steps.
Step 4: Authorize your Discord account
For security, the bot doesn't respond to unauthorized users. You must pair your Discord account with the bot.
Open Discord and send a direct message to your bot.
The bot replies with a pairing code and a command.
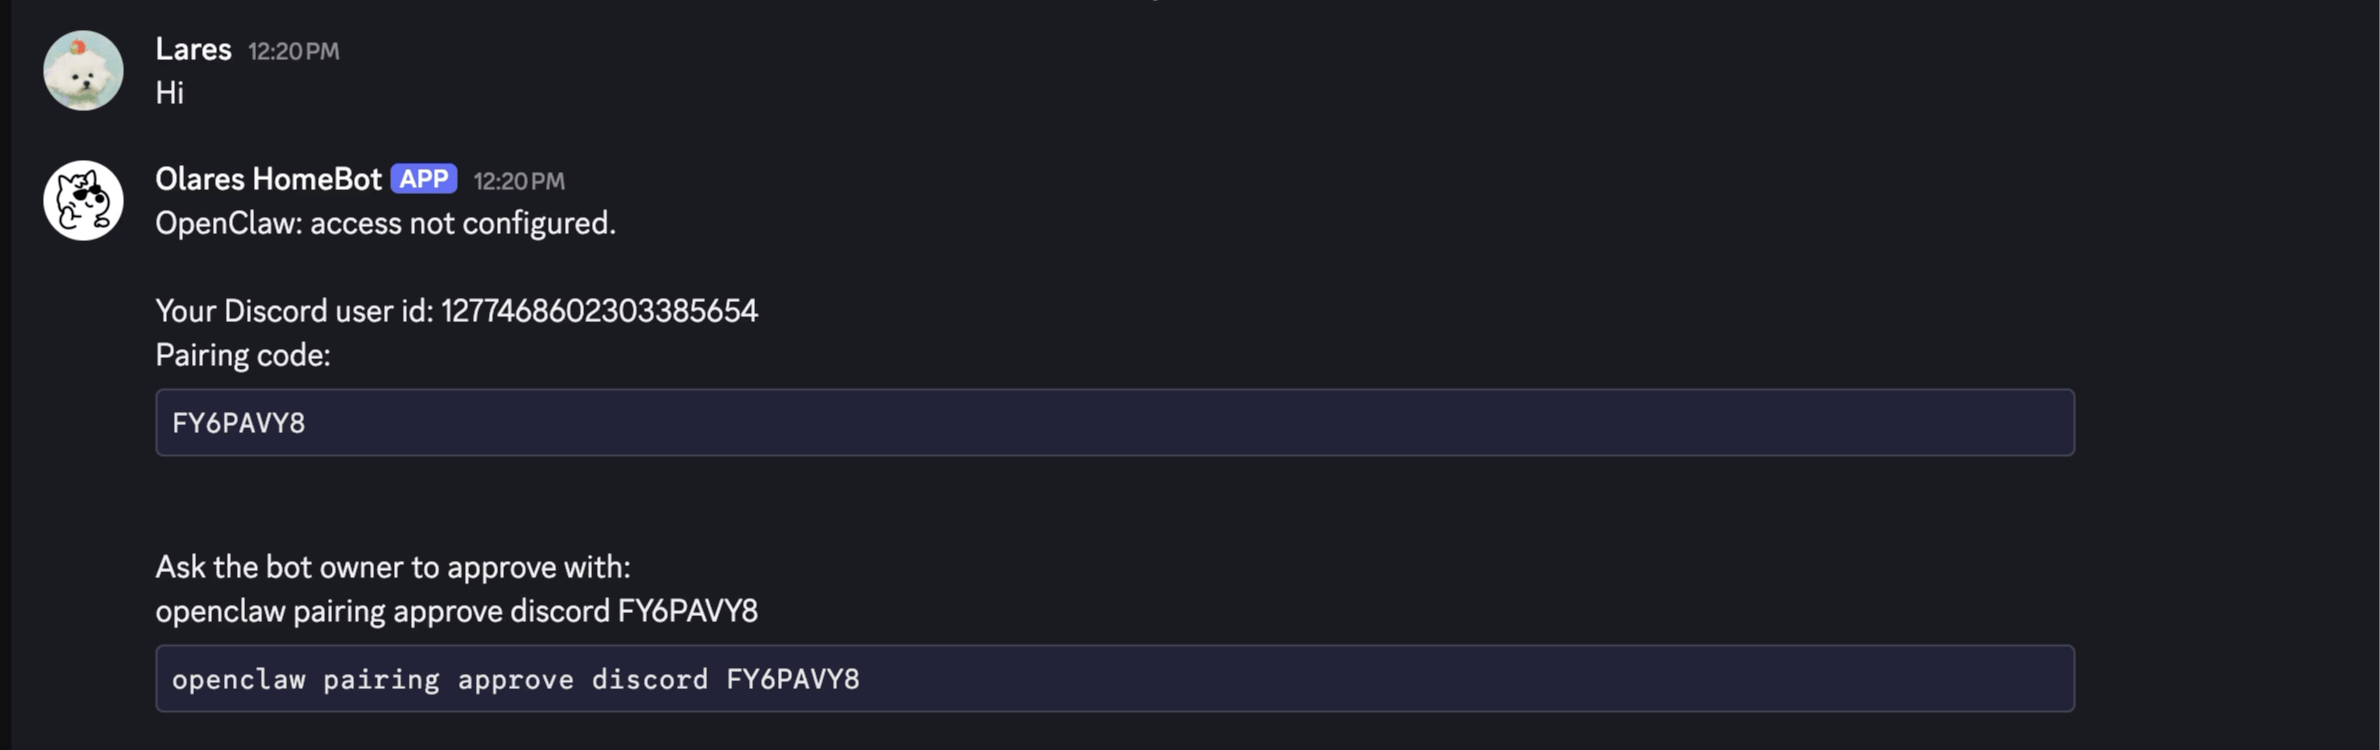
Switch back to the NemoClaw CLI sandbox shell and use the command provided by the bot to approve the pairing. For example:
bashopenclaw pairing approve discord FY6PAVY8When you see the following, it means the Discord is authorized:
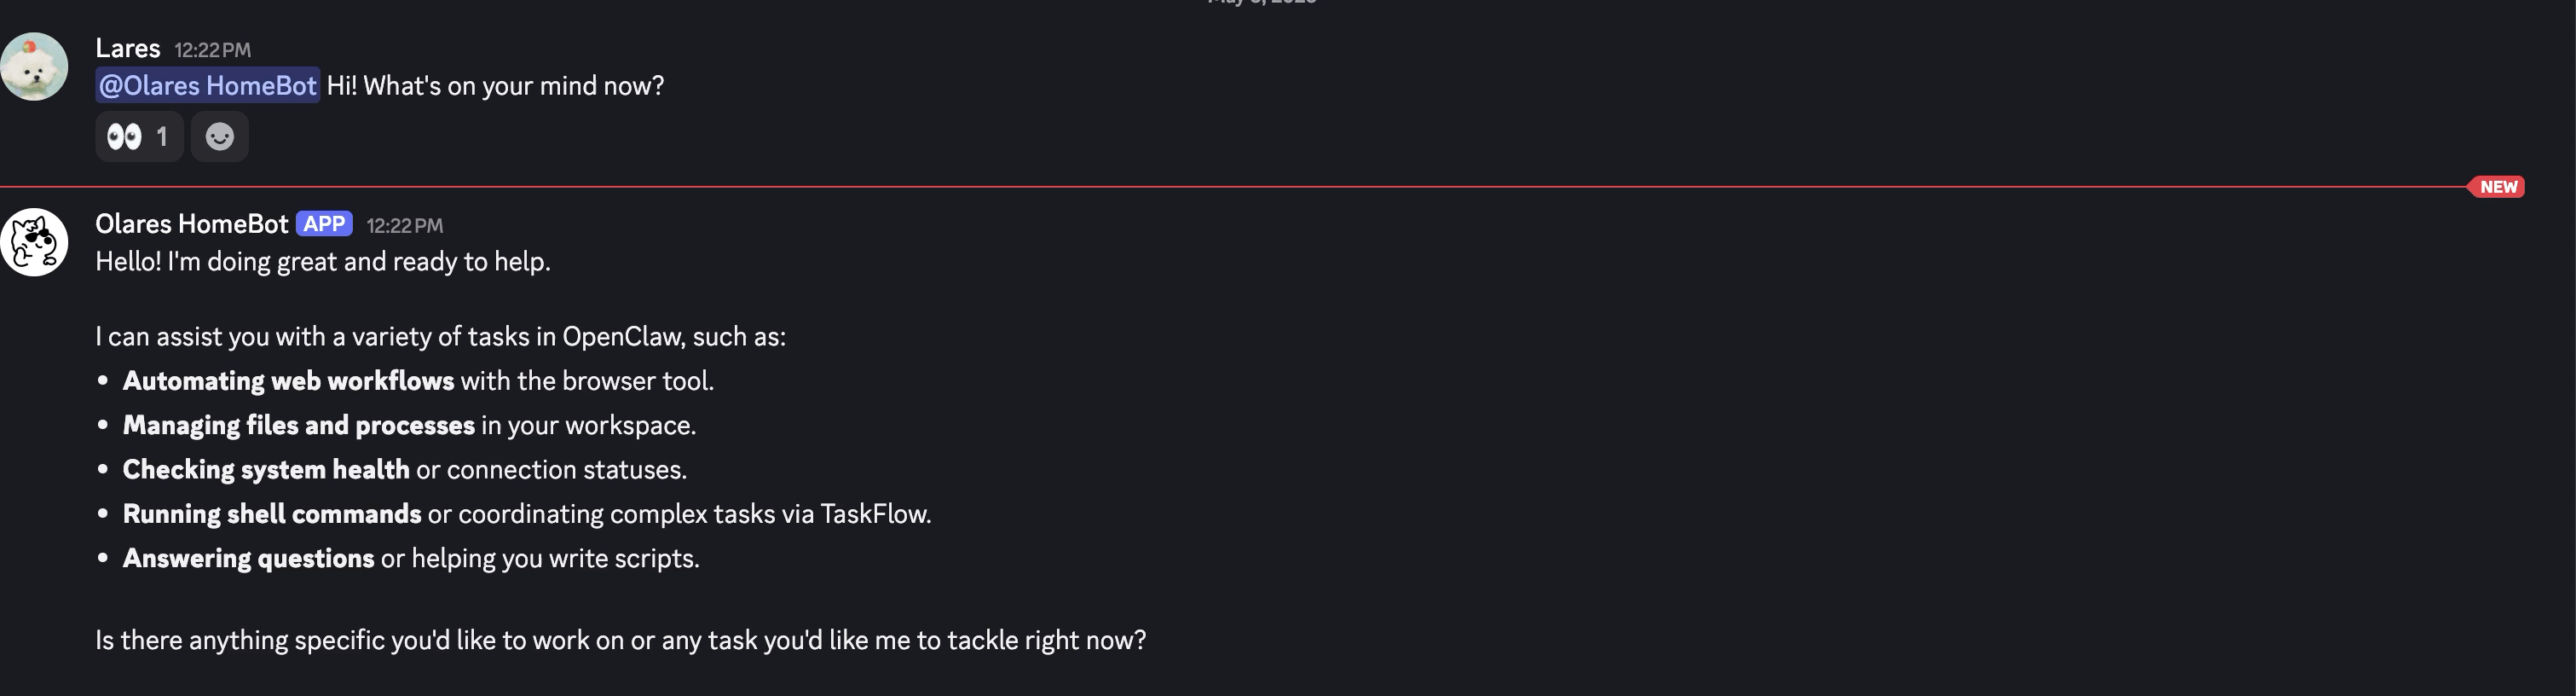
textApproved discord sender 1277468602303385654.After approval, you can chat with your agent directly in Discord.
Enable web search
By default, the agent answers only from its training data. To let it fetch real-time internet information, you can use a web search provider. The following uses SearXNG as an example, which you can install as a self-hosted instance from Olares Market.
Get the SearXNG endpoint
Install SearXNG from Market before continuing.
How app endpoints work
When a client connects to another Olares app, it uses that app's endpoint as the network address. If the app exposes multiple endpoints, choose the one that matches the feature or protocol the client needs.
For SearXNG:
- Go to Olares Settings > Applications > SearXNG > Entrances.
- Select SearXNG, then copy the Endpoint URL.
Configure web search
Open the NemoClaw CLI app from Launchpad.
Connect to the runtime sandbox:
bashnemoclaw my-assistant connectRun the web tool configuration wizard:
bashopenclaw config --section webConfigure as follows:
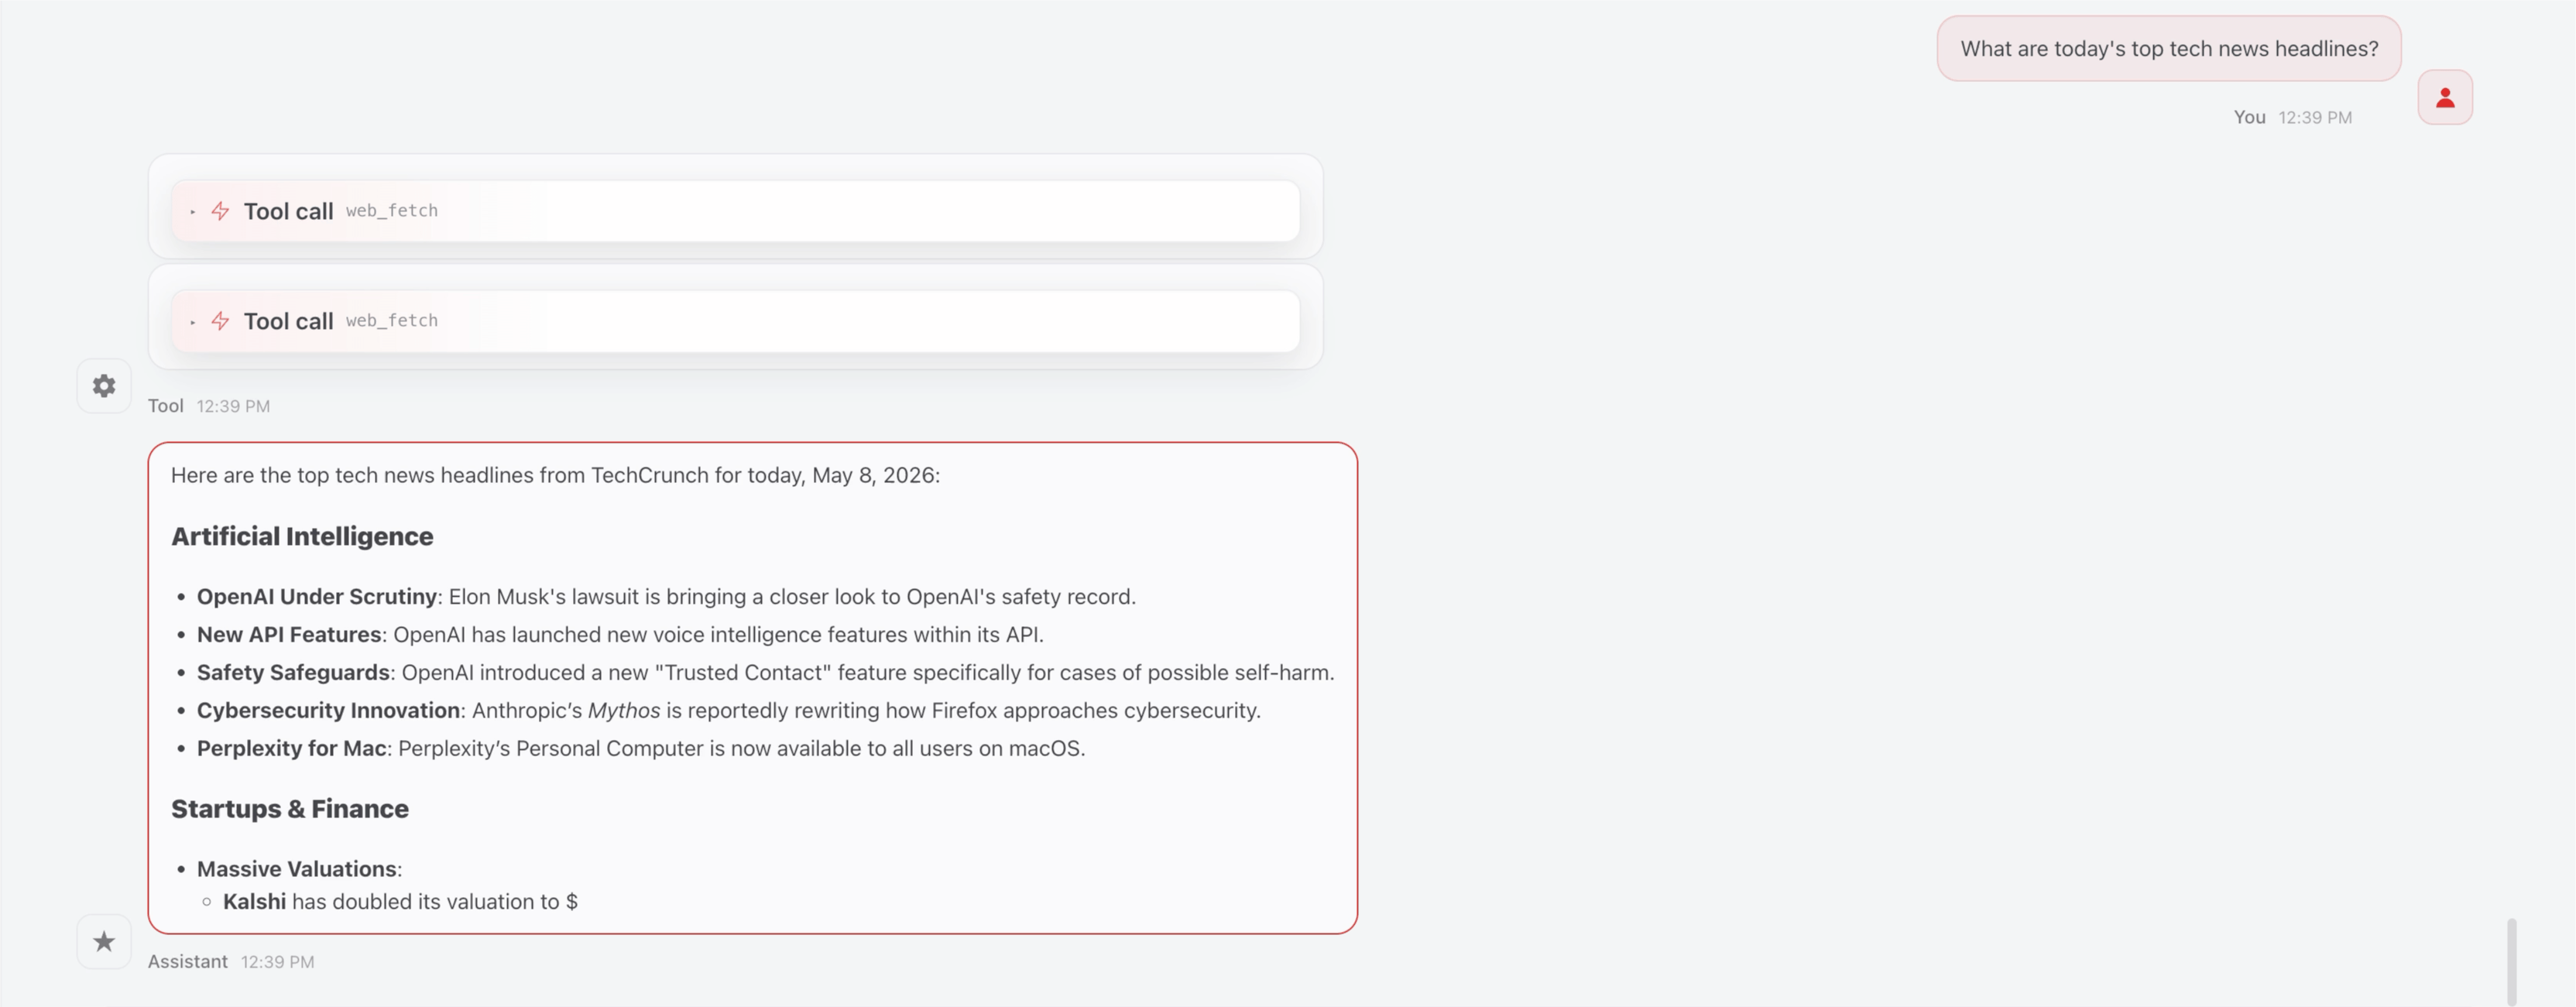
Settings Option Where will the Gateway run Local (this machine) Enable web_search Yes Search provider SearXNG SearXNG Base URL Paste the SearXNG Endpoint copied from Olares Settings Enable web_fetch (keyless HTTP fetch) Yes To verify, ask your agent a question that requires real-time information. For example:
textWhat are today's top tech news headlines?The agent should fetch and cite live web results.
Install skills
Skills add capabilities to your agent, such as managing Olares files and apps or integrating with Google Workspace.
Open the OpenClaw Web UI from Launchpad.
Go to Skills.
Search for the skill in ClawHub and click Install.
Open the chat page in the OpenClaw Web UI and run
/resetto start a new session so the agent picks up the newly installed skill. If you've configured channels such as Discord, also run/resetin each channel conversation.TIP
You can also install skills from the NemoClaw CLI sandbox using
openclaw config --section skills.
For walkthroughs of common skills, see:
- Manage Olares with Olares CLI: Let the agent operate files and apps on your Olares device through natural language.
- Integrate with Google Workspace: Connect Gmail, Calendar, and Drive via the gog skill.
For more on managing skills, see Manage skills and plugins.
Install plugins
Plugins extend OpenClaw with additional channels and integrations.
Open the NemoClaw CLI app from Launchpad.
Connect to the runtime sandbox:
bashnemoclaw my-assistant connectInstall the BlueBubbles plugin:
bashopenclaw plugins install @openclaw/bluebubbles
For other plugins, use the standard openclaw plugins list and openclaw plugins install <name> commands inside the runtime. For details, see Manage skills and plugins.
Common issues
For a list of common issues and workarounds, see Common issues.
Learn more
- NVIDIA NemoClaw: Official reference stack and documentation from NVIDIA.
- OpenClaw: Set up OpenClaw features such as persona setup.