Analyze financial markets with TradingAgents
TradingAgents is a multi-agent financial trading framework that simulates a real-world trading firm. It deploys specialized AI agents to assess market conditions, debate strategies, and provide trading decisions. These agents include fundamental analysts, sentiment experts, technical analysts, traders, and risk managers.
Disclaimer
TradingAgents is an open-source AI trading and market analysis aid. It does not provide certified financial investment advice or any guarantee of returns.
Olares provides the platform to run TradingAgents but does not operate, endorse, or control the TradingAgents software or any trading activities conducted through it. Olares assumes no responsibility for the software's analysis outcomes.
Financial markets carry high risk, and market volatility can lead to partial or total loss of funds. The strategies, parameters, and examples in this guide are for technical demonstration only and do not represent trading advice. Ensure you fully understand the risks before trading, and bear the full consequences of your trading decisions based on these AI-generated reports.
The TradingAgents project developers, contributors, and Olares are not responsible for any direct or indirect losses resulting from the use of this project.
Learning objectives
In this guide, you will learn how to:
- Install TradingAgents on Olares.
- Connect local AI models to power your trading agents.
- Run a multi-agent market analysis via the interactive terminal.
- Access and review the generated analysis reports.
Prerequisites
Before you begin, you need:
The following model:
| Model type | Model | How to get it |
|---|---|---|
| Chat | Gemma 4 26B (Ollama) | Install from Market |
Optional: Use a different model
You can use a different model size or provider instead of the one listed above:
- Install a different model app from Market.
- Create a model instance from Engine Base apps to bring your own model.
If your AI agent app has the Olares CLI and Agent Skills installed, ask it to deploy the model and skip the manual setup. For example:
Deploy qwen3.5:9b on my Olares using the Ollama Engine Base.Install TradingAgents
Open Market, and search for "TradingAgents".
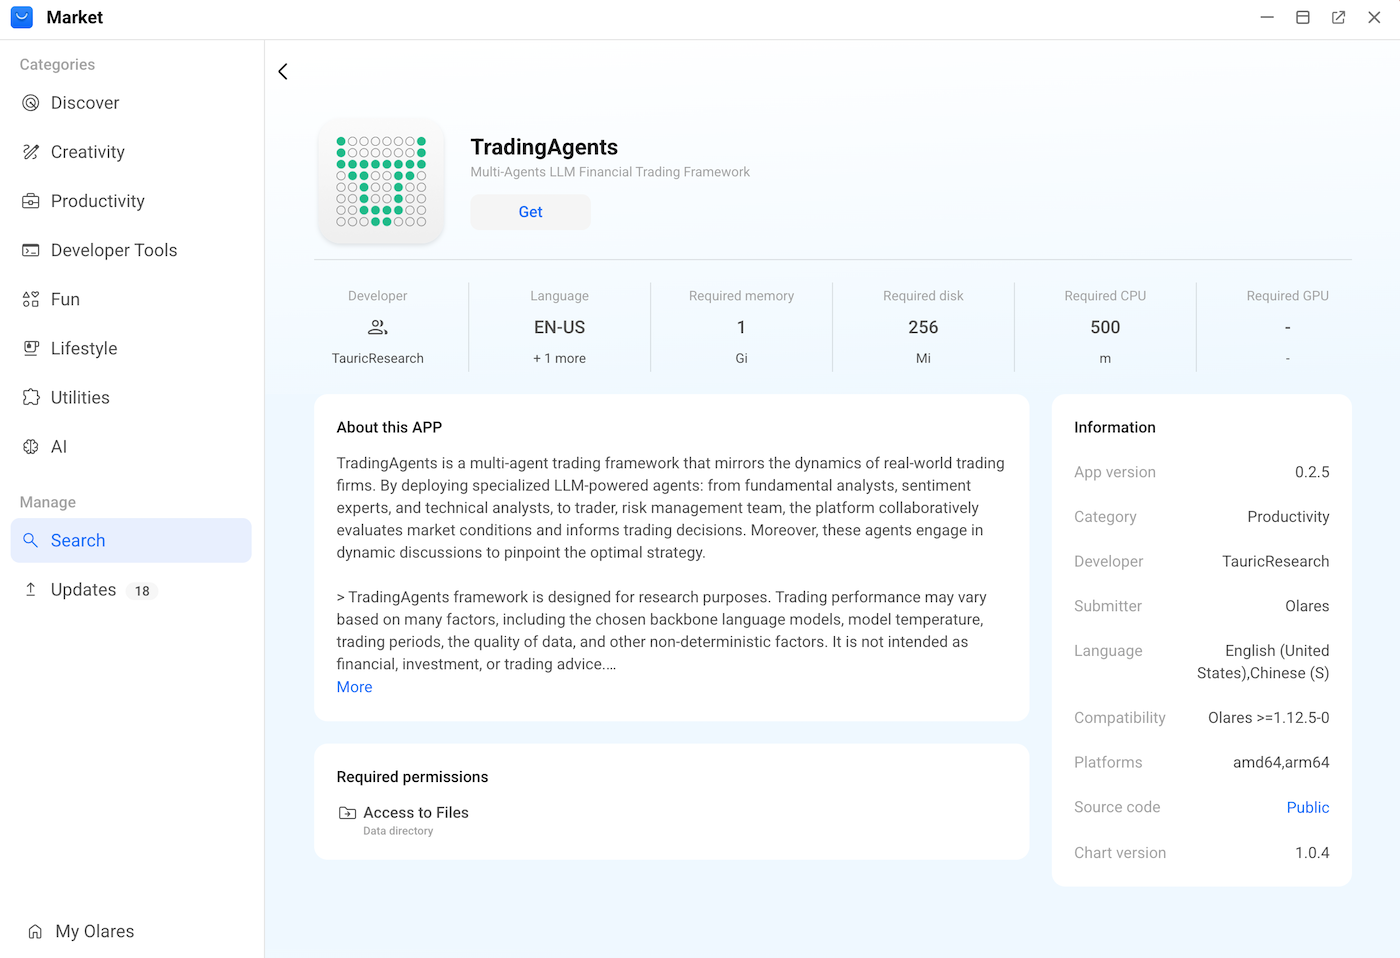
Click Get, and then click Install. Wait for the installation to finish.
Connect a local model
To power your AI agents, connect TradingAgents to a local model.
Get model connection details
Open the model app from Launchpad. Its Model Console opens automatically.
Wait until Model shows READY and Engine shows RUNNING.
Under Model, copy the Model name exactly as shown.
Under Engine:
a. Connection source: Select Apps in Olares.
b. API format: Select Ollama.
c. Copy the provided Base URL exactly as shown.
Configure TradingAgents
Open Settings, and then go to Applications > TradingAgents > Manage environment variables.
Click edit_square next to
OLLAMA_BASE_URL.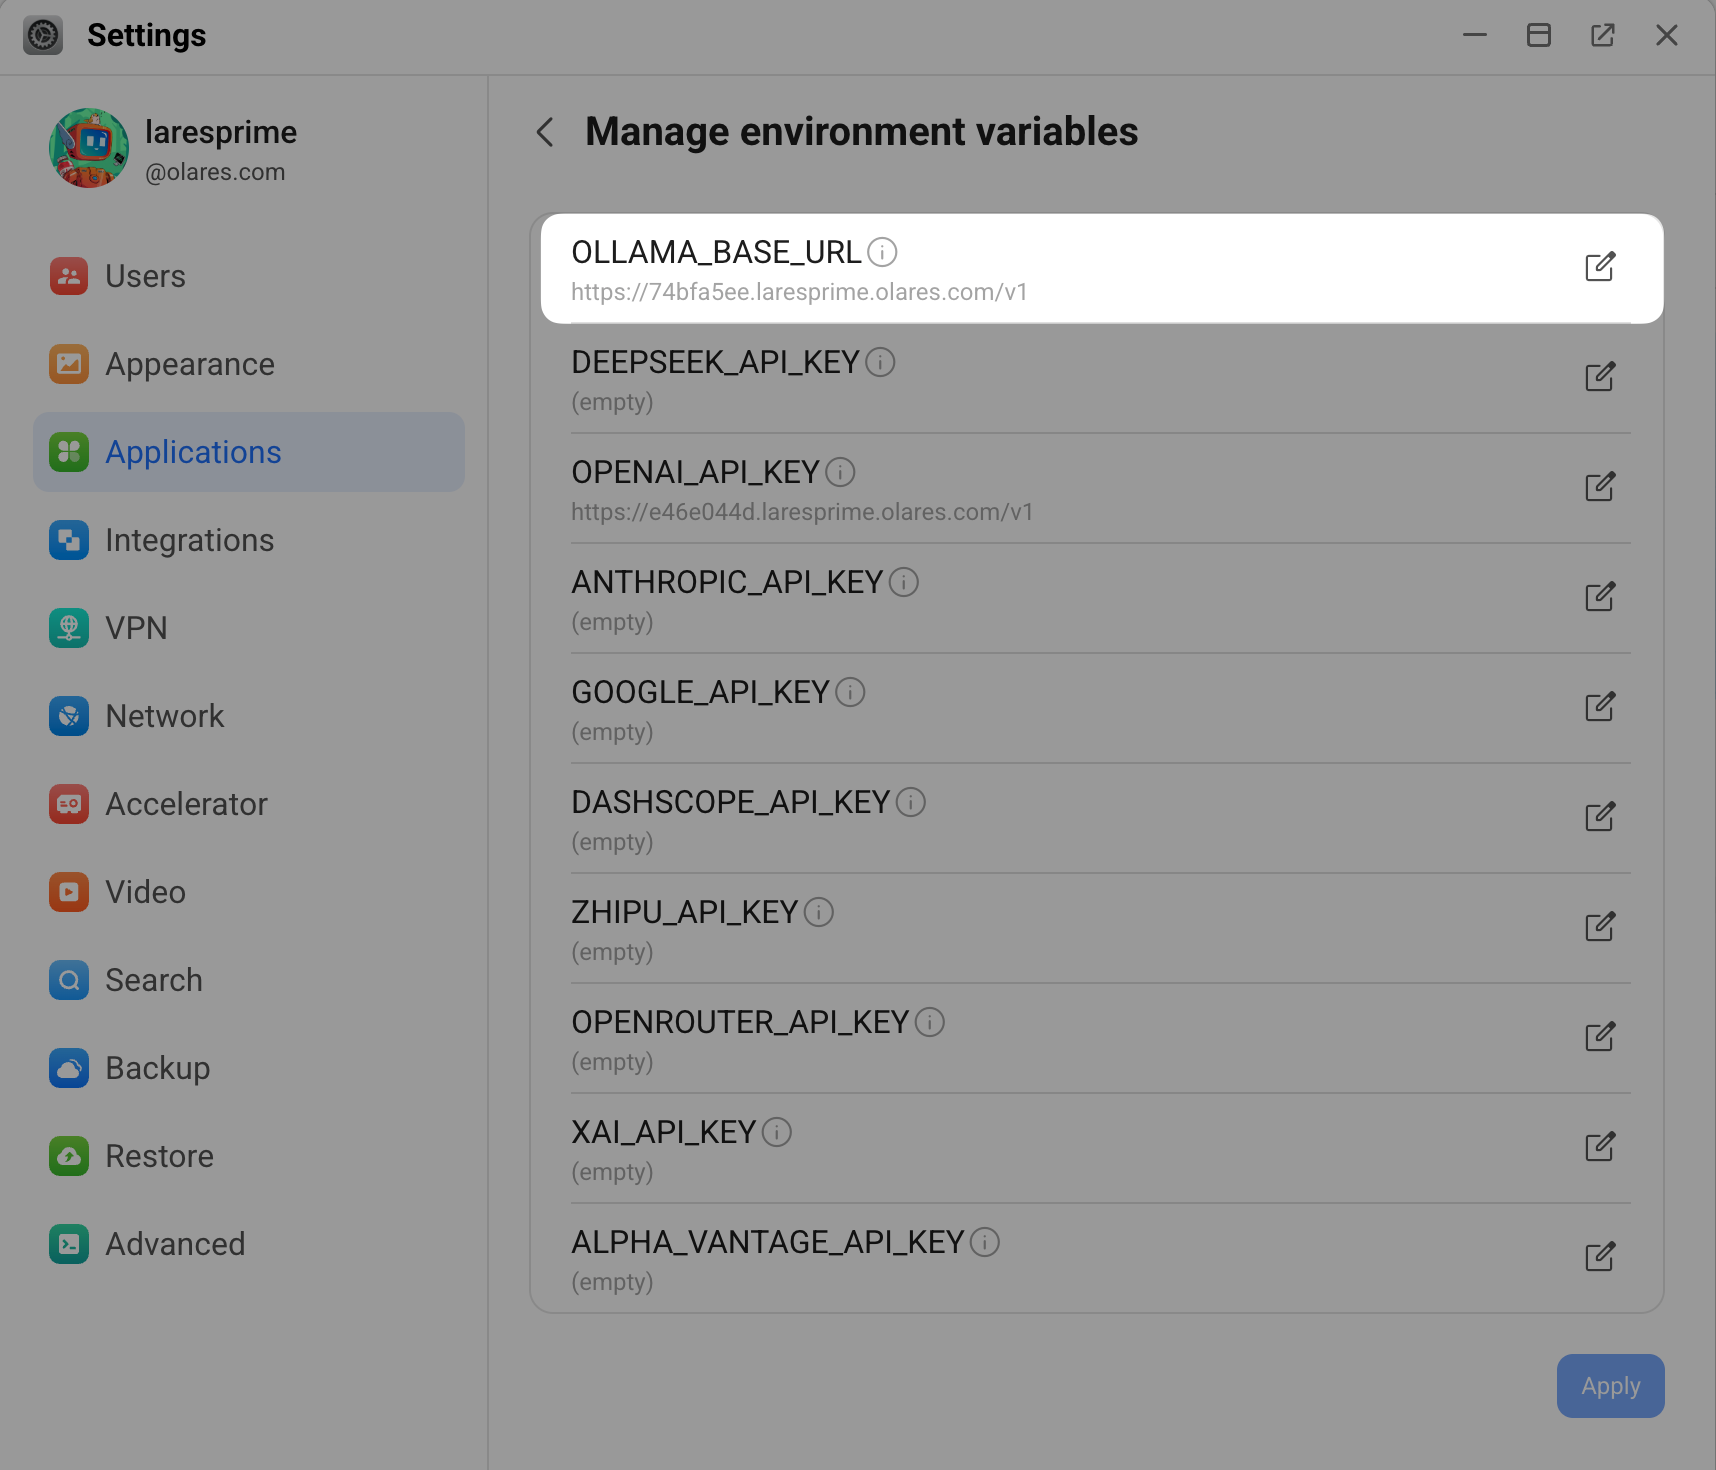
Enter the Base URL copied from the Model Console and append
/v1to the end. For example,https://74bfa5ee.laresprime.olares.com/v1.Click Confirm, and then click Apply.
Connect a cloud model
To use a cloud model instead of a local model, edit the corresponding API key variable, such as
OPENAI_API_KEYorANTHROPIC_API_KEY. Enter your key, click Confirm, and then click Apply.(Optional) To set advanced environment variables that are not listed in the UI, open Files, go to Data > tradingagents, and then open the
.envfile to add your custom configuration directly.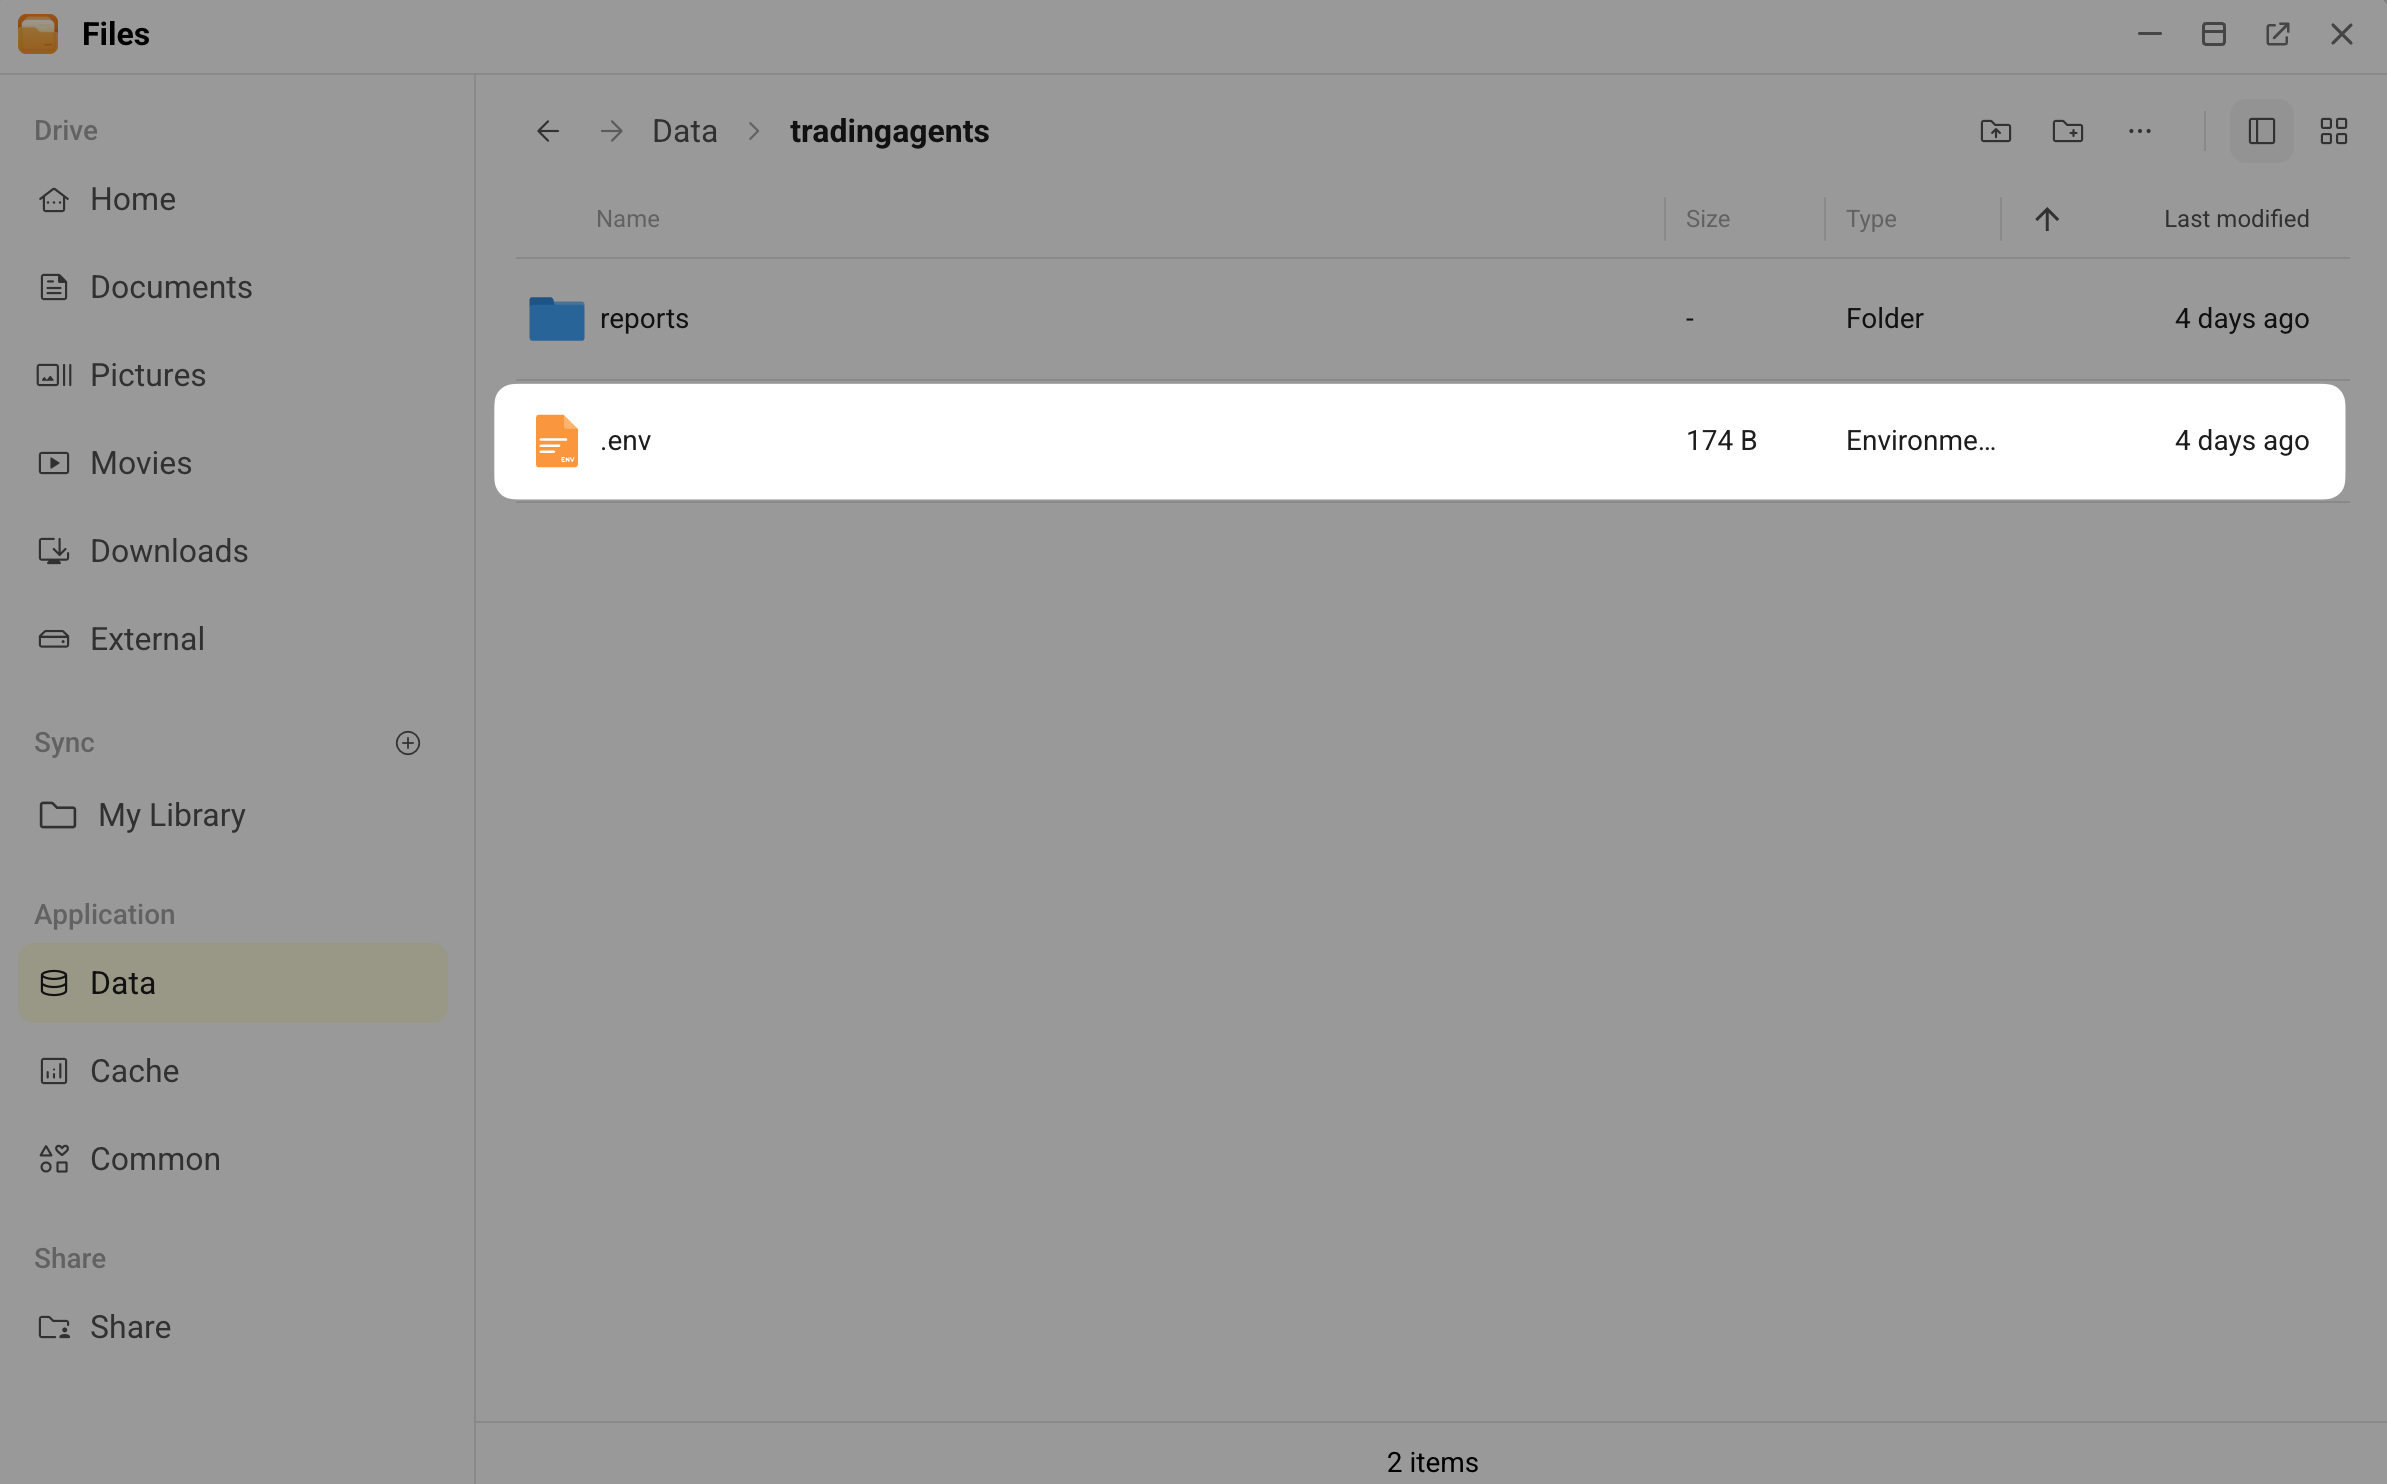
Run a market analysis
With your local model configured, start a market analysis session using the app's interactive command-line interface (CLI).
Open TradingAgents from the Launchpad.
In the terminal window, run the following command to start the framework:
bashtradingagents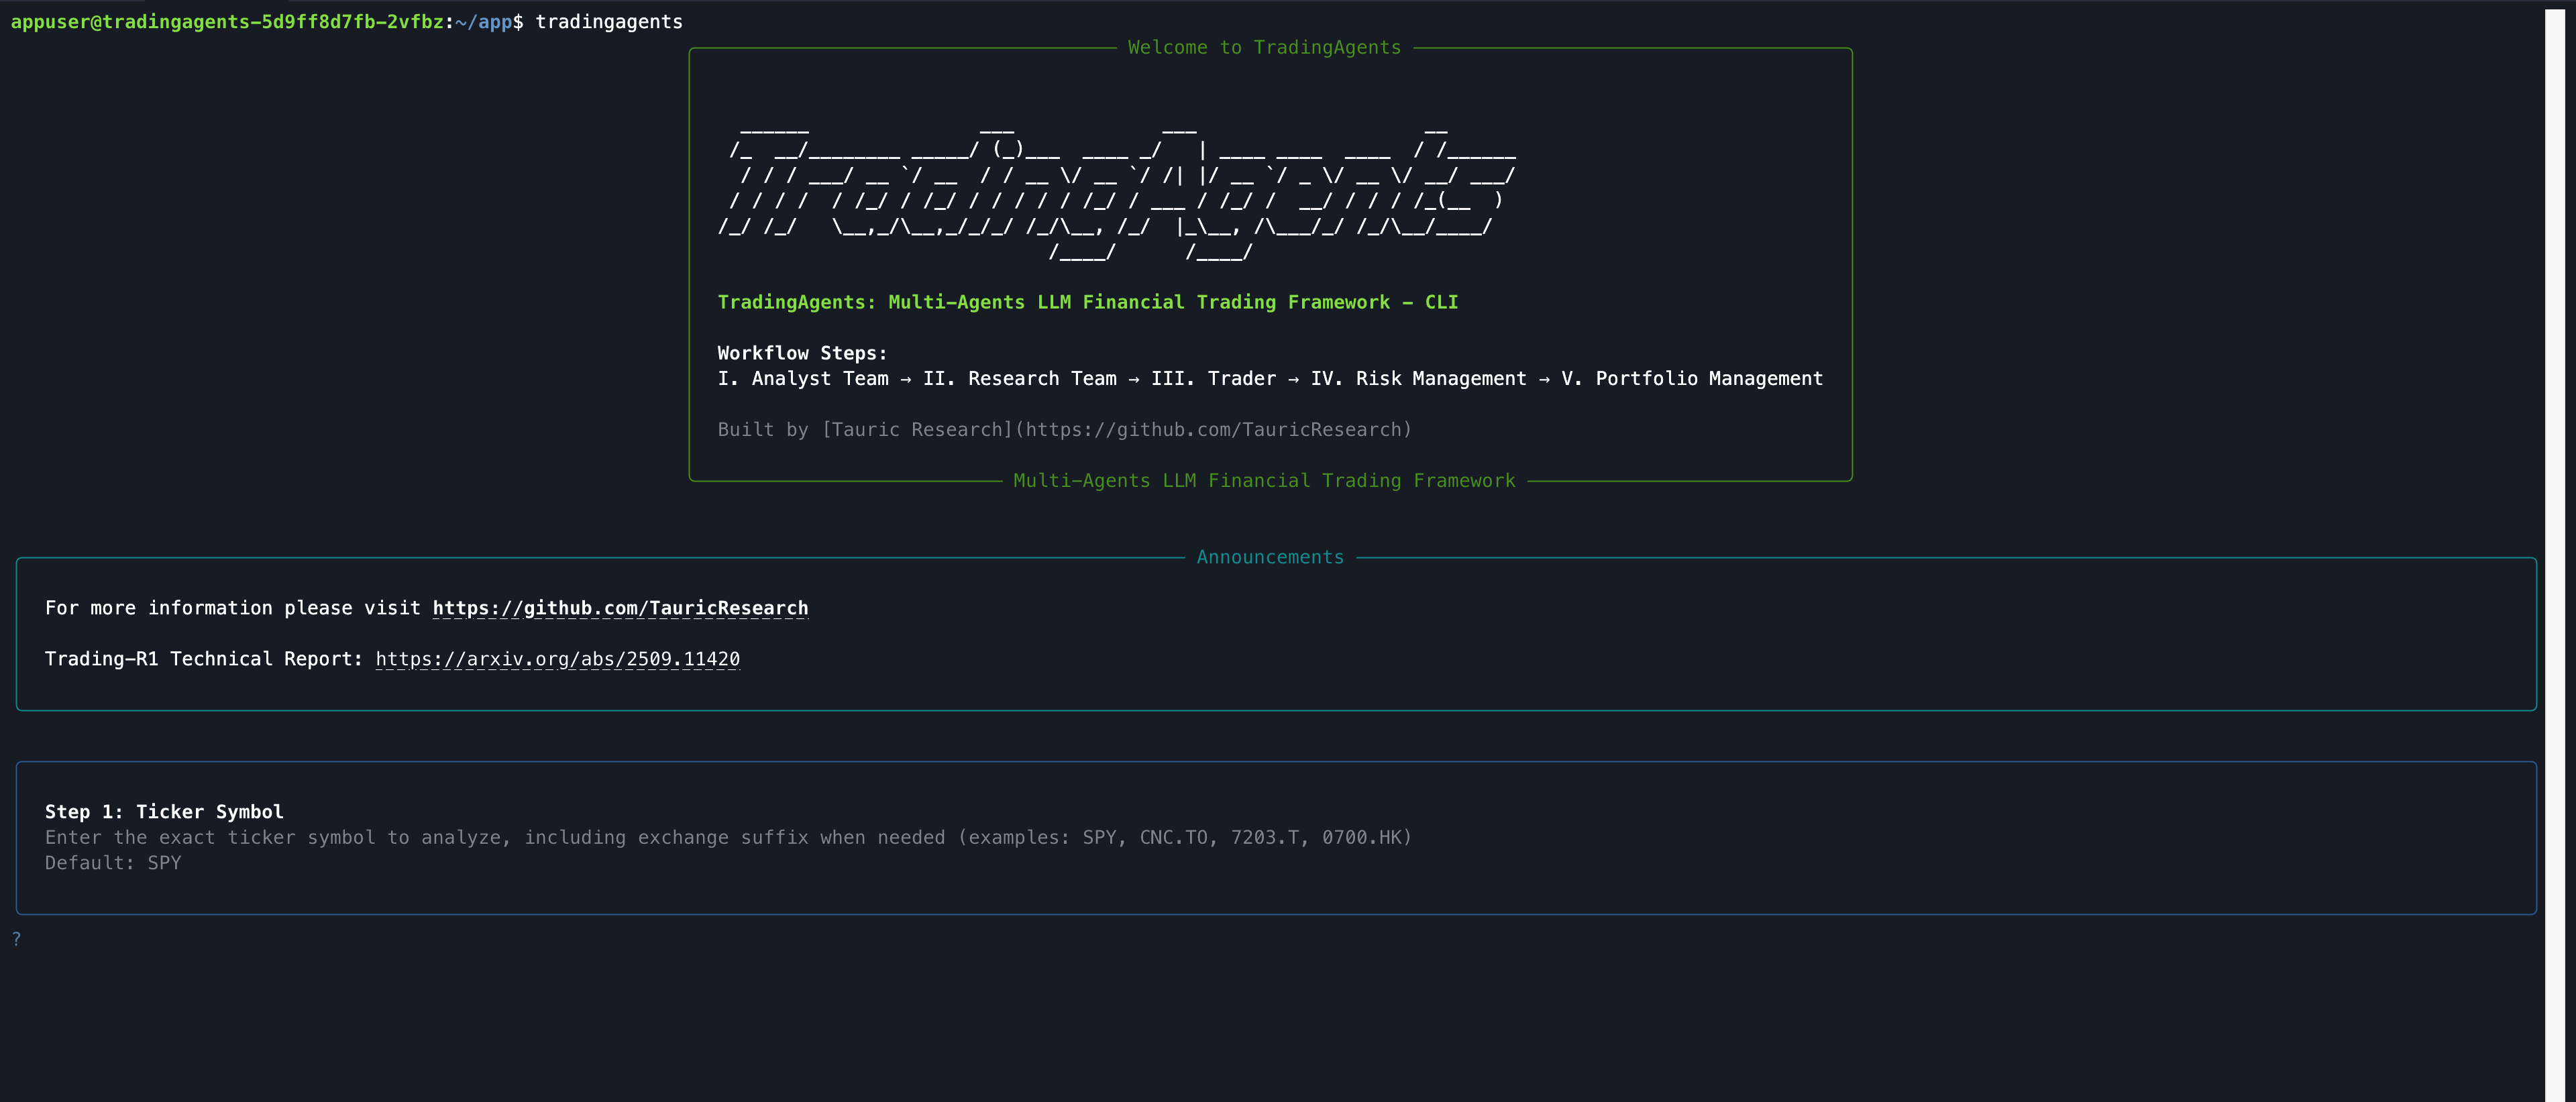
Follow the on-screen prompts to configure your analysis parameters step by step:
a. Ticker Symbol: Enter the exact ticker code for the asset you want to analyze. For example,
SPY.b. Analysis Date: Enter the target date for the analysis in the
YYYY-MM-DDformat. For example,2026-05-20.c. Select Output Language: Select the language for the generated reports.
d. Select Your [Analysts Team]: Select the specific AI analysts to include in the research, such as market, sentiment, news, and fundamental analysts.
Start with core analysts
News and sentiment analysts rely on live external data streams, which might fail or return inaccurate results if the sources are temporarily unavailable. For your first test run, select the market and fundamental analysts to familiarize yourself with the workflow.
e. Select Your [Research Depth]: Choose how thoroughly the agents should research and debate the strategy.
Start with the shallow depth
Deeper research requires significantly more time to process. Select the lowest depth for your initial run to understand the workflow before starting a comprehensive analysis.
f. Select Your LLM Provider: Select Ollama.
g. Select Your [Quick-Thinking LLM Engine]: Choose the model for quick analysis. If your local model is not listed, select Custom model ID, and then enter the exact model name copied from the Model Console.
h. Select Your [Deep-Thinking LLM Engine]: Choose the model for deep analysis. If your local model is not listed, select Custom model ID, and then enter the exact model name copied from the Model Console.
Review analysis reports
After you submit the configuration, the agents research, debate, and make decisions.
Monitor the live progress, tool usage, and internal agent debates directly in the terminal window.

When the analysis finishes, the terminal displays an executive summary and prompts you to save the comprehensive report.
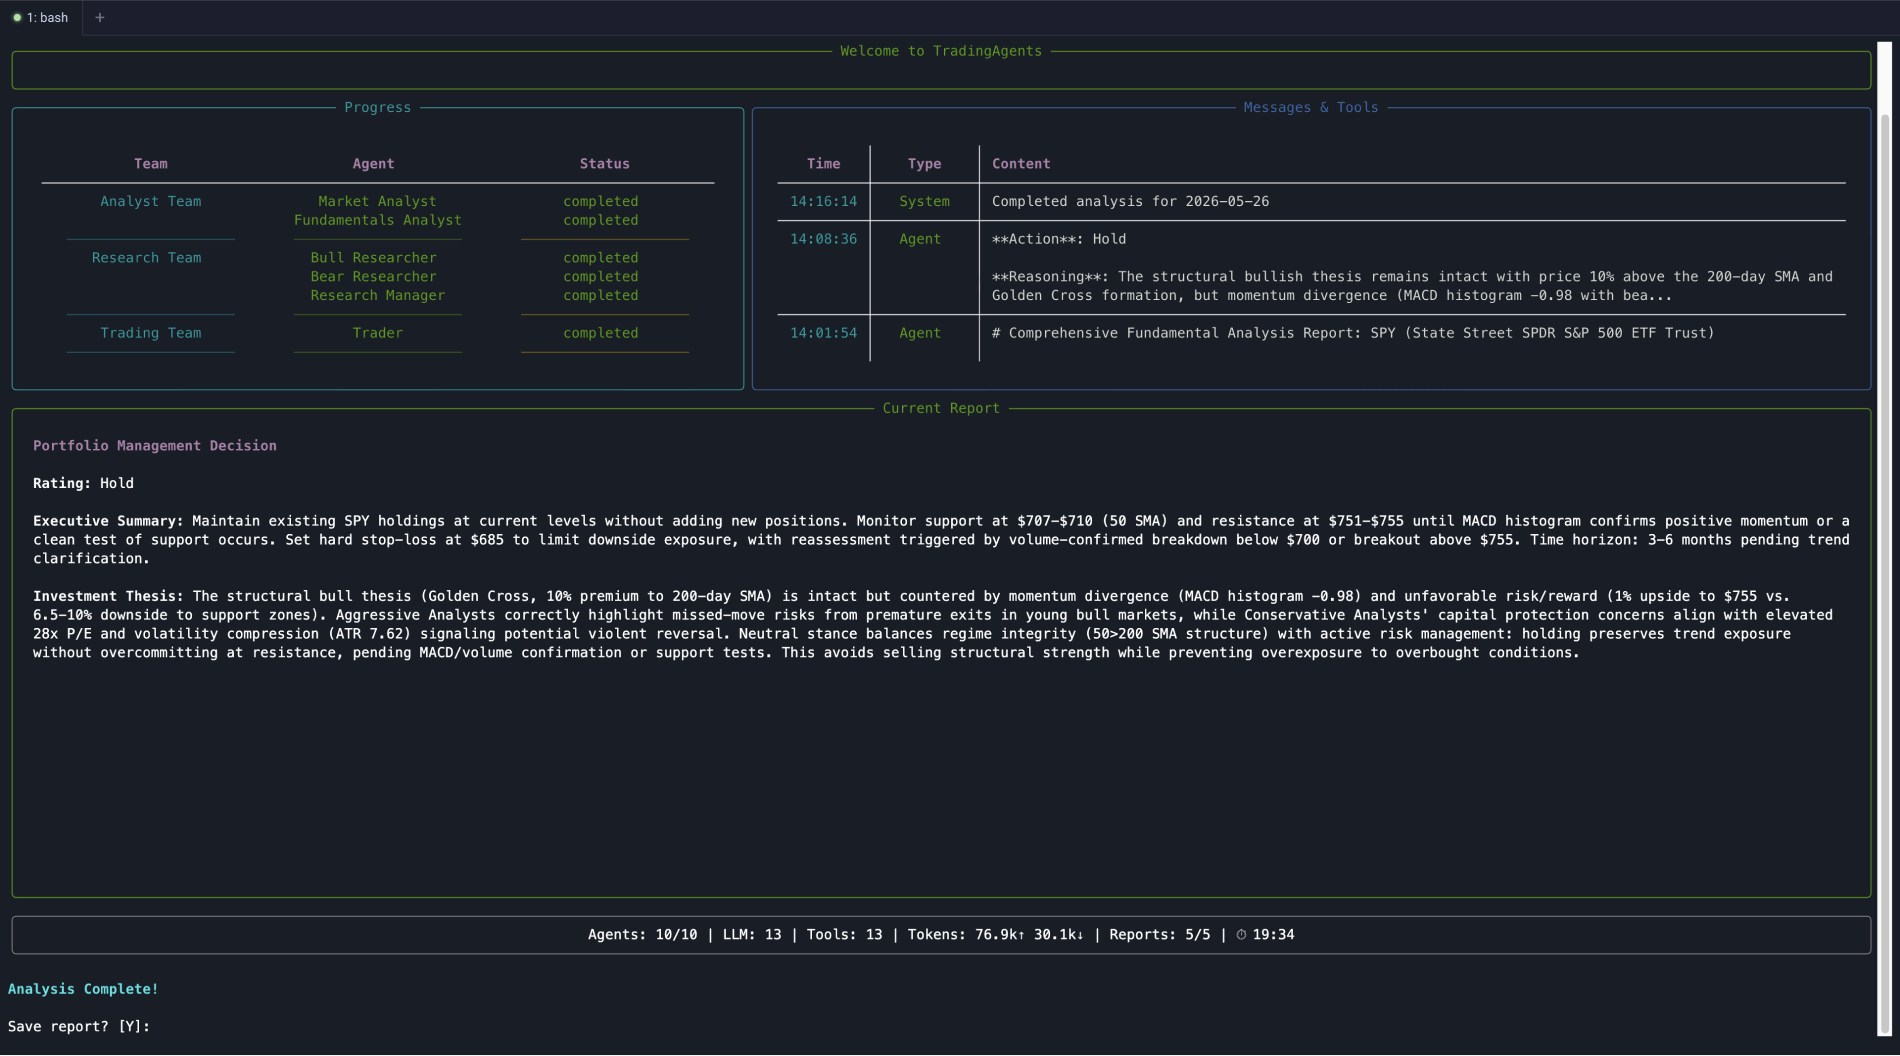
To save the report:
a. Type
y, and then press Enter.b. Press Enter again to confirm the default directory.
To display the full report on screen, type
y, and then press Enter.To view the detailed reports later:
a. Open Files, and then go to Data > tradingagents > reports.
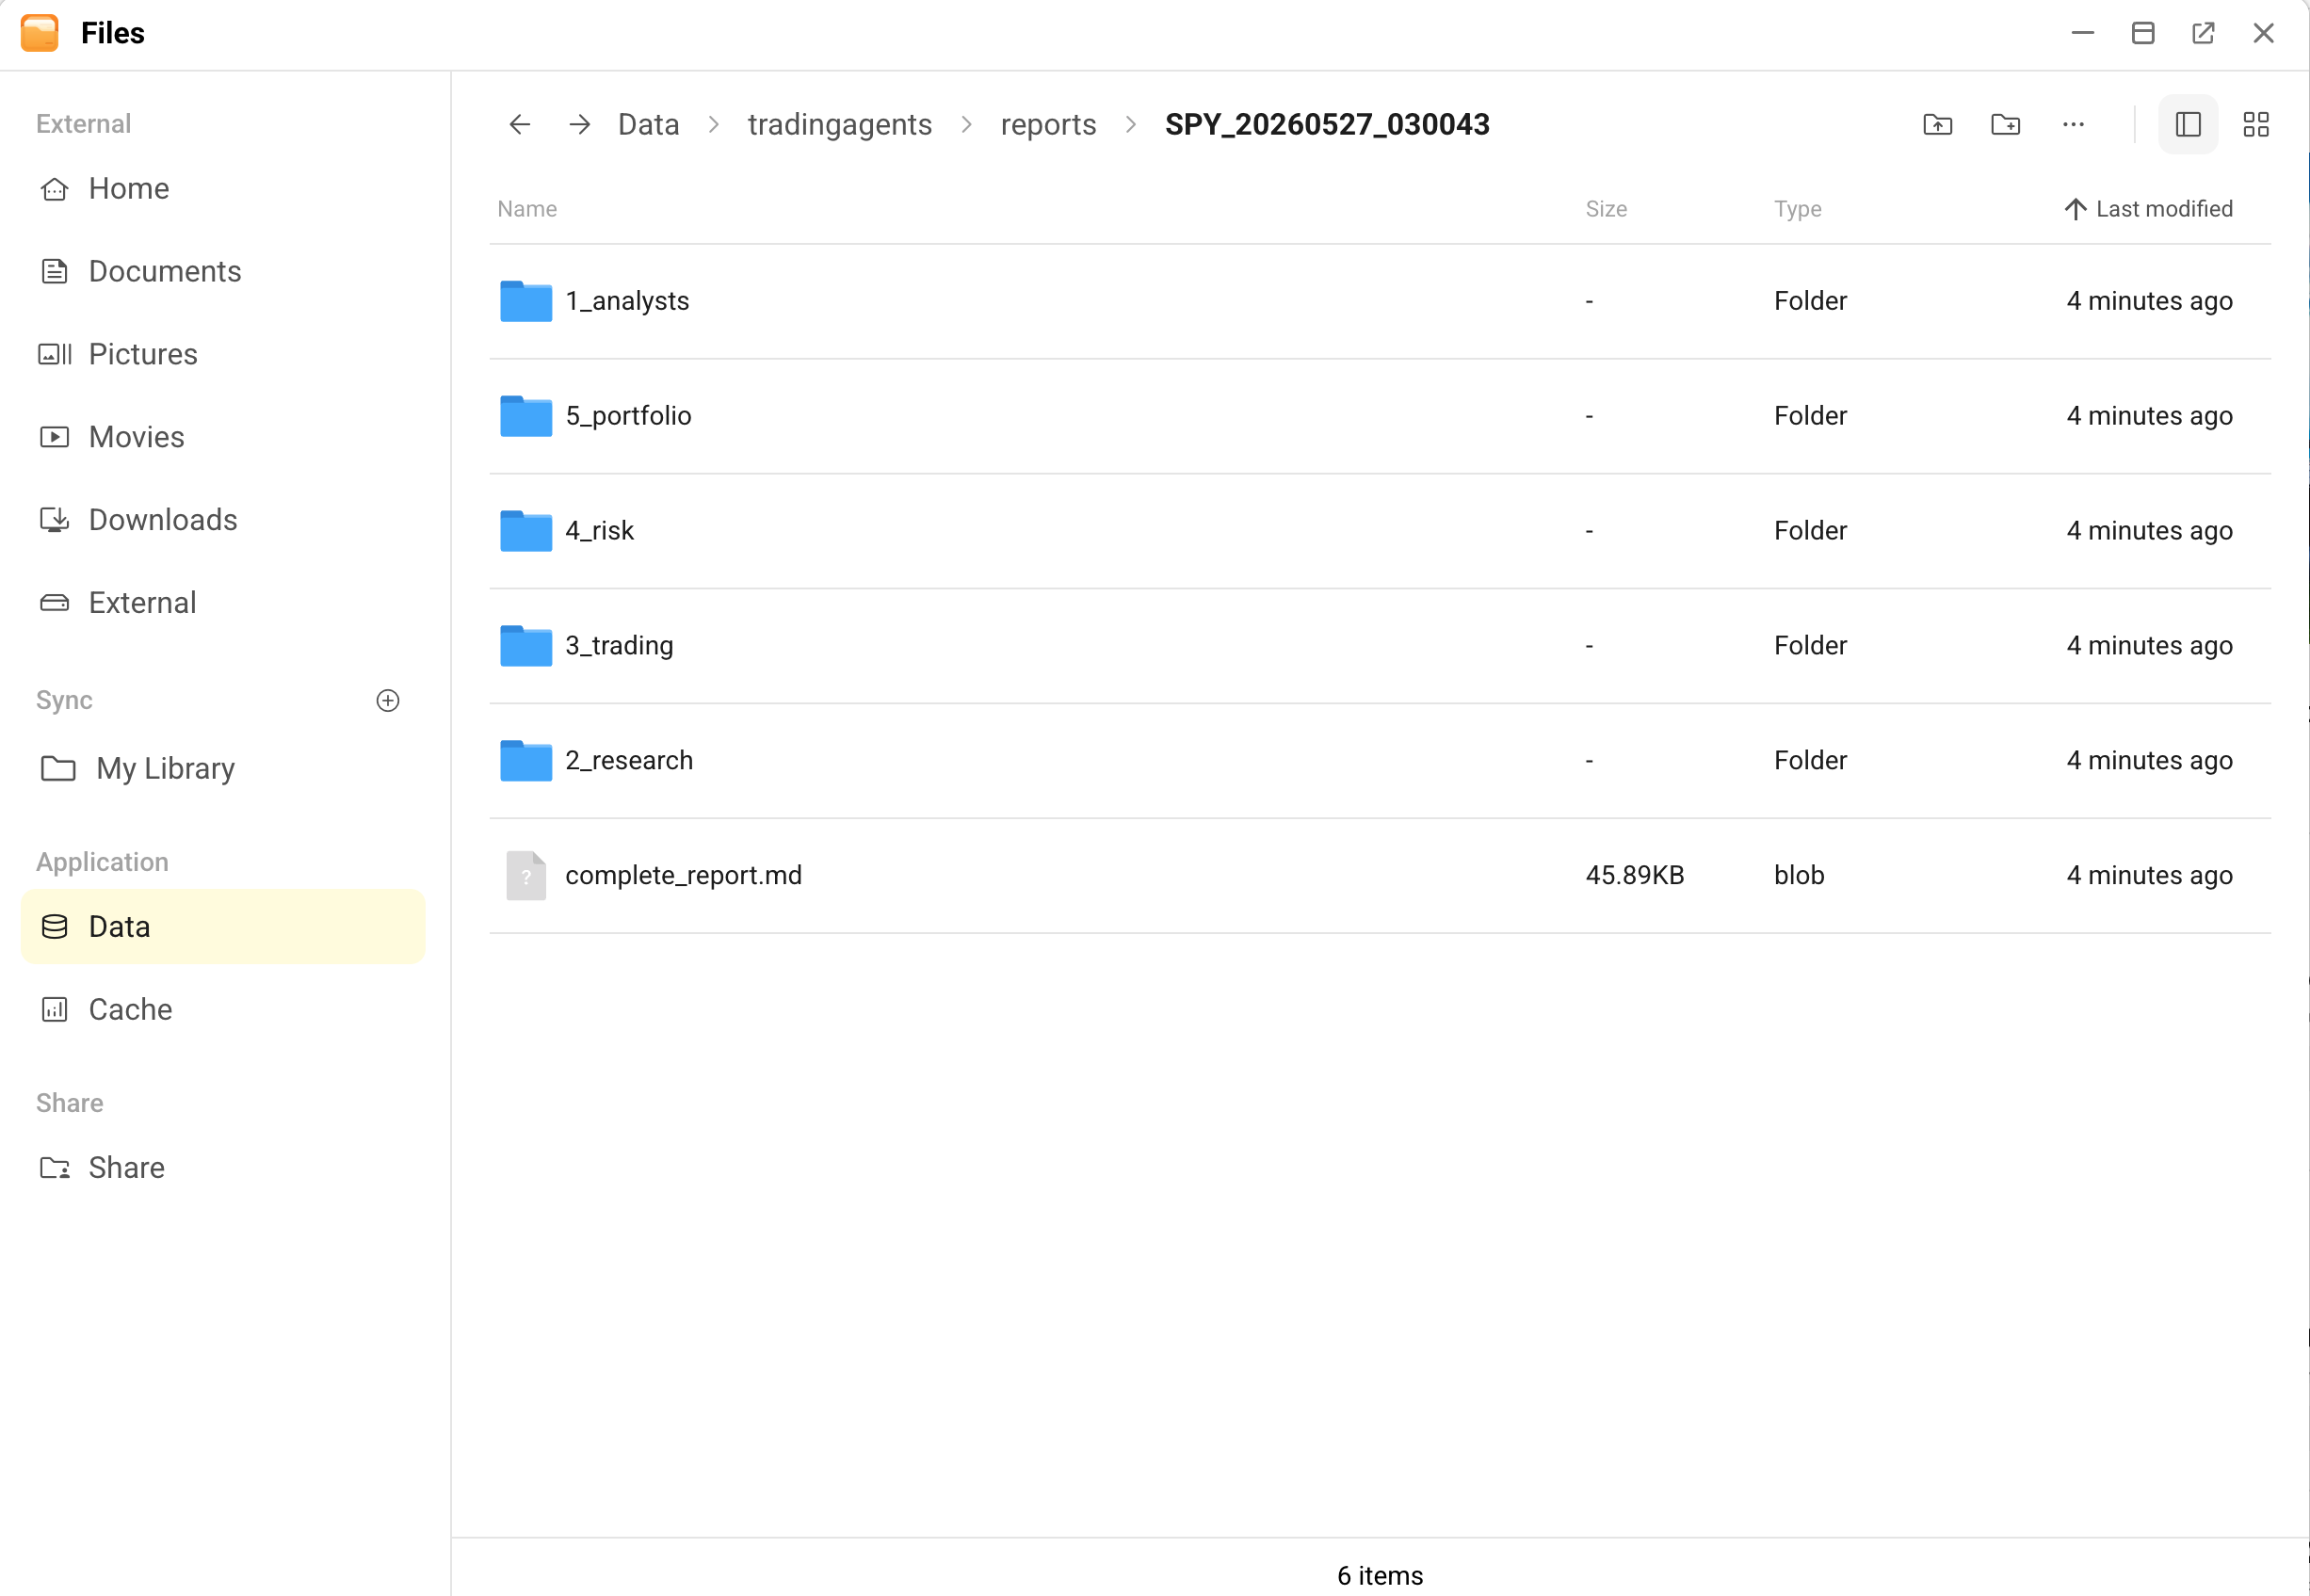
b. Open the specific analysis folder to access the markdown files generated by each analyst team and the final portfolio decision.
c. Download the markdown files and open them in an editor that supports markdown viewing to see the detailed analysis.