Build your private media server with Jellyfin
Jellyfin is a powerful, open-source software media server that puts you in full control of your media. By installing it on Olares, you can turn your device into a personal streaming platform, organizing movies, shows, and music into a beautiful library accessible securely from anywhere.
Learning objectives
In this guide, you will learn how to:
- Install and set up Jellyfin on your Olares device.
- Add and organize your media libraries.
- Optimize playback using hardware acceleration.
- Install community plugins.
- Access and stream your media securely from client devices.
- Play media on a TV and cast from Jellyfin after enabling overlay gateway.
Prerequisites
Before you begin, make sure:
- LarePass app installed on your client devices (desktop or mobile).
- Olares ID imported into the LarePass client.
Add media to Olares
Before setting up Jellyfin, you need to make sure your media is already available on Olares. You can add it in several ways:
- Upload files directly
Upload your media to the/Home/folder in Files. For better speed and progress visibility, use the LarePass desktop client to upload. - Mount an external drive
After you insert a USB drive to your Olares device, it will be automatically mounted and accessible. Files in it are under the/External/directory. - Mount a network share
If your media is on a NAS or other network server, you can connect it to Olares. For detailed instructions, see Mount SMB shares.
Naming conventions
Correct file naming is the key to accurate metadata and beautiful posters in Jellyfin. Follow Jellyfin's official guidelines for accurate metadata:
Folder organization
Keep movies and TV shows in separate folders for easier management and correct metadata retrieval.
Install and configure Jellyfin
With your media ready, install Jellyfin and complete its setup wizard.
Install Jellyfin
- Open Market and search for "Jellyfin".
- Click Get, click Install.
- In the Choose a hardware accelerator dialog, select the option that matches your hardware and Olares version:
- Olares 1.12.7 or later:
- Select Intel for an Intel integrated GPU.
- Select AMD for an AMD integrated GPU.
- Select CPU if you do not need hardware-accelerated transcoding.
- Olares 1.12.6: Select CPU. The Intel and AMD modes require the hardware acceleration support introduced in Olares 1.12.7, even if they appear in the dialog. To use the legacy hardware acceleration setup, see Legacy hardware acceleration on Olares 1.12.6.
- Olares 1.12.7 or later:
- Click Confirm, then wait for the installation to complete.
Already have Jellyfin installed?
Upgrading Jellyfin does not change the accelerator selected for the existing installation.
If you do not need hardware acceleration, upgrade Jellyfin normally. To enable hardware acceleration on Olares 1.12.7 or later, uninstall and reinstall Jellyfin, then select Intel or AMD in the accelerator dialog.
Keep your Jellyfin data
In the Uninstall Jellyfin? dialog, clear the Also remove all local data checkbox before clicking Uninstall. This checkbox is selected by default. Keeping the local data preserves your media libraries, users, settings, plugins, and other configuration for reinstallation.
Complete the initial setup
Follow the wizard prompts to finish configuring Jellyfin.
Select your preferred display language and click Next.
Create a username and password for your Jellyfin admin account, and click Next.
When prompted to set up your media libraries, you can skip this step for now.
For metadata, select your preferred language and country and click Next.
For remote access, keep the default settings (unchecked) and click Next. Olares VPN will handle secure remote access.
Click Finish to complete the setup wizard.
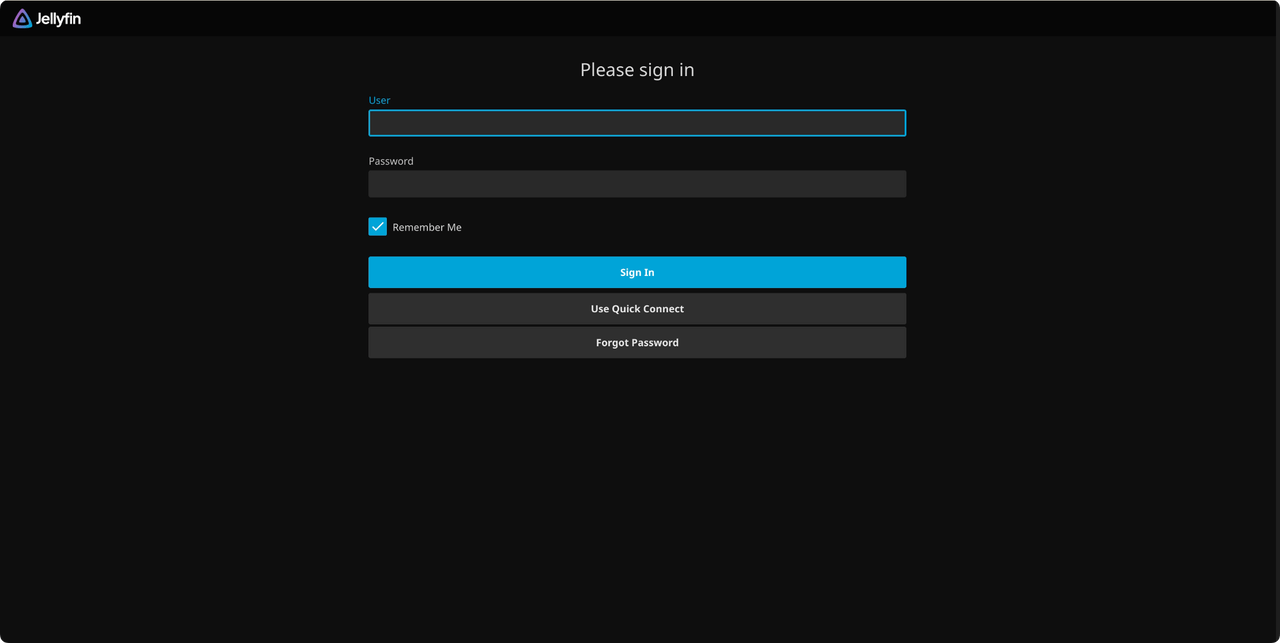
You will be taken to the login page. Sign in with the admin credentials you just created.
Add media libraries
With Jellyfin installed and running, the next step is to tell it where your media is stored.
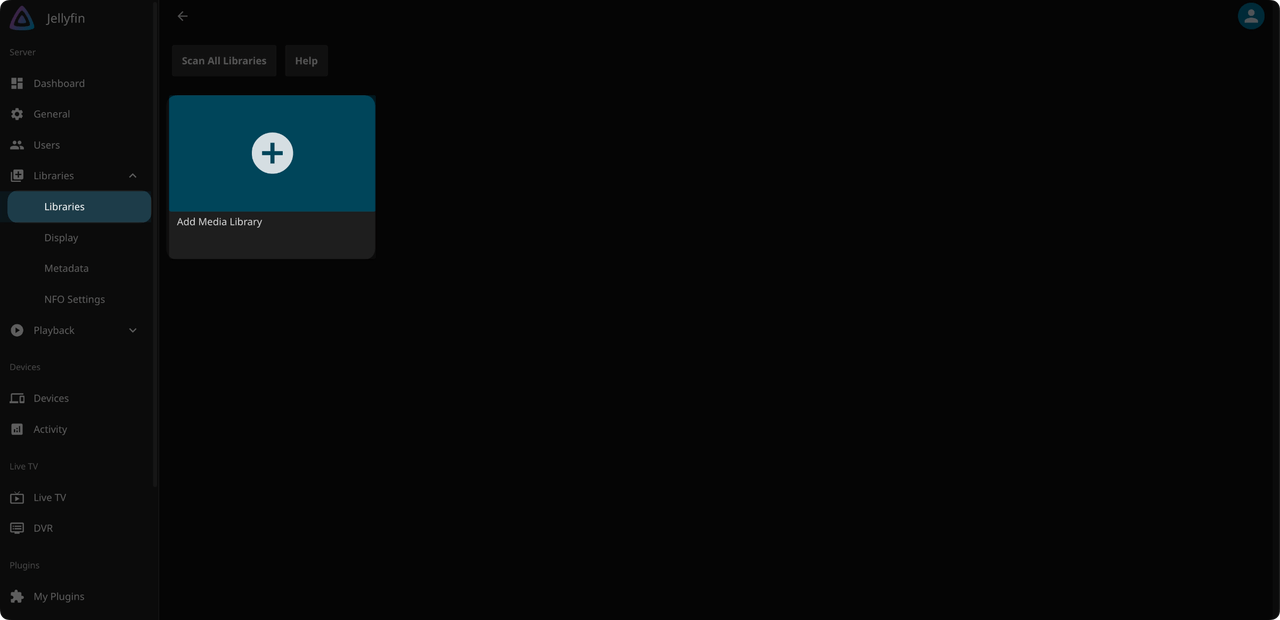
In Jellyfin's sidebar, go to Dashboard > Libraries > Libraries.
Click Add Media Library.
Configure media library settings:
- Content type: Choose the type of media (e.g., Movies, Shows, Music). For folders containing both movies and TV shows, choose Mixed Movies and Shows.
- Display name: Enter the name to display for the library.
- Folders: Click + to add the path to your media.
- Olares Files:
/olares/userdata/home/<YourMediaFolder> - External storage:
/olares/userdata/external/<YourMediaFolder>
- Olares Files:
Click Ok to save, and repeat for other media types (e.g., one for "Movies", one for "TV Shows").
Once saved, Jellyfin will automatically scan your folders and begin building your library. This process may take several minutes, depending on the size of your collection.
Enable hardware acceleration for transcoding
Hardware acceleration reduces CPU usage when Jellyfin needs to transcode video. Transcoding may be required when the client does not support the original format, the resolution or bitrate must be reduced, HDR content must be converted to SDR, or subtitles need to be burned into the video.
Jellyfin still prioritizes Direct Play and Remux. Hardware acceleration is used only when transcoding is required.
If you selected the Intel or AMD accelerator when installing Jellyfin:
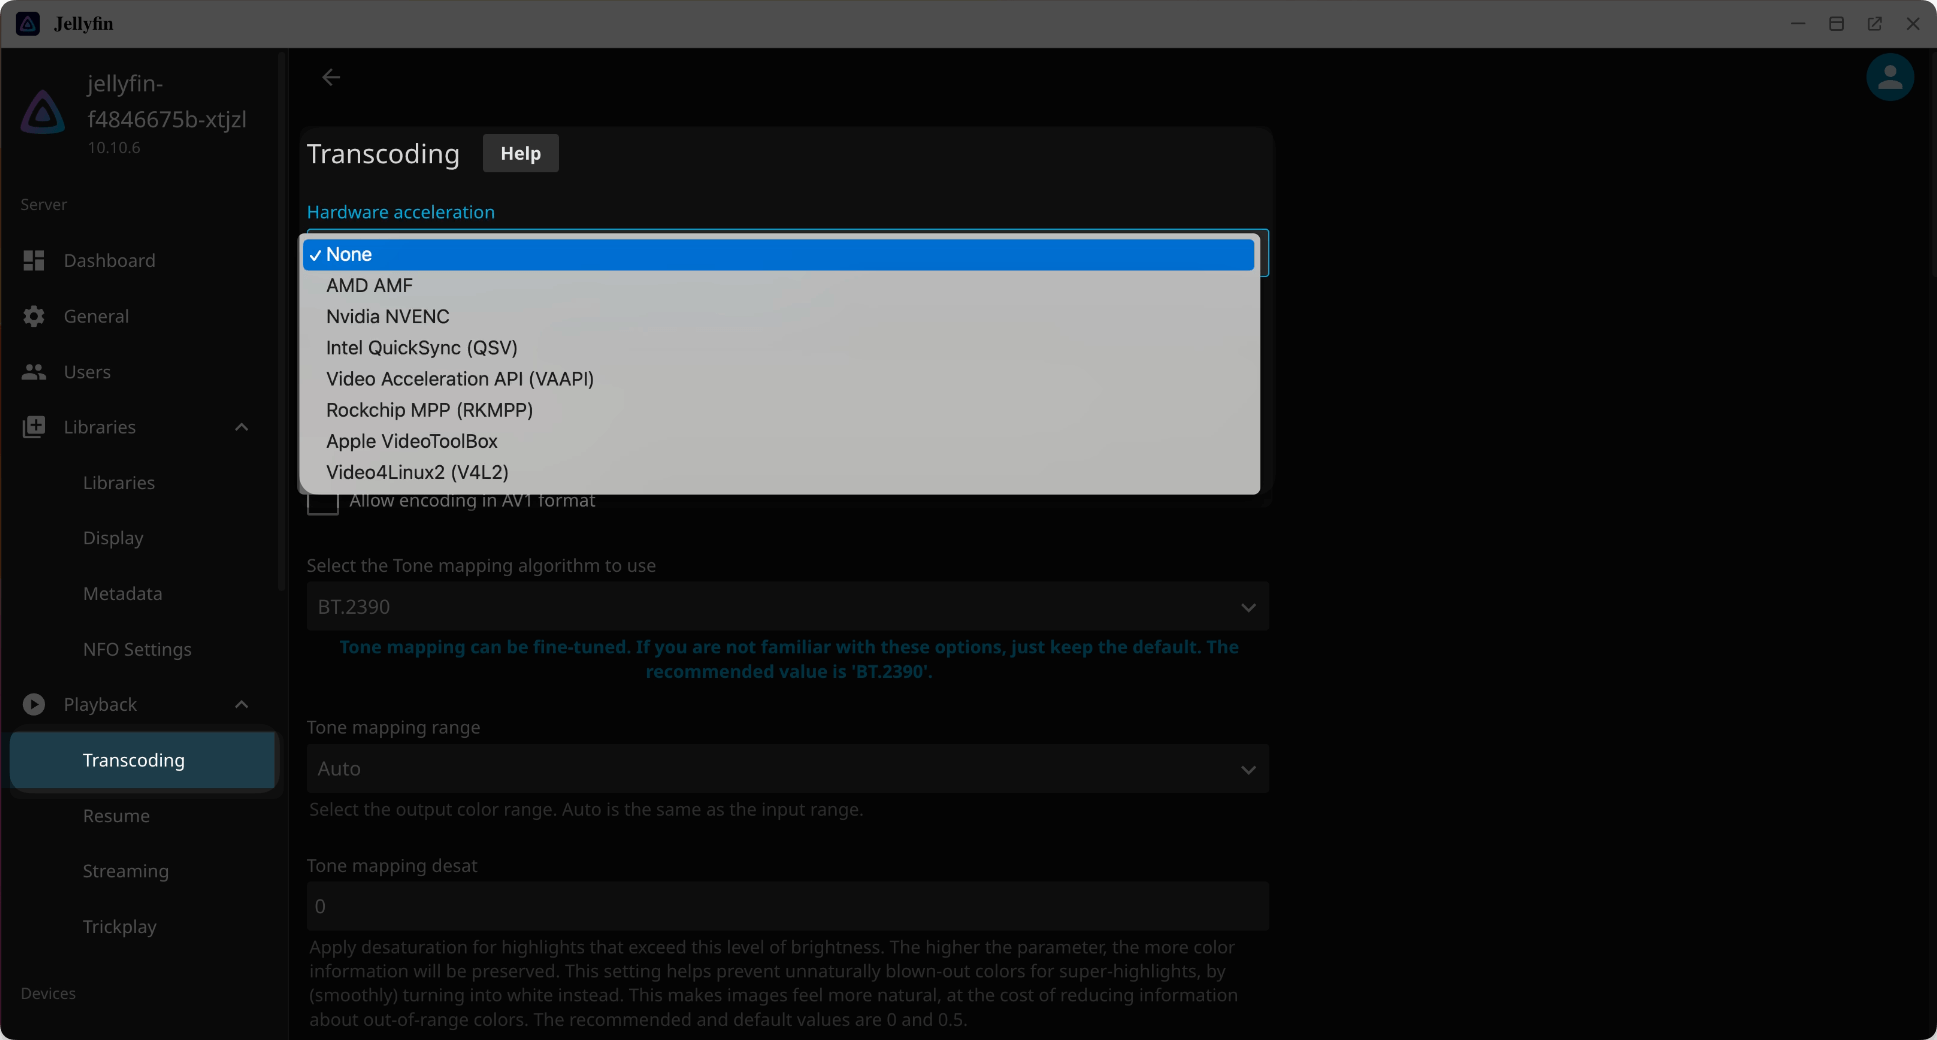
- In the Jellyfin Dashboard, go to Playback > Transcoding.
- Under Hardware acceleration, select the option that matches your integrated GPU:
- For Intel, select Intel Quicksync (QSV).
- For AMD, select Video Acceleration API (VAAPI).
- Select the codecs supported by your GPU. For example, enable hardware encoding for
H264,HEVC, andHEVC 10bitif your hardware supports them. - Keep the other options at their default values, then save the changes.
Hardware capabilities vary by device. For supported acceleration methods and configuration details, refer to the official Jellyfin hardware acceleration documentation.
Best practices
For a home theater setup, use a TV or media player that supports HEVC Main 10, HDR10, SRT subtitles, and common audio formats so Jellyfin can use Direct Play whenever possible. Hardware-accelerated transcoding is mainly intended to resolve format compatibility issues or improve playback over remote or bandwidth-limited networks. It should not replace Direct Play.
Hosts with integrated and NVIDIA GPUs
On a host with both an integrated GPU and an NVIDIA discrete GPU, only the device nodes bound to the selected integrated GPU remain available to Jellyfin for hardware transcoding. This prevents Intel Quick Sync Video (QSV) from failing when it enumerates an NVIDIA device. No additional device configuration is required.
Legacy hardware acceleration on Olares 1.12.6
The following steps use Intel Quick Sync Video (QSV) on Olares One as an example of the Olares 1.12.6 setup:
Install Jellyfin with the CPU accelerator.
Go to Settings > Applications > Jellyfin > Manage Environment Variables.
Set
ENABLE_HW_ACCELtotrue.Set
VIDEO_GIDandRENDER_GIDto the IDs of the corresponding groups on the host. The default values for Olares One are44and994.On other devices, open the Olares terminal from Control Hub and run:
bashgetent group video getent group render ls -ln /dev/driSave the changes. Olares restarts Jellyfin automatically.
In the Jellyfin Dashboard, go to Playback > Transcoding.
Under Hardware acceleration, select Intel Quicksync (QSV).
Select the supported codecs, then save the changes.
Enhance experience with community plugins
You can install plugins to improve metadata, fetch better artwork, and add new features.
The process for installing plugins is the same for all. The following example uses Skin Manager, available from: https://github.com/danieladov/jellyfin-plugin-skin-manager.
Click Dashboard, then scroll down to Plugins.
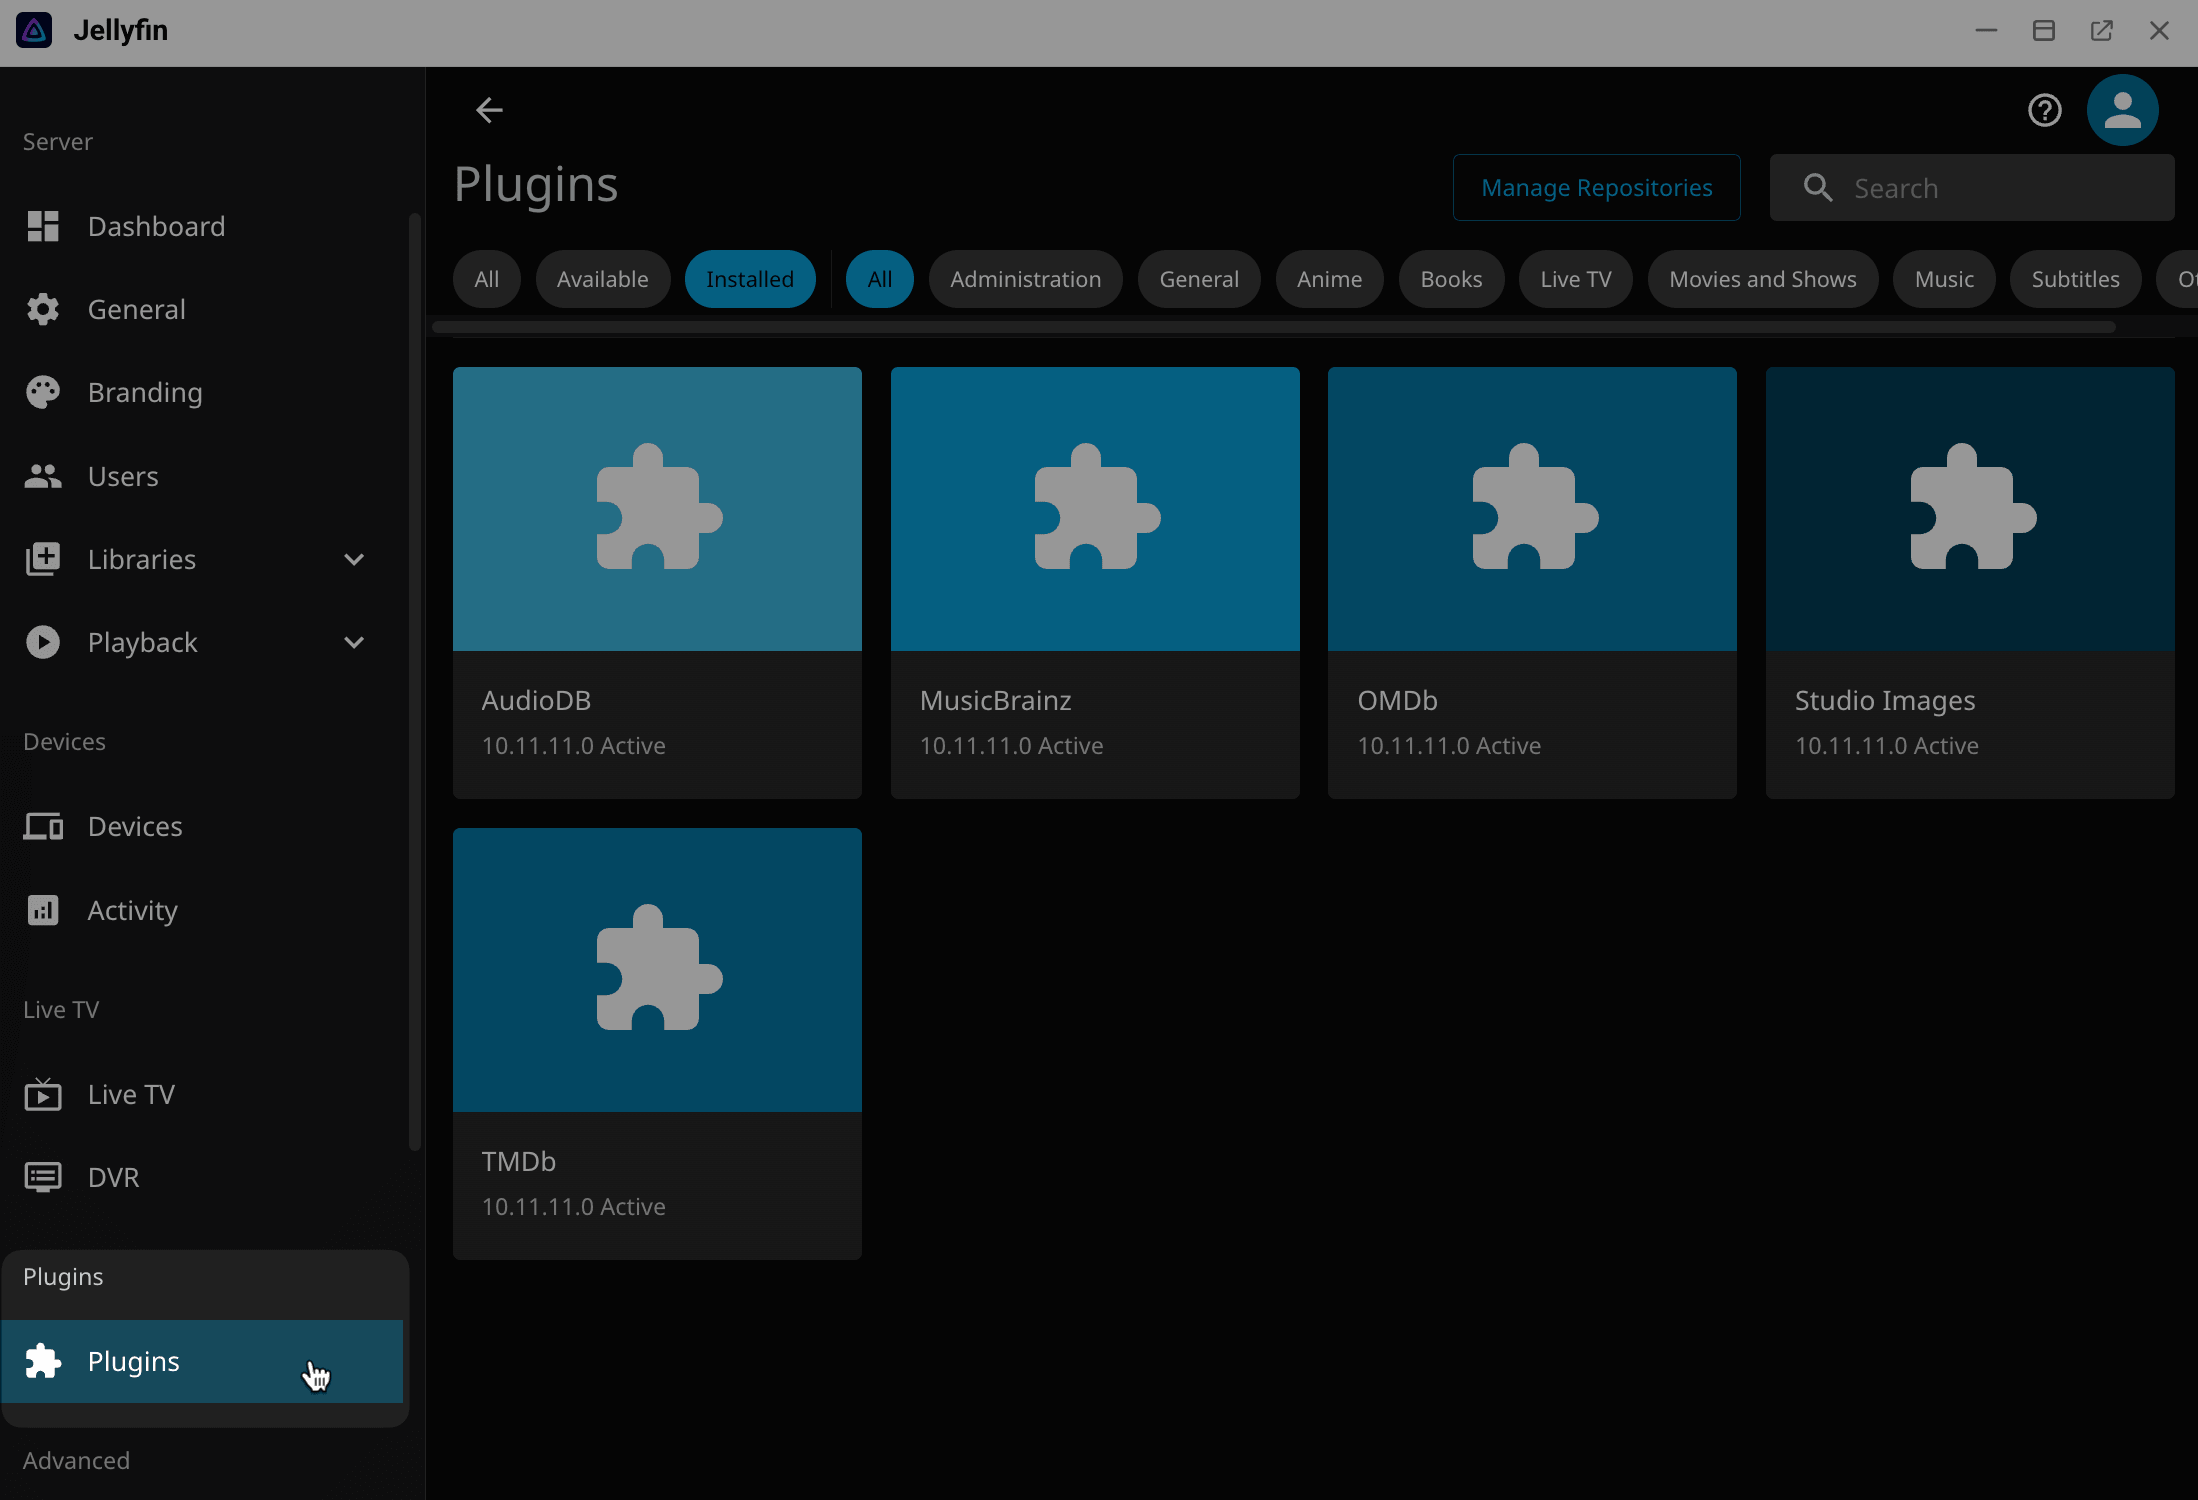
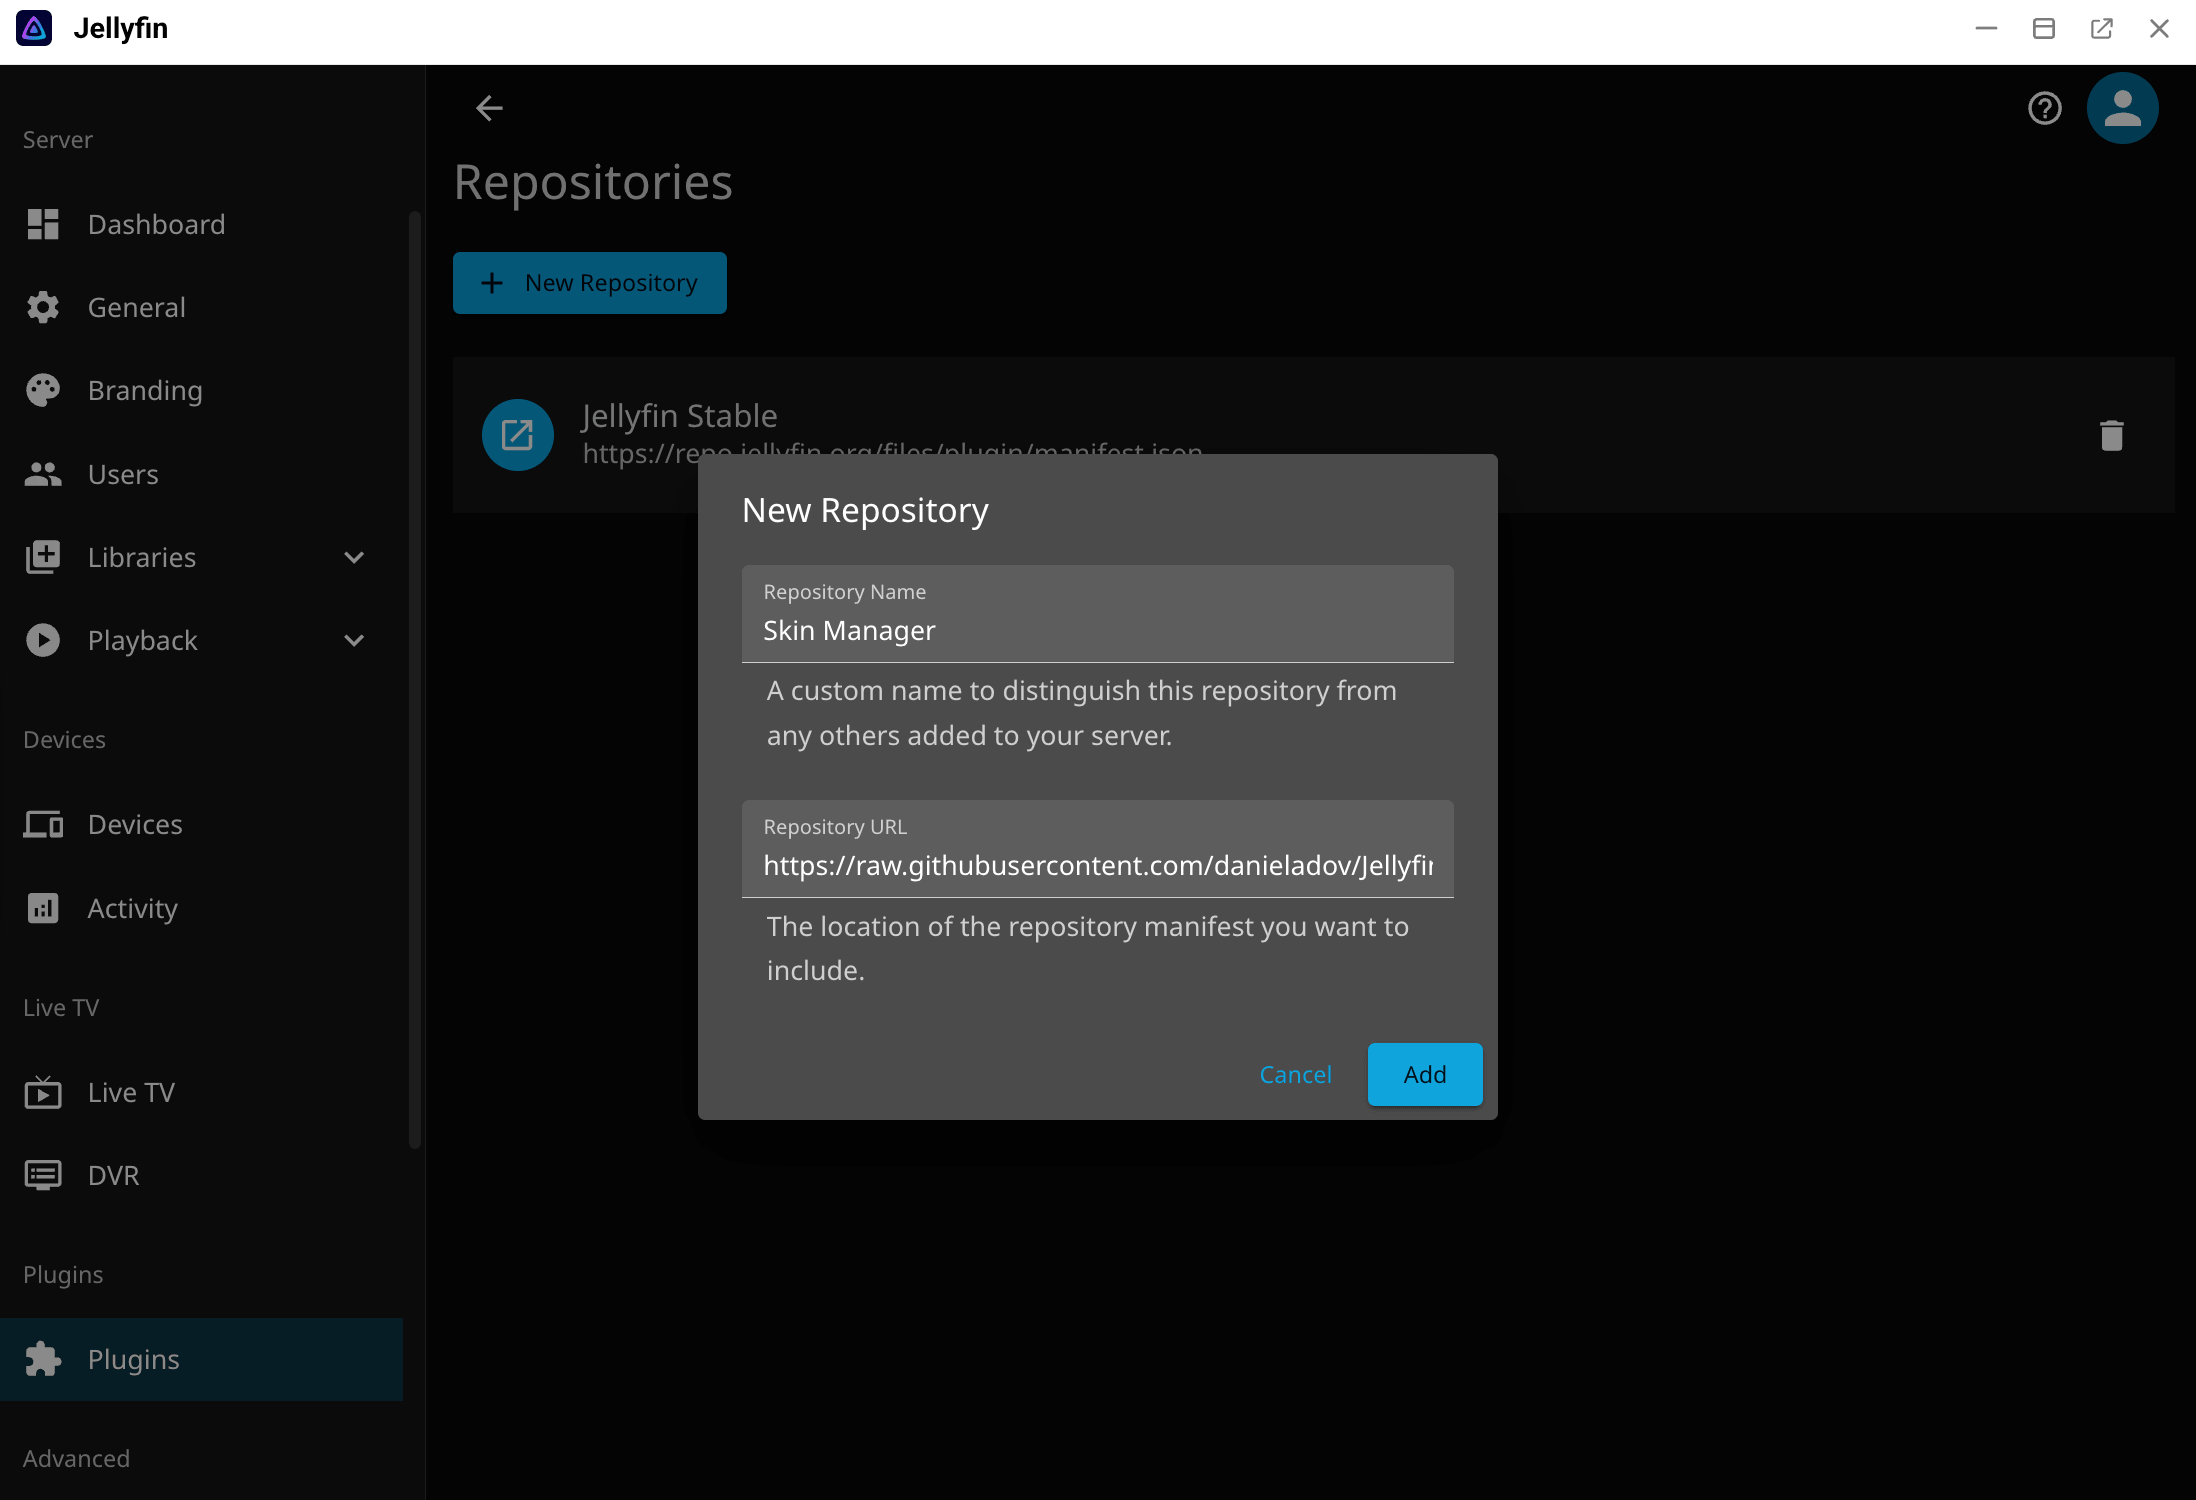
Click Manage Repositories in the upper-right corner to go to the Repositories page, then click + New Repository to add a new repository.
Enter the Repository Name and Repository URL of the plugin, and click Add.
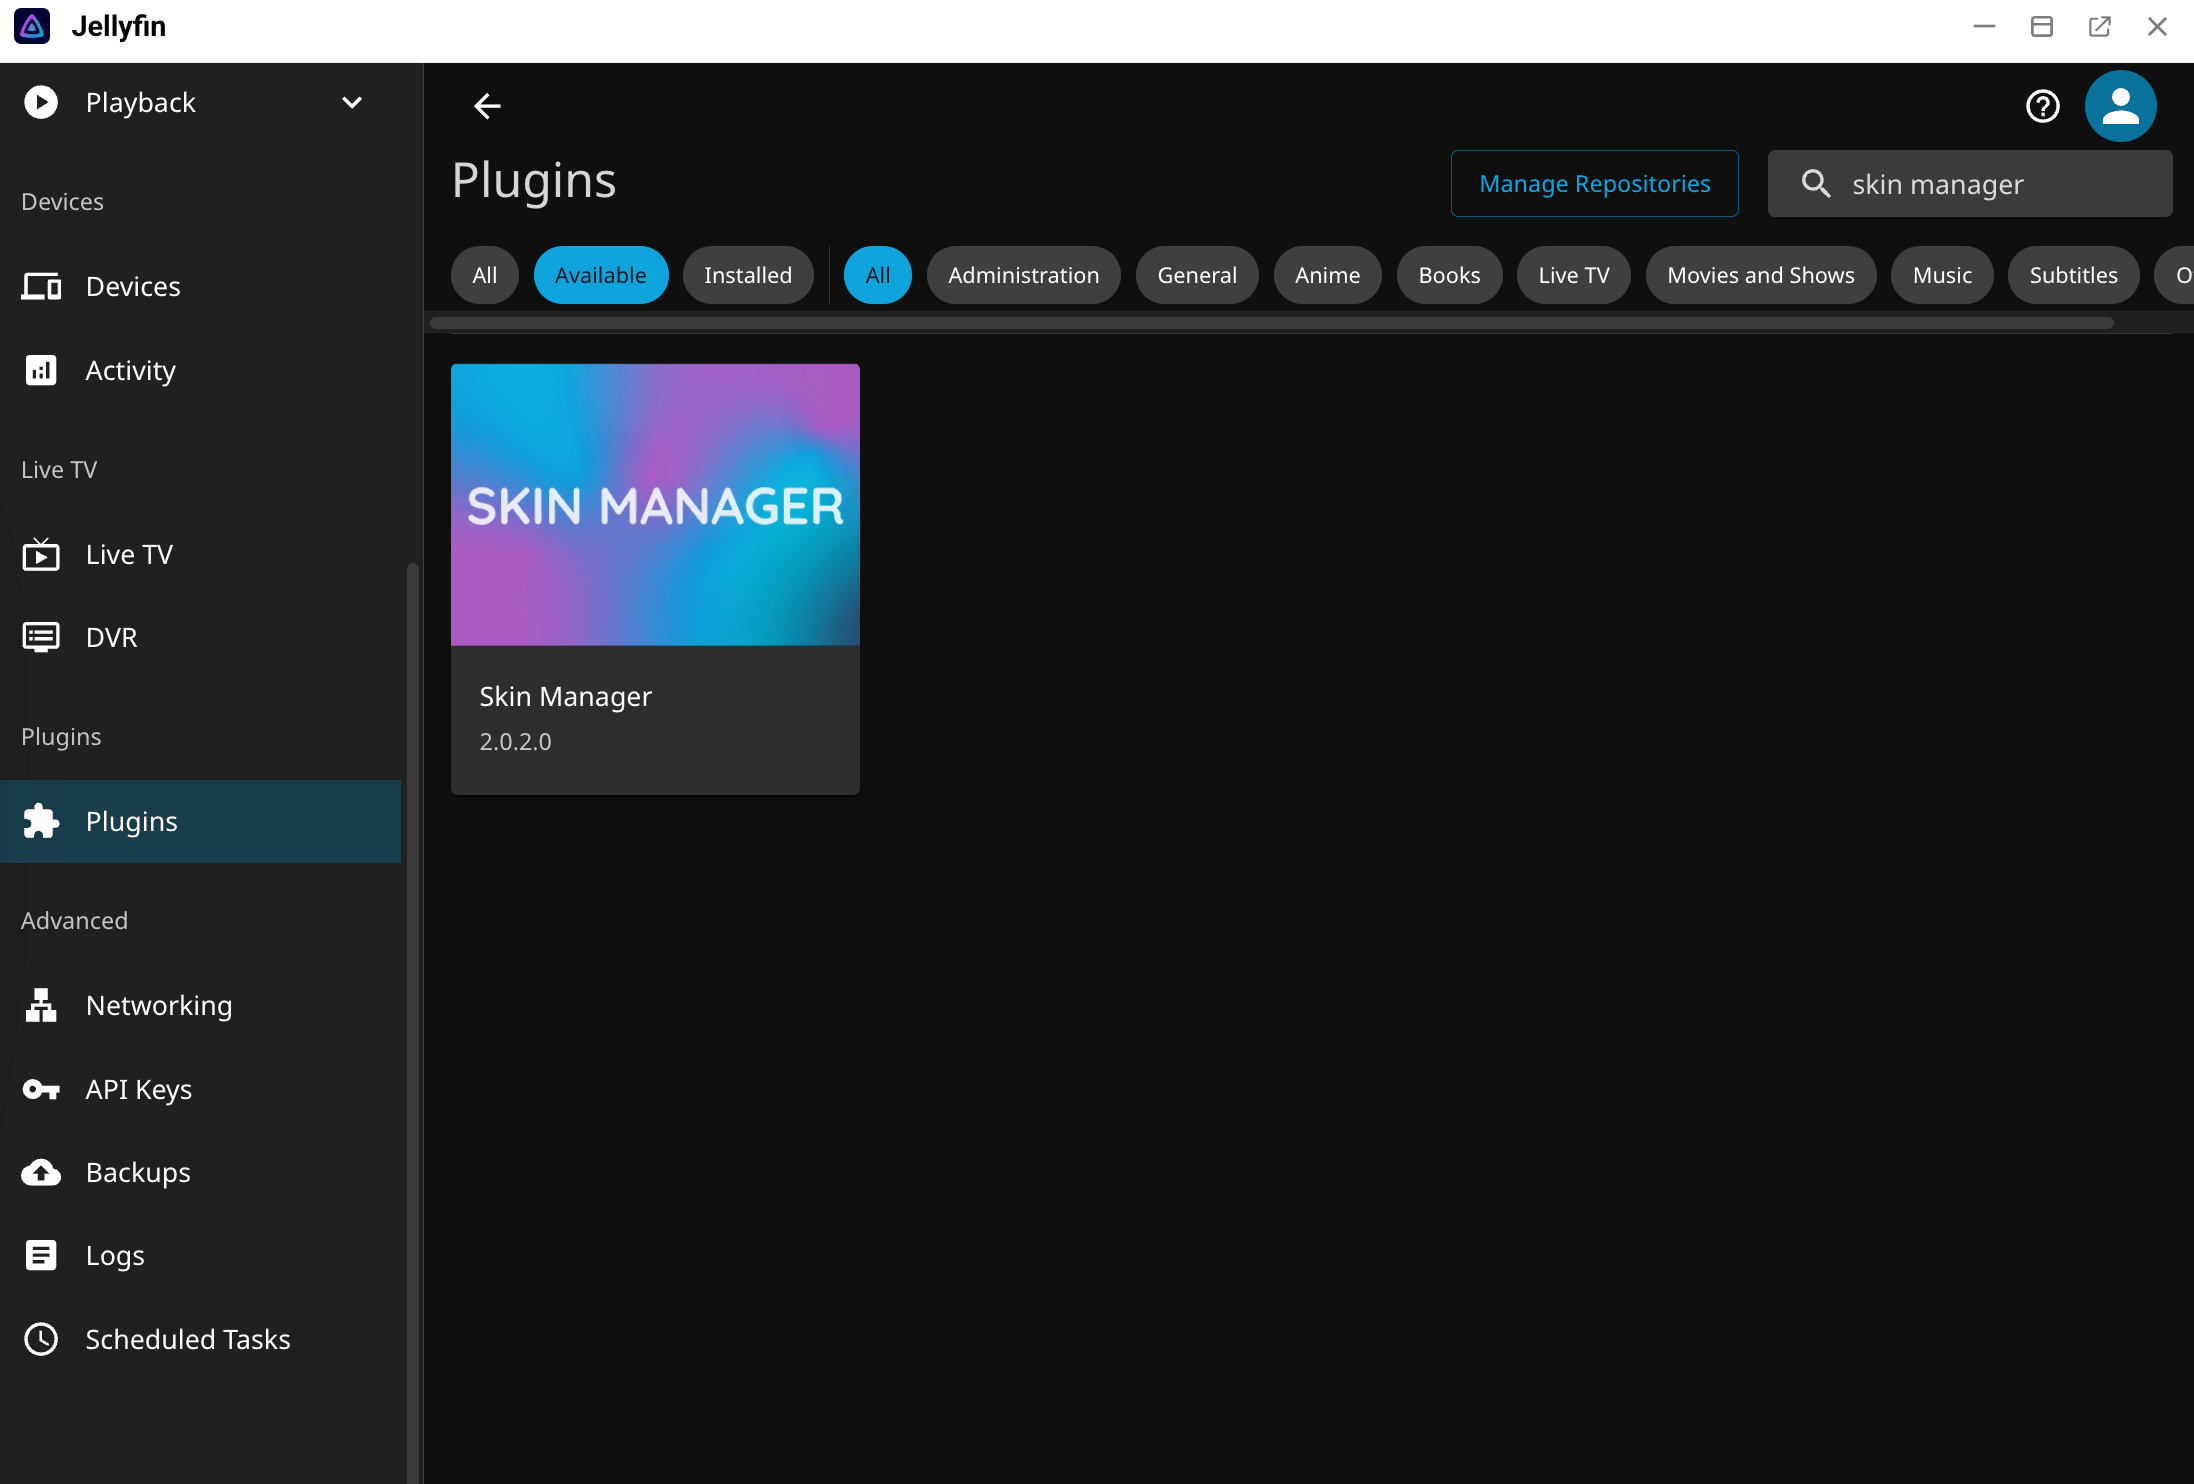
Return to Plugins, search for "Skin Manager", and open it. Then click Install. If it does not appear, refresh the page.
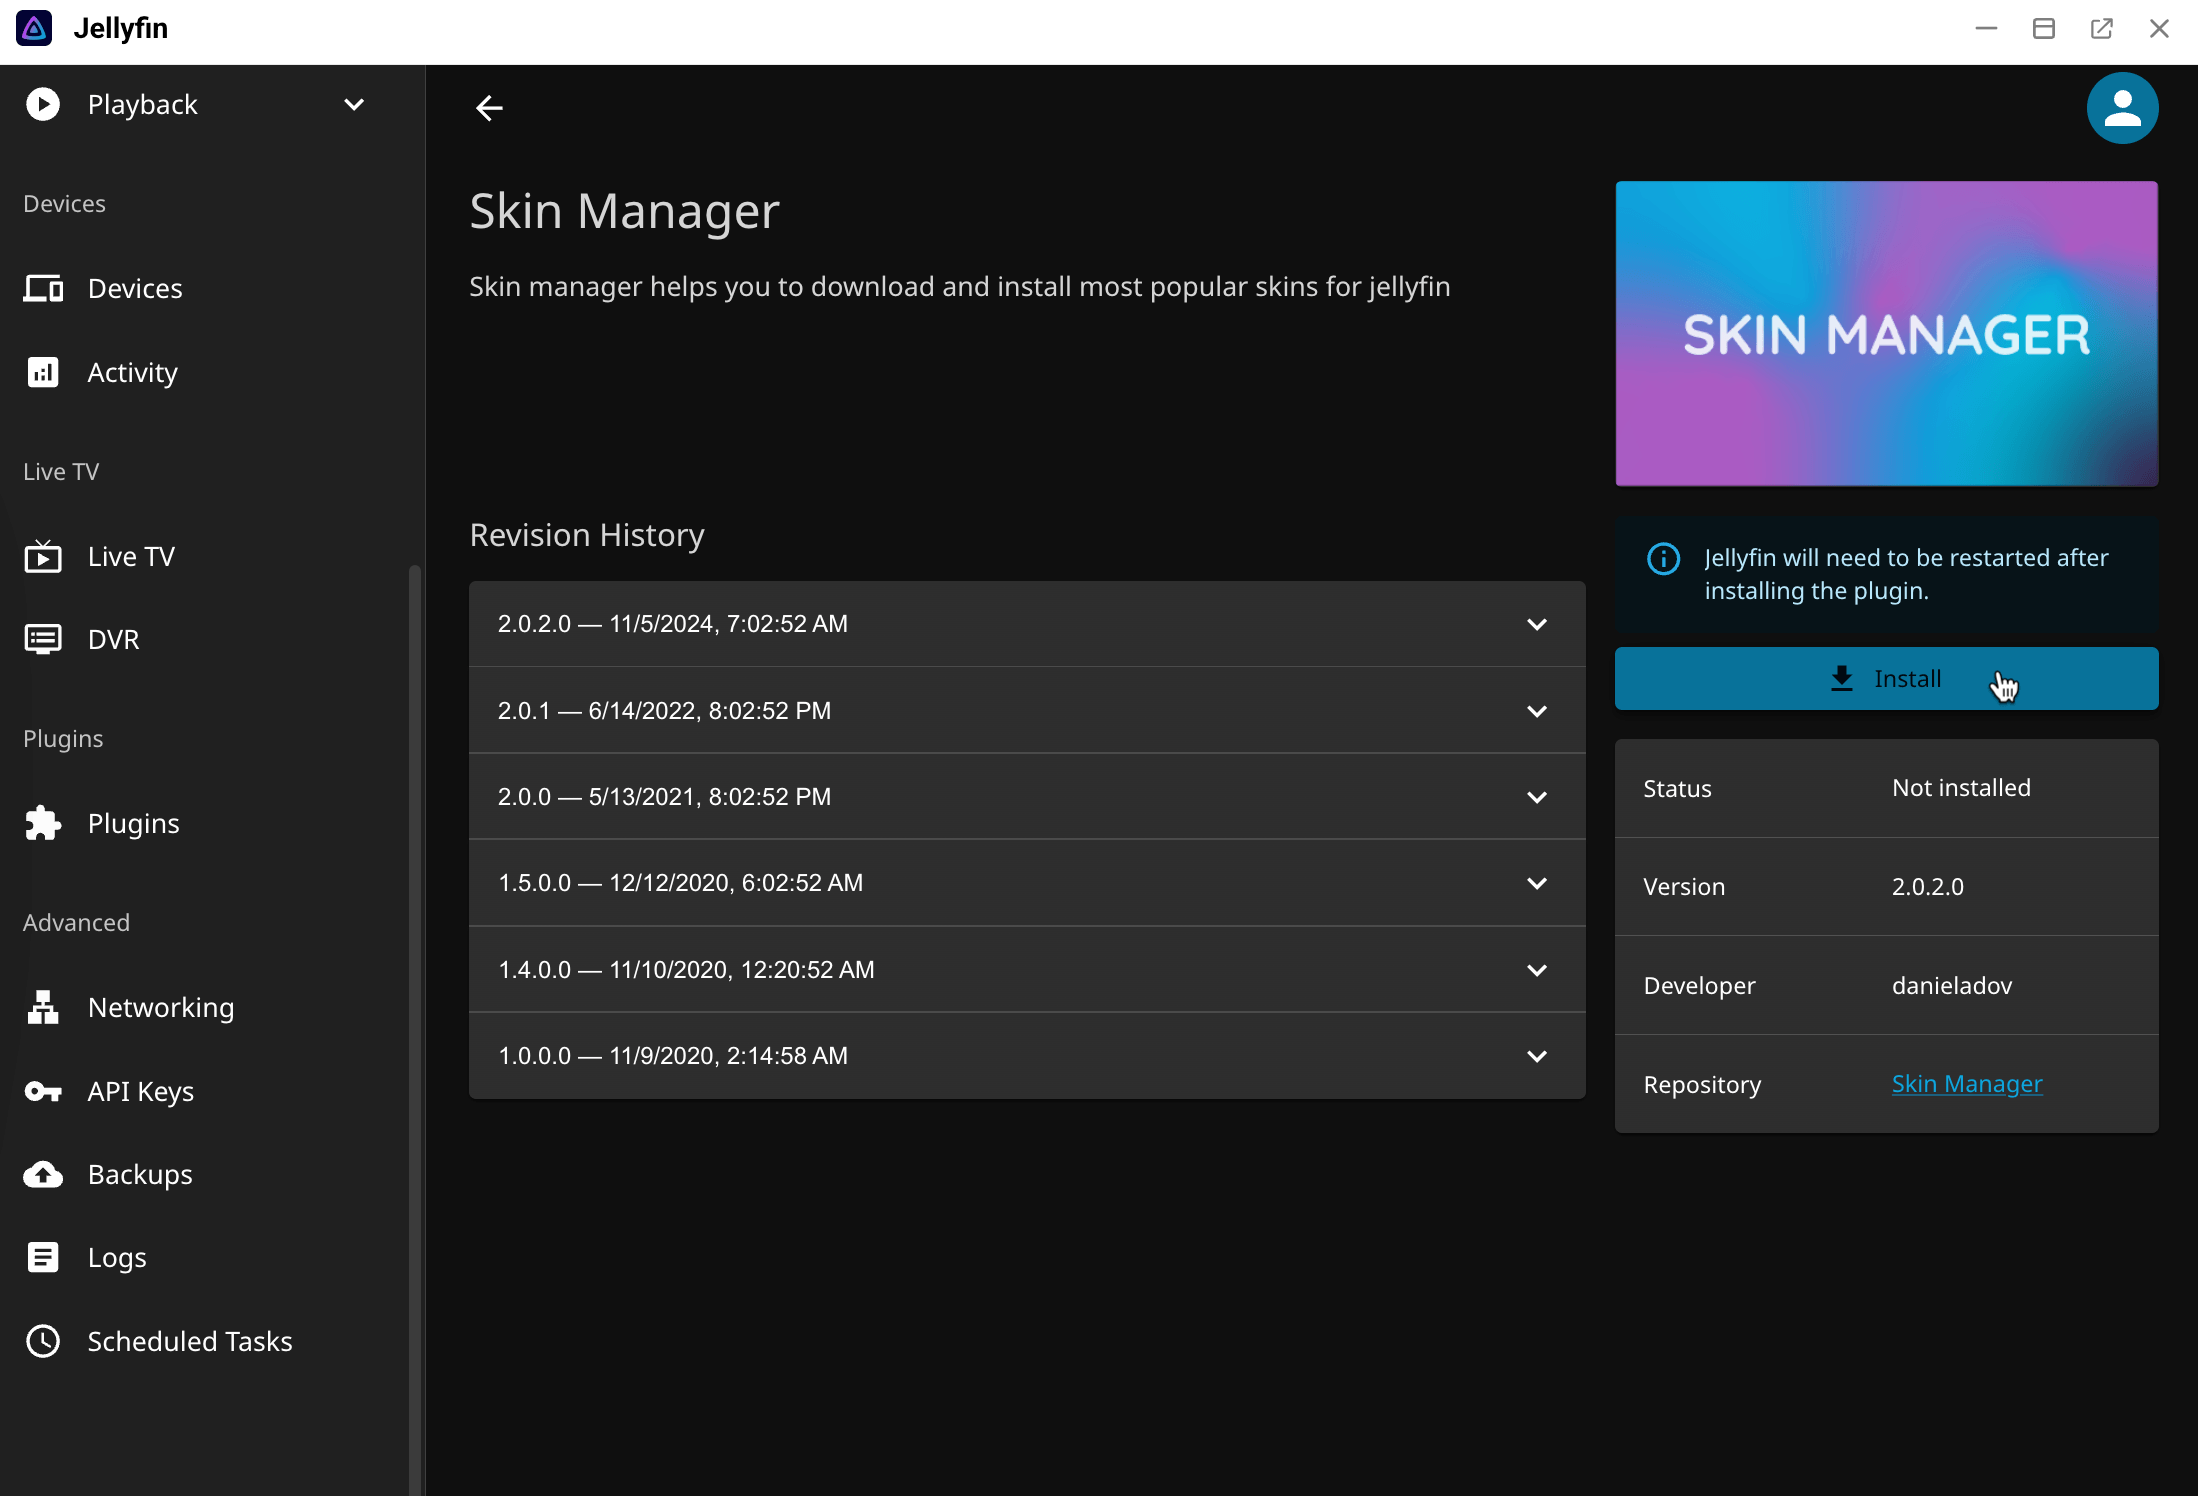
When the confirmation dialog appears, review the warning, then click Install.
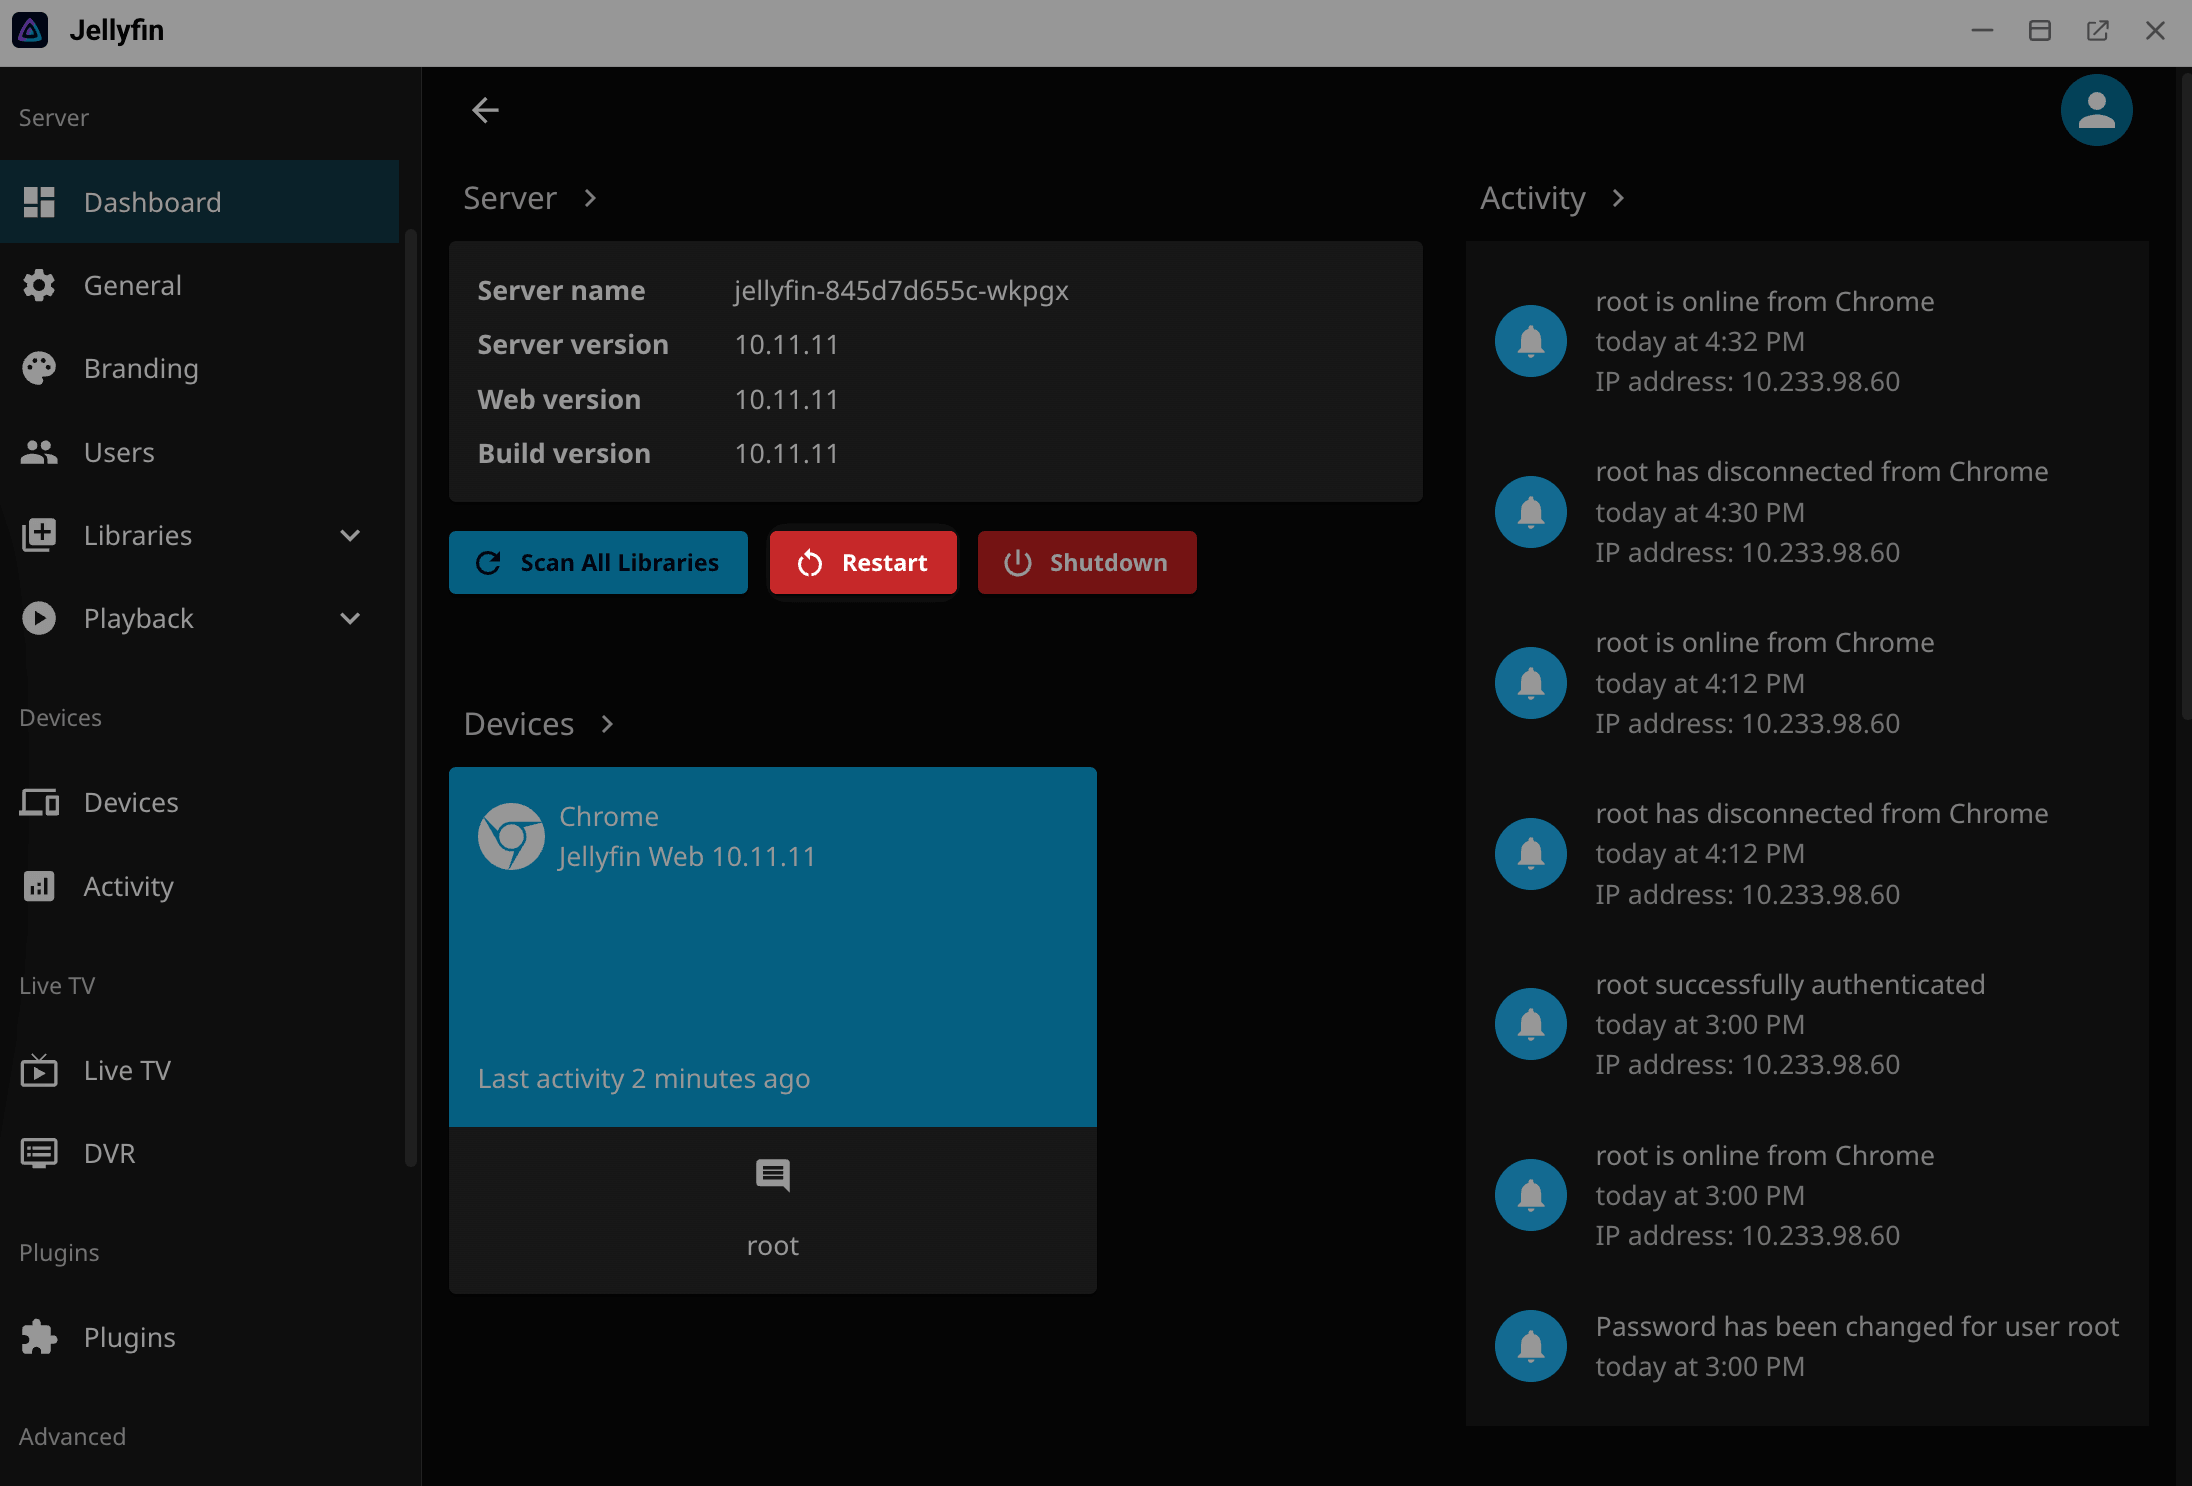
After installation, a prompt will appear to restart Jellyfin. Go to the Dashboard page and click Restart.
After Jellyfin restarts, go to Dashboard > Plugins, select Installed, and verify that Skin Manager is marked Active.
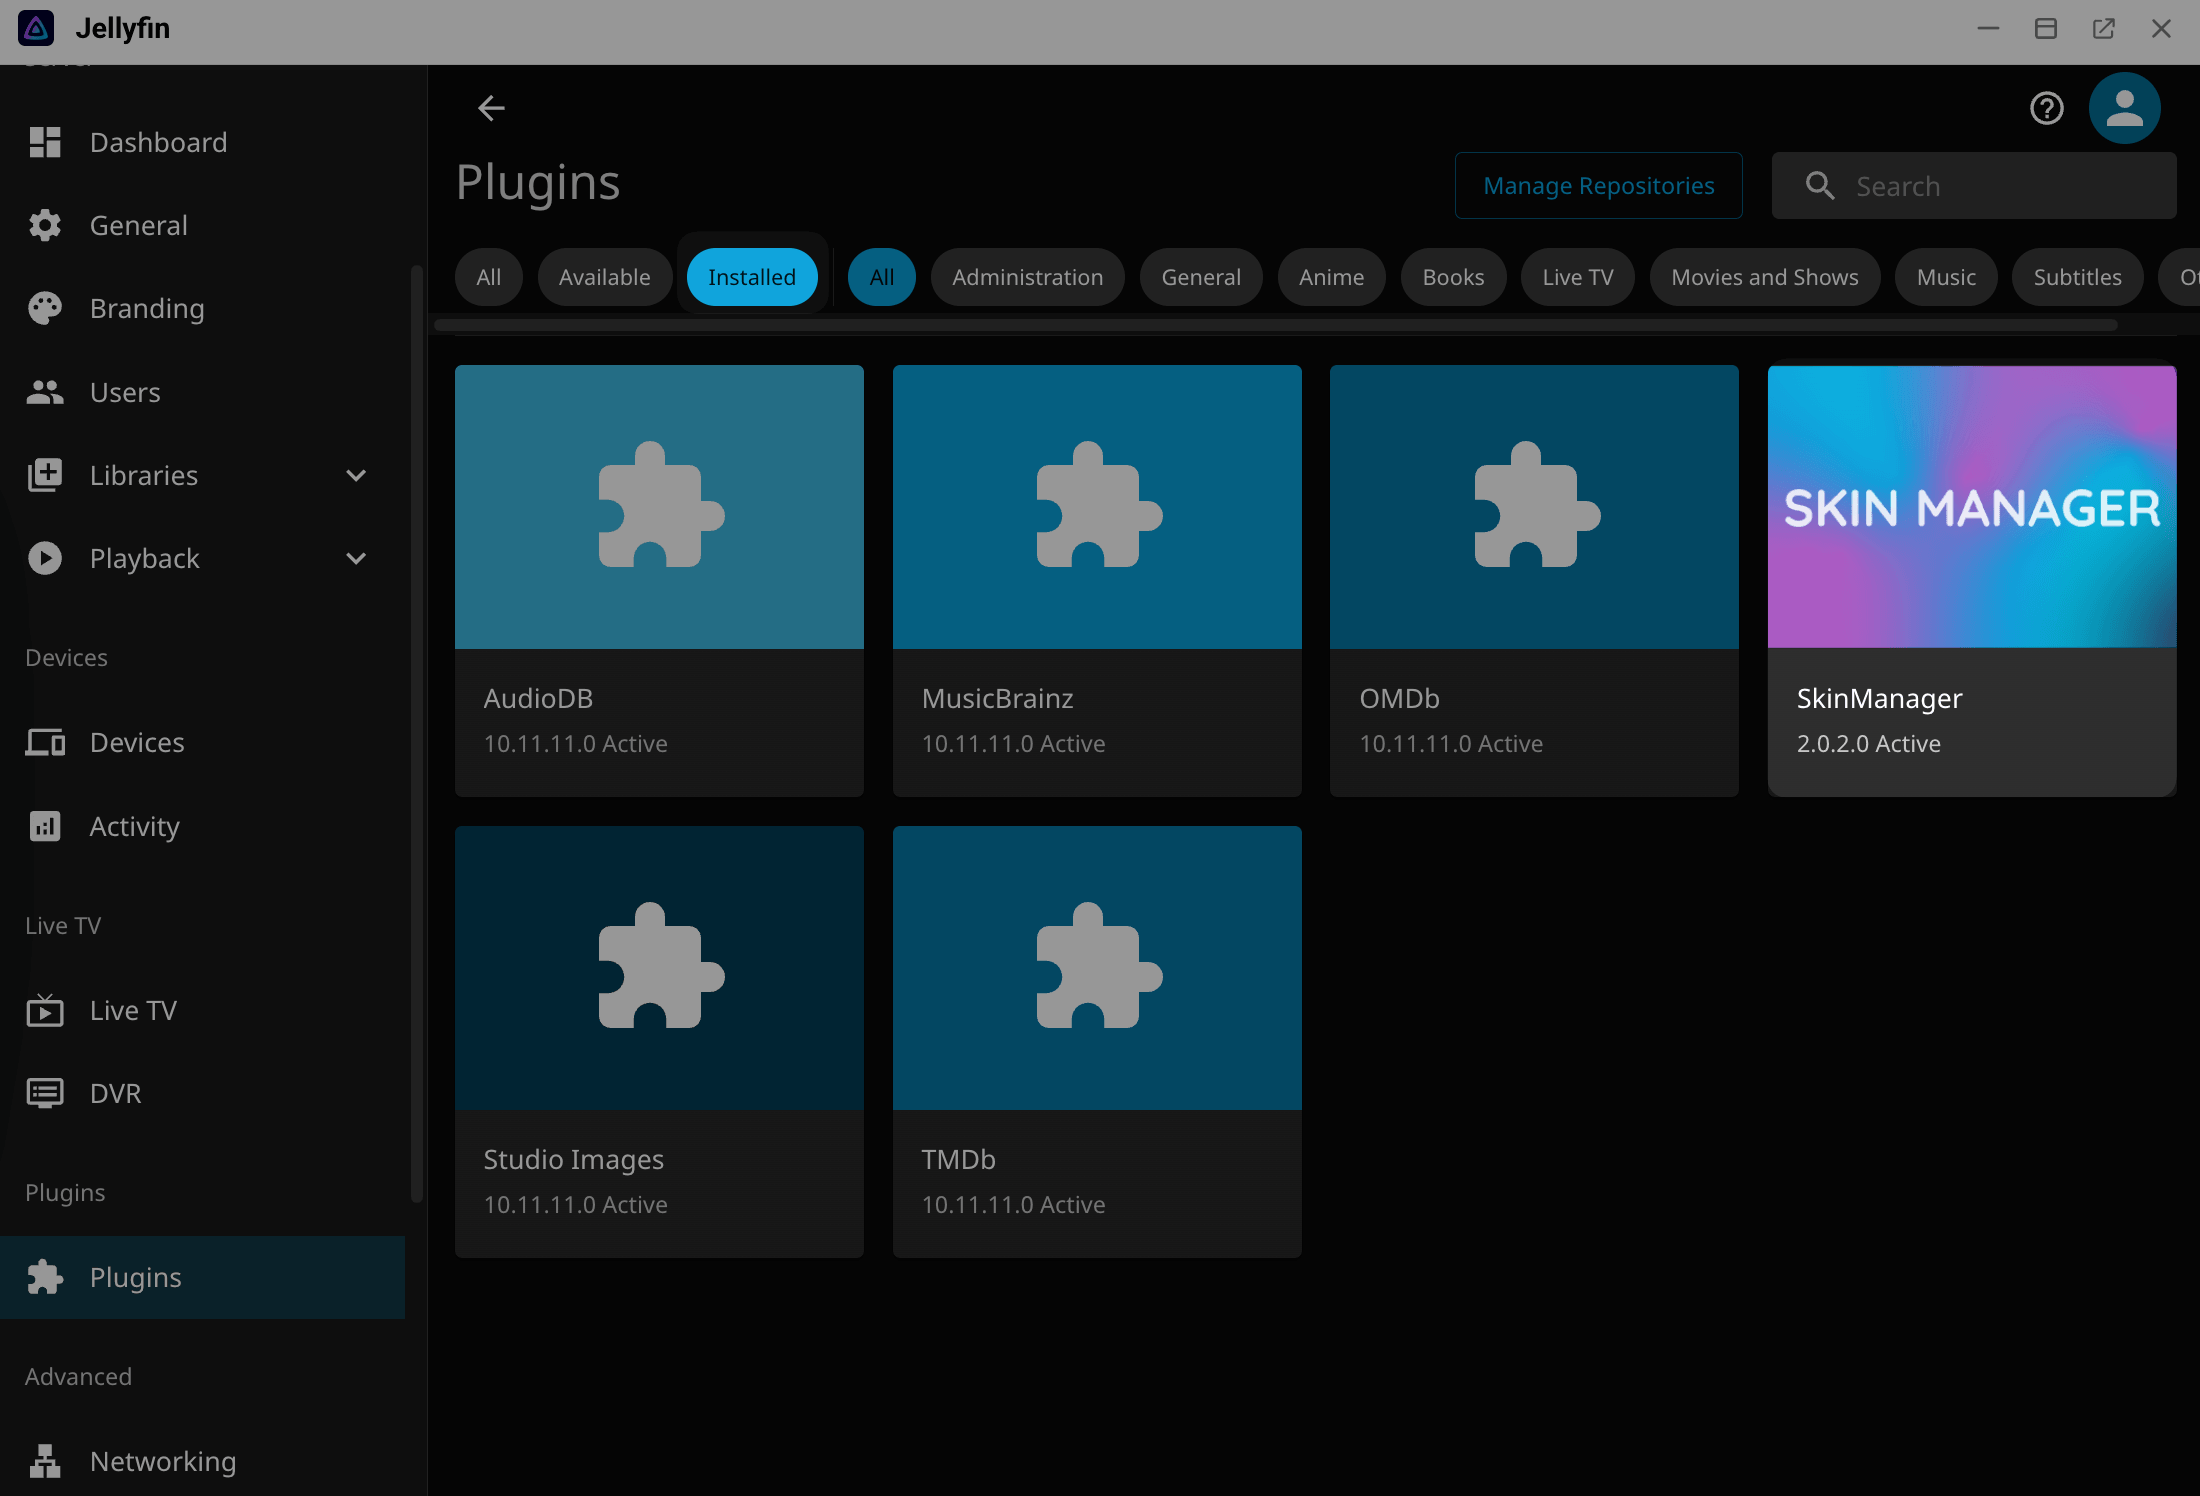
After installing plugins, you may need to enable or configure them before they take effect. Since each plugin behaves differently, check the plugin's GitHub repository or README for setup details.
Connect and cast to a TV with overlay gateway
Overlay gateway assigns a local IP to Jellyfin so TVs on the same local network can find it to play media directly or use DLNA casting.
Use a trusted network
Overlay gateway exposes Jellyfin directly on your local network. Enable it only in a trusted network environment when you need TV discovery or DLNA casting.
Network requirements
Connect your Olares device through wired Ethernet, and keep your TV on the same local network while setting up and playing media.
Enable overlay gateway for Jellyfin
Open Settings, then go to Network > Overlay gateway.
Ensure the system-level Enable overlay gateway option is turned on. If you cannot turn it on yourself, ask the Super admin to enable it first.
Under Applications, find Jellyfin and enable overlay gateway for it.
In the confirmation dialog, click Confirm.
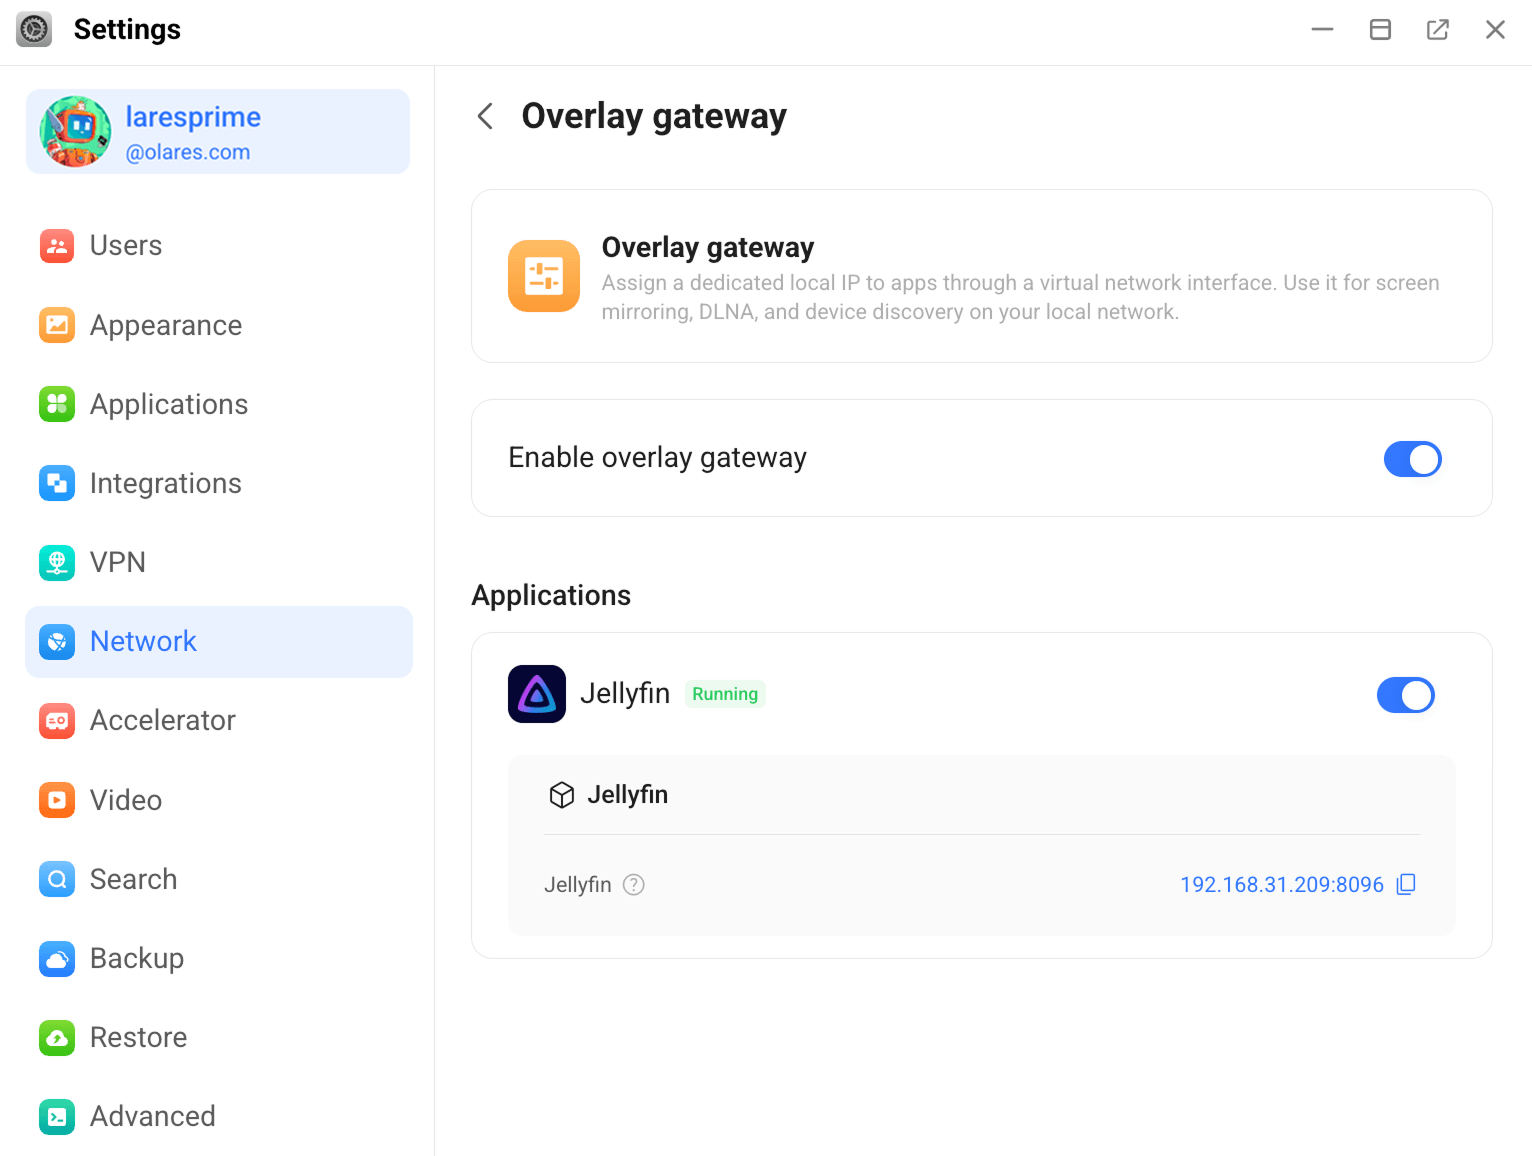
If Jellyfin is running, Olares restarts it to apply the network change. Wait until Jellyfin returns to Running before connecting from the TV.
Connect from the Jellyfin app on your TV
Use the Jellyfin app to play media directly on your TV.
- Install the latest Jellyfin app on your TV.
- Open the Jellyfin app on your TV, then choose the option to select or add a server. The app should automatically find Jellyfin through its overlay gateway local IP.
- In the list, select the Jellyfin server that matches the overlay gateway IP shown for Jellyfin in Settings.
- Sign in with the Jellyfin username and password you created during setup.
- Open a media item and confirm that the video starts playing on the TV.
Cast from Jellyfin to a TV
Start a video in Jellyfin on Olares, then send it to a DLNA-capable TV. You do not need to open the Jellyfin app on the TV before casting.
Open Jellyfin on Olares.
Click the menu icon in the upper-left corner, then click Dashboard in the sidebar.
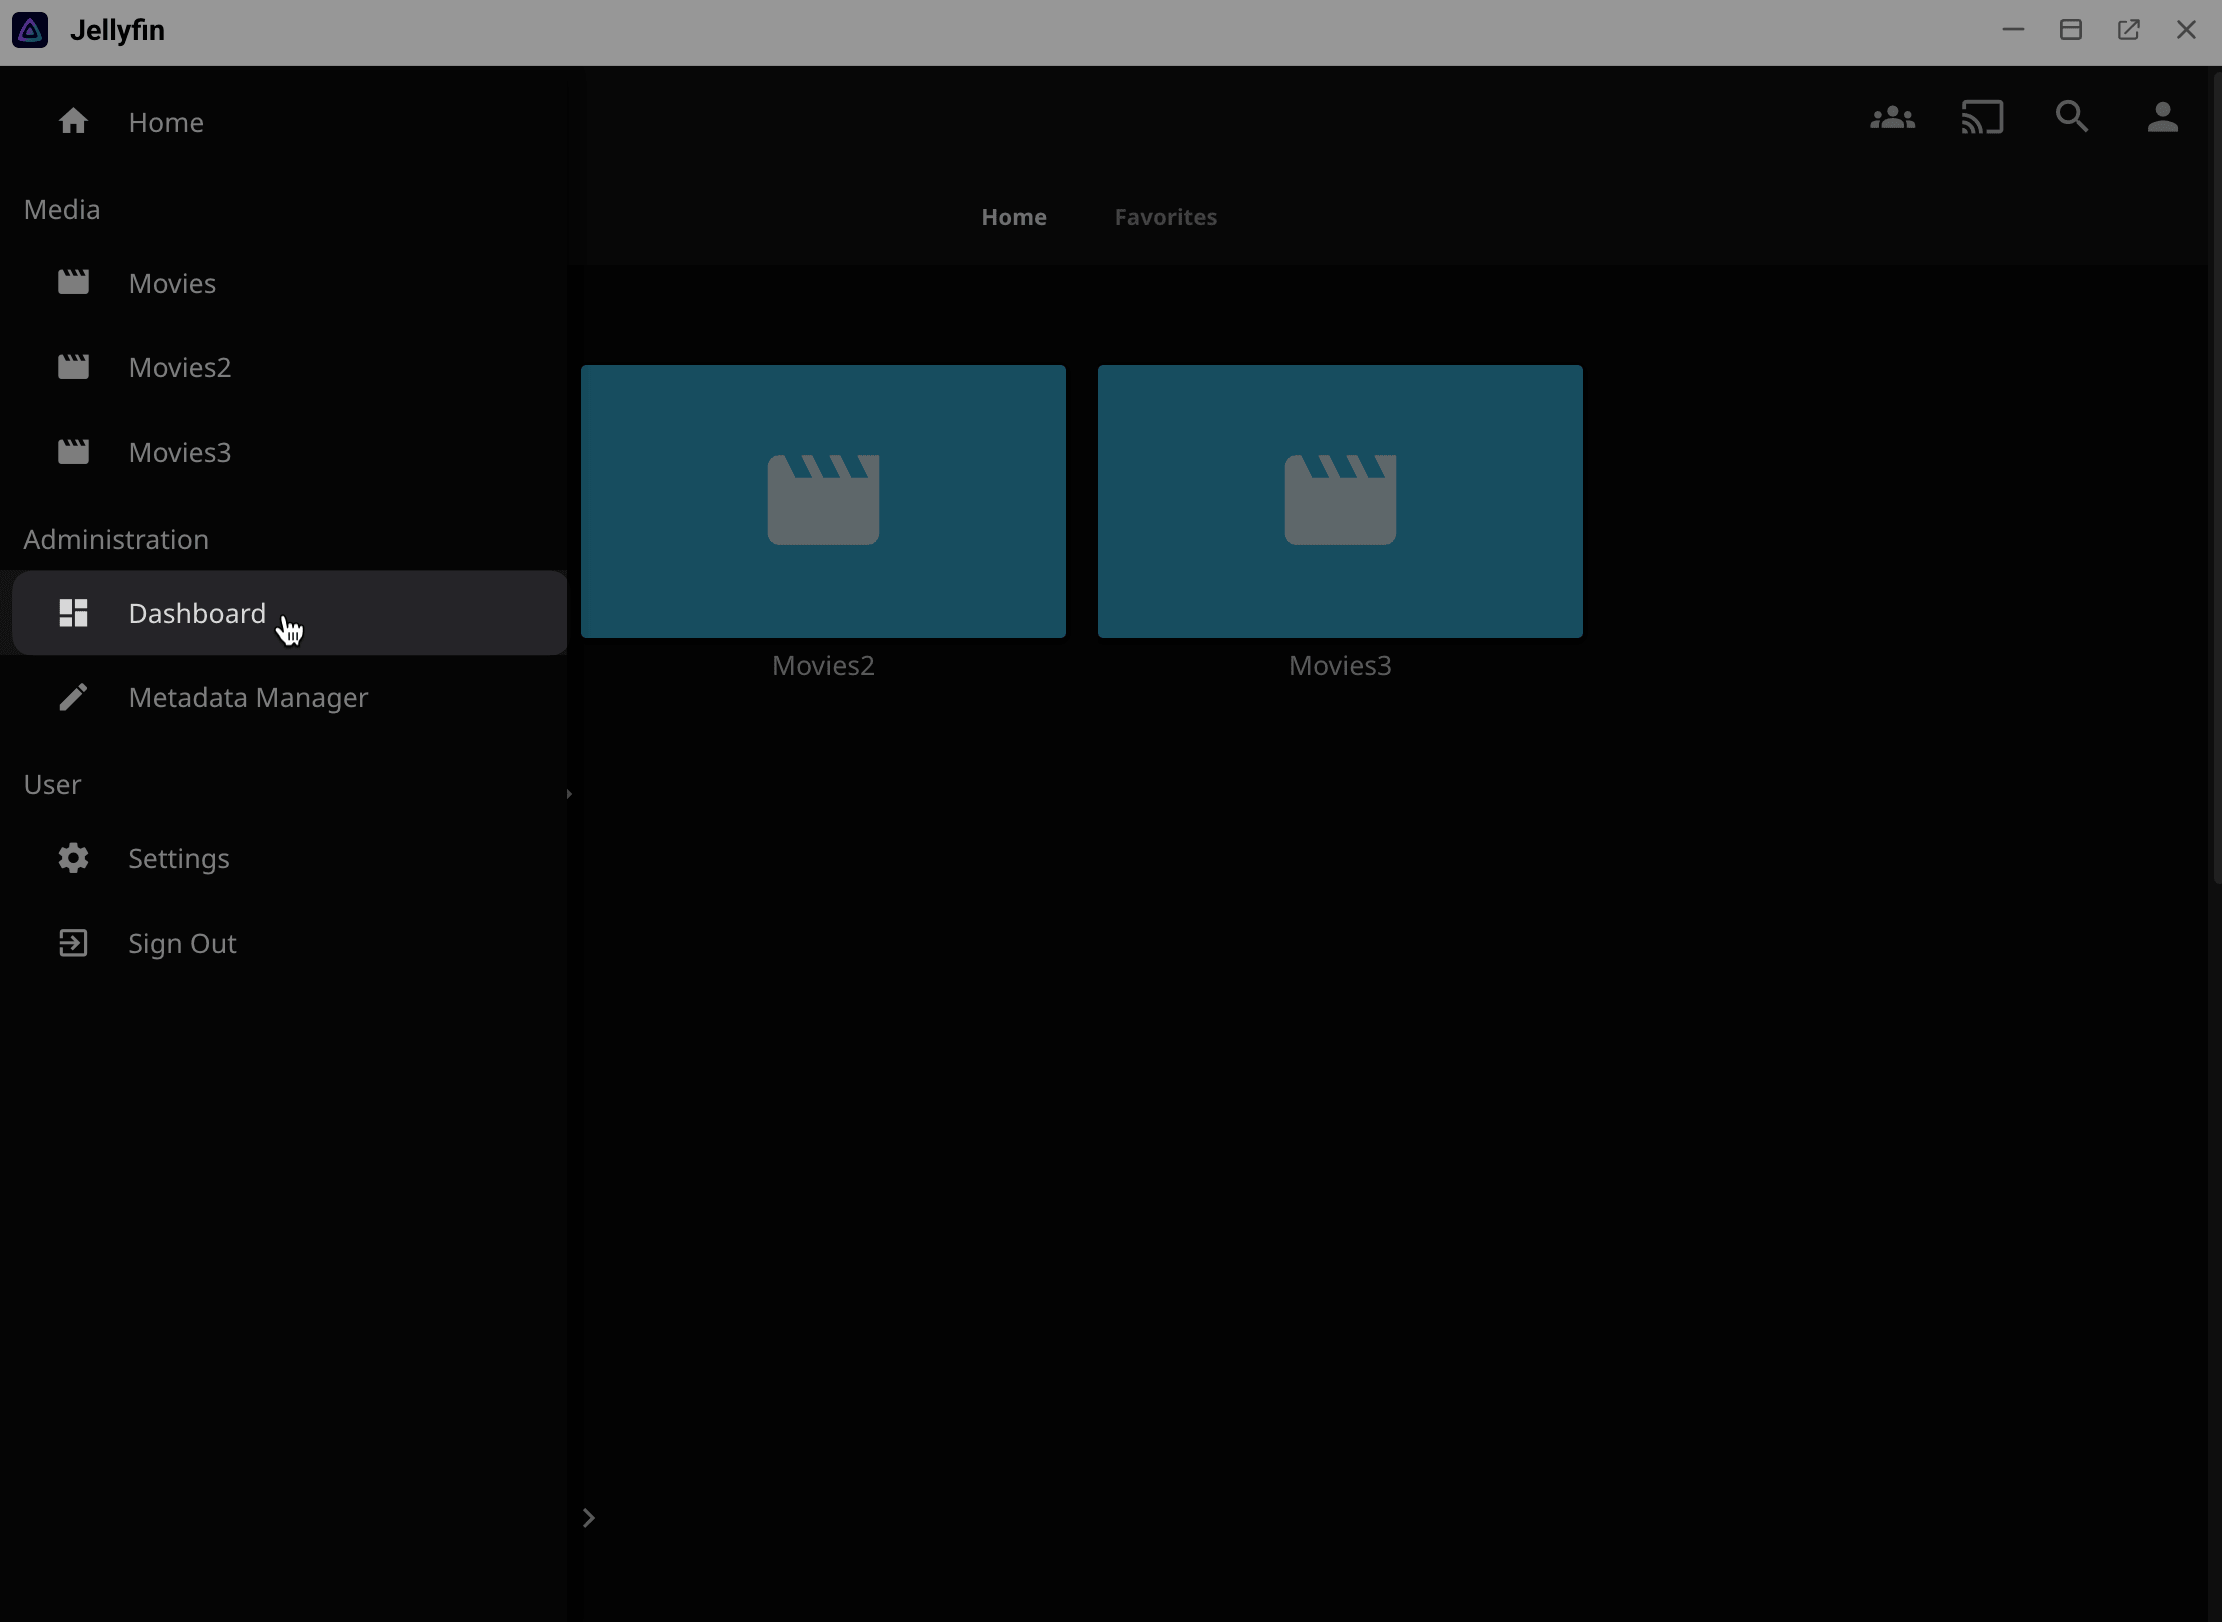
In the dashboard sidebar, scroll down to Plugins, then click Catalog.
Search for "DLNA", open the DLNA plugin result, and click Install.
After the plugin installs successfully, restart Jellyfin from Olares:
a. Open Settings, then go to Applications > Jellyfin.
b. Click Stop.
c. After Jellyfin stops, click Resume.
Reopen Jellyfin on Olares.
Open the video you want to cast.
Click the cast icon (Play on) in the upper-right corner. Jellyfin should automatically find your TV.
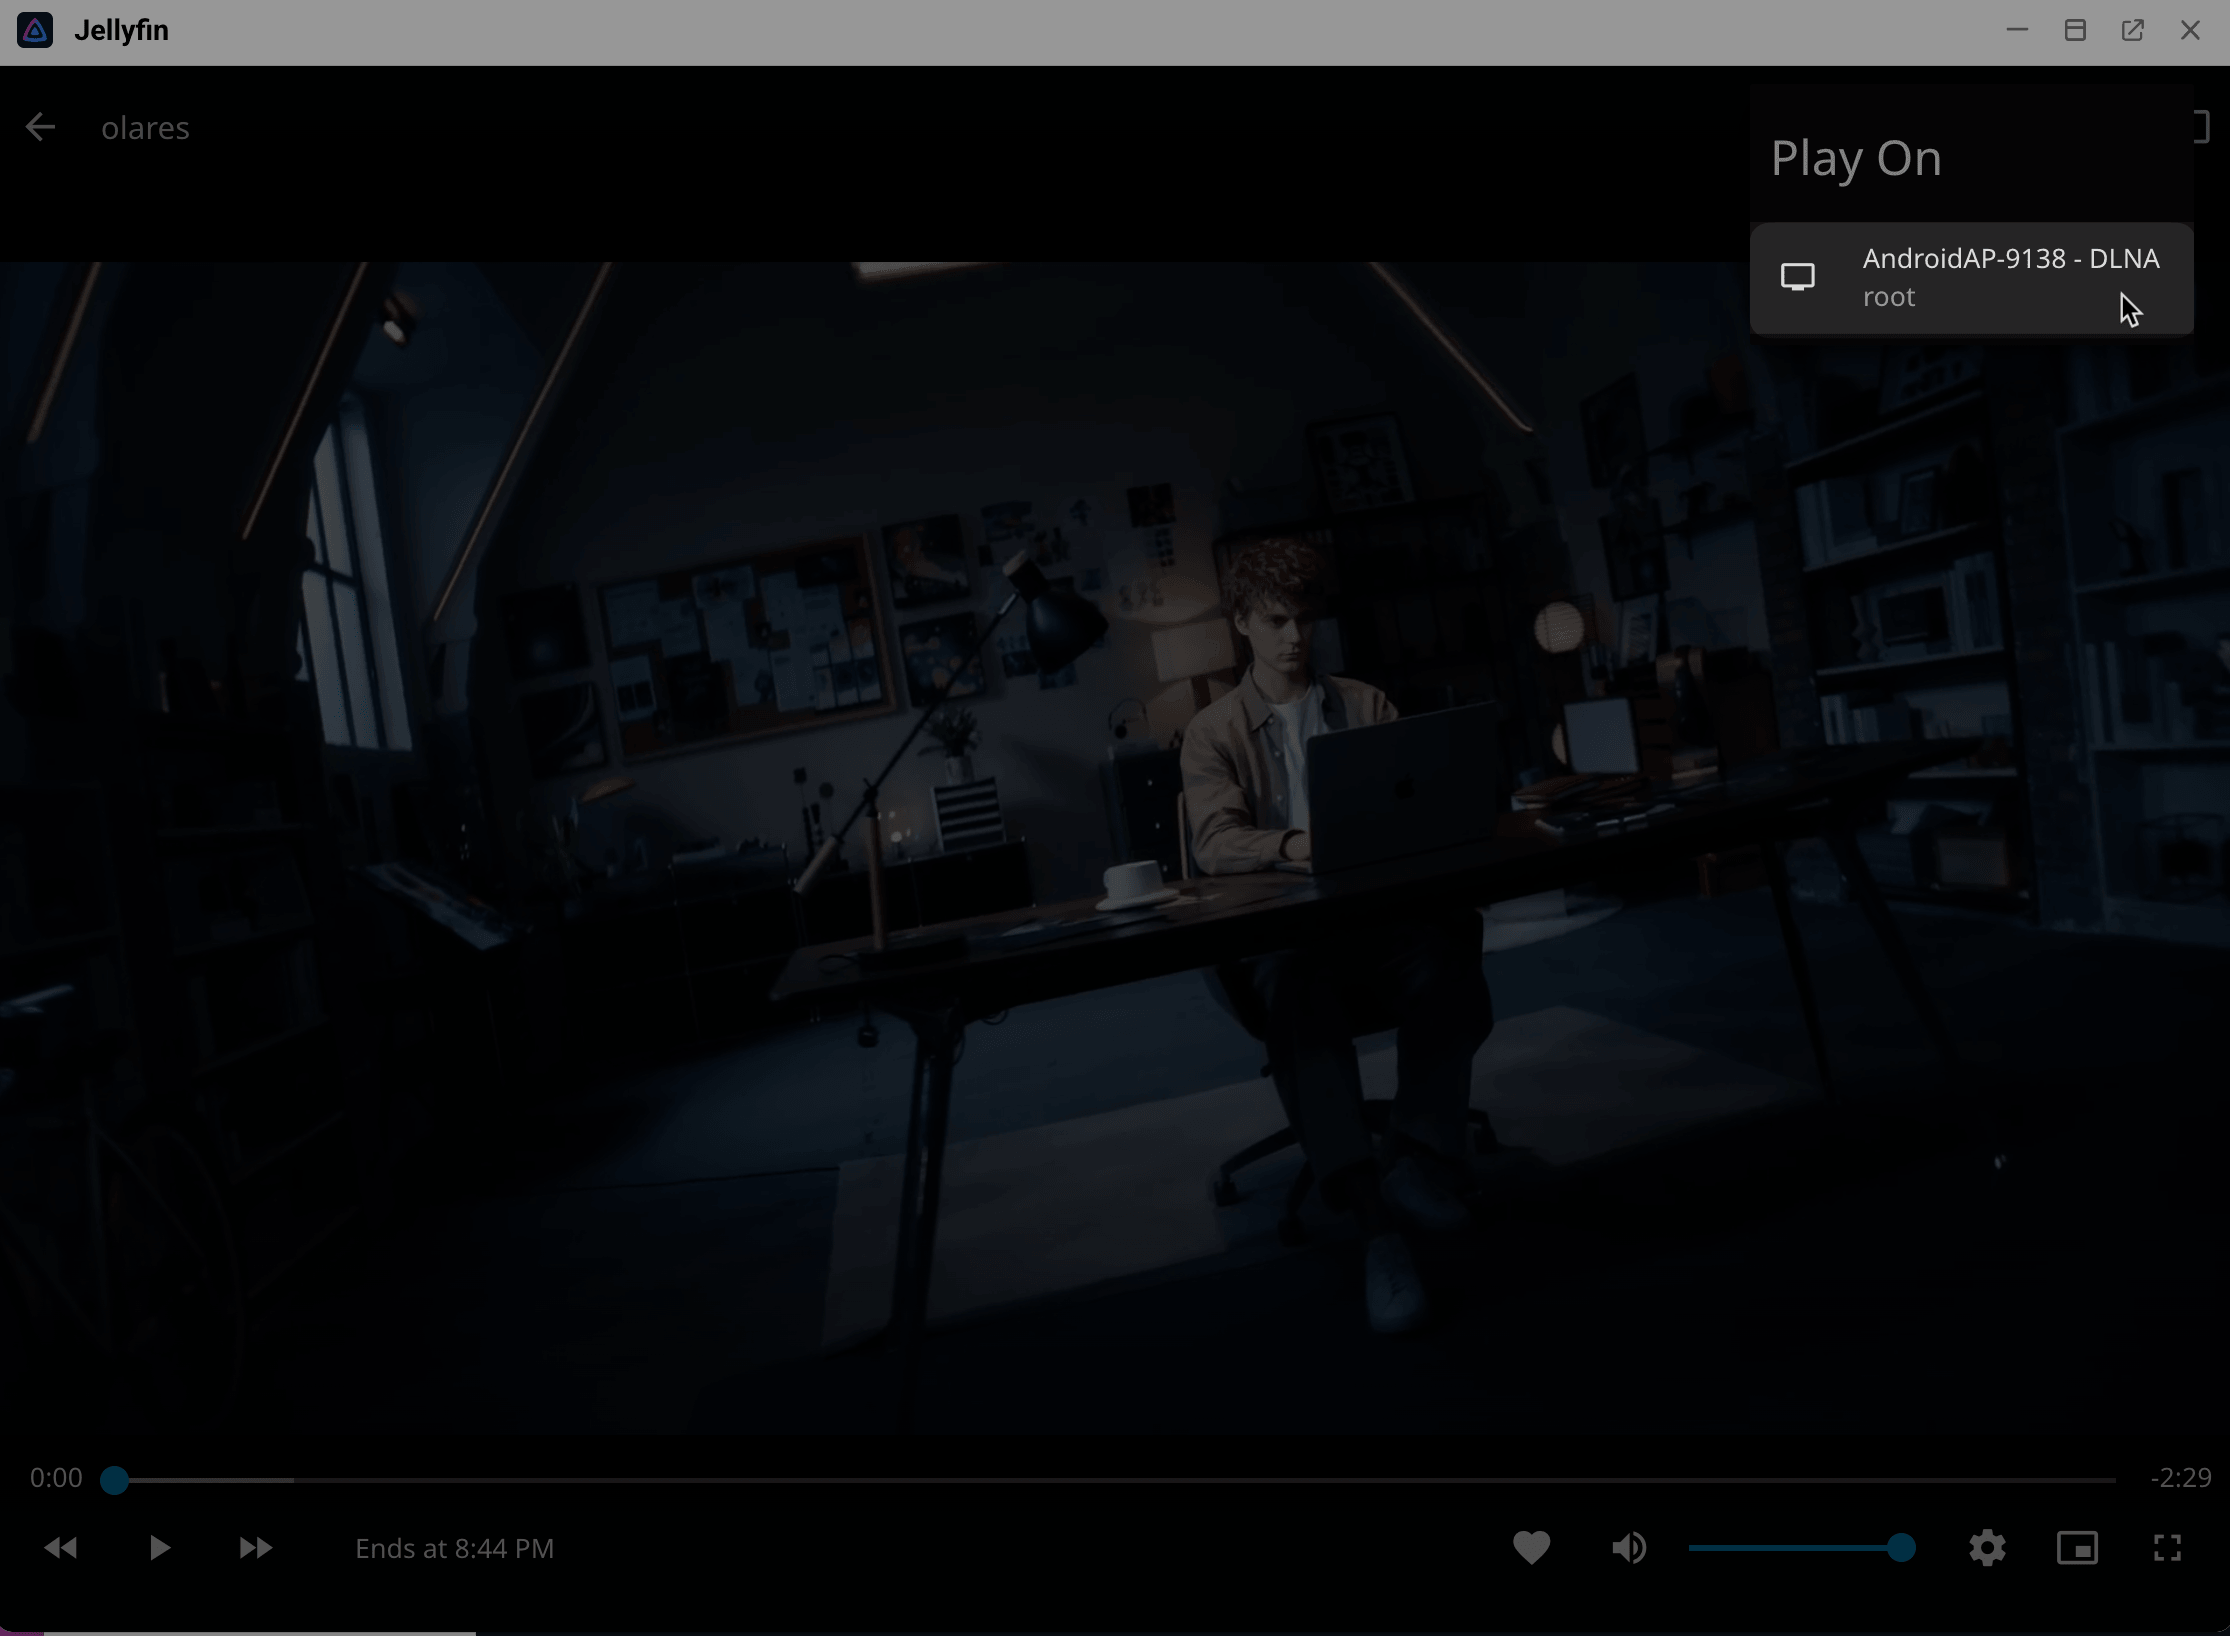
Select the TV and confirm that the video starts playing on the TV.
Access your media library through Jellyfin clients
Get the Jellyfin endpoint
After Jellyfin is set up and your libraries are ready, you can connect from your client devices and start streaming your media.
How app endpoints work
When a client connects to another Olares app, it uses that app's endpoint as the network address. If the app exposes multiple endpoints, choose the one that matches the feature or protocol the client needs.
For Jellyfin:
- Go to Olares Settings > Applications > Jellyfin > Entrances.
- Select Jellyfin, then copy the Endpoint URL.
Use this Endpoint as the server address in the Jellyfin client.
Connect your Jellyfin client
Assume you've already installed the official Jellyfin client app on your device.
Enable LarePass VPN
Before connecting, make sure LarePass VPN is enabled.
If not, see Enable VPN on LarePass.
Open the Jellyfin client app on your device.
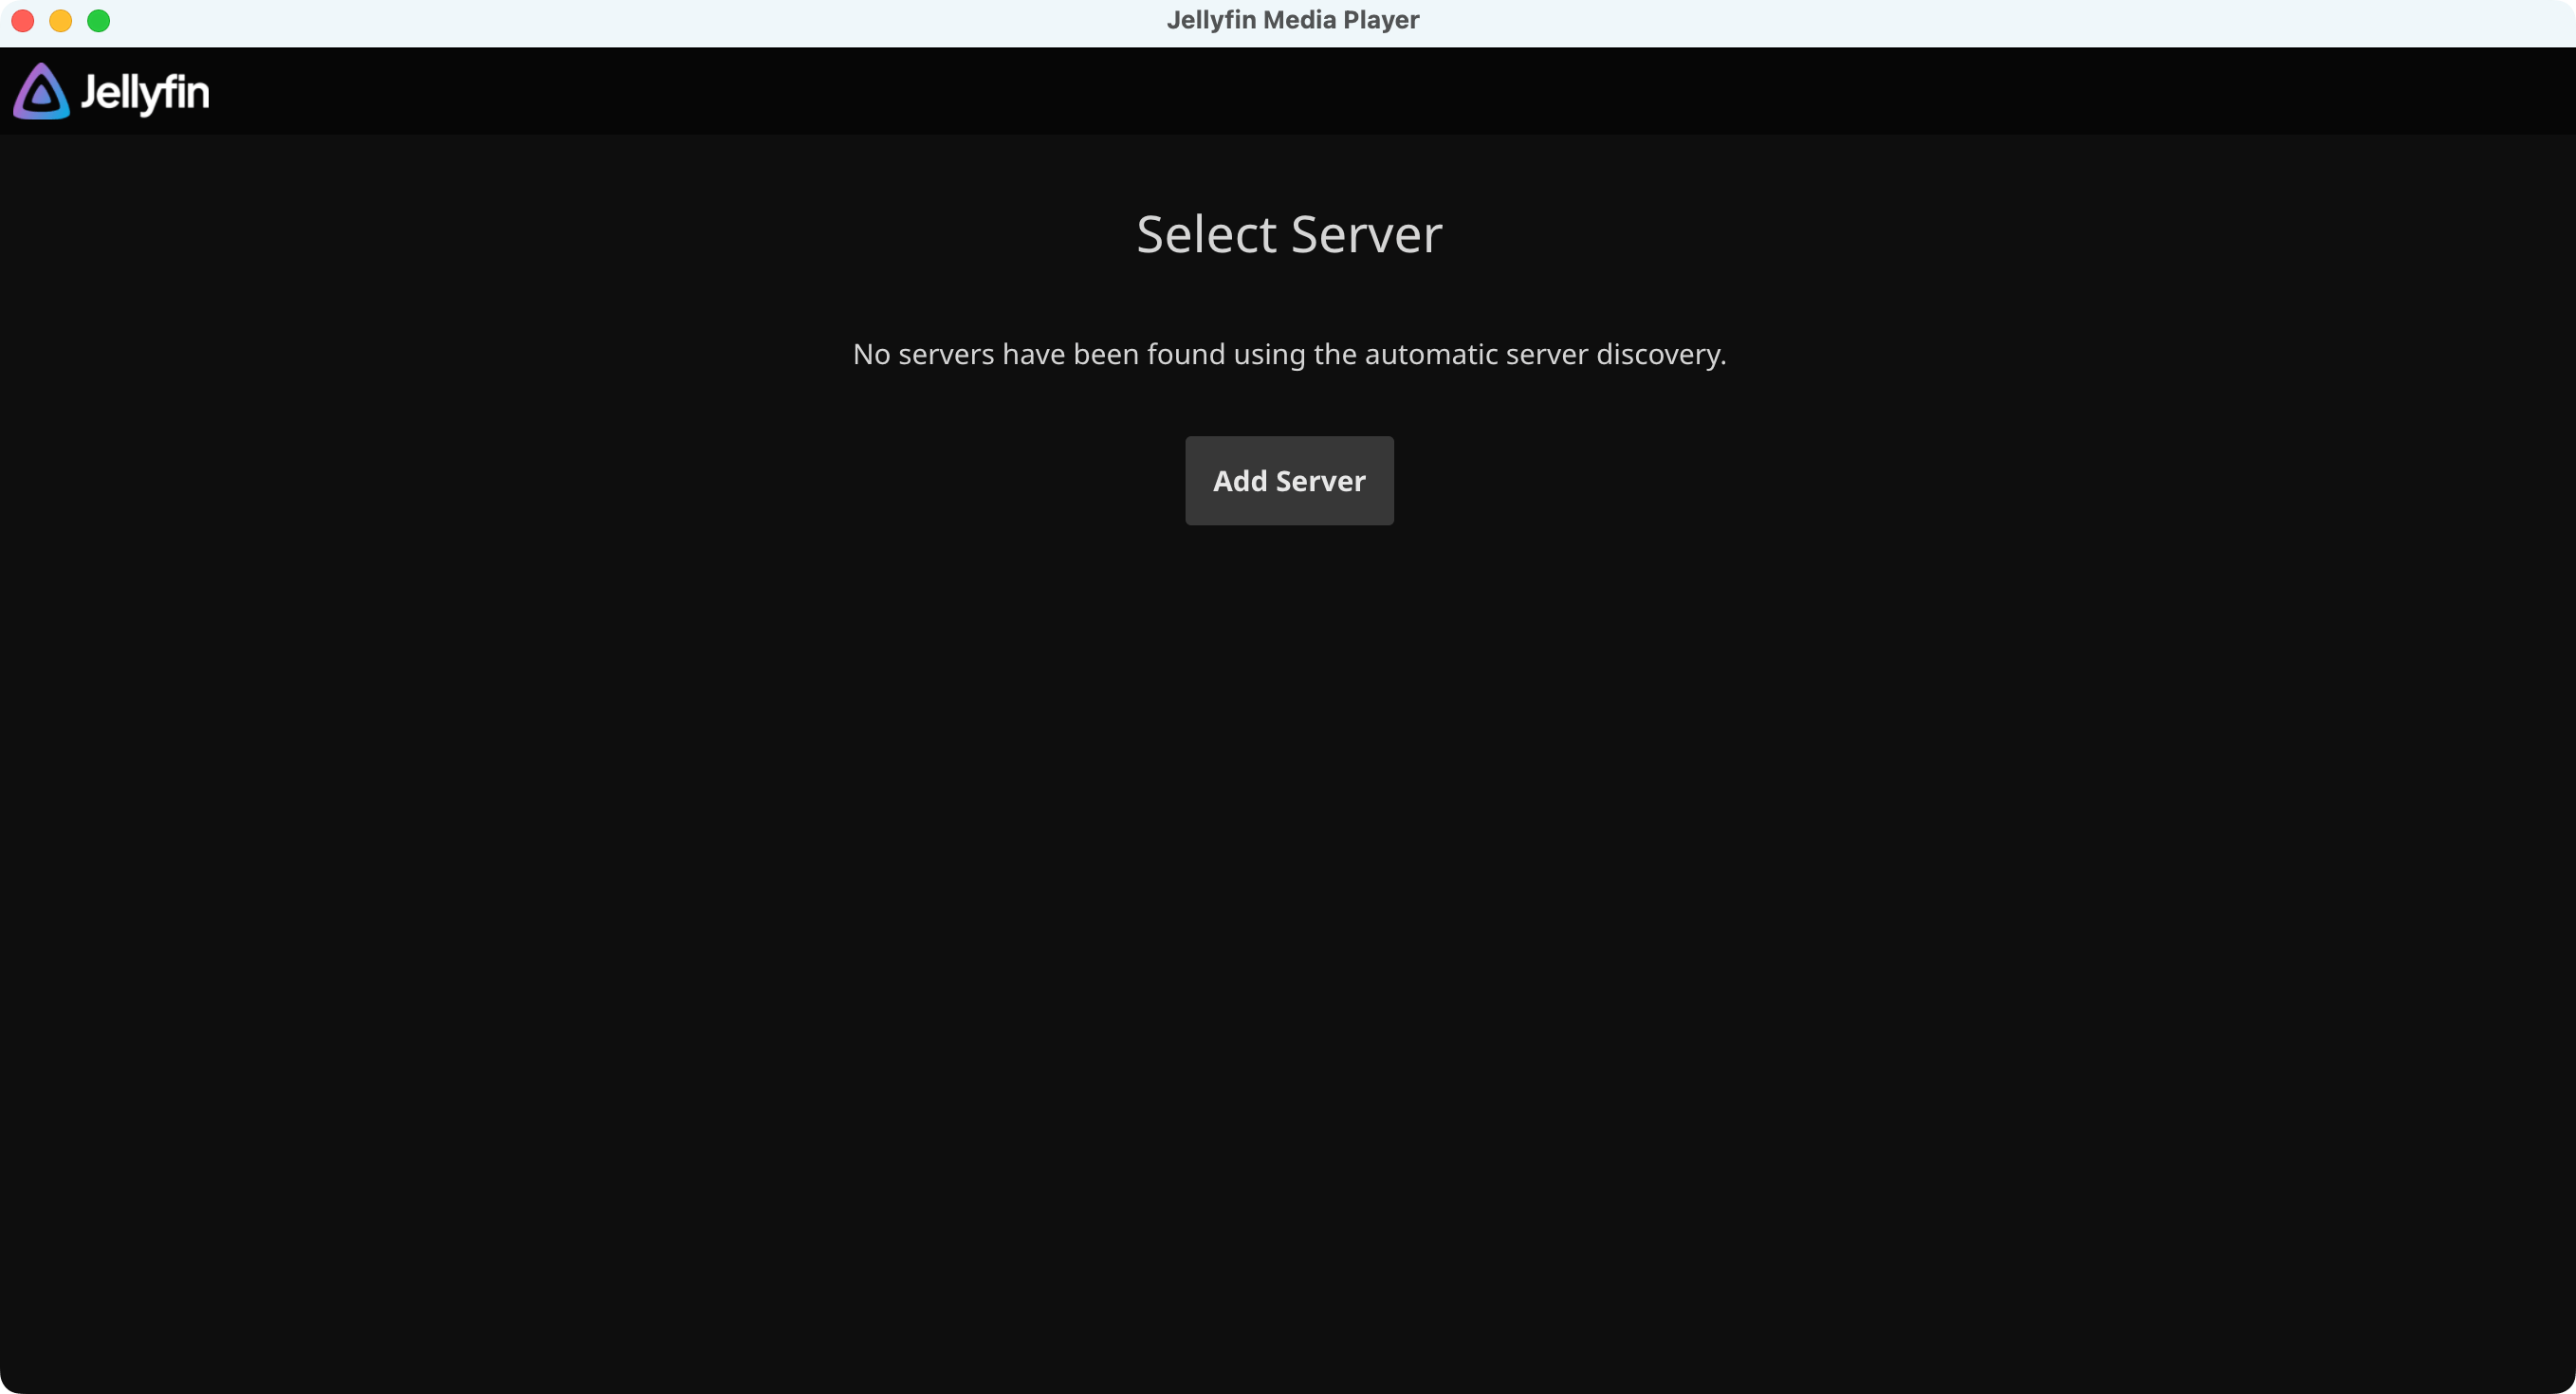
Click Add Server.
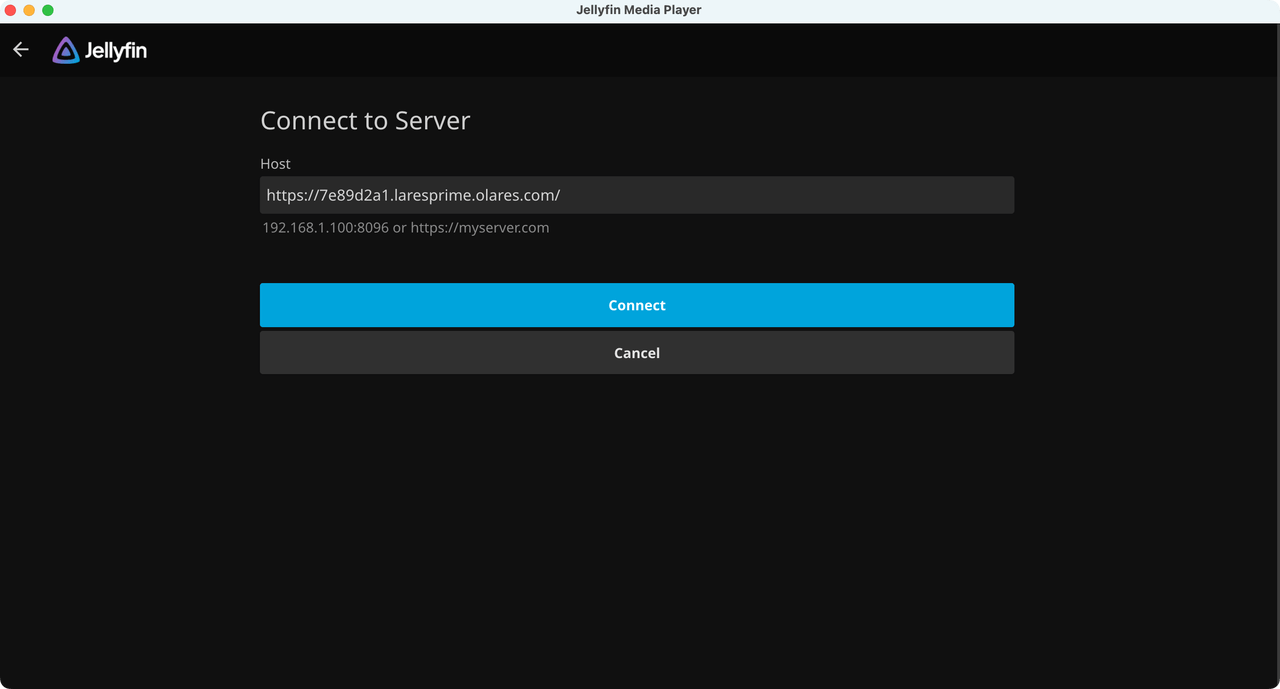
Paste the Jellyfin Endpoint you just copied and click Connect.
Sign in with your Jellyfin admin account.
You should now see your media libraries displayed in the app.
TIP
For the best experience, keep your LarePass VPN connection active when accessing Jellyfin remotely. This ensures you can always connect to your Jellyfin server securely.