Set up DeerFlow 2.0 for AI-powered research and tasks
DeerFlow is an open-source agent harness by ByteDance, built on LangGraph and LangChain. It orchestrates sub-agents, memory, and sandboxes to handle complex tasks through extensible skills.
DeerFlow 2.0 is a ground-up rewrite of the original DeerFlow. While version 1.0 was a deep research framework, version 2.0 is a general-purpose agent platform.
Learning objectives
In this guide, you will learn how to:
- Install DeerFlow 2.0 on Olares and configure it with a local model.
- Run tasks such as deep research.
Prerequisites
Before you begin, you need:
An Olares device with sufficient disk space and memory.
The following model:
Model type Model How to get it Chat Qwen3.6-27B (llama.cpp) Install from Market
Optional: Use a different model
You can use a different model size or provider instead of the one listed above:
- Install a different model app from Market.
- Create a model instance from Engine Base apps to bring your own model.
If your AI agent app has the Olares CLI and Agent Skills installed, ask it to deploy the model and skip the manual setup. For example:
Deploy qwen3.5:9b on my Olares using the Ollama Engine Base.Install DeerFlow 2.0
Open Market and search for "DeerFlow 2.0".
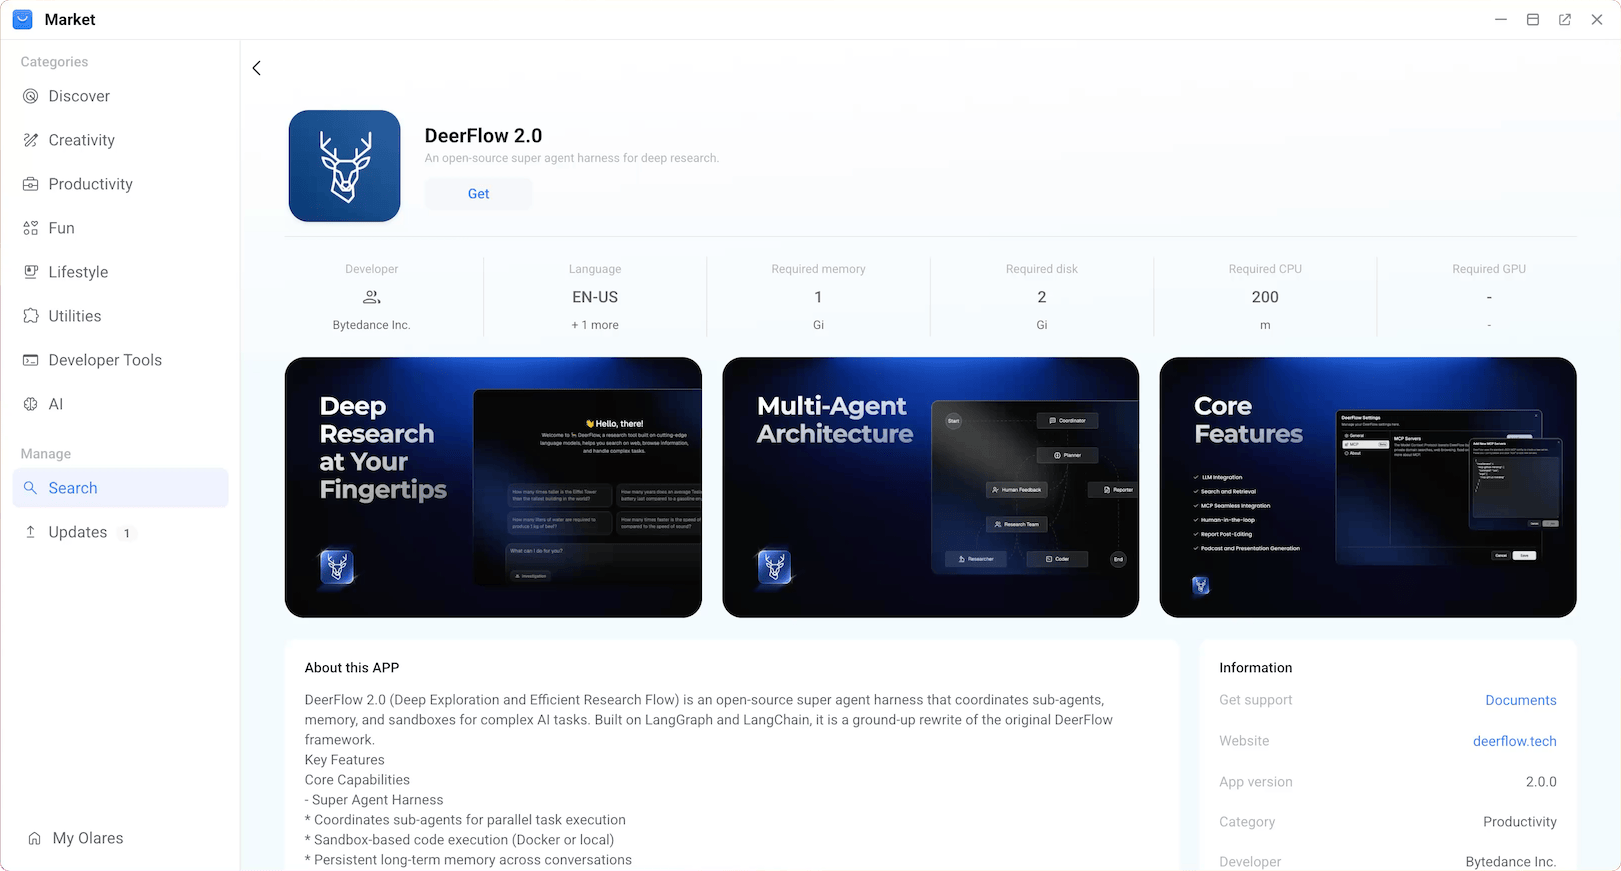
Click Get, then click Install, and wait for the installation to complete.
Configure the model
DeerFlow 2.0 uses a config.yaml file for its core configuration. To connect it to a local model, add the model and its connection details to this file.
Get model connection details
How model connections work
A standalone model on Olares runs as a separate service from the client app. To connect them, the client needs the exact Model name and a Base URL that matches the API format it expects.
You can get both values from the model's console. For more details, see Connect AI apps.
For Qwen3.6-27B (llama.cpp):
Open the model app from Launchpad. Its Model Console opens automatically.
Wait until Model shows READY and Engine shows RUNNING.
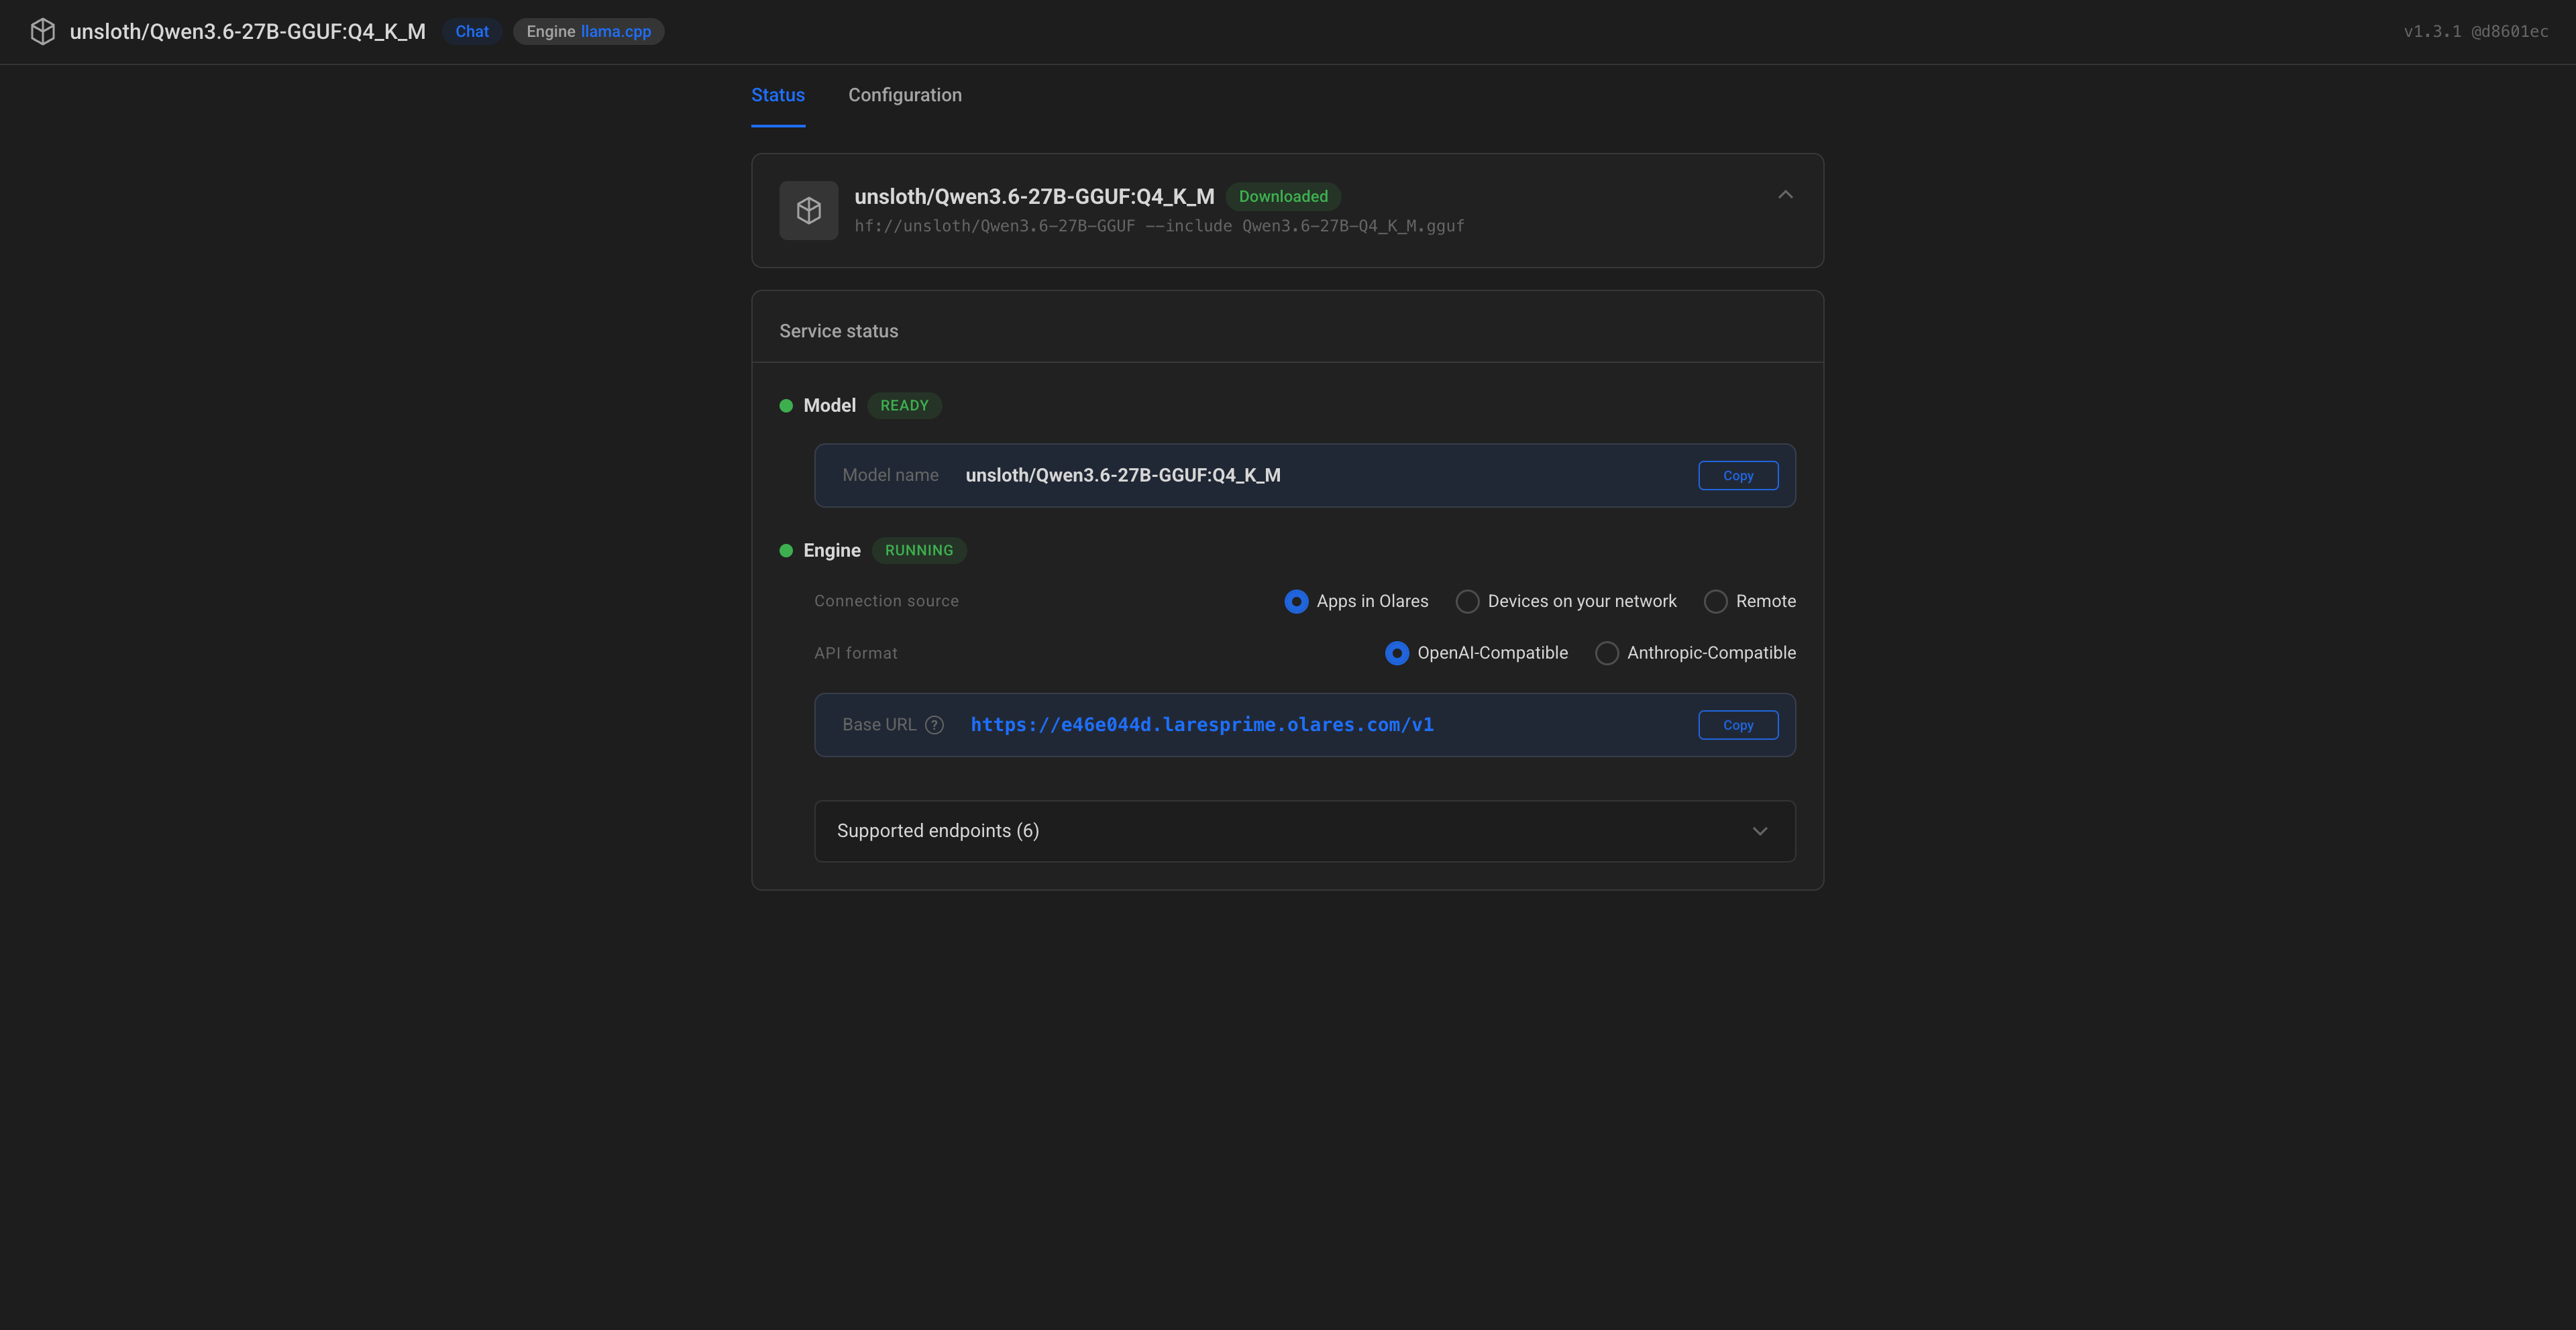
Under Model, copy the Model name exactly as shown.
Under Engine:
a. Connection source: Select Apps in Olares.
b. API format: Select OpenAI-Compatible.
c. Copy the provided Base URL exactly as shown.
Edit config.yaml
Open Files and navigate to the DeerFlow 2.0 app data directory:
/Data/deerflowv2/config/.Open
config.yaml, and click edit_square in the top-right corner to open the editor.Under the
models:section, add the model configuration below. ReplacePASTE_BASE_URL_FROM_MODEL_CONSOLEwith the Base URL copied from the Qwen3.6-27B Model Console.yamlmodels: - name: unsloth/Qwen3.6-27B-GGUF:Q4_K_M # Unique identifier for the model display_name: Qwen3.6-27B # Name shown in the UI use: langchain_openai:ChatOpenAI # LangChain class for OpenAI-compatible APIs model: unsloth/Qwen3.6-27B-GGUF:Q4_K_M # Model ID api_key: olares # Use any non-empty text base_url: https://e46e044d.laresprime.olares.com/v1 # Base URL from MOdel Console supports_thinking: true # Set to true if the model supports extended thinking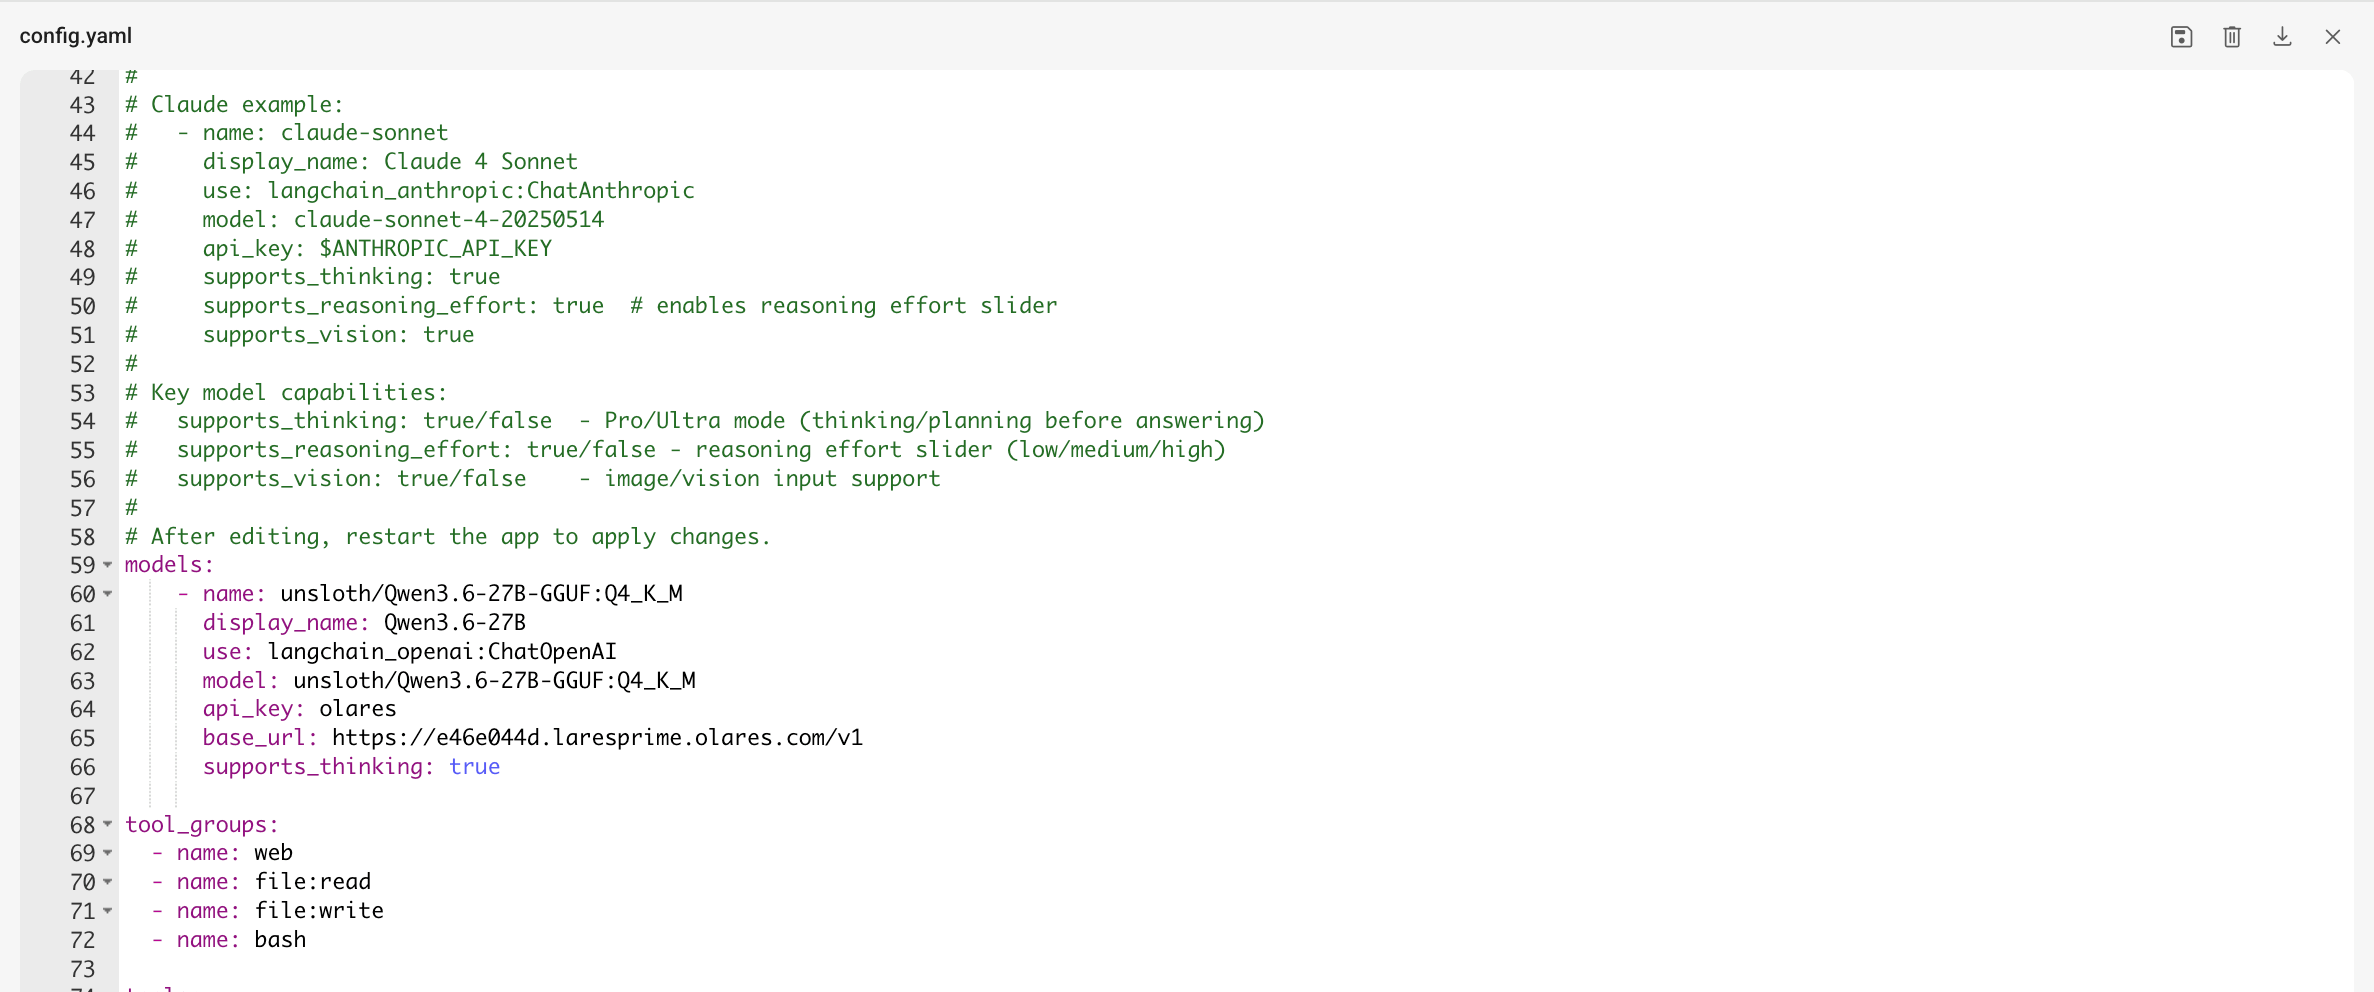
Click save to save the changes.
Restart to apply changes
Open Control Hub and select the DeerFlow 2.0 project.
Under Deployments, locate the backend container and click Restart.
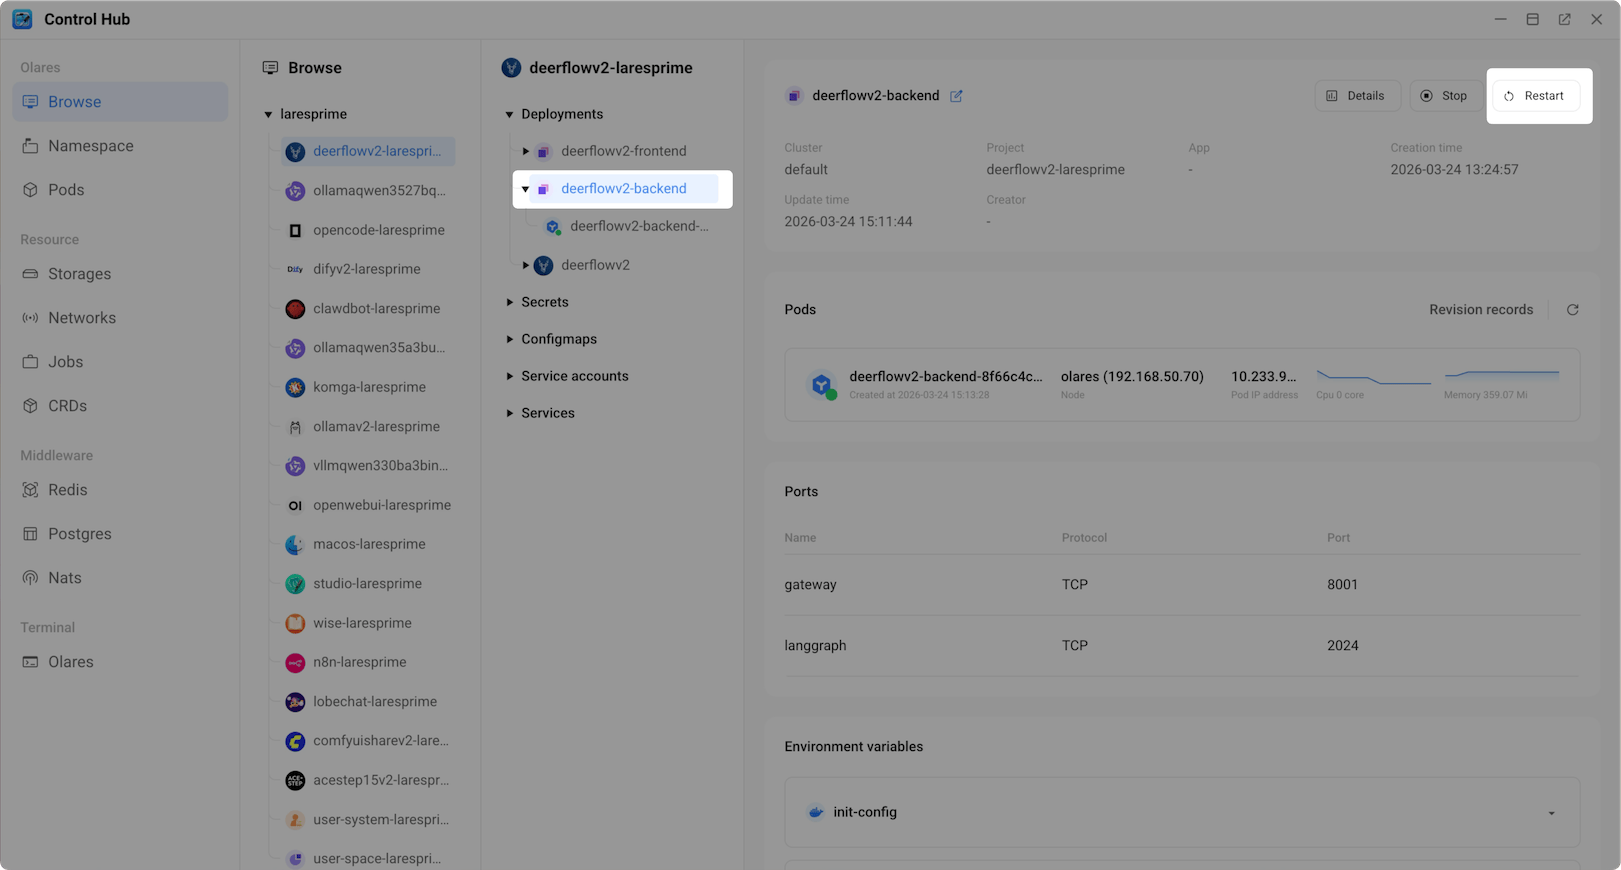
In the confirmation dialog, confirm the restart.
Wait for the status icon to turn green.
Use DeerFlow 2.0
Once the model is configured, you can start using DeerFlow 2.0.
Open DeerFlow 2.0 from Launchpad and click Get Started with 2.0.
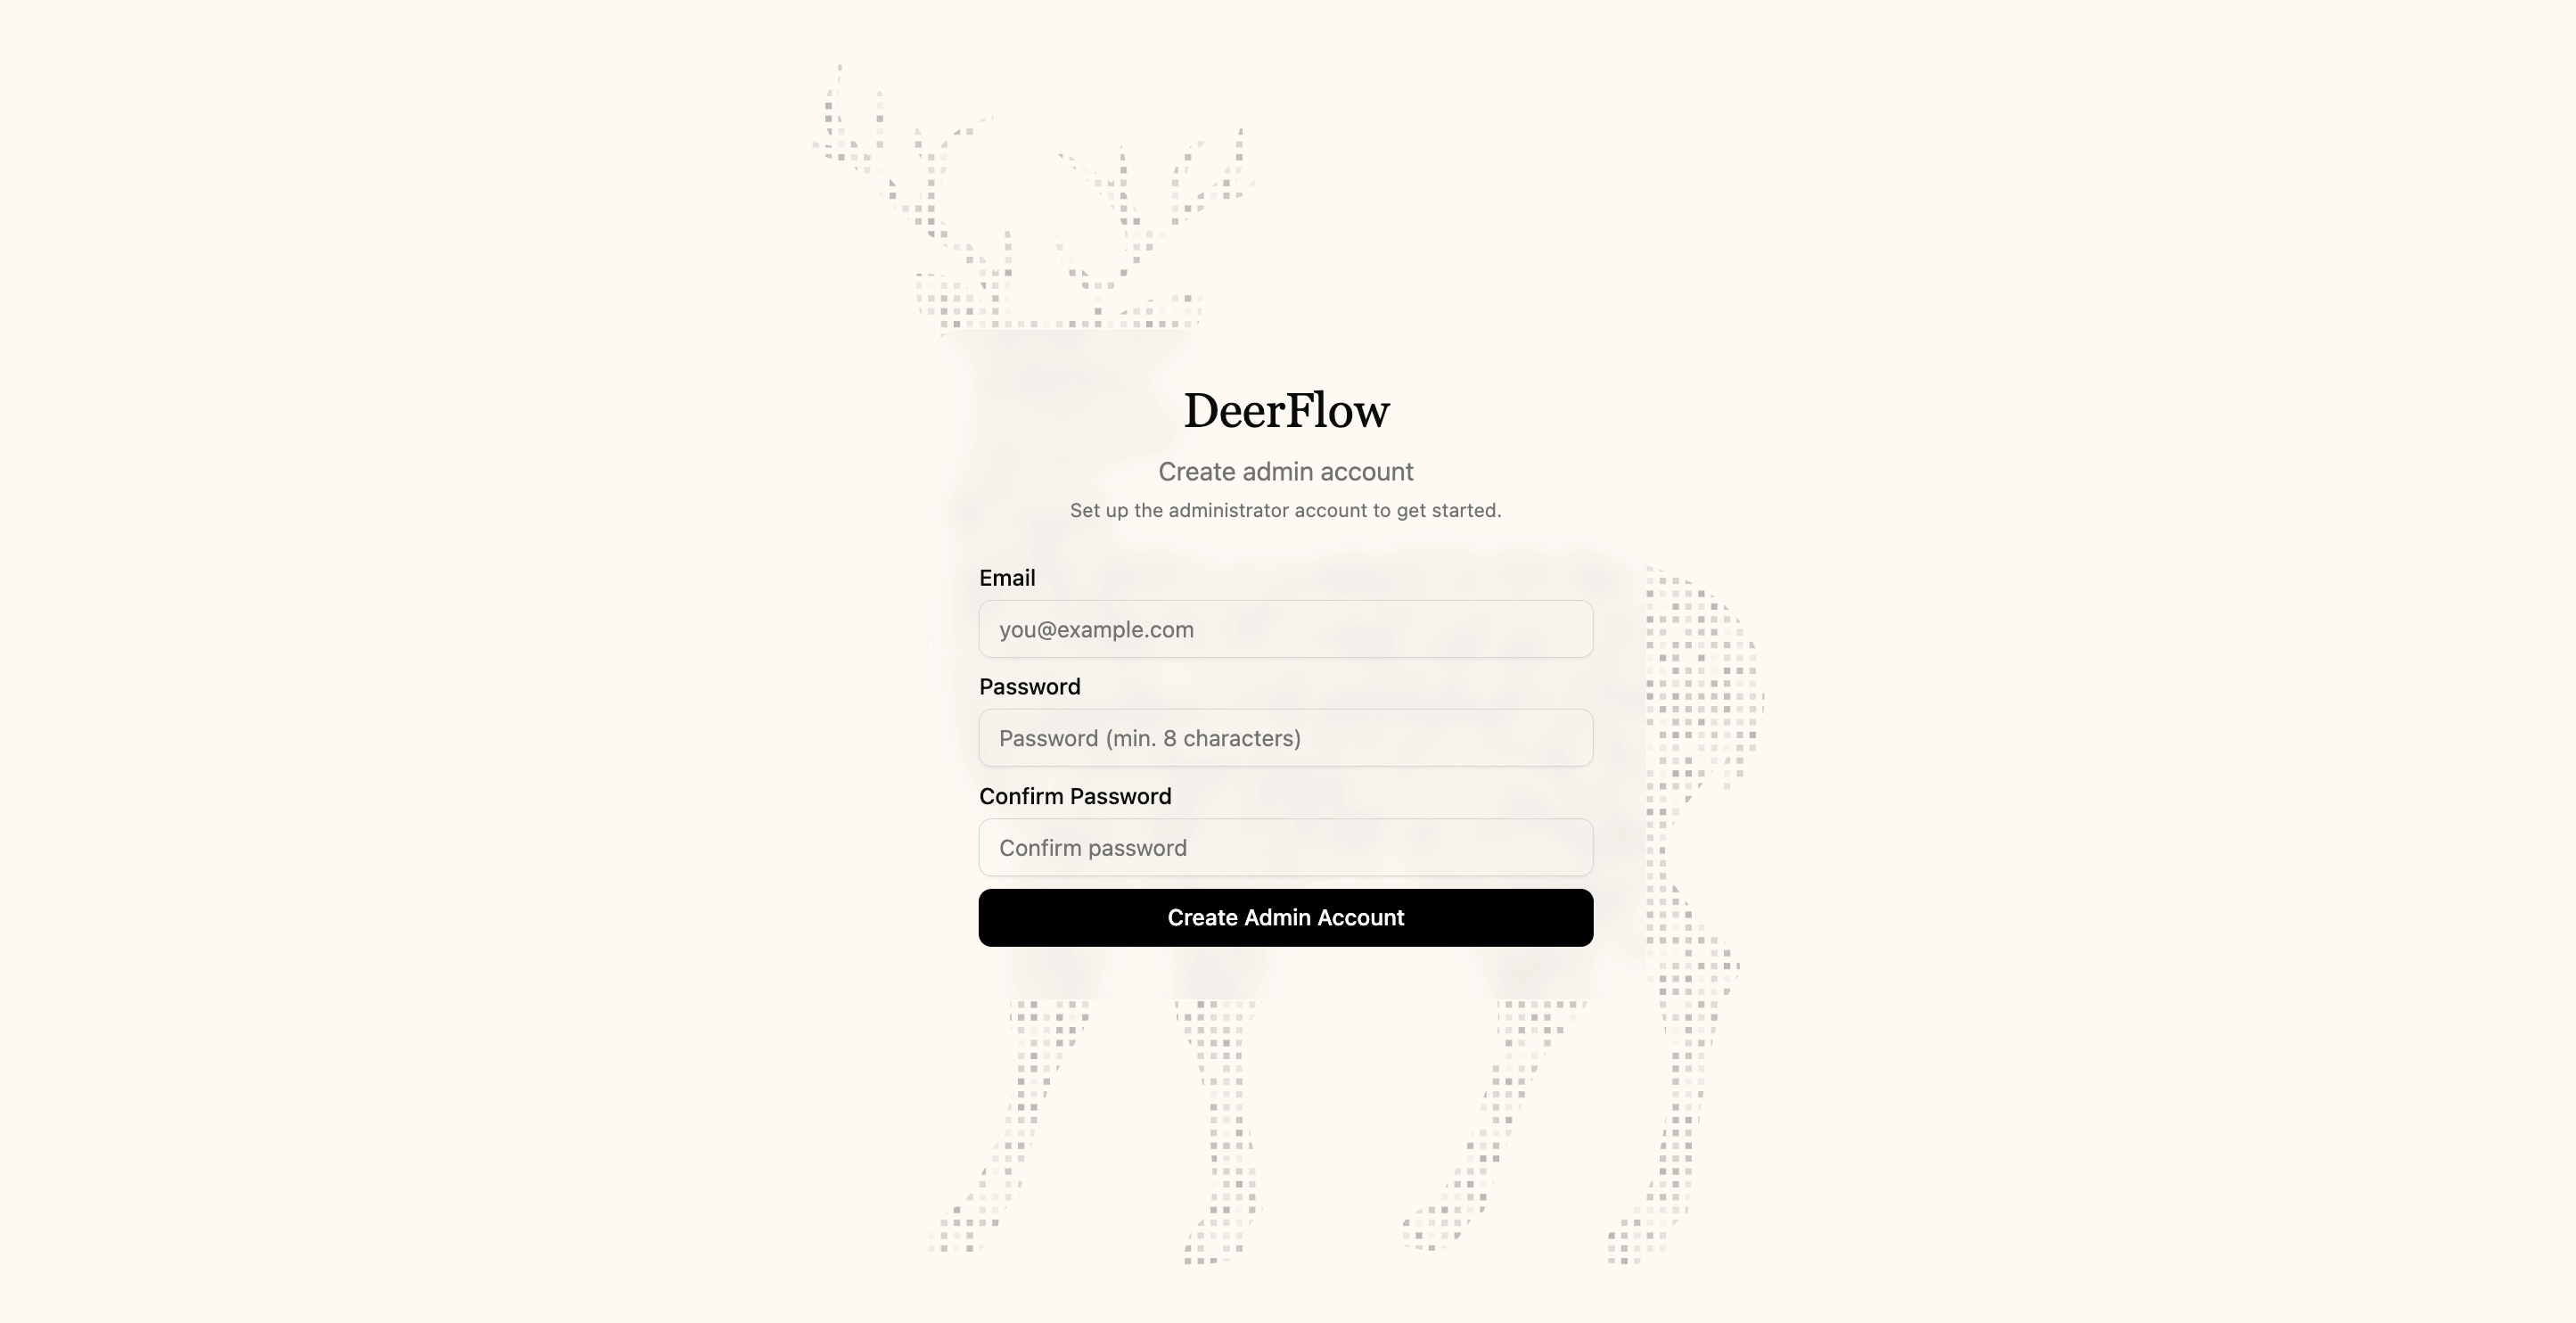
On the first launch, create the administrator account used to access and manage the current DeerFlow 2.0 instance:
- Email: Enter the email address for the administrator account.
- Password: Enter a password with at least eight characters.
- Confirm Password: Enter the password again.
Account data, including login details, stays within the current DeerFlow 2.0 instance. Account creation and sign-in do not connect to an external account service.
Click Create Admin Account to access the chat interface.
Select your preferred execution mode.
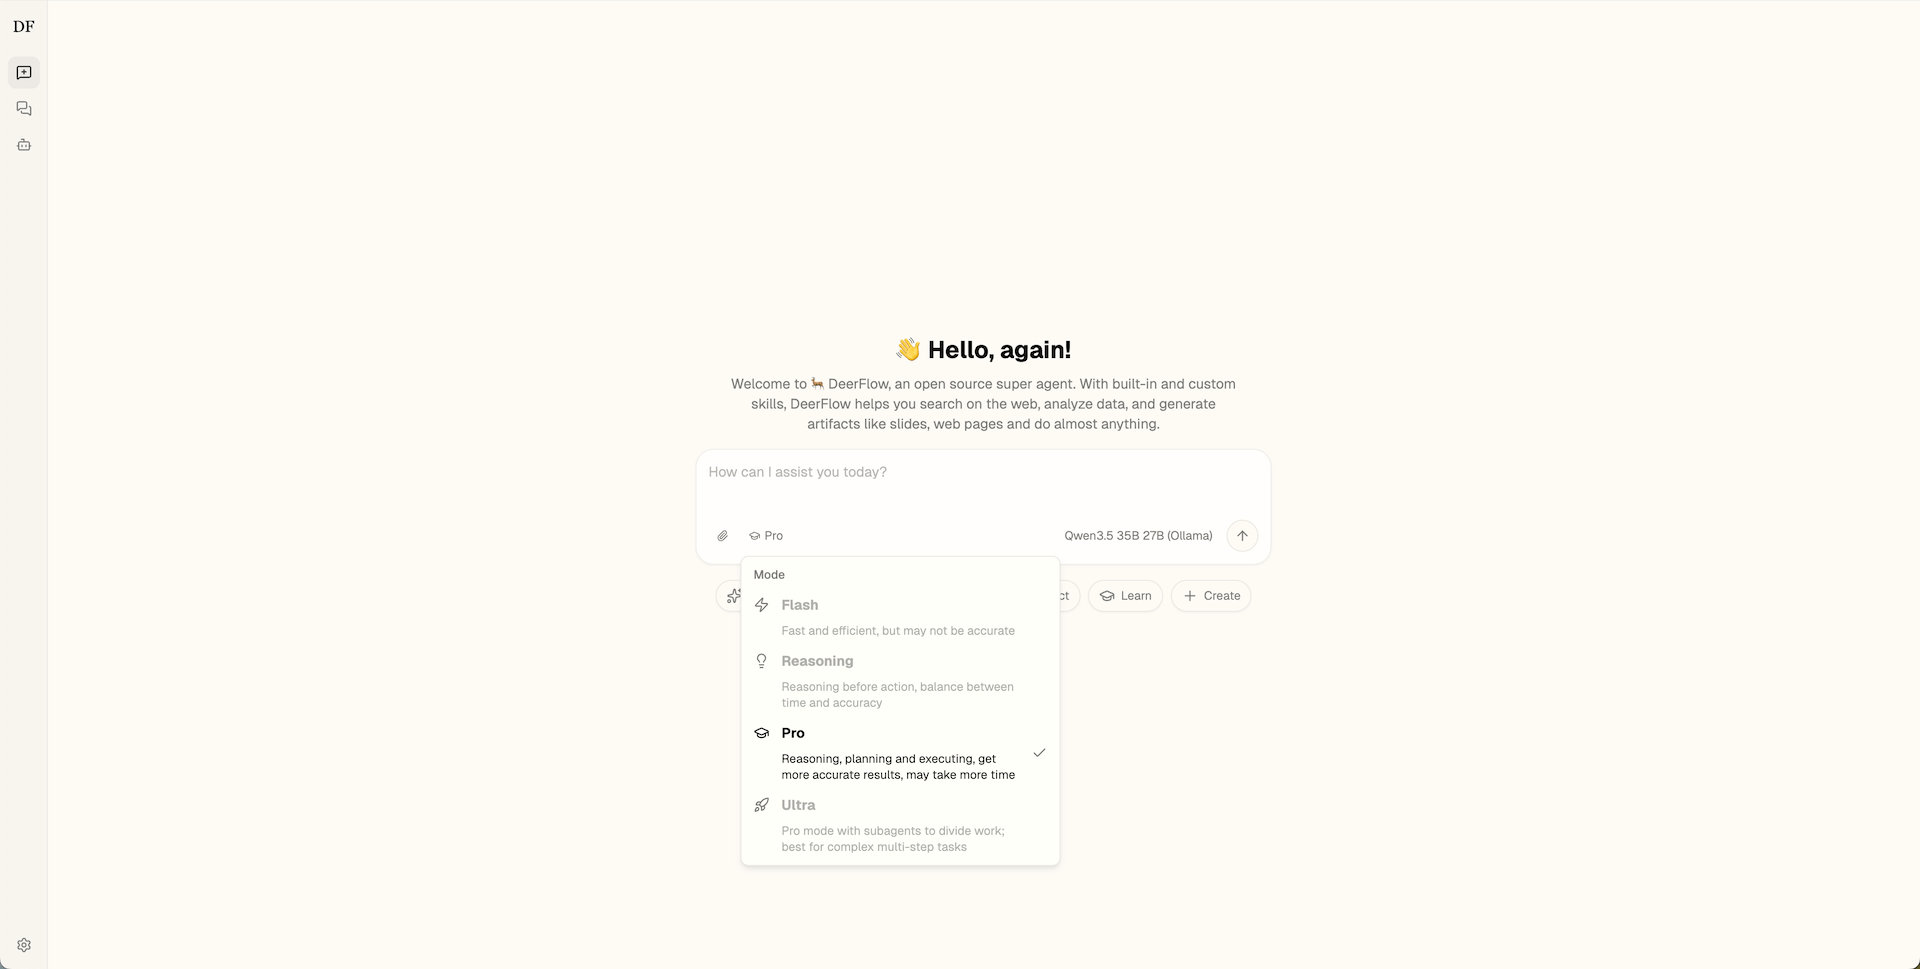
DeerFlow 2.0 offers several execution modes that control how the agent processes your request, from quick single-pass answers to multi-step research with sub-agents.
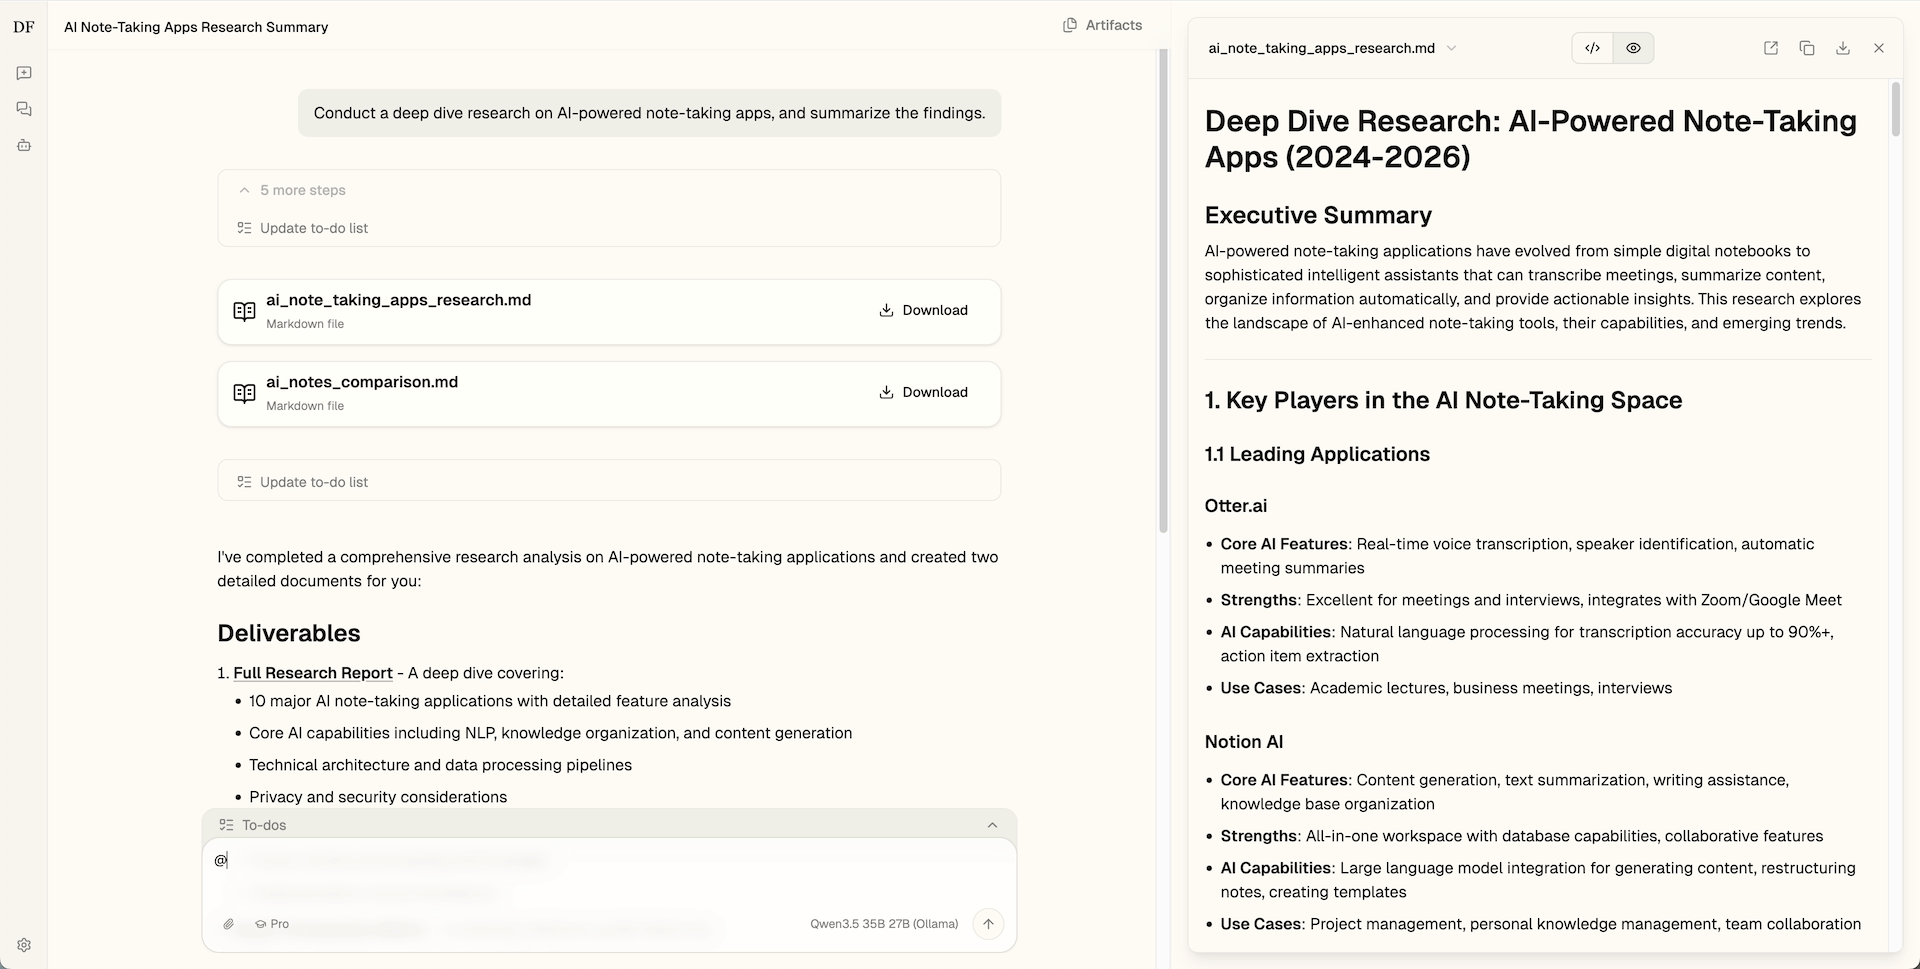
Enter your prompt in the chat box, or select a suggested topic for inspiration.
For example, you can conduct deep research on a topic:
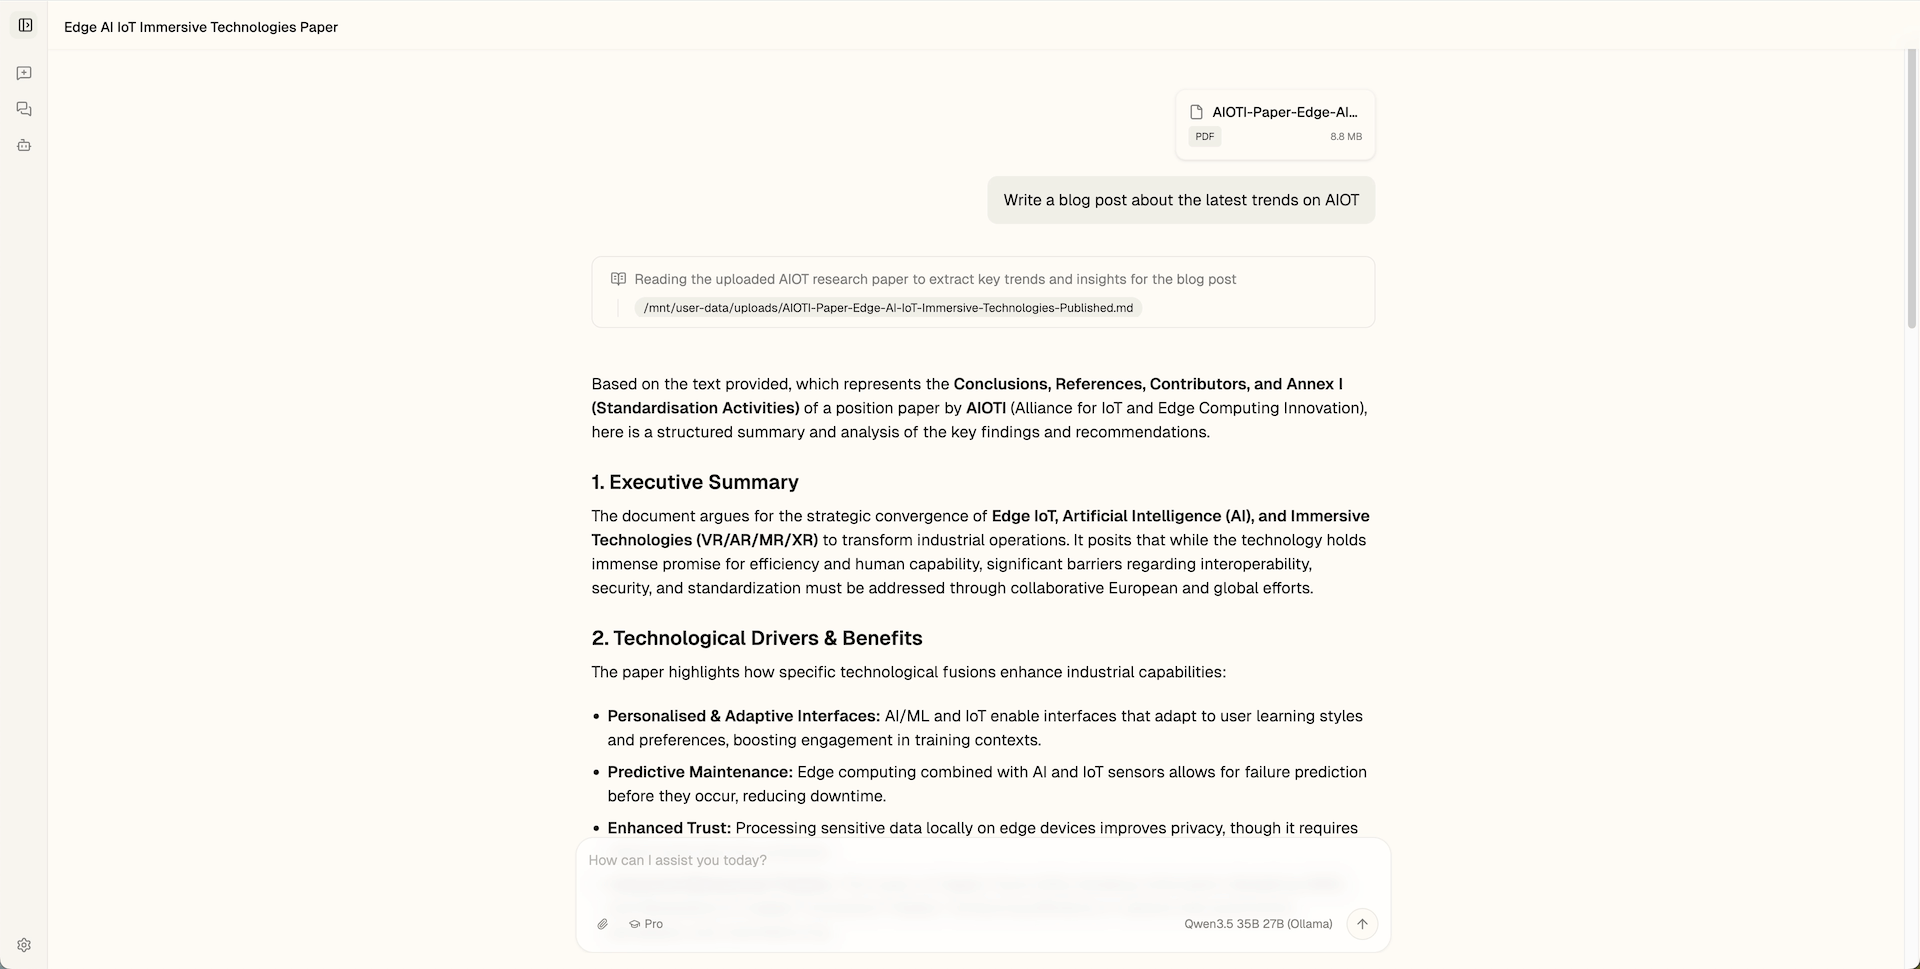
You can also upload attachments and ask DeerFlow to use them as input:
FAQs
DeerFlow 2.0 does not generate a response
If the agent fails to start or hangs:
- Check model compatibility: Ensure the model you selected is properly configured in
config.yaml. Verify the endpoint URL is correct. - Check connection details: Make sure the Model name and Base URL match the values displayed in the Model Console.
How do I enable follow-up suggestions?
By default, follow-up suggestions are turned off in DeerFlow 2.0 on Olares to reduce unnecessary GPU usage after a response is generated.
To enable it:
Open Control Hub and select the DeerFlow 2.0 project.
Under Deployments, click the deerflowv2-frontend deployment.
Click edit_square to edit the YAML.
Find the
ENABLE_FOLLOWUP_SUGGESTIONSenvironment variable and change its value to'true'.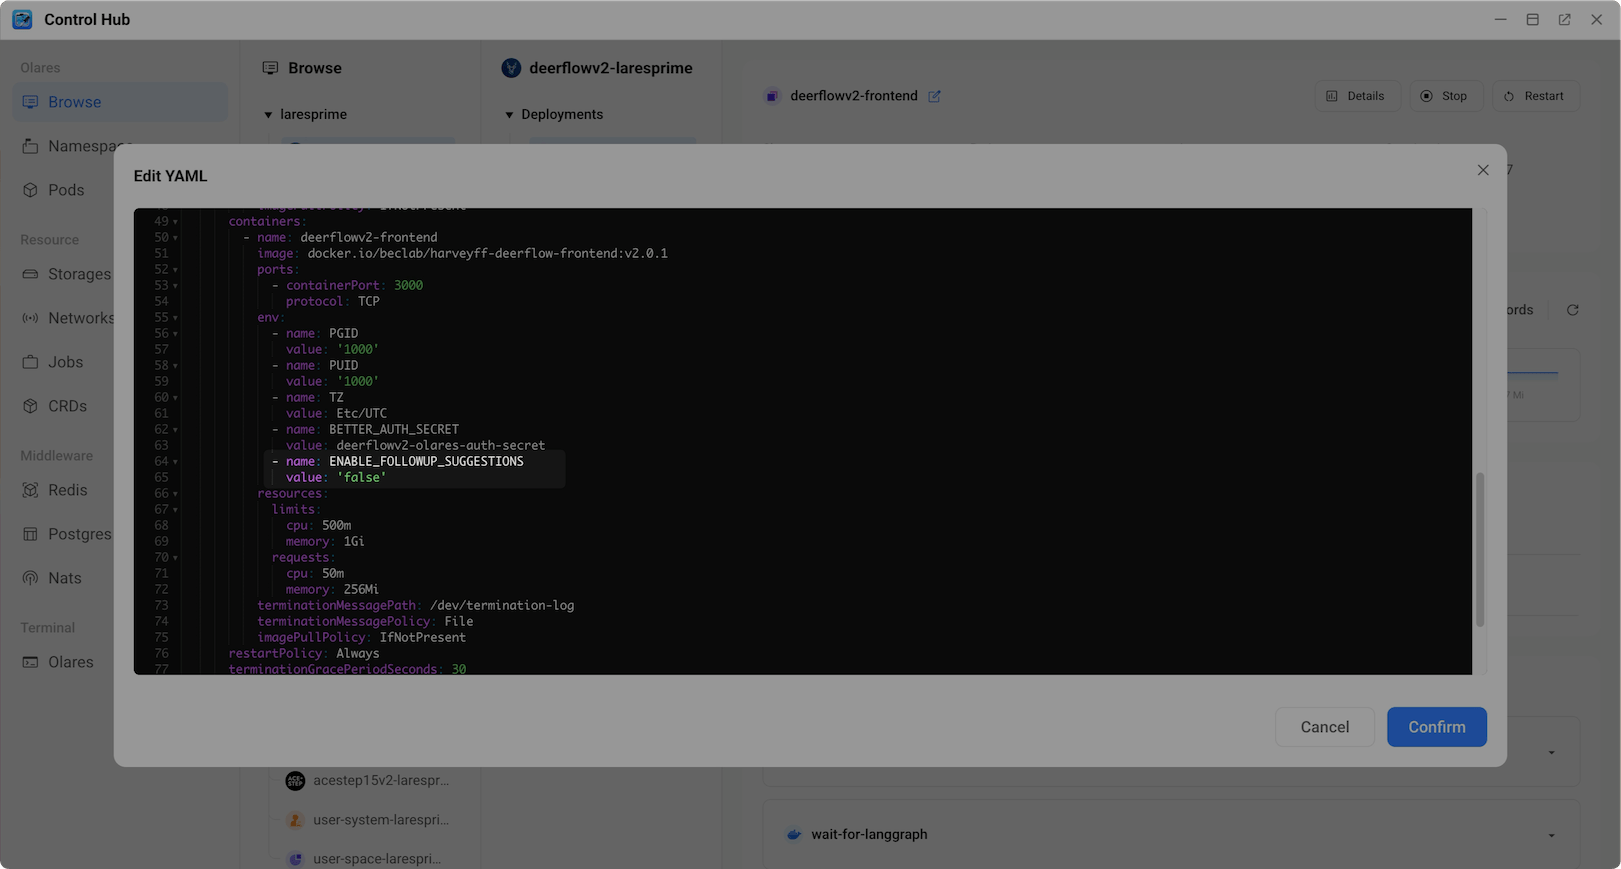
Click Confirm to apply the changes.