Run OpenClaw as your self-hosted personal AI agent
OpenClaw is a personal AI assistant that is designed to run on your local device. It connects directly to messaging apps like Discord and Slack, and allows you to interact with it right in the app.
It acts as an "always-on" operator that can execute real tasks, such as searching and sending documents, managing calendars, or browsing web pages.
Learning objectives
In this guide, you will learn how to:
- Install and initialize the OpenClaw environment.
- Integrate OpenClaw with channels like Discord.
- Optional: Enable the web search capability.
- Manage skills and plugins.
- Manage Olares with your OpenClaw agent.
- Optional: Enable the sandbox for secure code execution.
Prerequisites
Before you begin, you need:
Discord account: Required to create the bot application.
Discord server: A server where you have permissions to add bots.
The following model:
Model type Model How to get it Chat Gemma 4 26B (Ollama) Install from Market Model provider
This tutorial uses Gemma 4 26B through its Ollama API. If you use a different provider or local proxy, see the OpenClaw documentation on custom providers.
Upgrade notes
If you are upgrading an existing OpenClaw installation, review the version-specific changes and troubleshooting steps before proceeding. For more information, see Upgrade OpenClaw.
Install OpenClaw
From the Olares Market, search for "OpenClaw".
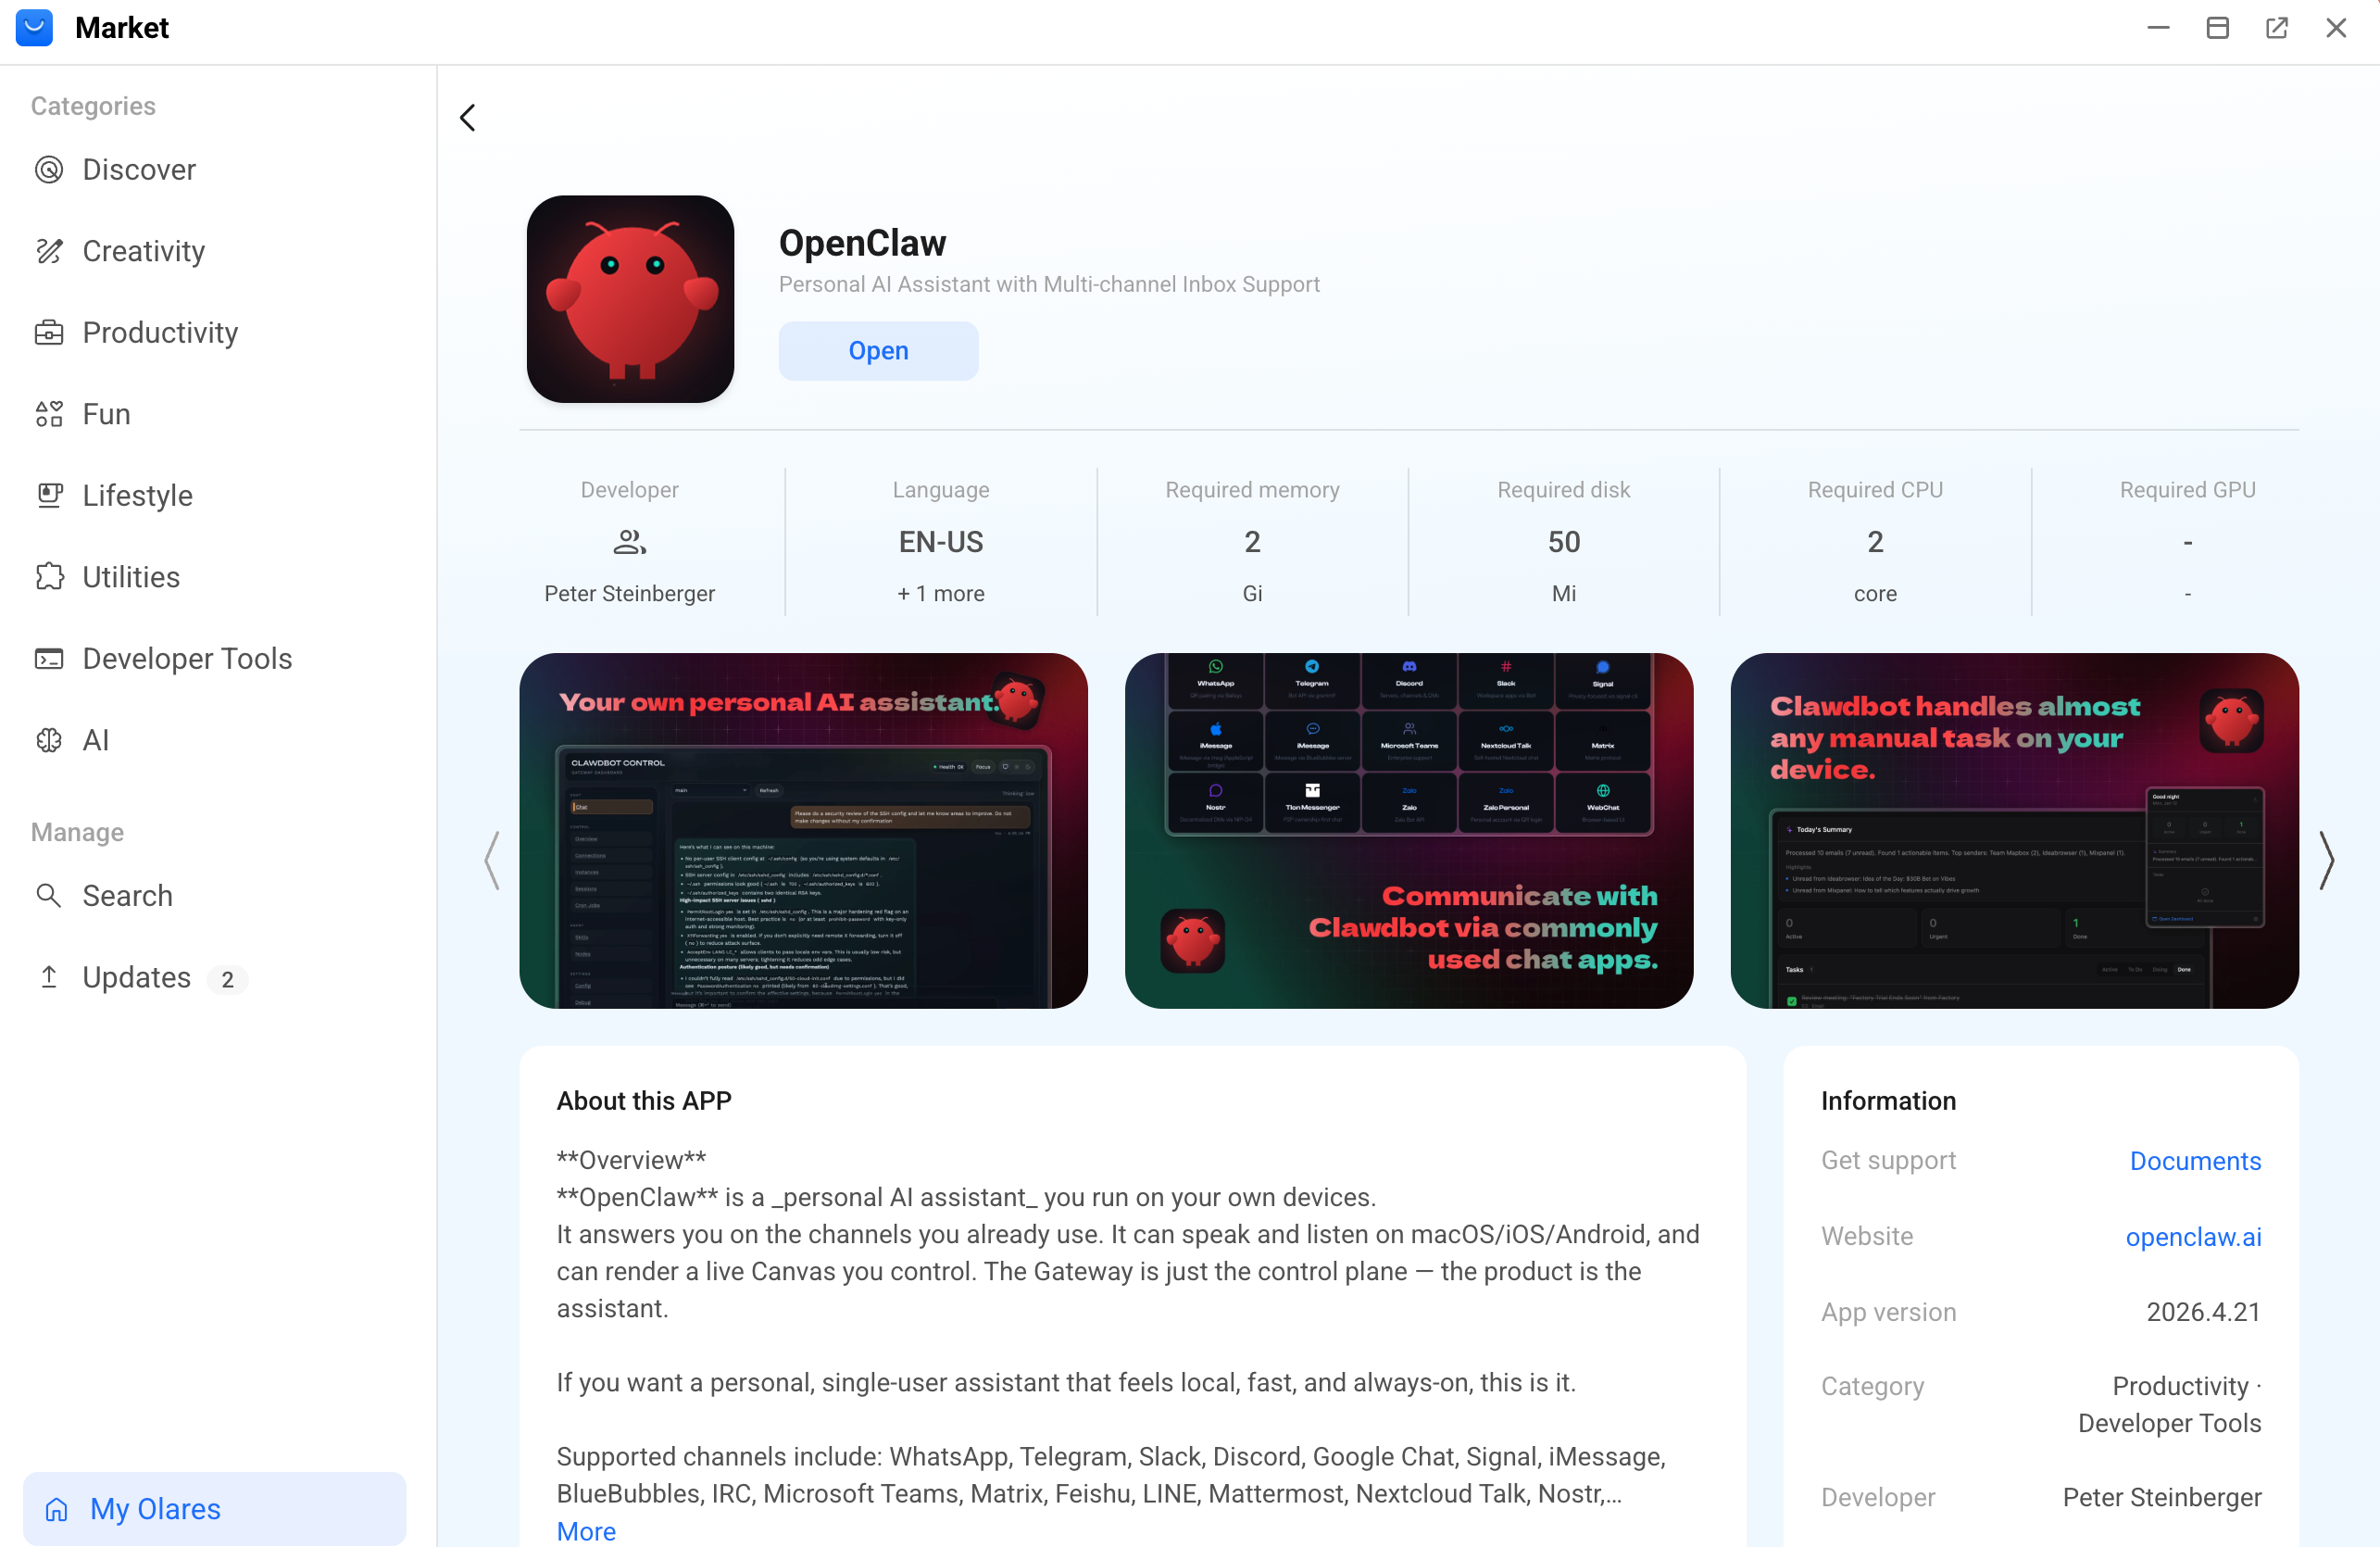
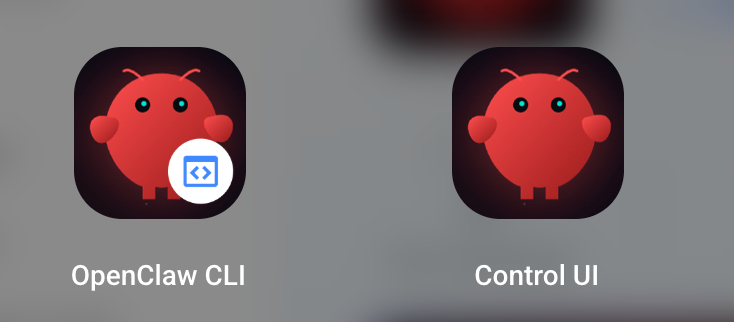
Click Get, and then click Install. When the installation finishes, two shortcuts appear in the Launchpad:
- OpenClaw CLI: The command line interface
- Control UI: The graphical dashboard
Run multiple OpenClaw agents
Olares supports app cloning. If you want to run multiple independent AI agents for different tasks, you can clone the OpenClaw app. For more information, see Clone applications.
Initialize OpenClaw
Run a quick setup for the agent.
Step 1: Get model connection details
This tutorial uses Gemma 4 26B (Ollama), a tool-capable model available from Market.
TIP
OpenClaw requires a large "context window" (that is the AI's short-term memory) to handle complex tasks without forgetting your previous instructions. If you are using local models, it is recommended to select a model that natively supports a context window of at least 64K tokens.
How model connections work
A standalone model on Olares runs as a separate service from the client app. To connect them, the client needs the exact Model name and a Base URL that matches the API format it expects.
You can get both values from the model's console. For more details, see Connect AI apps.
Open the model app from Launchpad. Its Model Console opens automatically.
Wait until Model shows READY and Engine shows RUNNING.
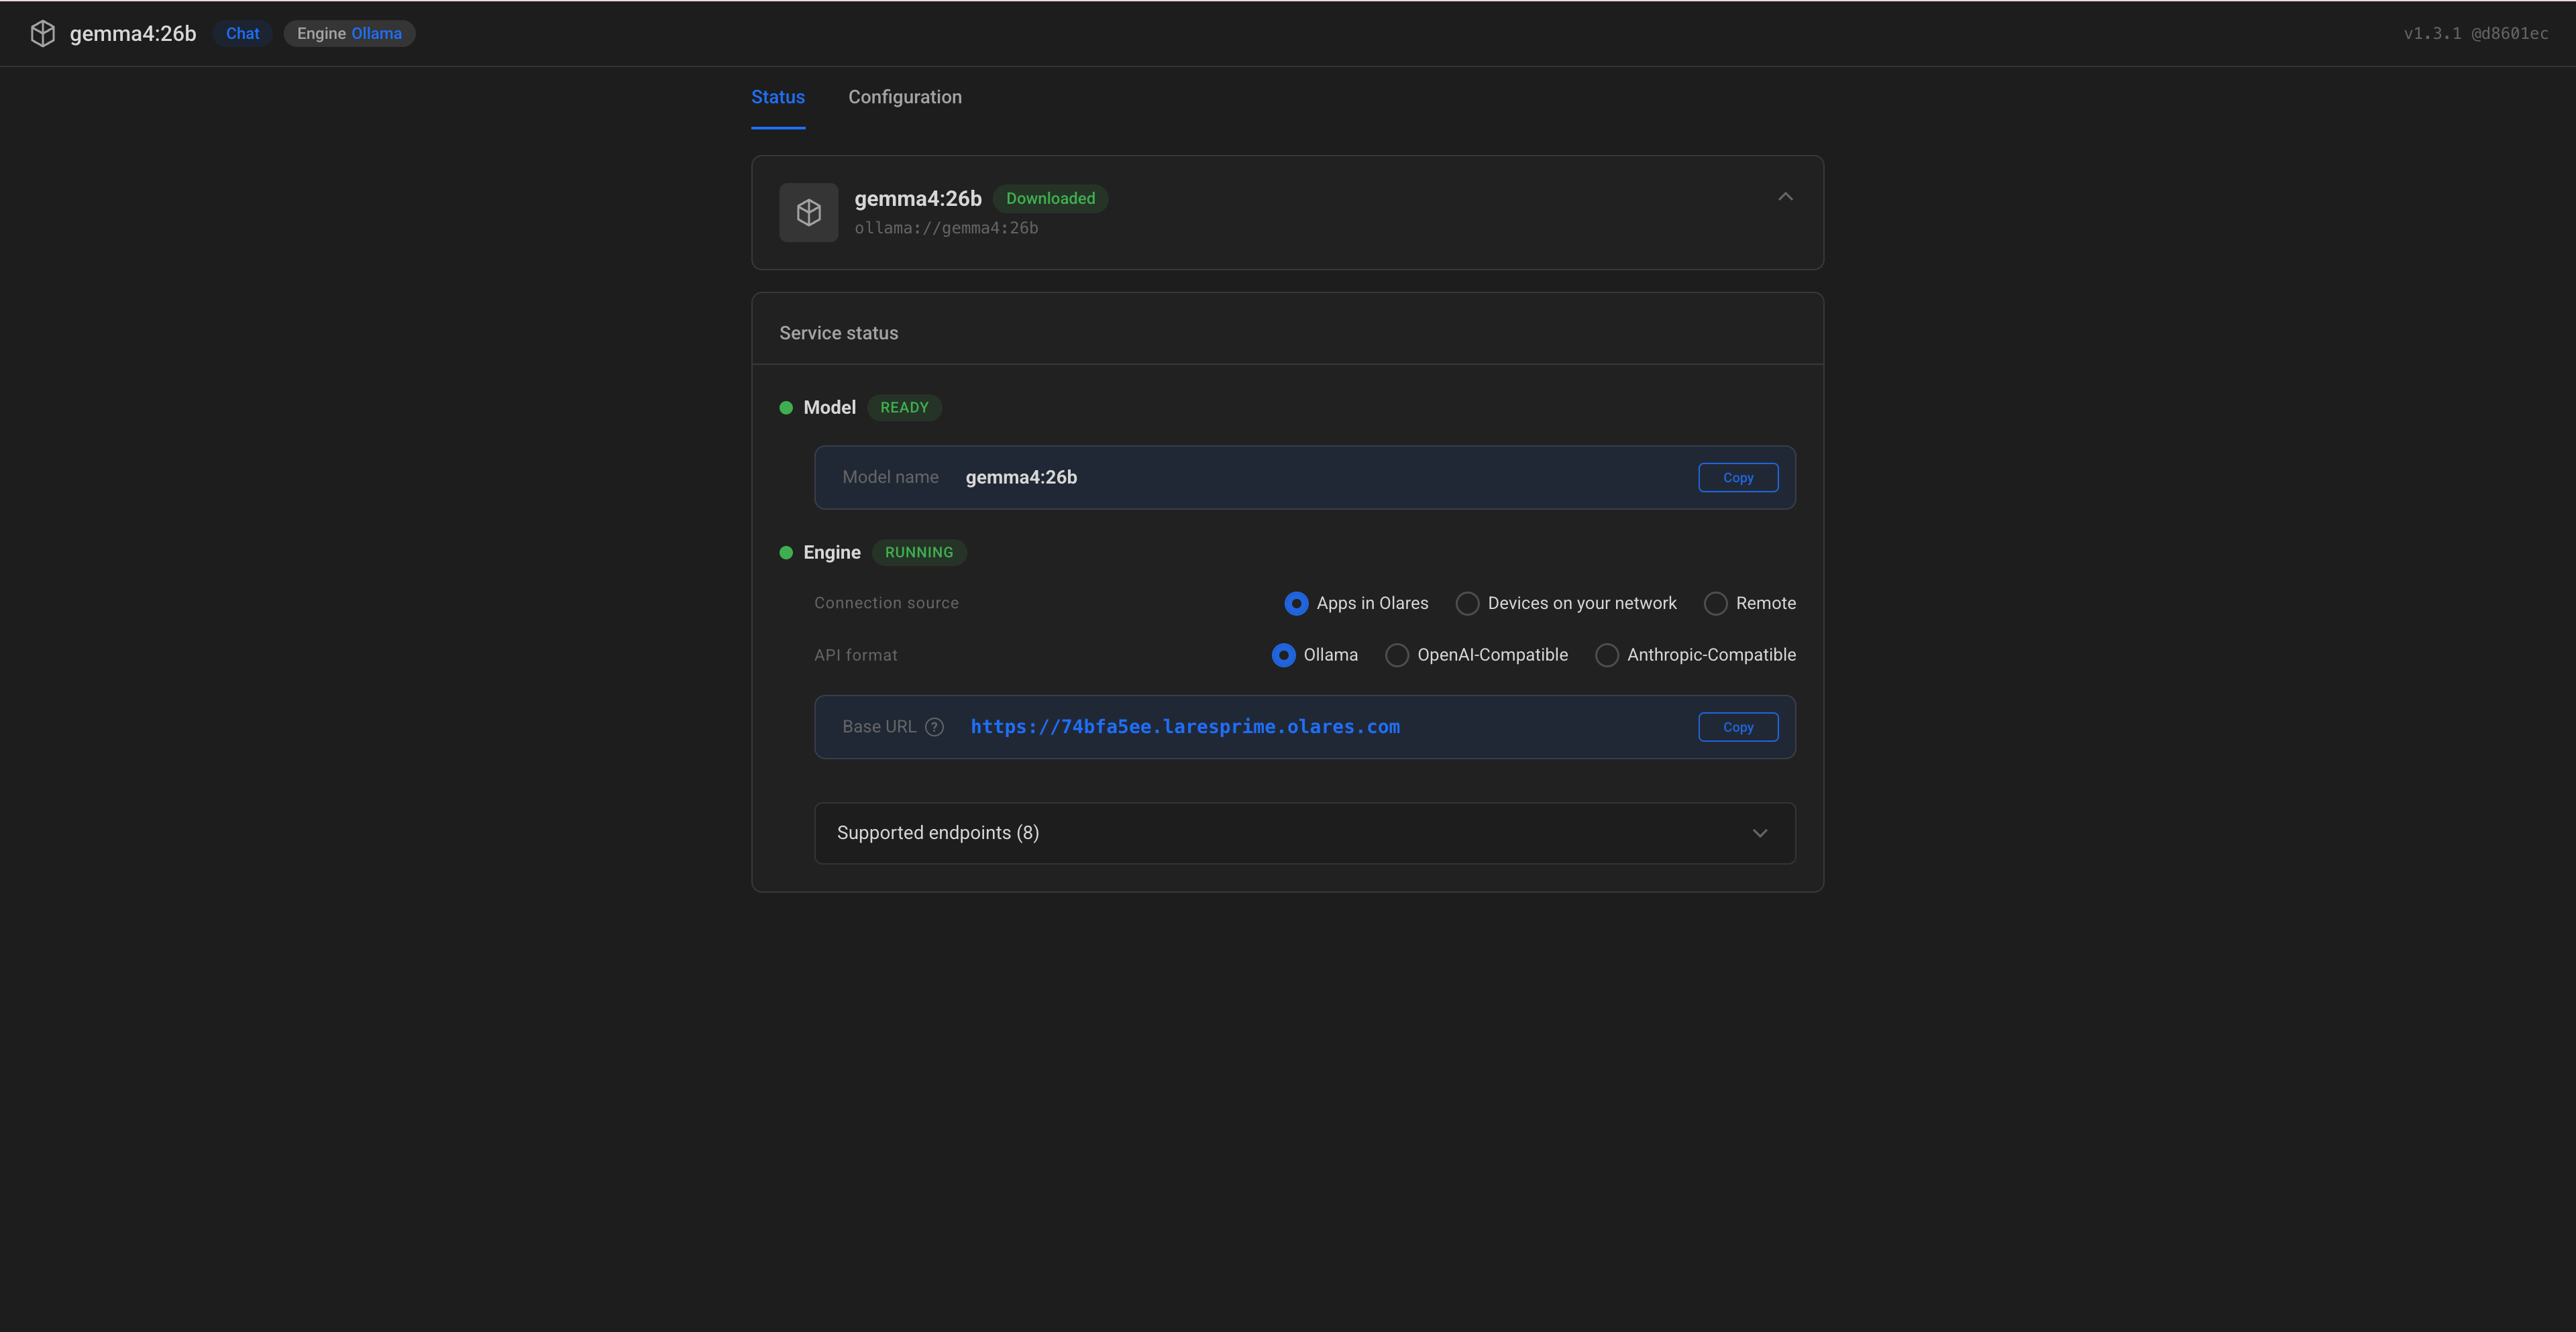
Under Model, copy the Model name exactly as shown.
Under Engine:
a. Connection source: Select Apps in Olares.
b. API format: Select Ollama.
c. Copy the provided Base URL exactly as shown.
Step 2: Run onboarding wizard
Set up OpenClaw using the step-by-step interactive wizard.
Open the OpenClaw CLI app from the Launchpad.
Enter the following command to start the interactive onboarding wizard:
bashopenclaw onboard --classicDo not run
openclaw onboardDo not run
openclaw onboardon its own — it launches a conversational TUI that requires an API key configured in the environment variables. Since no API key is configured there, this path is unusable. For the interactive wizard, useopenclaw onboard --classicinstead.If you accidentally entered the TUI, type
/quitand press Enter to exit.The wizard guides you through a series of steps. Use the arrow keys to navigate and press Enter to confirm.
Note on configurations
To get you started quickly, this tutorial skips several advanced settings in the wizard. You can configure or modify them later.
Settings Option Personal-by-default acknowledgment Select Yes. Help make OpenClaw better Select as needed. Select QuickStart. Select More, and then select Ollama.
For non-Ollama local models, select Custom Provider.Select Ollama. Select Local only. Remove the default placeholder text, and then enter the Base URL copied in Step 1. Select Browse all models, and then select the installed model ollama/gemma4:26b.Test AI access now with a live completion Select Yes.
The messageAI access worksindicates that OpenClaw can successfully connect to the model.Remaining settings (channels, search provider,
and skill dependencies)Select Skip for now.
You can configure them later.Once you complete the onboarding wizard, OpenClaw opens the Terminal User Interface (TUI) automatically.

Type
/quitand press Enter to exit.Keep the OpenClaw CLI window open. You need it in the next step.
Step 3: Pair device
Connect the Control UI to the OpenClaw CLI to use the graphical dashboard.
Step 4: Personalize OpenClaw
To make your OpenClaw bot more personalized, it is highly recommended to complete the persona setup process.
This process establishes the agent's identity, behavioral boundaries, and long-term memory through persona files. These files keep your agent's behavior consistent across all platforms and channels.
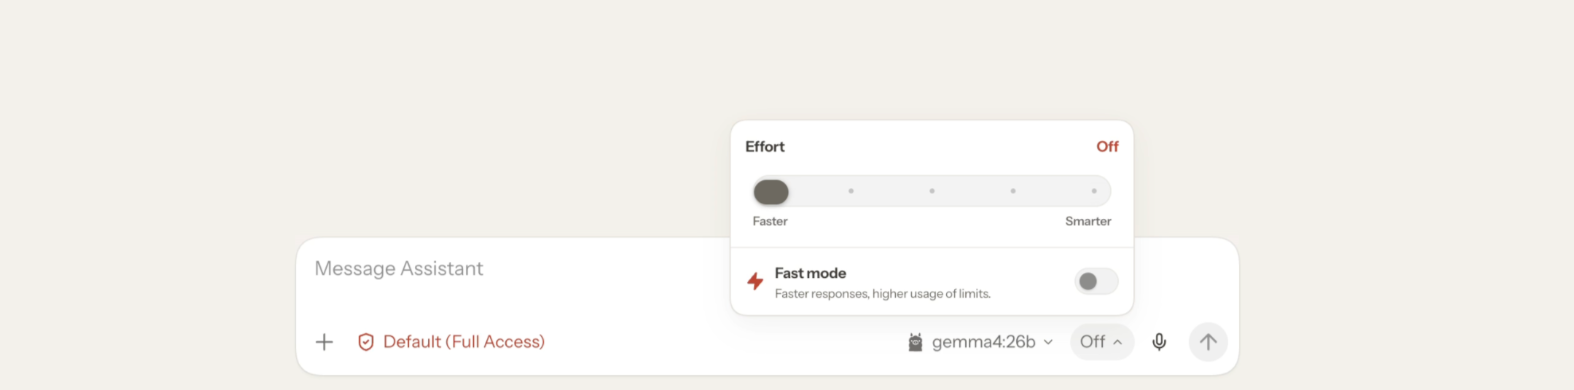
In the chat area, ensure your model is selected.
The indicator in the bottom-right corner (for example,
gemma4:26b · Off) shows the current model and reasoning status.Offmeans reasoning is disabled, not that the model is unavailable.(Optional) Enable reasoning.
By default, reasoning is off for faster responses. To enable or adjust it, drag the Effort slider to an appropriate position between Faster and Smarter.
Type and send a simple message to start. For example:
textWake up please!The agent responds and starts interviewing you. You can establish rules, personality traits, and preferences. For example:
text- Call me Bella. I like simple language without technical jargon and concise bulleted answers. - You are John, a witty assistant who uses emojis. - Never access my calendar without asking first, and never execute any financial operations.As you chat with the agent, the agent writes your preferences to its core persona files, such as
IDENTITY.md,USER.md, andSOUL.md.(Optional) If the agent fails to update the persona files, explicitly instruct it to do so in the chat.
If the issue persists, resolve it using one of the following methods:
Increase the context window: Open the Files app, go to Data > clawdbot > config > openclaw.json, and then increase the
contextWindowvalue to at least 64K (200K is recommended).TIP
Note that a larger context window consumes more VRAM, so choose a value that your hardware can support.
Change the model: Switch to a model with better tool-calling and instruction-following capabilities.
Continue the conversation until the agent gathers enough information.
Verify that the persona files were successfully updated:
a. Open the Files app from the Launchpad.
b. Go to Data > clawdbot > config > workspace.
c. Check the modified time of the
.mdfiles to identify which ones were recently updated, such asUSER.md,IDENTITY.md, andSOUL.md.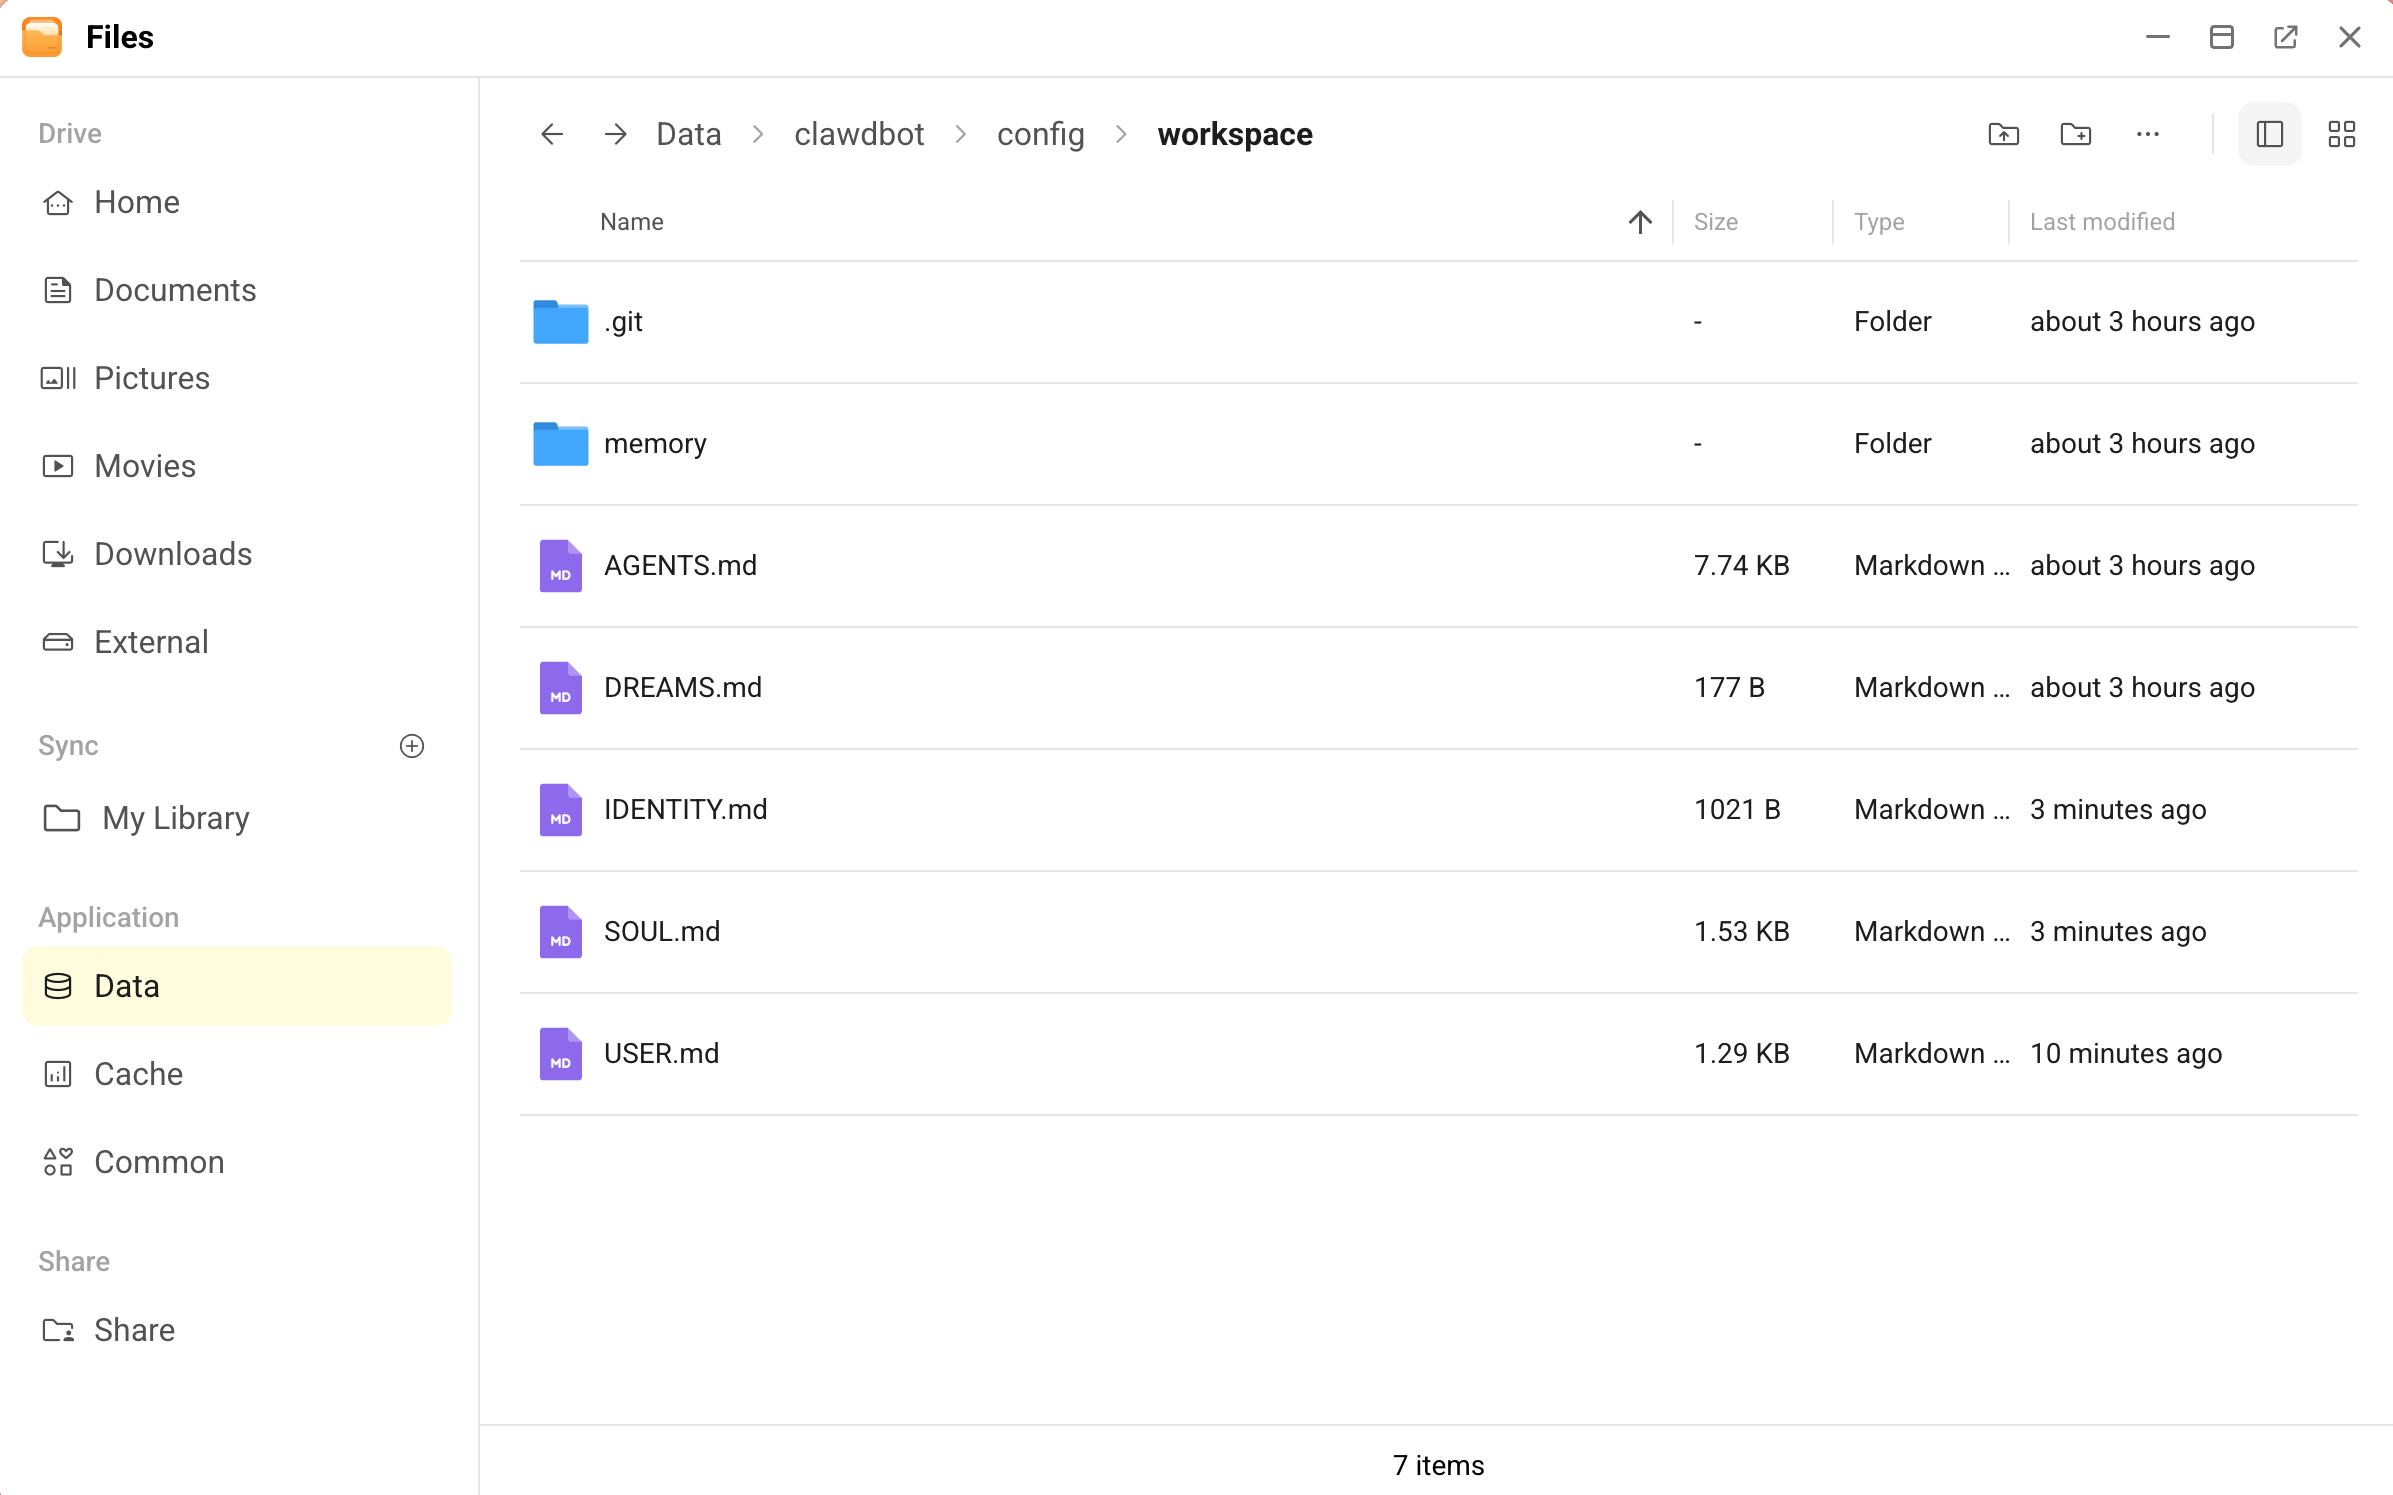
d. (Optional) Download a file to view it in a supported text editor, and verify that it contains your newly established rules, such as your name, language style, and restrictions.
e. If the temporary
BOOTSTRAP.mdfile exists, delete it.Modify persona settings
To change these settings in the future, use one of the following methods:
- Ask the agent in the chat to update its rules.
- Download the
.mdfiles from this folder, edit them in a text editor, and re-upload them to overwrite the old ones.
Next steps
- Integrate with Discord to chat with your agent remotely.
- Enable web search to give your agent access to the live internet information.
- Install skills and plugins to enhance your agent's capabilities.
Troubleshooting and FAQs
Find solutions to common errors and behavioral issues in Common issues.