Code with Pool CLI
Pool CLI is a terminal-based coding agent that helps you read code, run terminal commands, and edit files using natural language. On Olares, this command-line interface runs inside a browser-based terminal equipped with a pre-configured Ubuntu development environment.
Learning objectives
In this guide, you will learn how to:
- Install Pool CLI from the Olares Market.
- Connect Pool CLI to a model using Poolside's cloud API or a local model.
- Execute a basic natural language coding workflow.
- Configure directory access for your development workspace.
- Manage software dependencies securely.
Prerequisites
Before you begin, you need:
An Olares device with sufficient disk space and memory.
The following model:
Used for Model How to get it Local model connection Qwen3.6-27B (llama.cpp) Install from Market
Install Pool CLI
Open Market, and search for "Pool CLI".
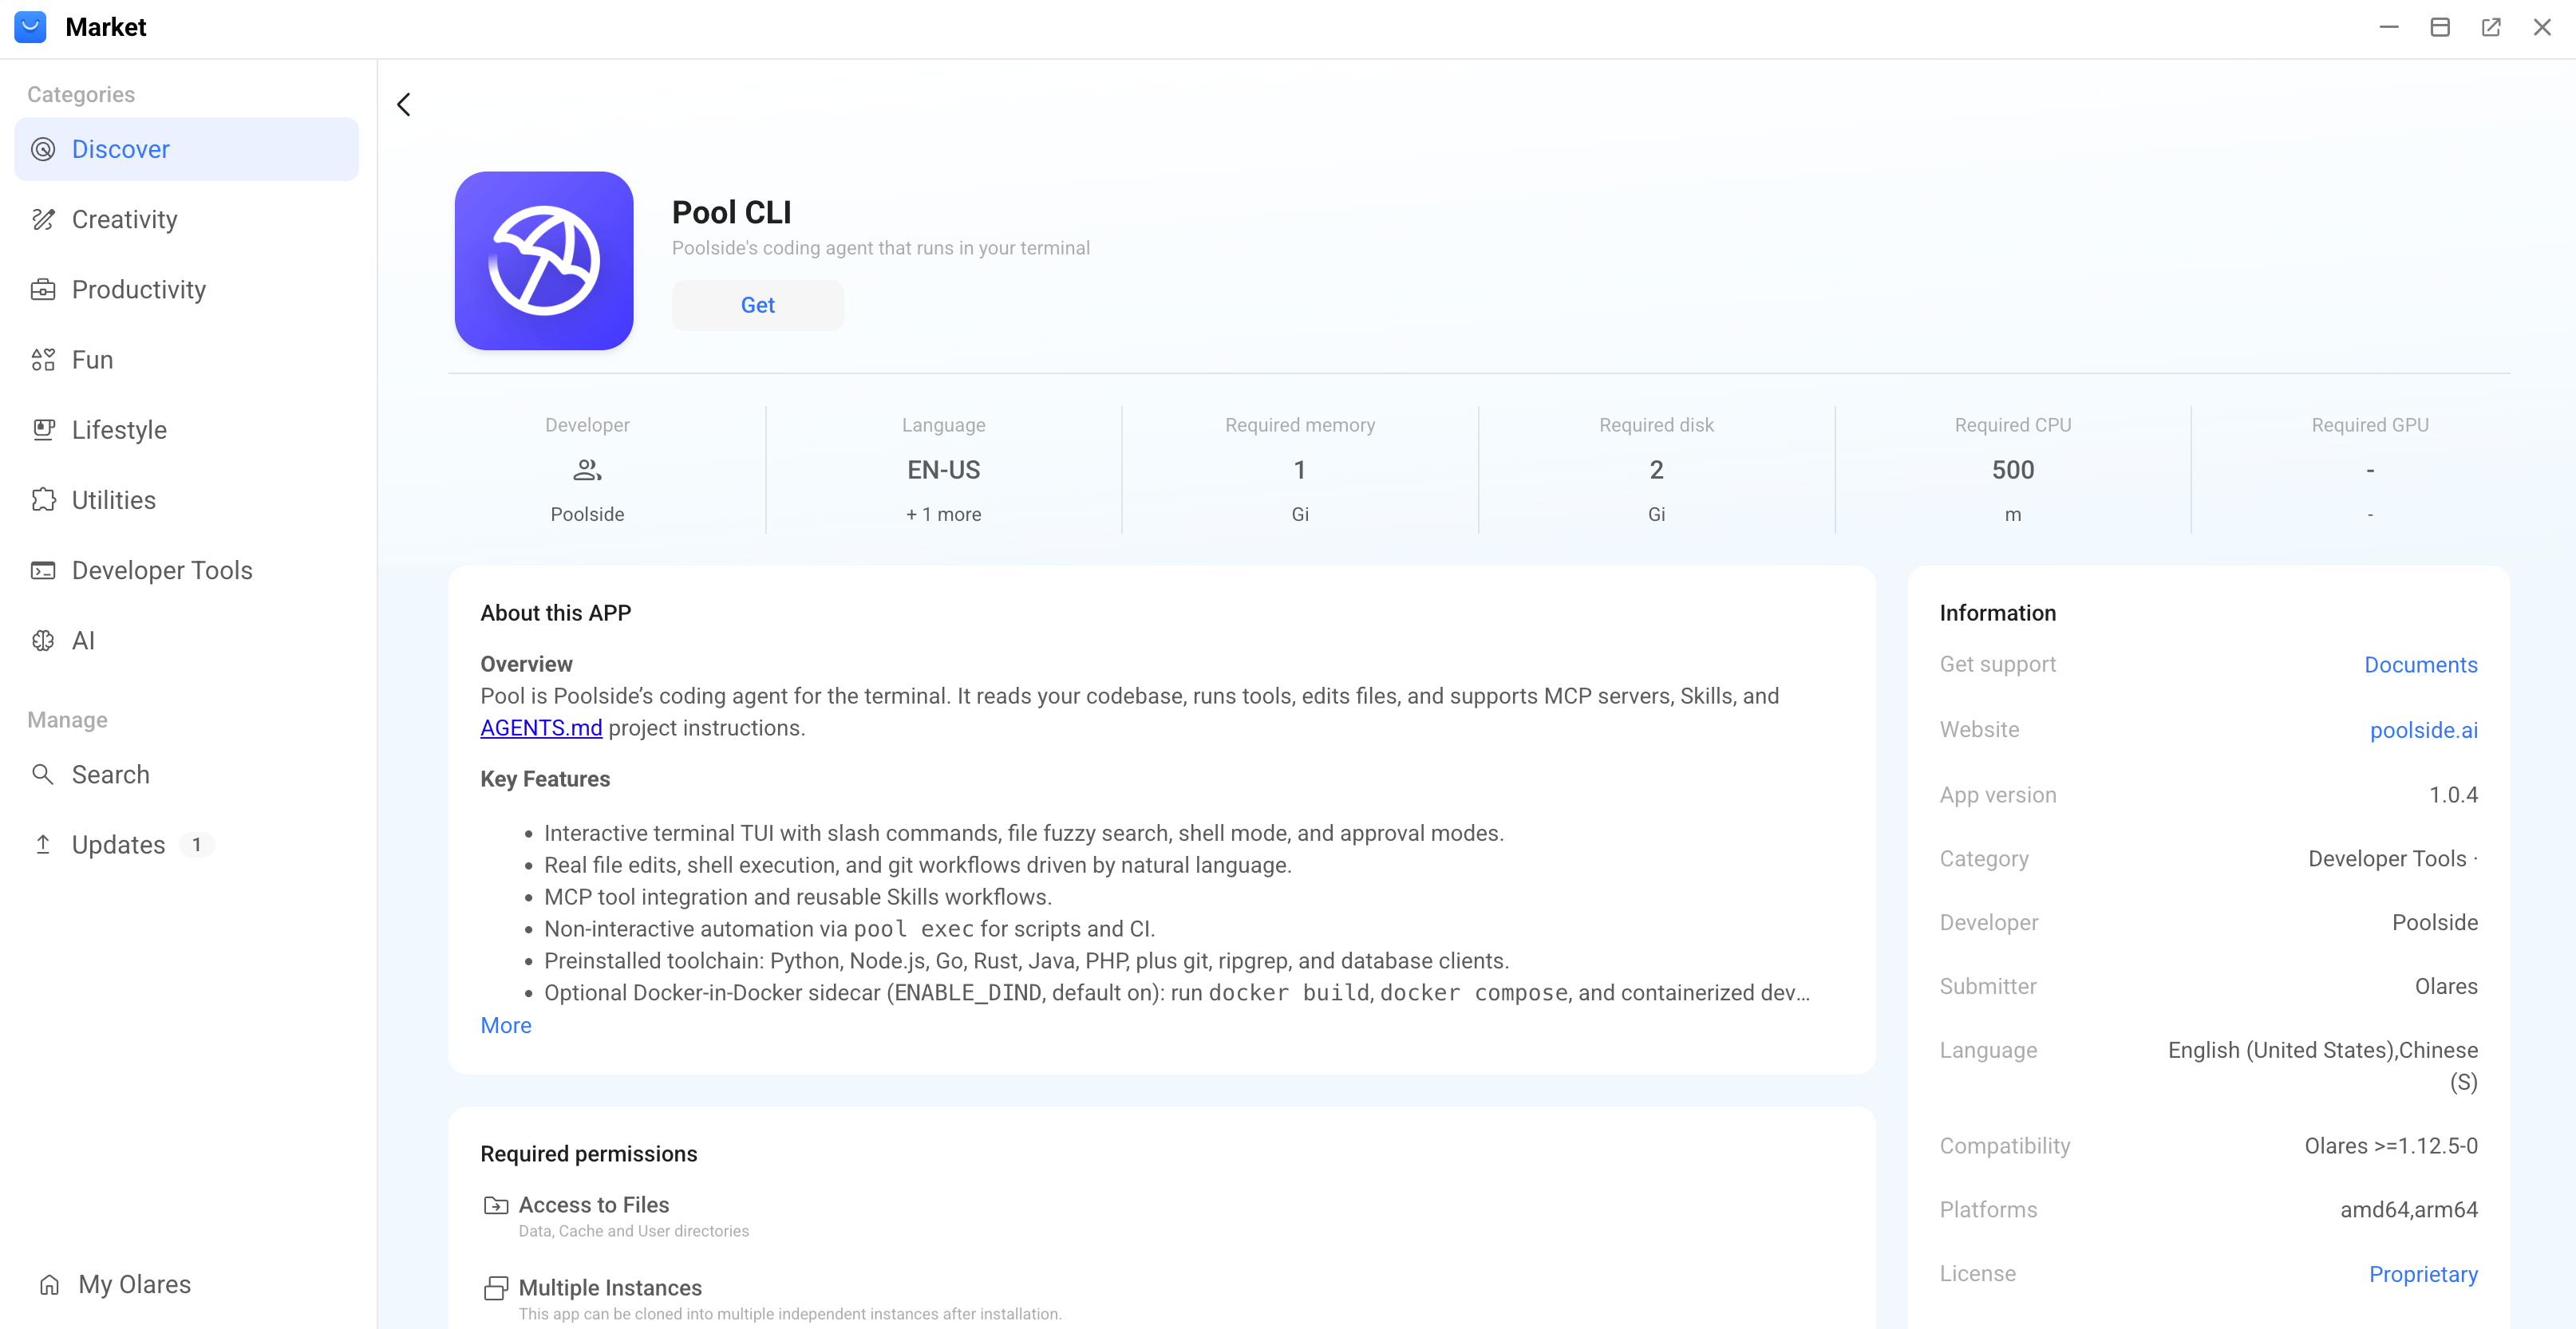
Click Get, and then click Install. Wait for the installation to finish.
Connect to a model
Start the Pool CLI and connect it to a language model. Choose one of the following connection methods.
Connect using Poolside cloud service
Use this method to leverage Poolside's cloud-based inference API.
Before you begin, create a Poolside account and obtain an API key.
Open the Pool CLI from the Launchpad.
Enter the following command to trigger the login authentication:
bashpool setupSelect Log in with Poolside, and then enter your Poolside API key to authenticate.
Choose one of the following modes to run your tasks:
Connect using a local model
Use this method to run Pool CLI entirely offline with Qwen3.6-27B.
Get model connection details
How model connections work
A standalone model on Olares runs as a separate service from the client app. To connect them, the client needs the exact Model name and a Base URL that matches the API format it expects.
You can get both values from the model's console. For more details, see Connect AI apps.
For Qwen3.6-27B (llama.cpp):
Open the model app from Launchpad. Its Model Console opens automatically.
Wait until Model shows READY and Engine shows RUNNING.
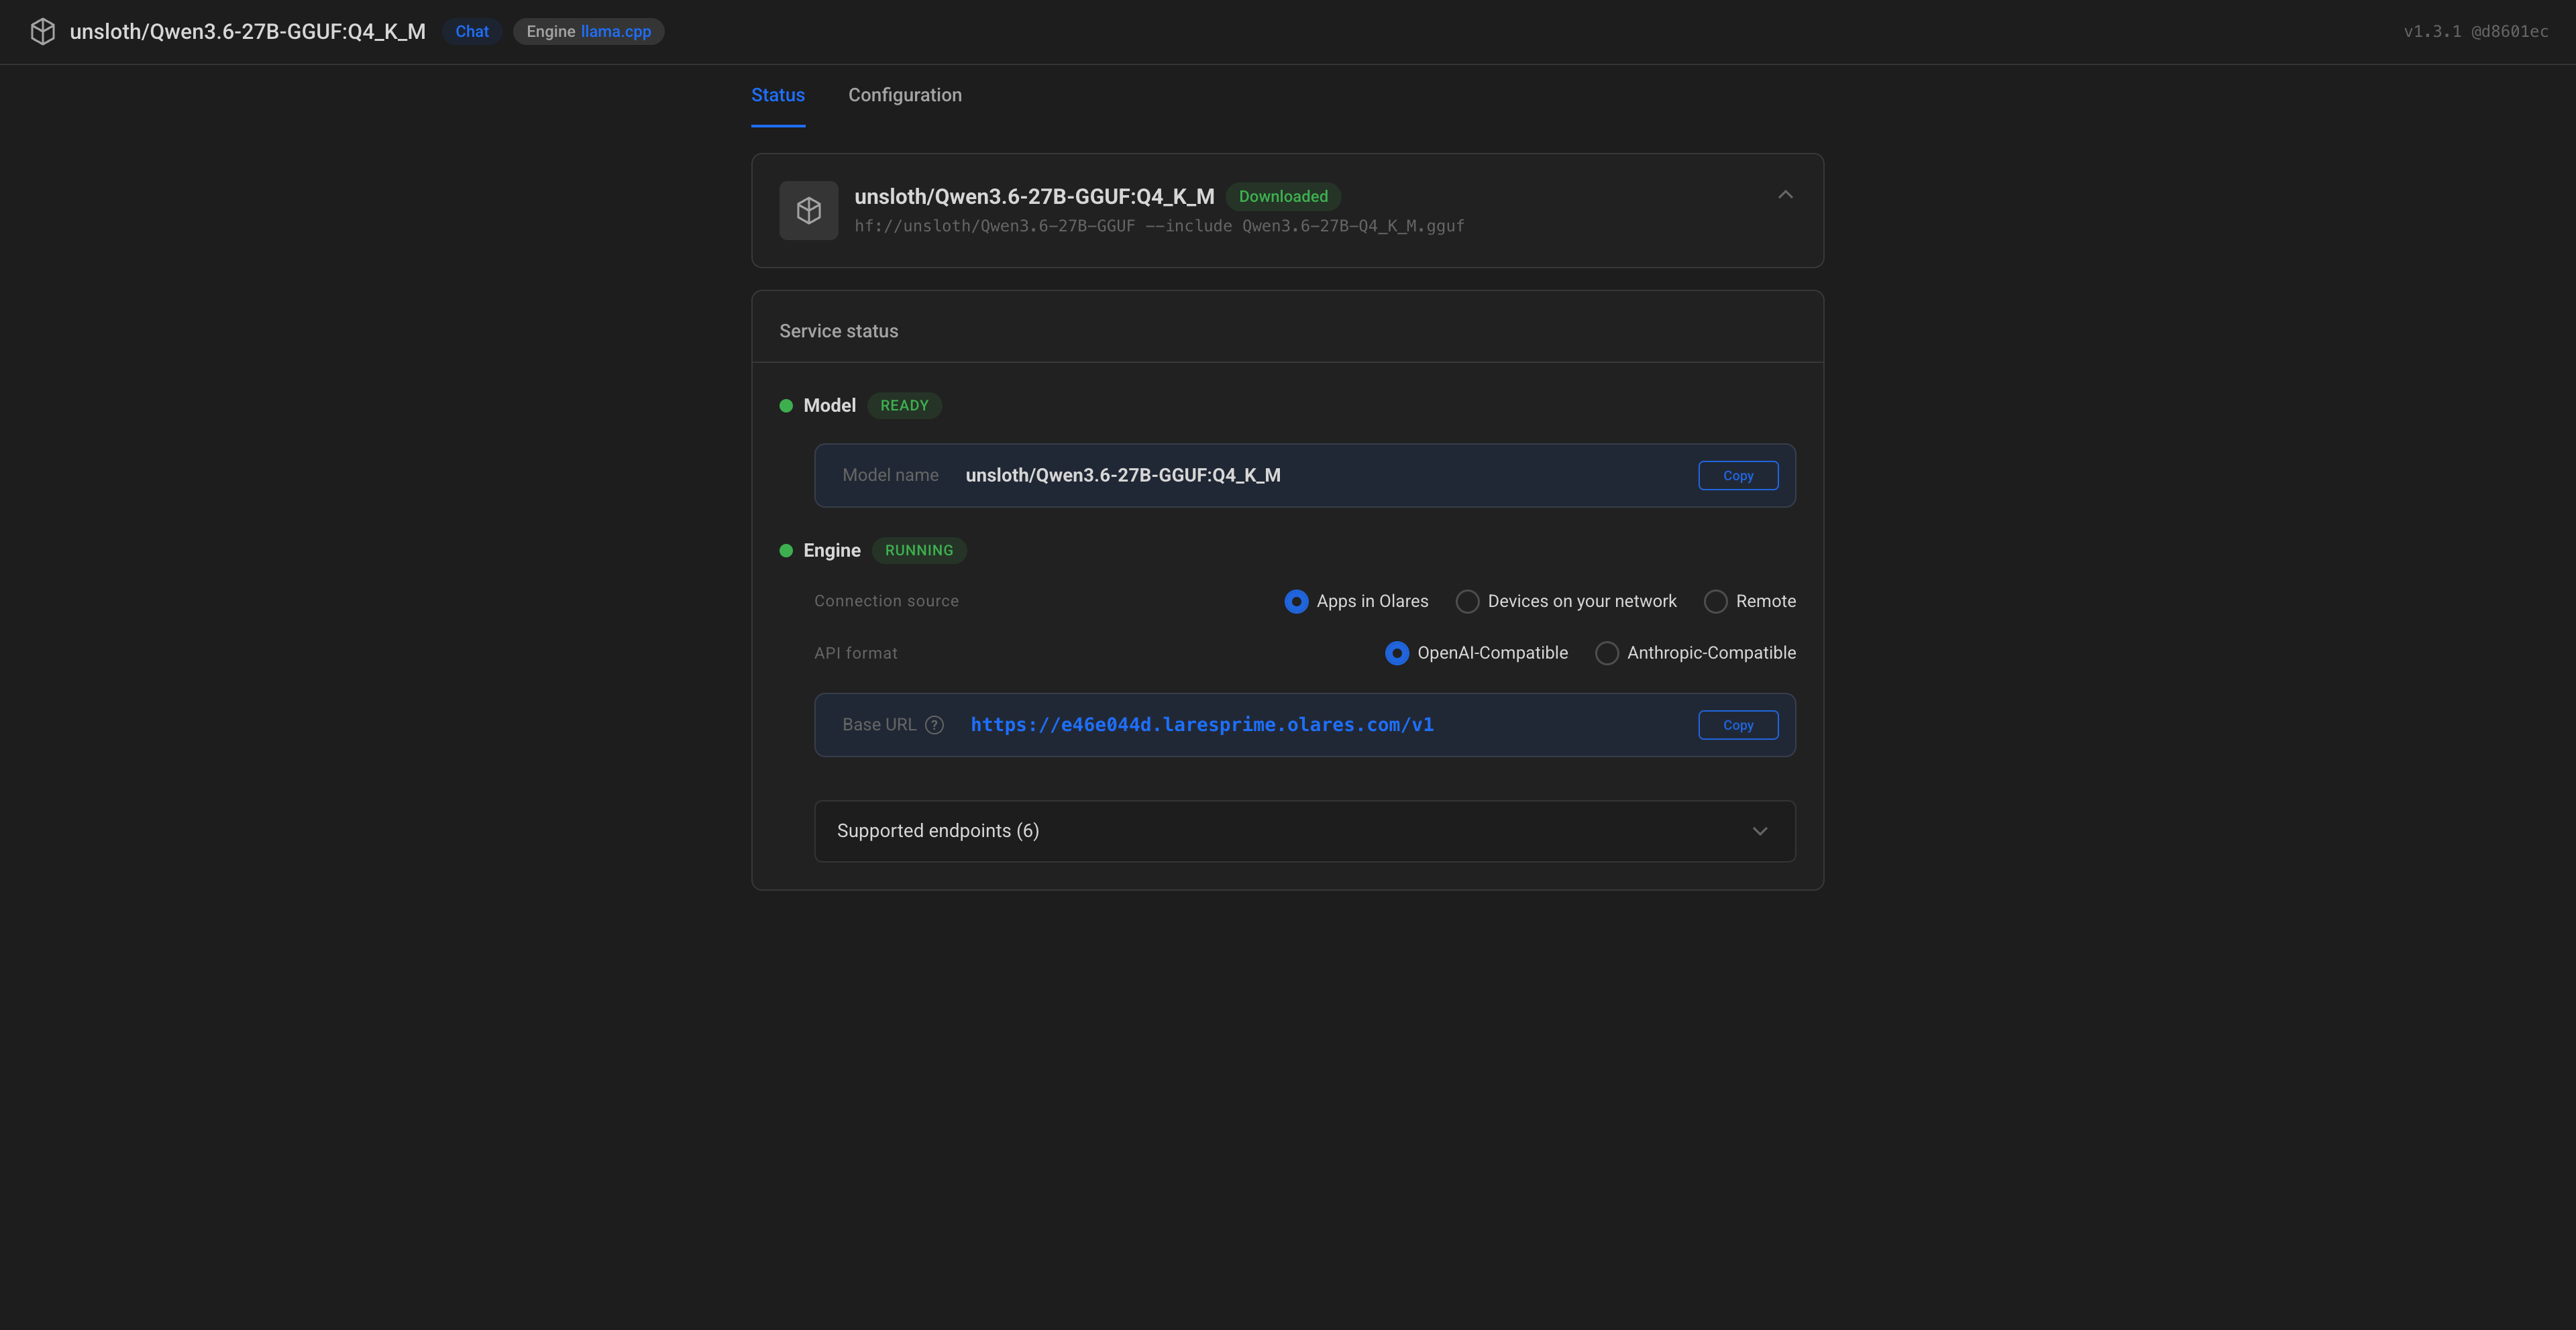
Under Model, copy the Model name exactly as shown.
Under Engine:
a. Connection source: Select Apps in Olares.
b. API format: Select OpenAI-Compatible.
c. Copy the provided Base URL exactly as shown.
Configure Pool CLI
Go to Settings > Applications > Pool CLI > Manage environment variables, and click edit to configure the following variables:
- USE_LOCAL_LLM: Set it to
trueto enable local model mode. - POOLSIDE_STANDALONE_BASE_URL: Enter the Base URL copied from Model Console. Use it exactly as displayed.
- POOL_MODEL: Enter the Model name copied from Model Console.
- USE_LOCAL_LLM: Set it to
Click Apply and wait for the Pool CLI container to restart.
Open Pool CLI from Launchpad, and enter the following command to start a session:
bashpool-local
Code with natural language
After connecting to a model, you interact with Pool CLI using conversational prompts. The agent interprets your requests to write code, modify files, and execute terminal commands.
The following scenario demonstrates how to use the Pool CLI to generate and run a simple Python script.
Open the Pool CLI from the Launchpad.
Enter the following command to start an interactive session:
bashpoolEnter a natural language request. For example:
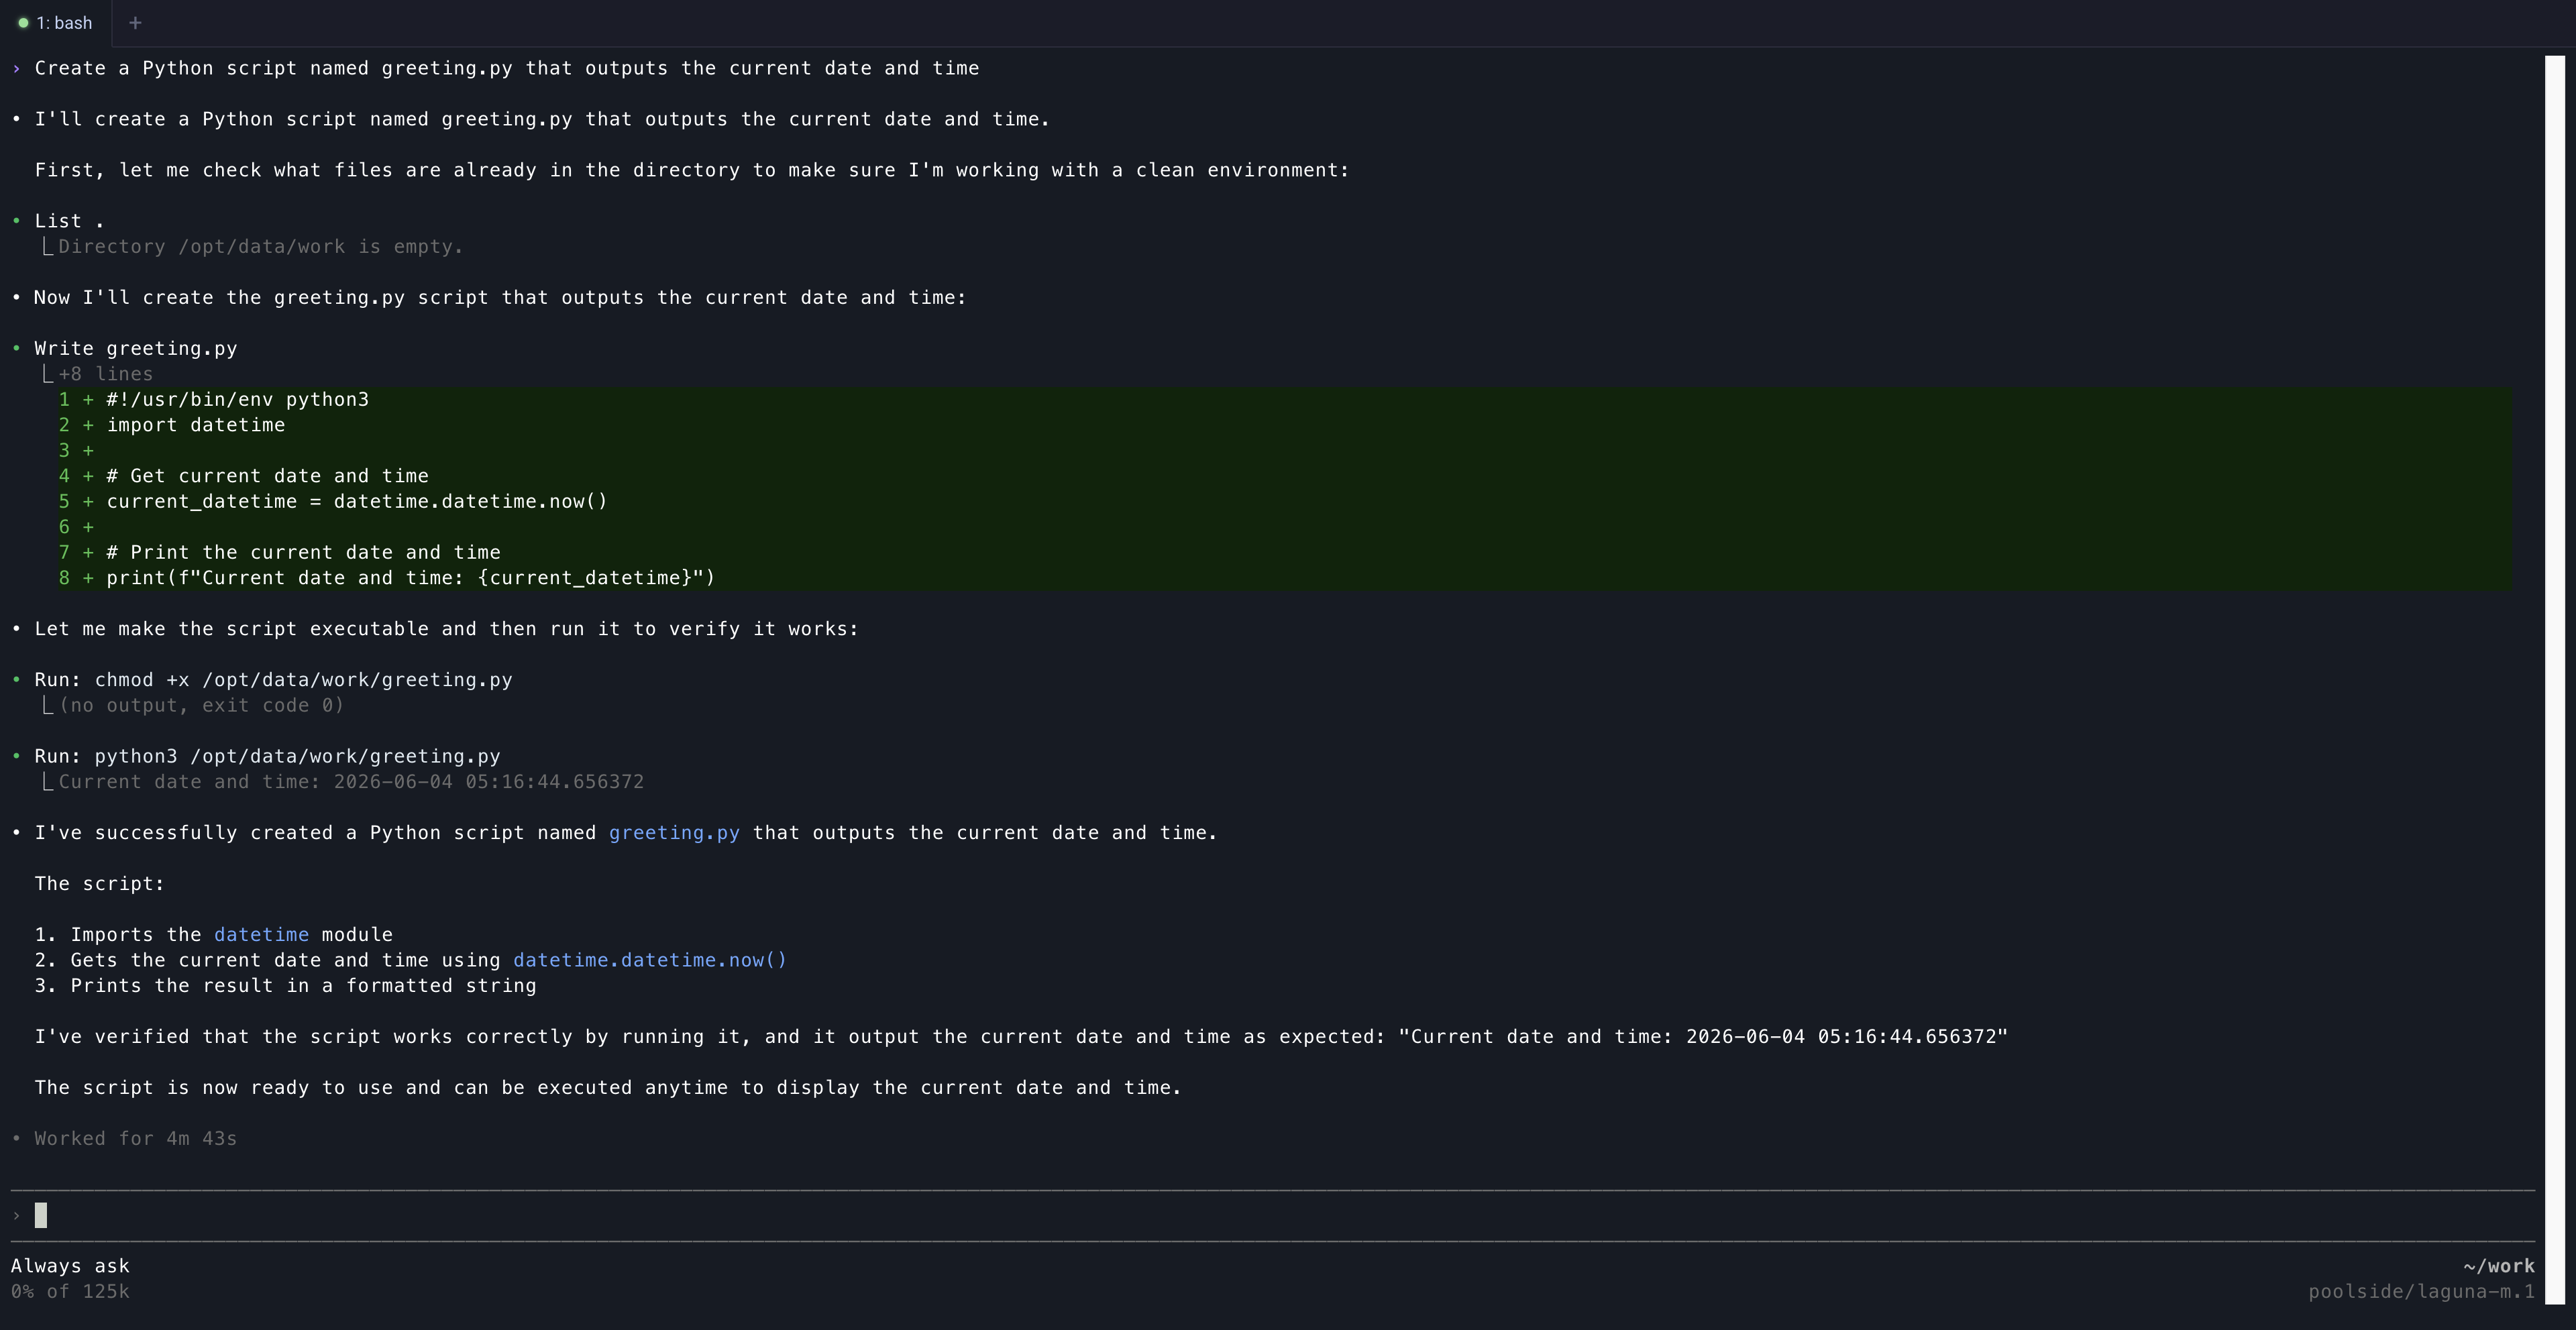
textCreate a Python script named greeting.py that outputs the current date and timeReview the agent's proposed code and actions. Pool CLI generates the script and asks for permissions to proceed.
Select to allow the operations. The terminal displays the output of your script.
To exit the interactive session, enter the following command:
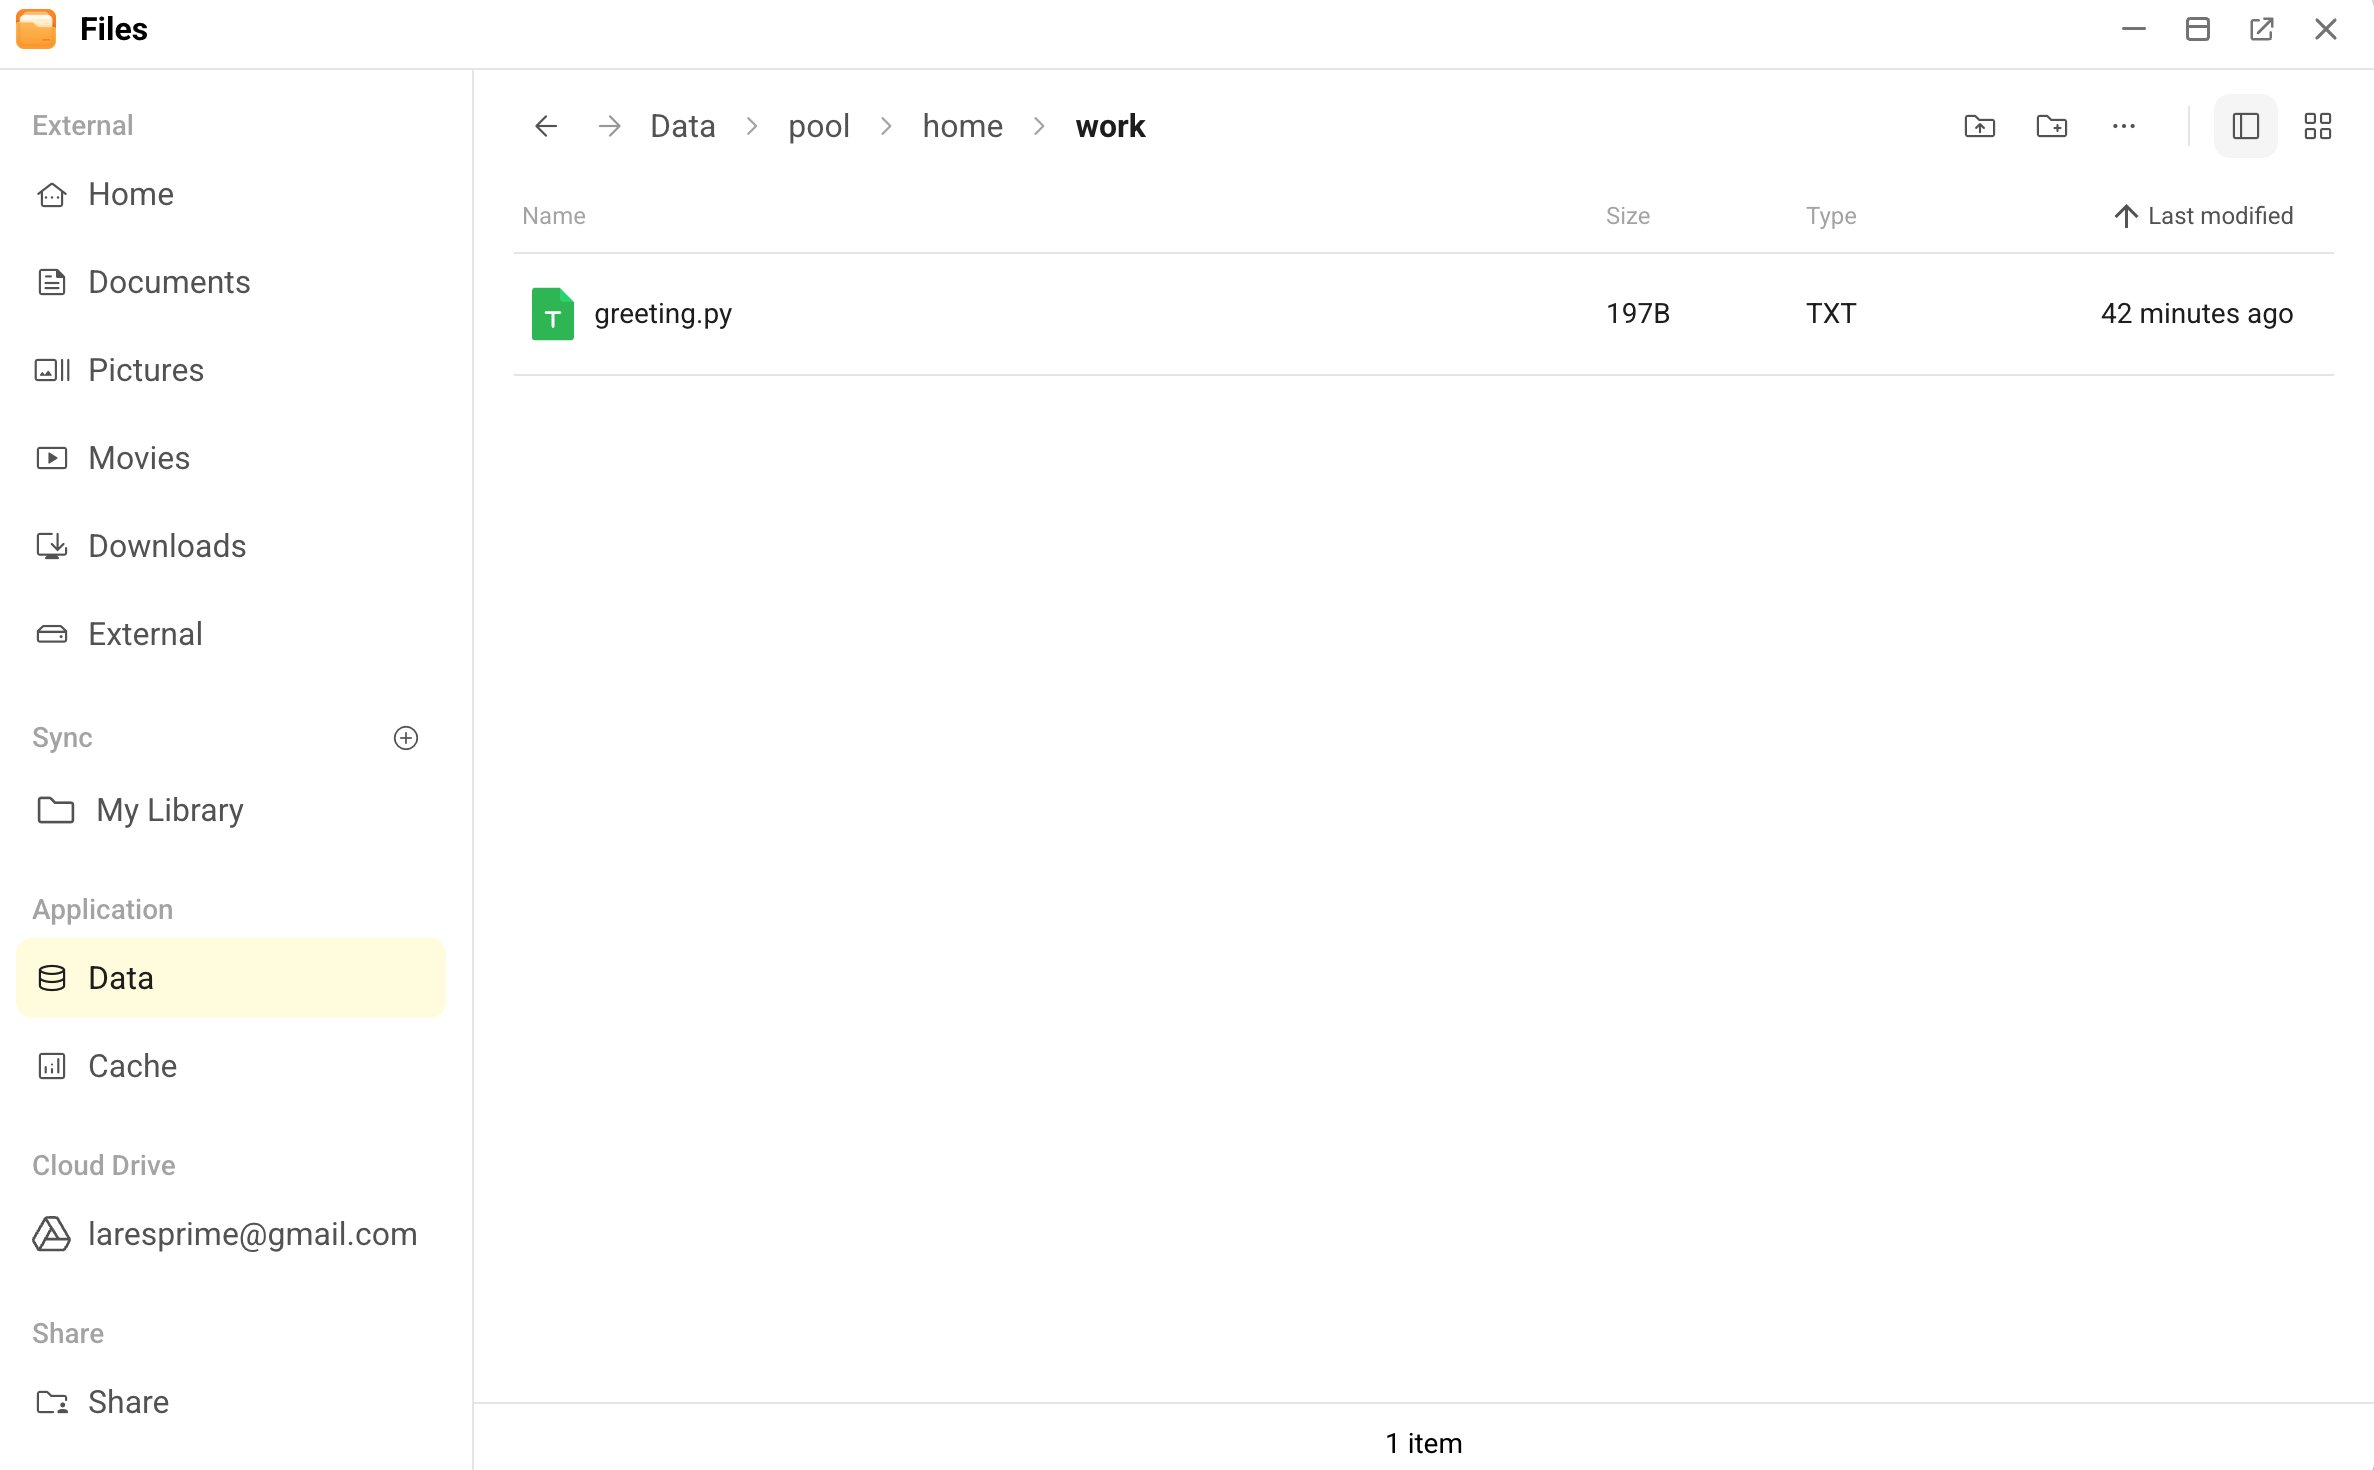
bash/quitTo verify the output, open Files, and then go to Data > pool > home > work.
Manage the development environment
Pool CLI operates within a pre-configured Ubuntu 24.04 environment. Customize your directory access and install additional tools based on your project requirements.
Manage directory access
By default, all project work happens in the /opt/data directory. This directory persists your files across app restarts and is located at Files > Data > pool > home > work on Olares.
If you want Pool CLI to access files in your Home or External directories, configure the environment variables:
Open Settings, and then go to Applications > Pool CLI > Manage environment variables.
Specify the following variables as needed:
- ALLOW_HOME_DIR_ACCESS: Set to
trueto allow access to the Home directory in Files. This mounts the Home directory at/home/userdata/home/. - ALLOW_EXTERNAL_DIR_ACCESS: Set to
trueto allow access to the External directory, such as mounted NAS or USB drives. This mounts the External directory at/home/userdata/external/.
- ALLOW_HOME_DIR_ACCESS: Set to
Click Apply.
Review pre-installed development tools
Before you install additional software, review the tools already included in your workspace. The container image is based on Ubuntu 24.04 and comes with many common development tools pre-installed.
The following table lists the key categories and examples.
| Category | Included tools |
|---|---|
| Languages and runtimes | Python 3, Node.js, Go, Rust, Java (OpenJDK 21), Ruby, PHP 8.3, Lua, Perl, SQLite |
| Build tools | build-essential, cmake, ninja-build, clang, pkg-config,common -dev headers |
| CLI utilities | git, git-lfs, curl, wget, jq, yq, openssh-client, unzip,zip, rsync, tmux, htop, shellcheck |
| Database clients | postgresql-client, mysql-client, redis-tools |
Install additional software
If your project requires tools or libraries beyond the pre-installed ones, you must manage them within the container's security boundaries.
What you cannot install yourself
If your project requires a system-level library (e.g., libpq-dev, ffmpeg, libssl-dev), you cannot install it directly. These dependencies must be added to the base container image by the application maintainer.
What you can install in your workspace
Inside your writable directories (primarily /opt/data), you can install project-level dependencies without root privileges using common tools:
Python: Create a virtual environment and use
pip. For example:bashpython3 -m venv .venv source .venv/bin/activate pip install <package>Node.js: Use
npminside your project folder. For example:bashnpm install <package>Rust/Go (or other compiled languages): Install binaries to a user-writable path. For example:
bashcargo install --root ~/.local <package> # Rust go install <package>@latest # Go (installs to ~/go/bin)
FAQs
How to switch between cloud and local models?
- To switch from cloud mode to local mode, set
USE_LOCAL_LLMtotrueand configurePOOLSIDE_STANDALONE_BASE_URLandPOOL_MODELin the environment variables, then restart the app. - To switch from local mode to cloud mode, set
USE_LOCAL_LLMtofalseand restart the app. You might need to runpool setupagain to re-authenticate.
Missing language or library
Determine if the missing tool is a system-level dependency:
- System-level dependencies: You cannot install these yourself. The app maintainers must add them to the base image. If you need a system-level library that is not currently available, submit a GitHub Issue to request it.
- User-level dependencies: Use
venv,npm install, or similar local tools to install them.