Set up Open WebUI for local AI chat
Open WebUI is a self-hosted chat interface that lets you interact with local models on your Olares device.
This guide walks you through installing Open WebUI, connecting it to a local model, and starting your first conversation.
Learning objectives
In this guide, you will learn how to:
- Install Open WebUI on Olares.
- Create an admin account.
- Connect Open WebUI to a local model.
- Start a chat session with your configured model.
Prerequisites
Before you begin, you need:
- An Olares device with sufficient disk space and memory
- The following model:
Model type Model How to get it Chat Qwen3.6-27B (llama.cpp) Install from Market
Optional: Use a different model
You can use a different model size or provider instead of the one listed above:
- Install a different model app from Market.
- Create a model instance from Engine Base apps to bring your own model.
If your AI agent app has the Olares CLI and Agent Skills installed, ask it to deploy the model and skip the manual setup. For example:
Deploy qwen3.5:9b on my Olares using the Ollama Engine Base.Install Open WebUI
Open Market and search for "Open WebUI".
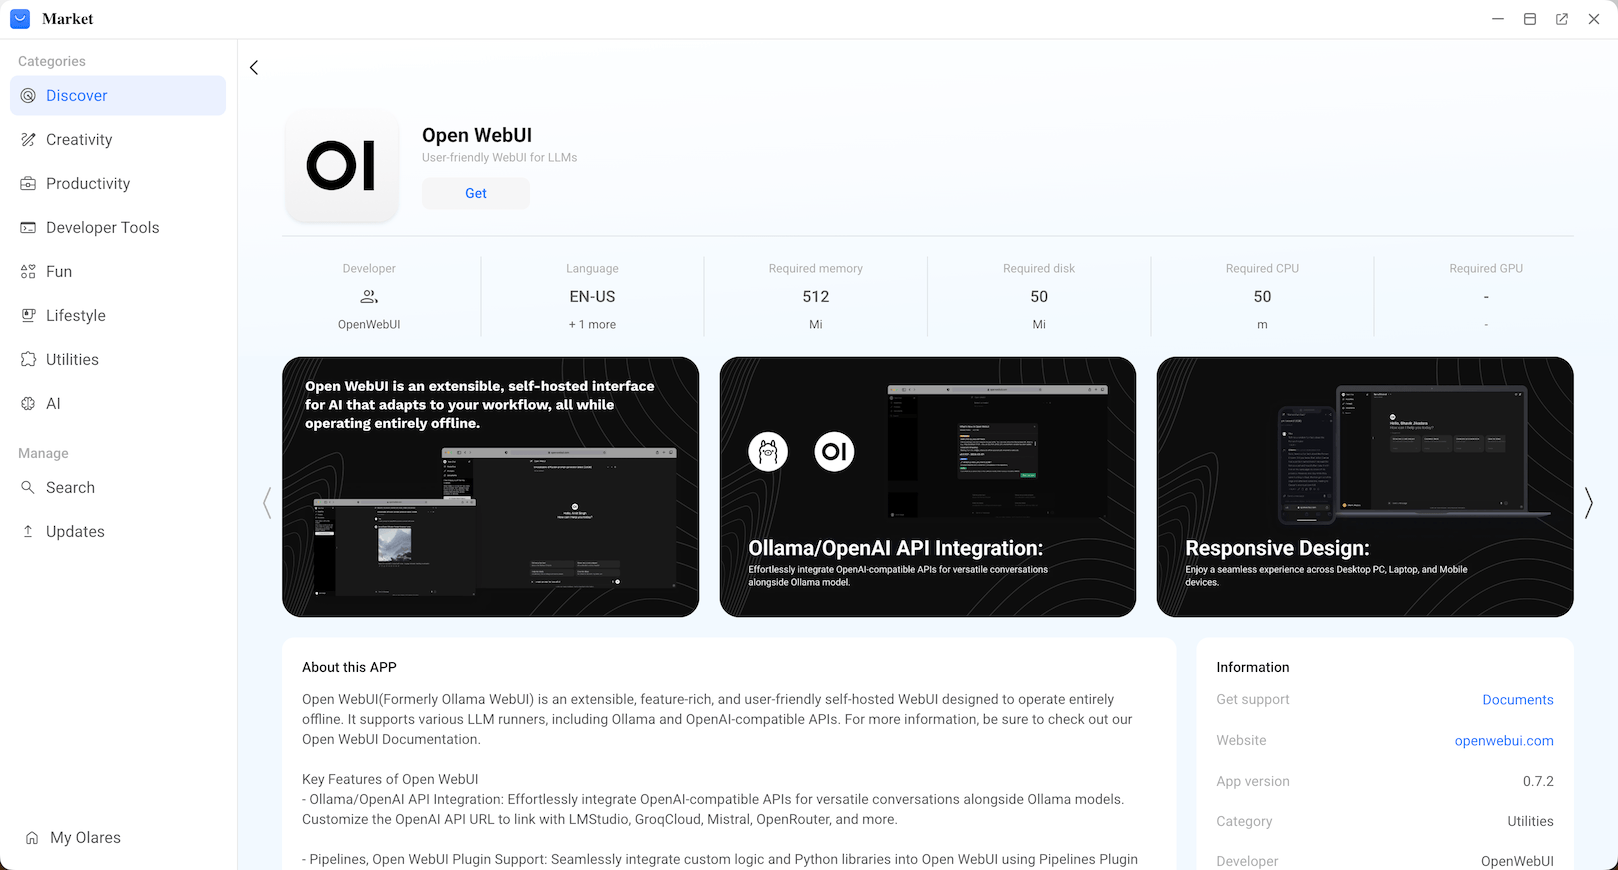
Click Get, and then click Install. Wait for the installation to finish.
Create an admin account
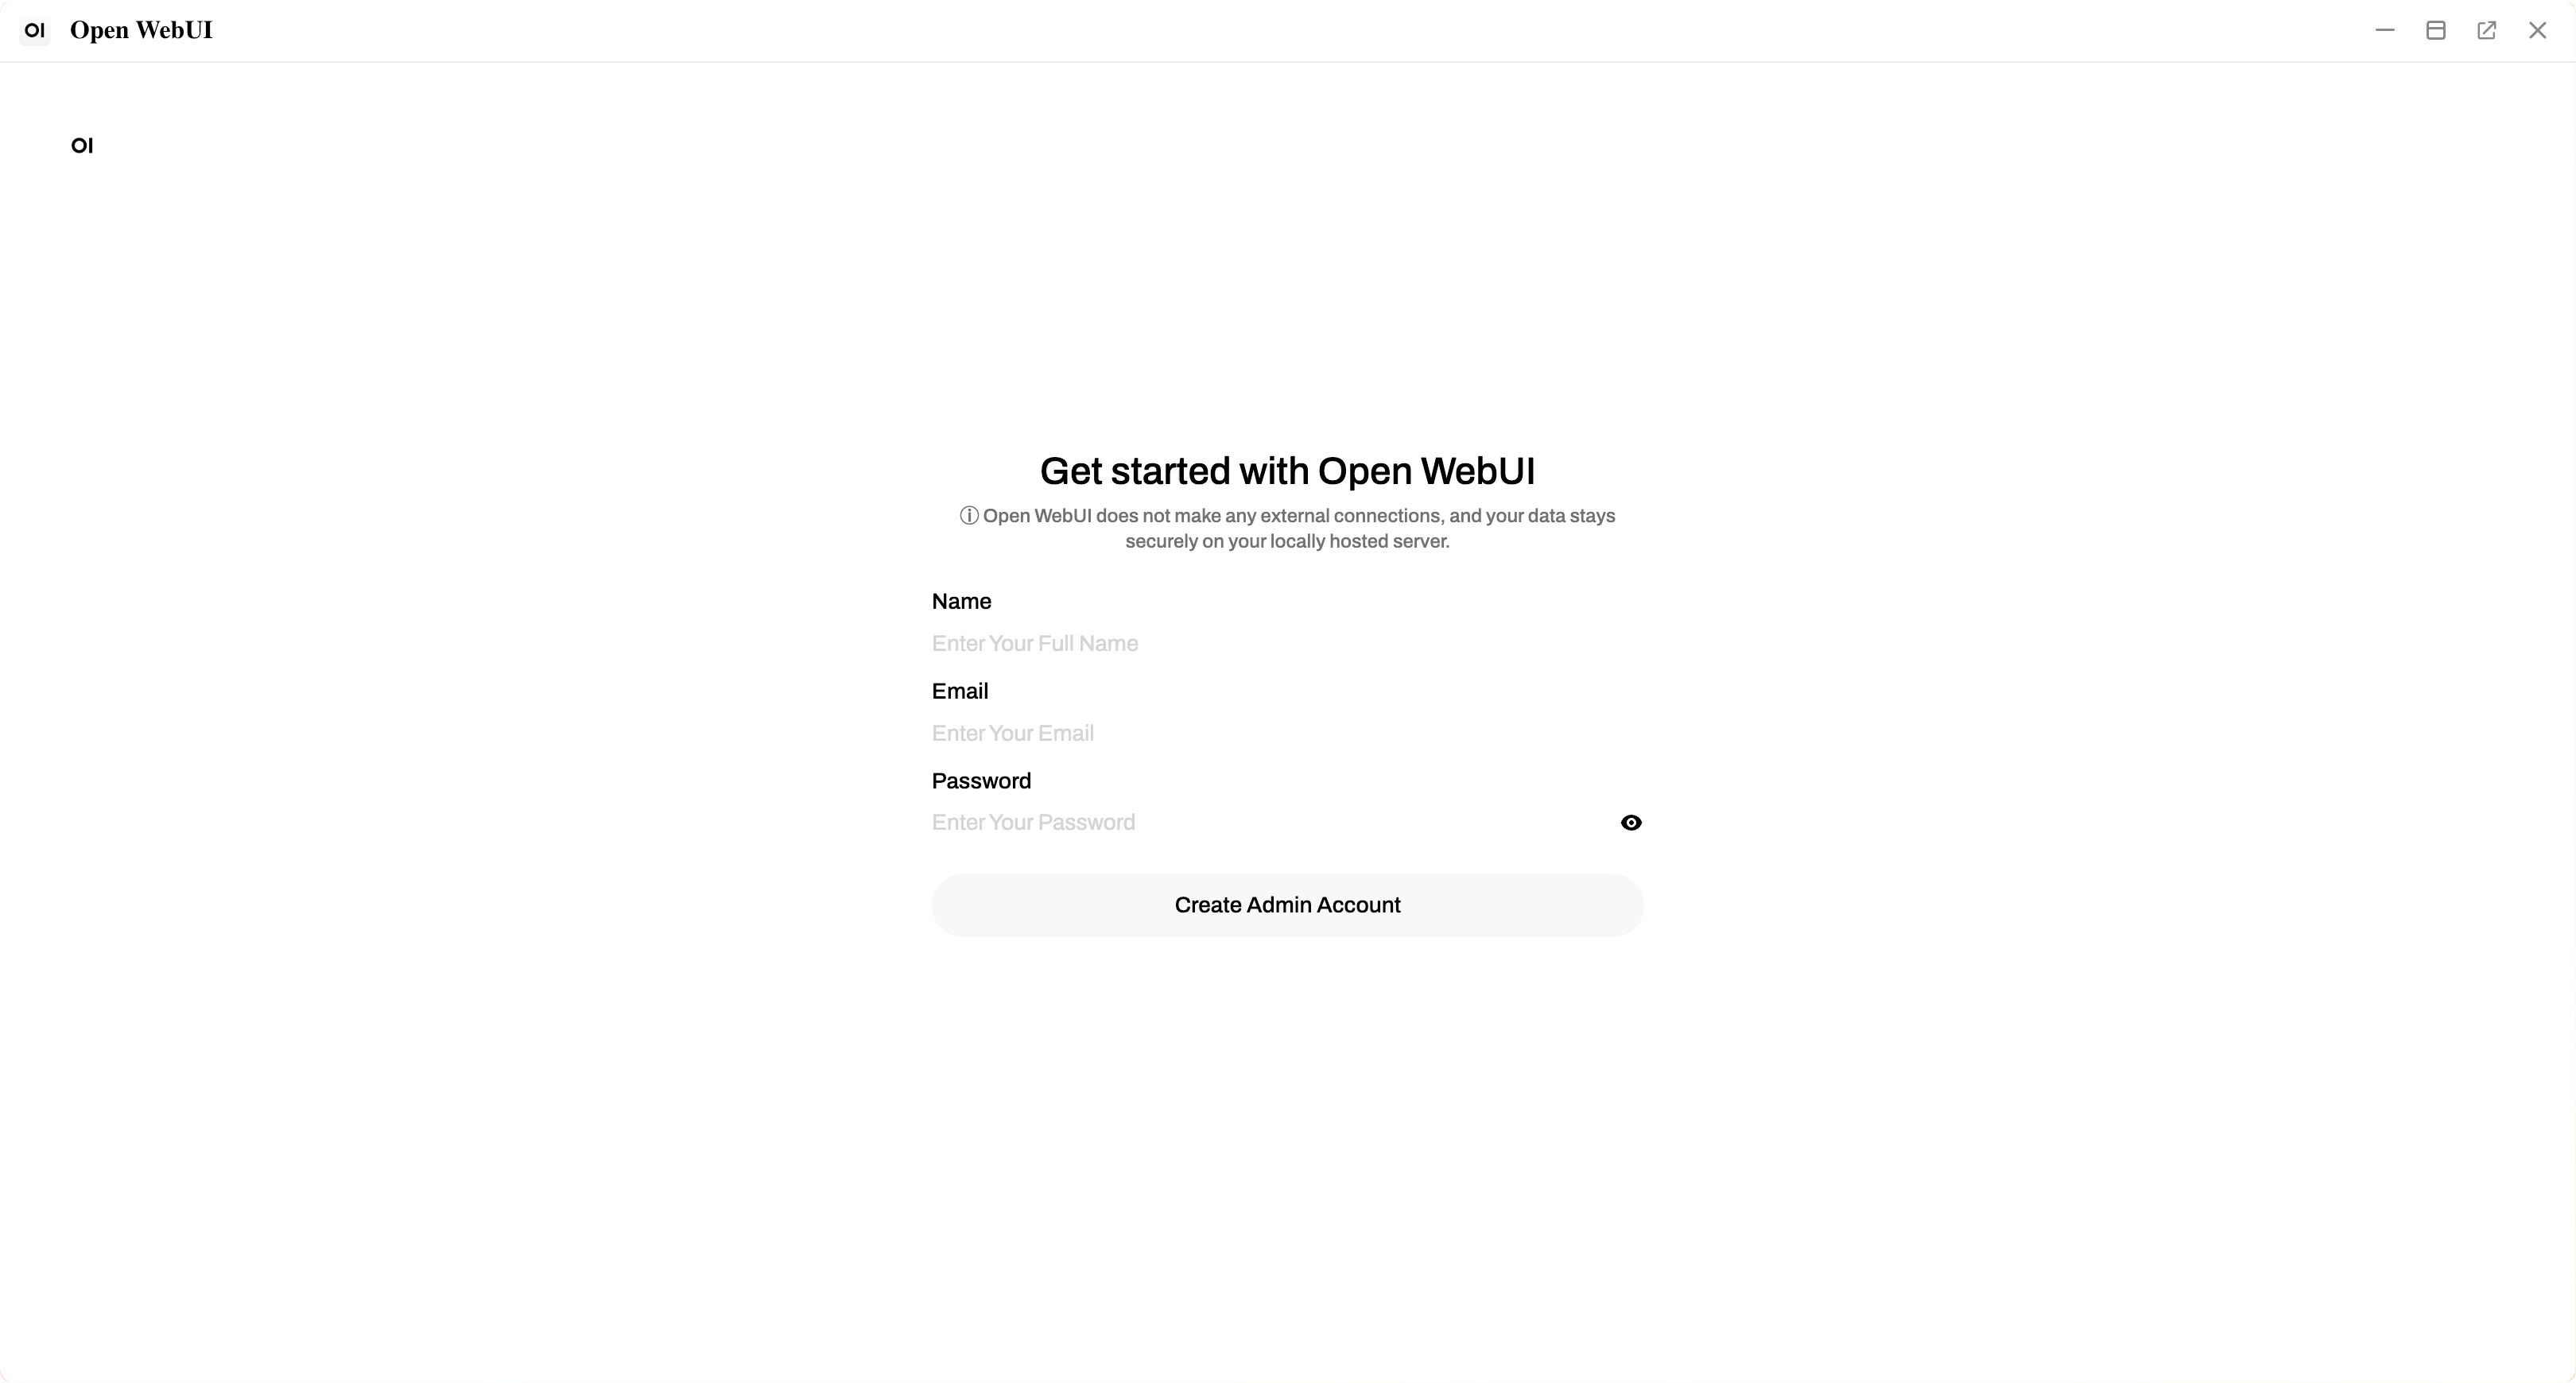
The first time you launch Open WebUI, you need to create a local administrator account to manage your models and settings.
Open Open WebUI from the Launchpad.
On the welcome page, click Get started.
Enter your name, email, and password to create the admin account.
Get model connection details
To connect Open WebUI to a model, you first need to collect the model's connection information from its Model Console.
Open the model app from Launchpad. Its Model Console opens automatically.
Wait until Model shows READY and Engine shows RUNNING.
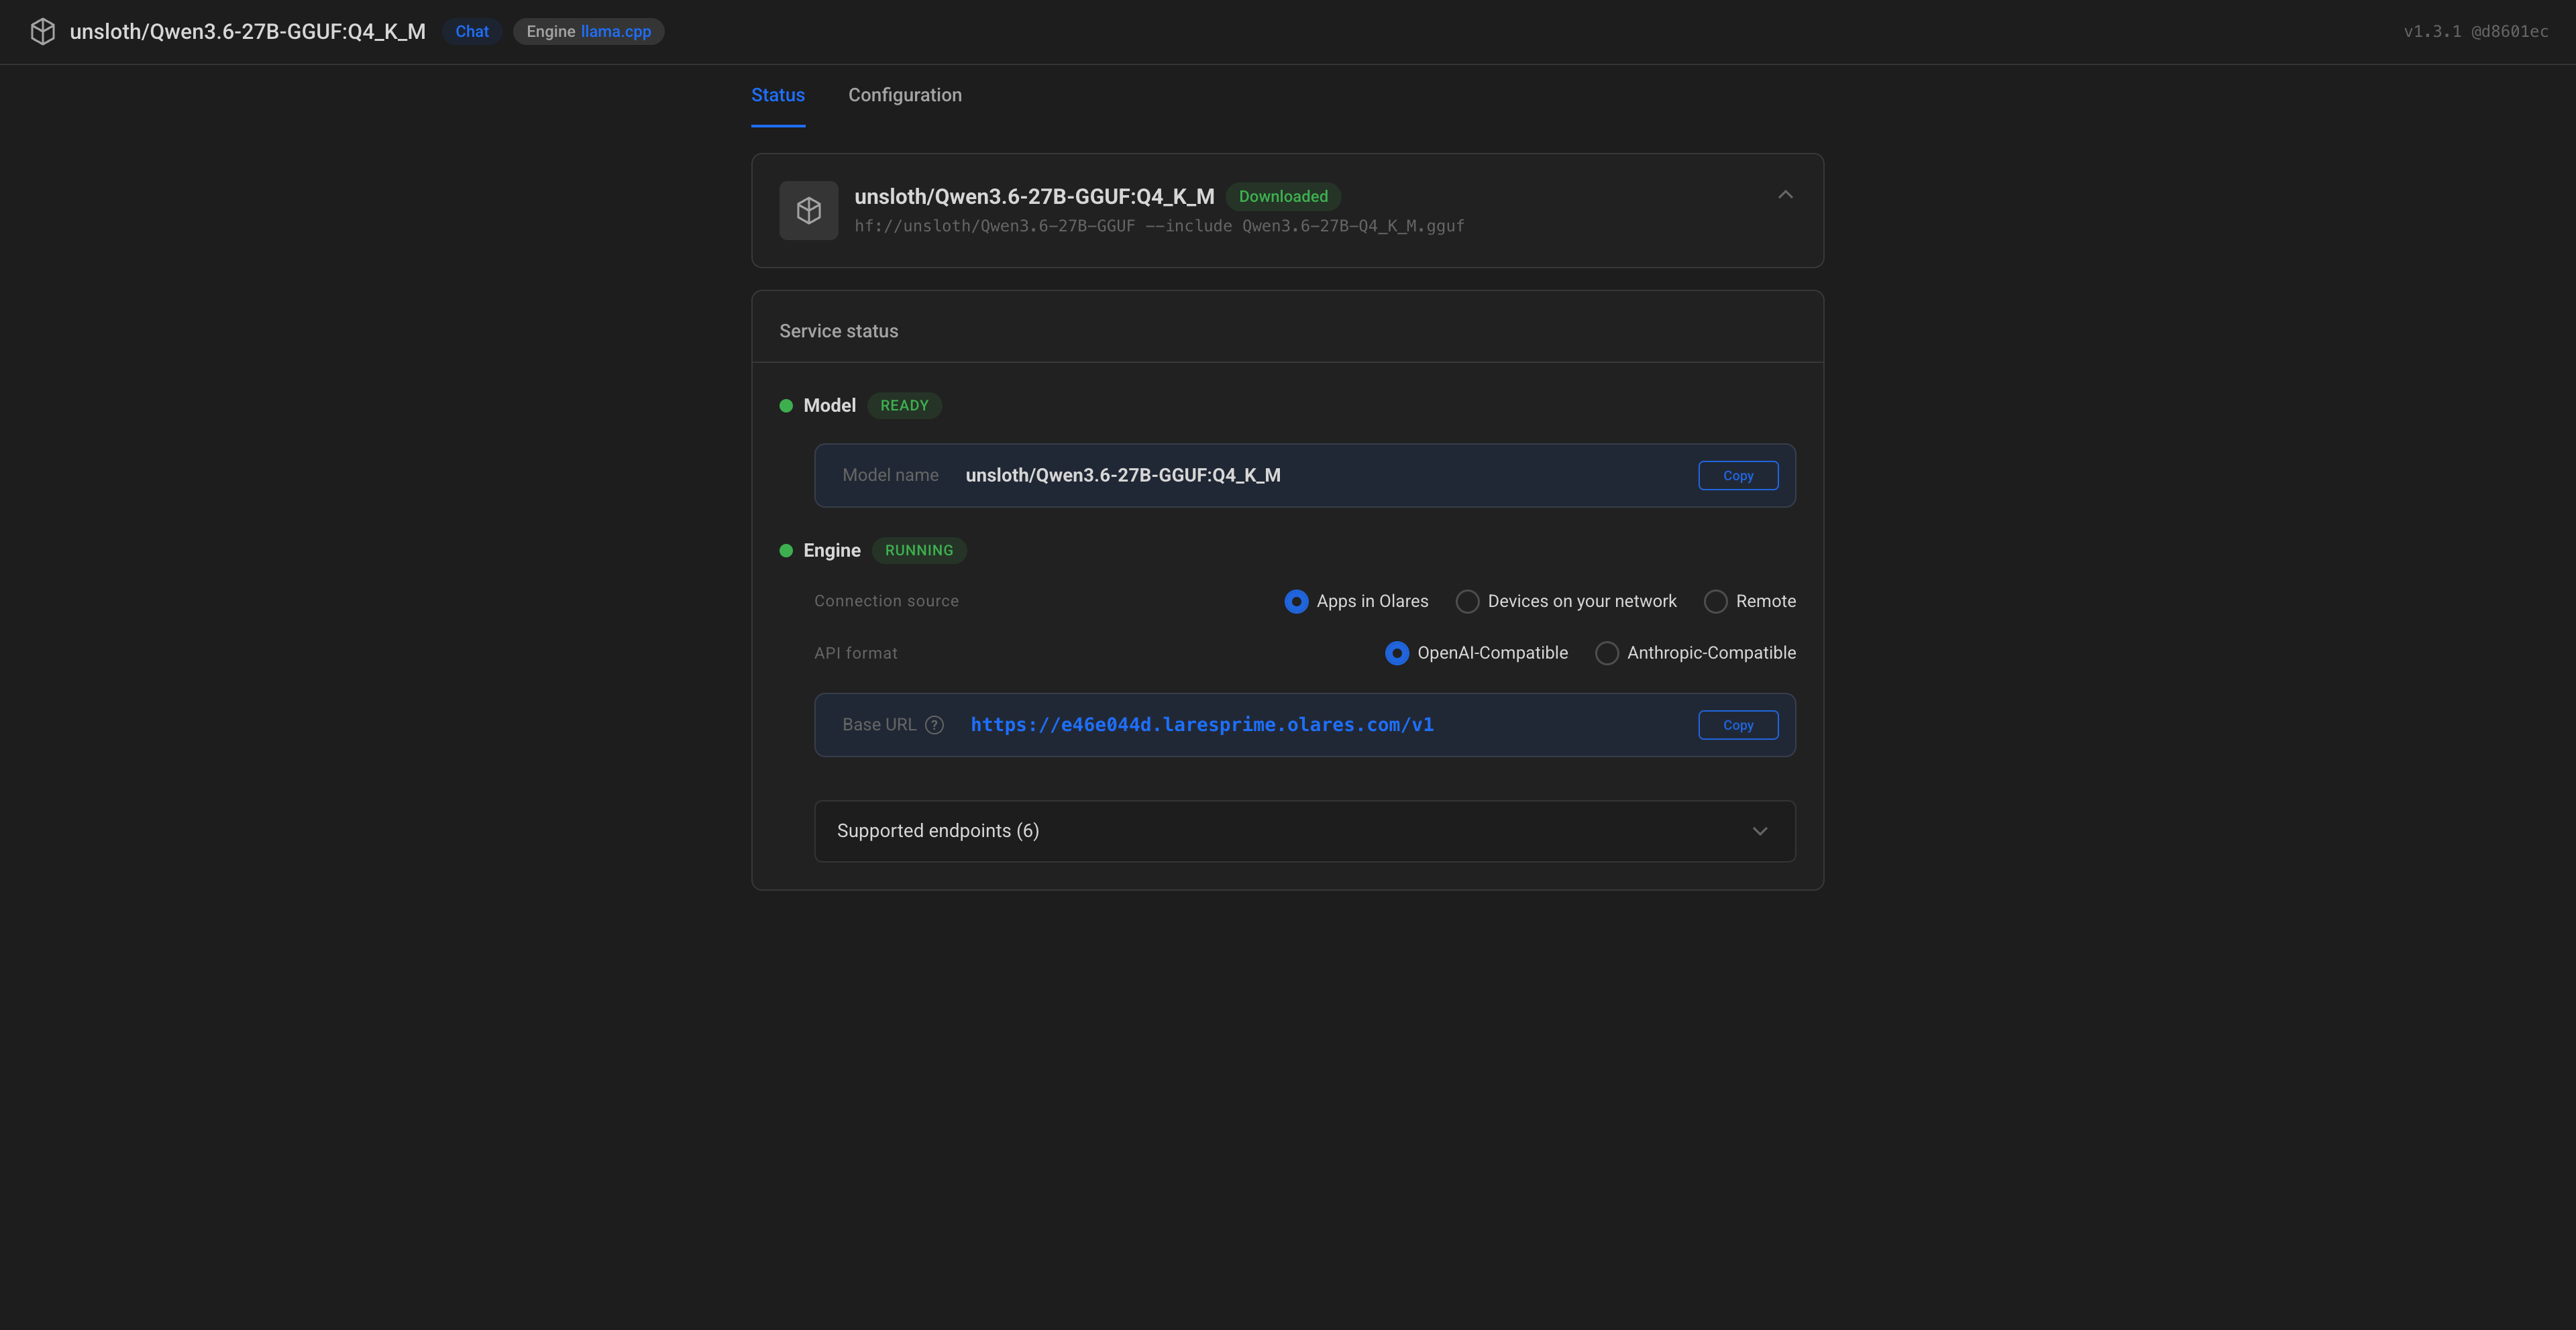
Under Model, copy the Model name exactly as shown.
Under Engine:
a. Connection source: Select Apps in Olares.
b. API format: Select OpenAI-Compatible.
c. Copy the provided Base URL exactly as shown.
Configure the connection in Open WebUI
With the connection details ready, add the model as an OpenAI-compatible provider in Open WebUI.
In Open WebUI, click your profile icon and select Admin Panel.
Select the Settings tab, and then choose Connections from the left sidebar.
To the right of Manage OpenAI API Connections, click add to add a new connection.
In the API Base URL field, enter the Base URL you copied from the Model Console. For example,
https://e46e044d.laresprime.olares.com/v1.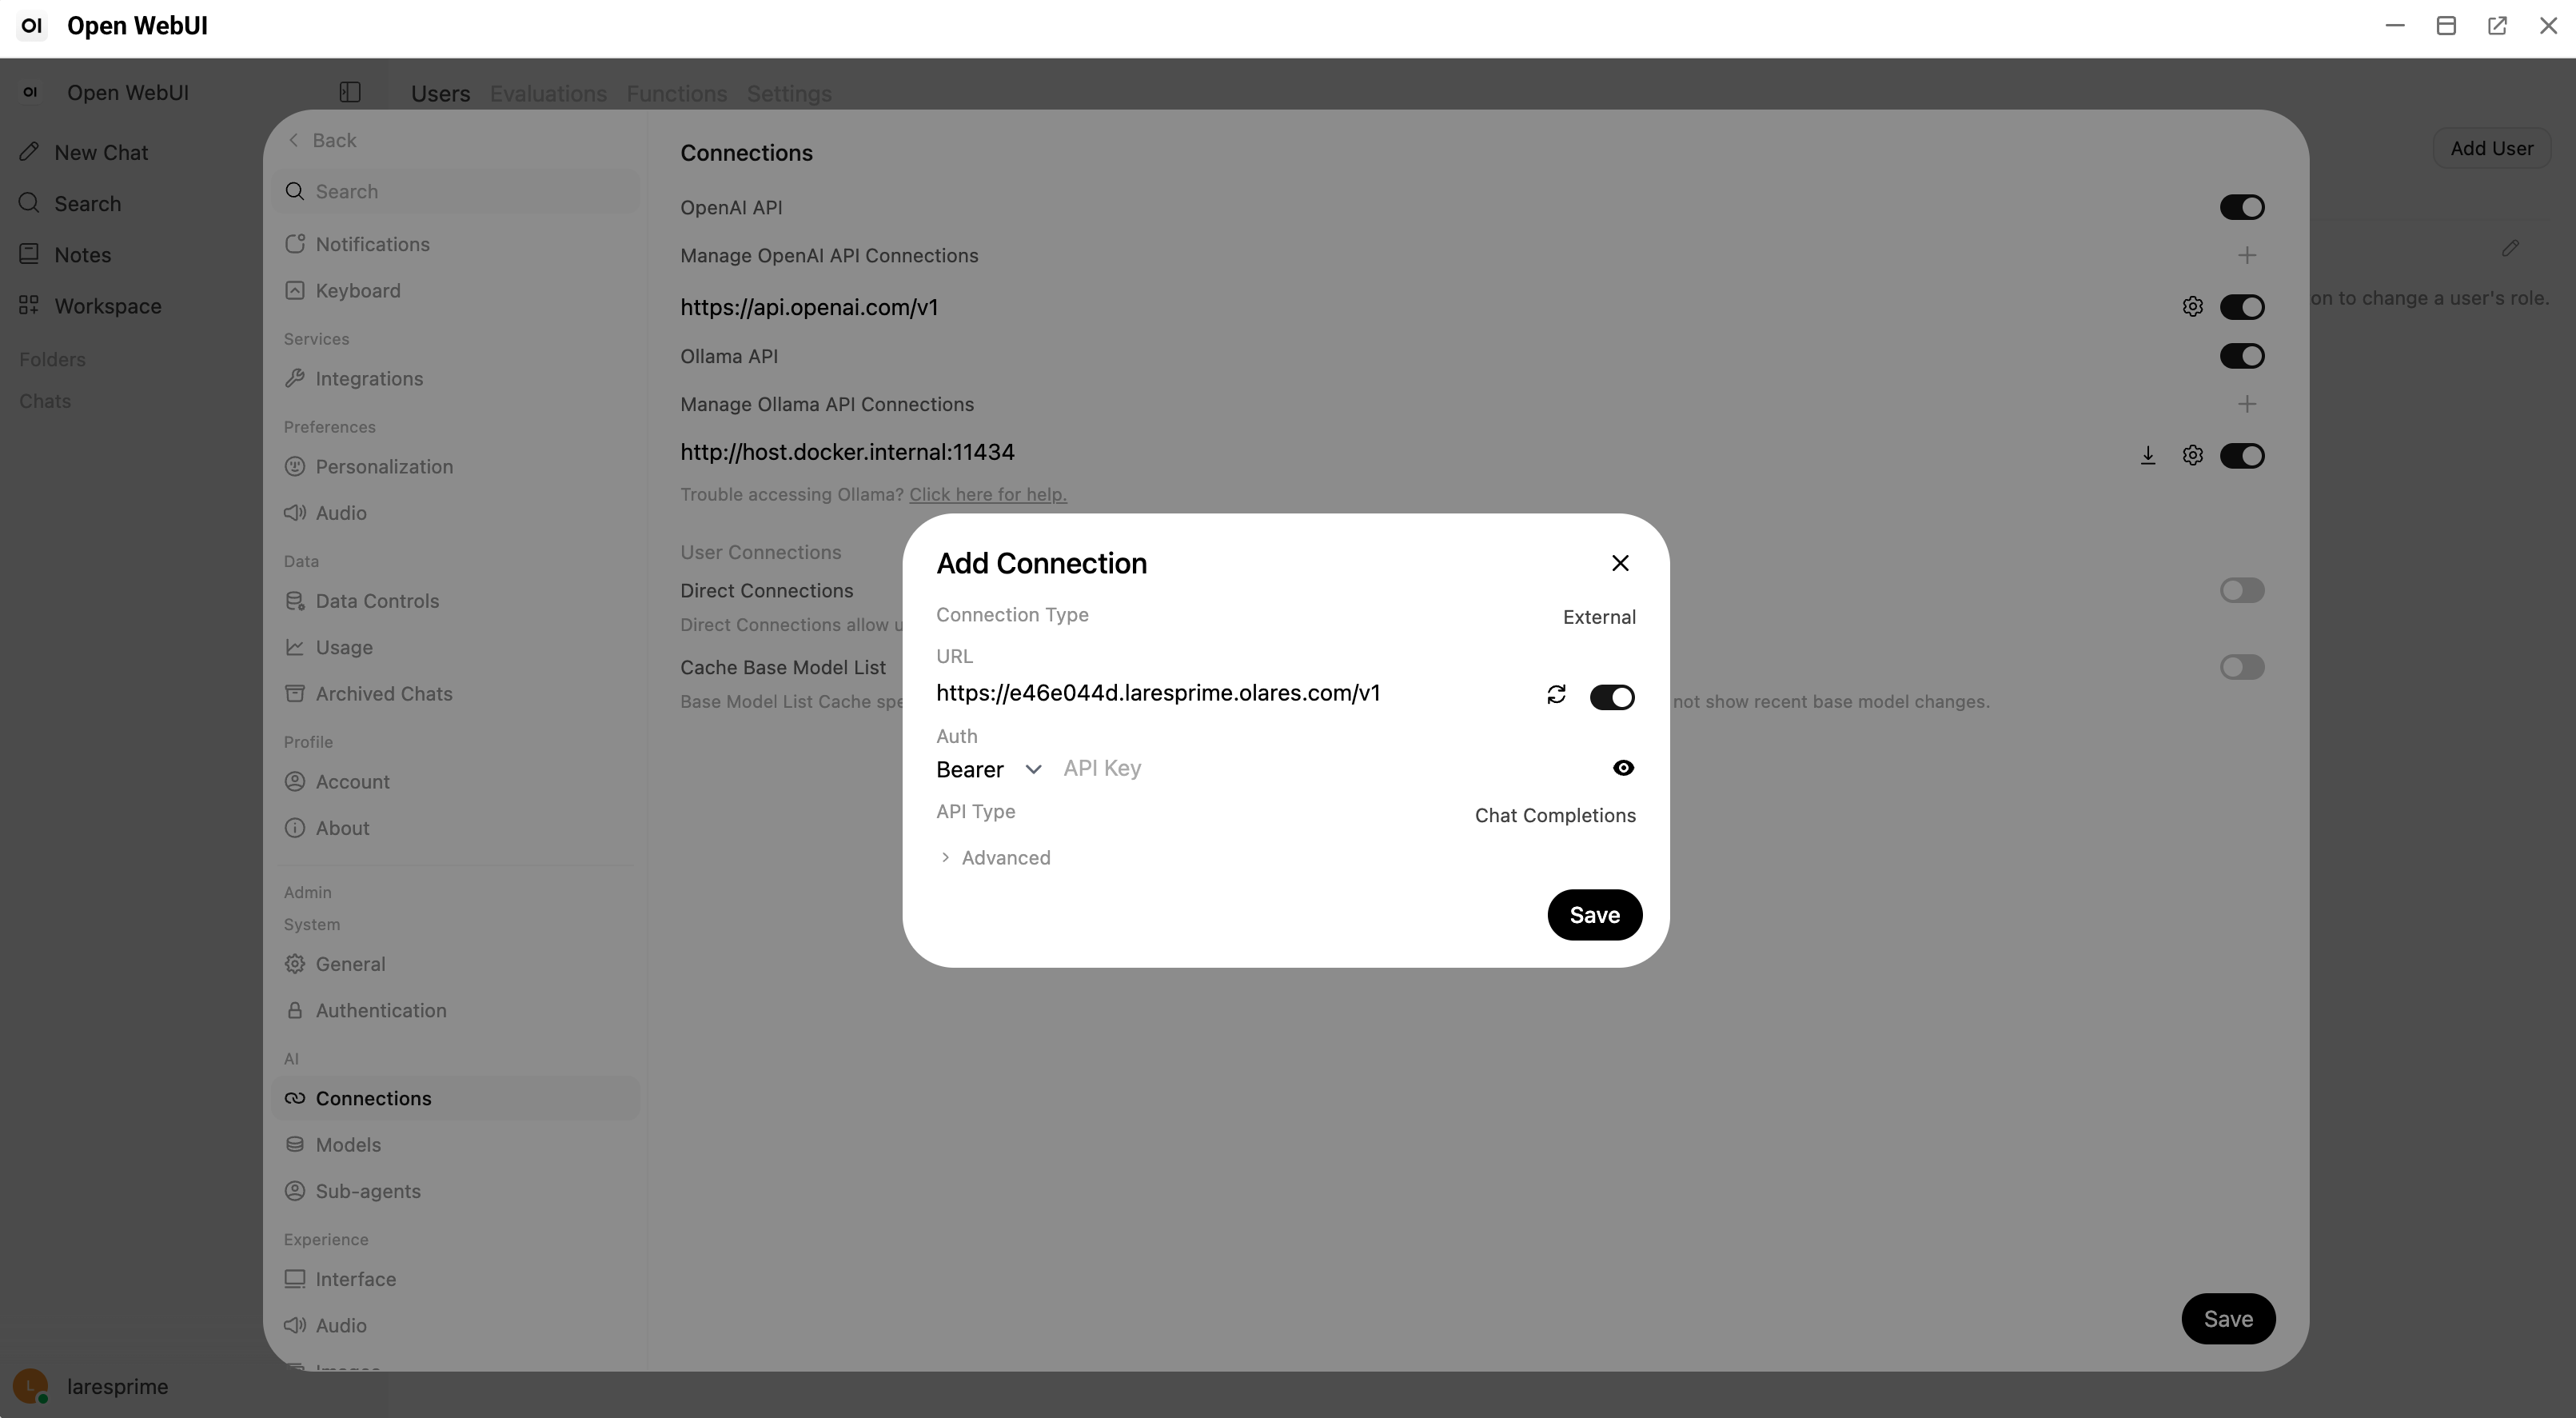
Click Save. Open WebUI verifies the connection automatically.
When you see the "OpenAI API settings updated" message, the connection is established.
Start chatting
Once you connect a model, you are ready to use the chat interface.
In the chat area, select your configured model.
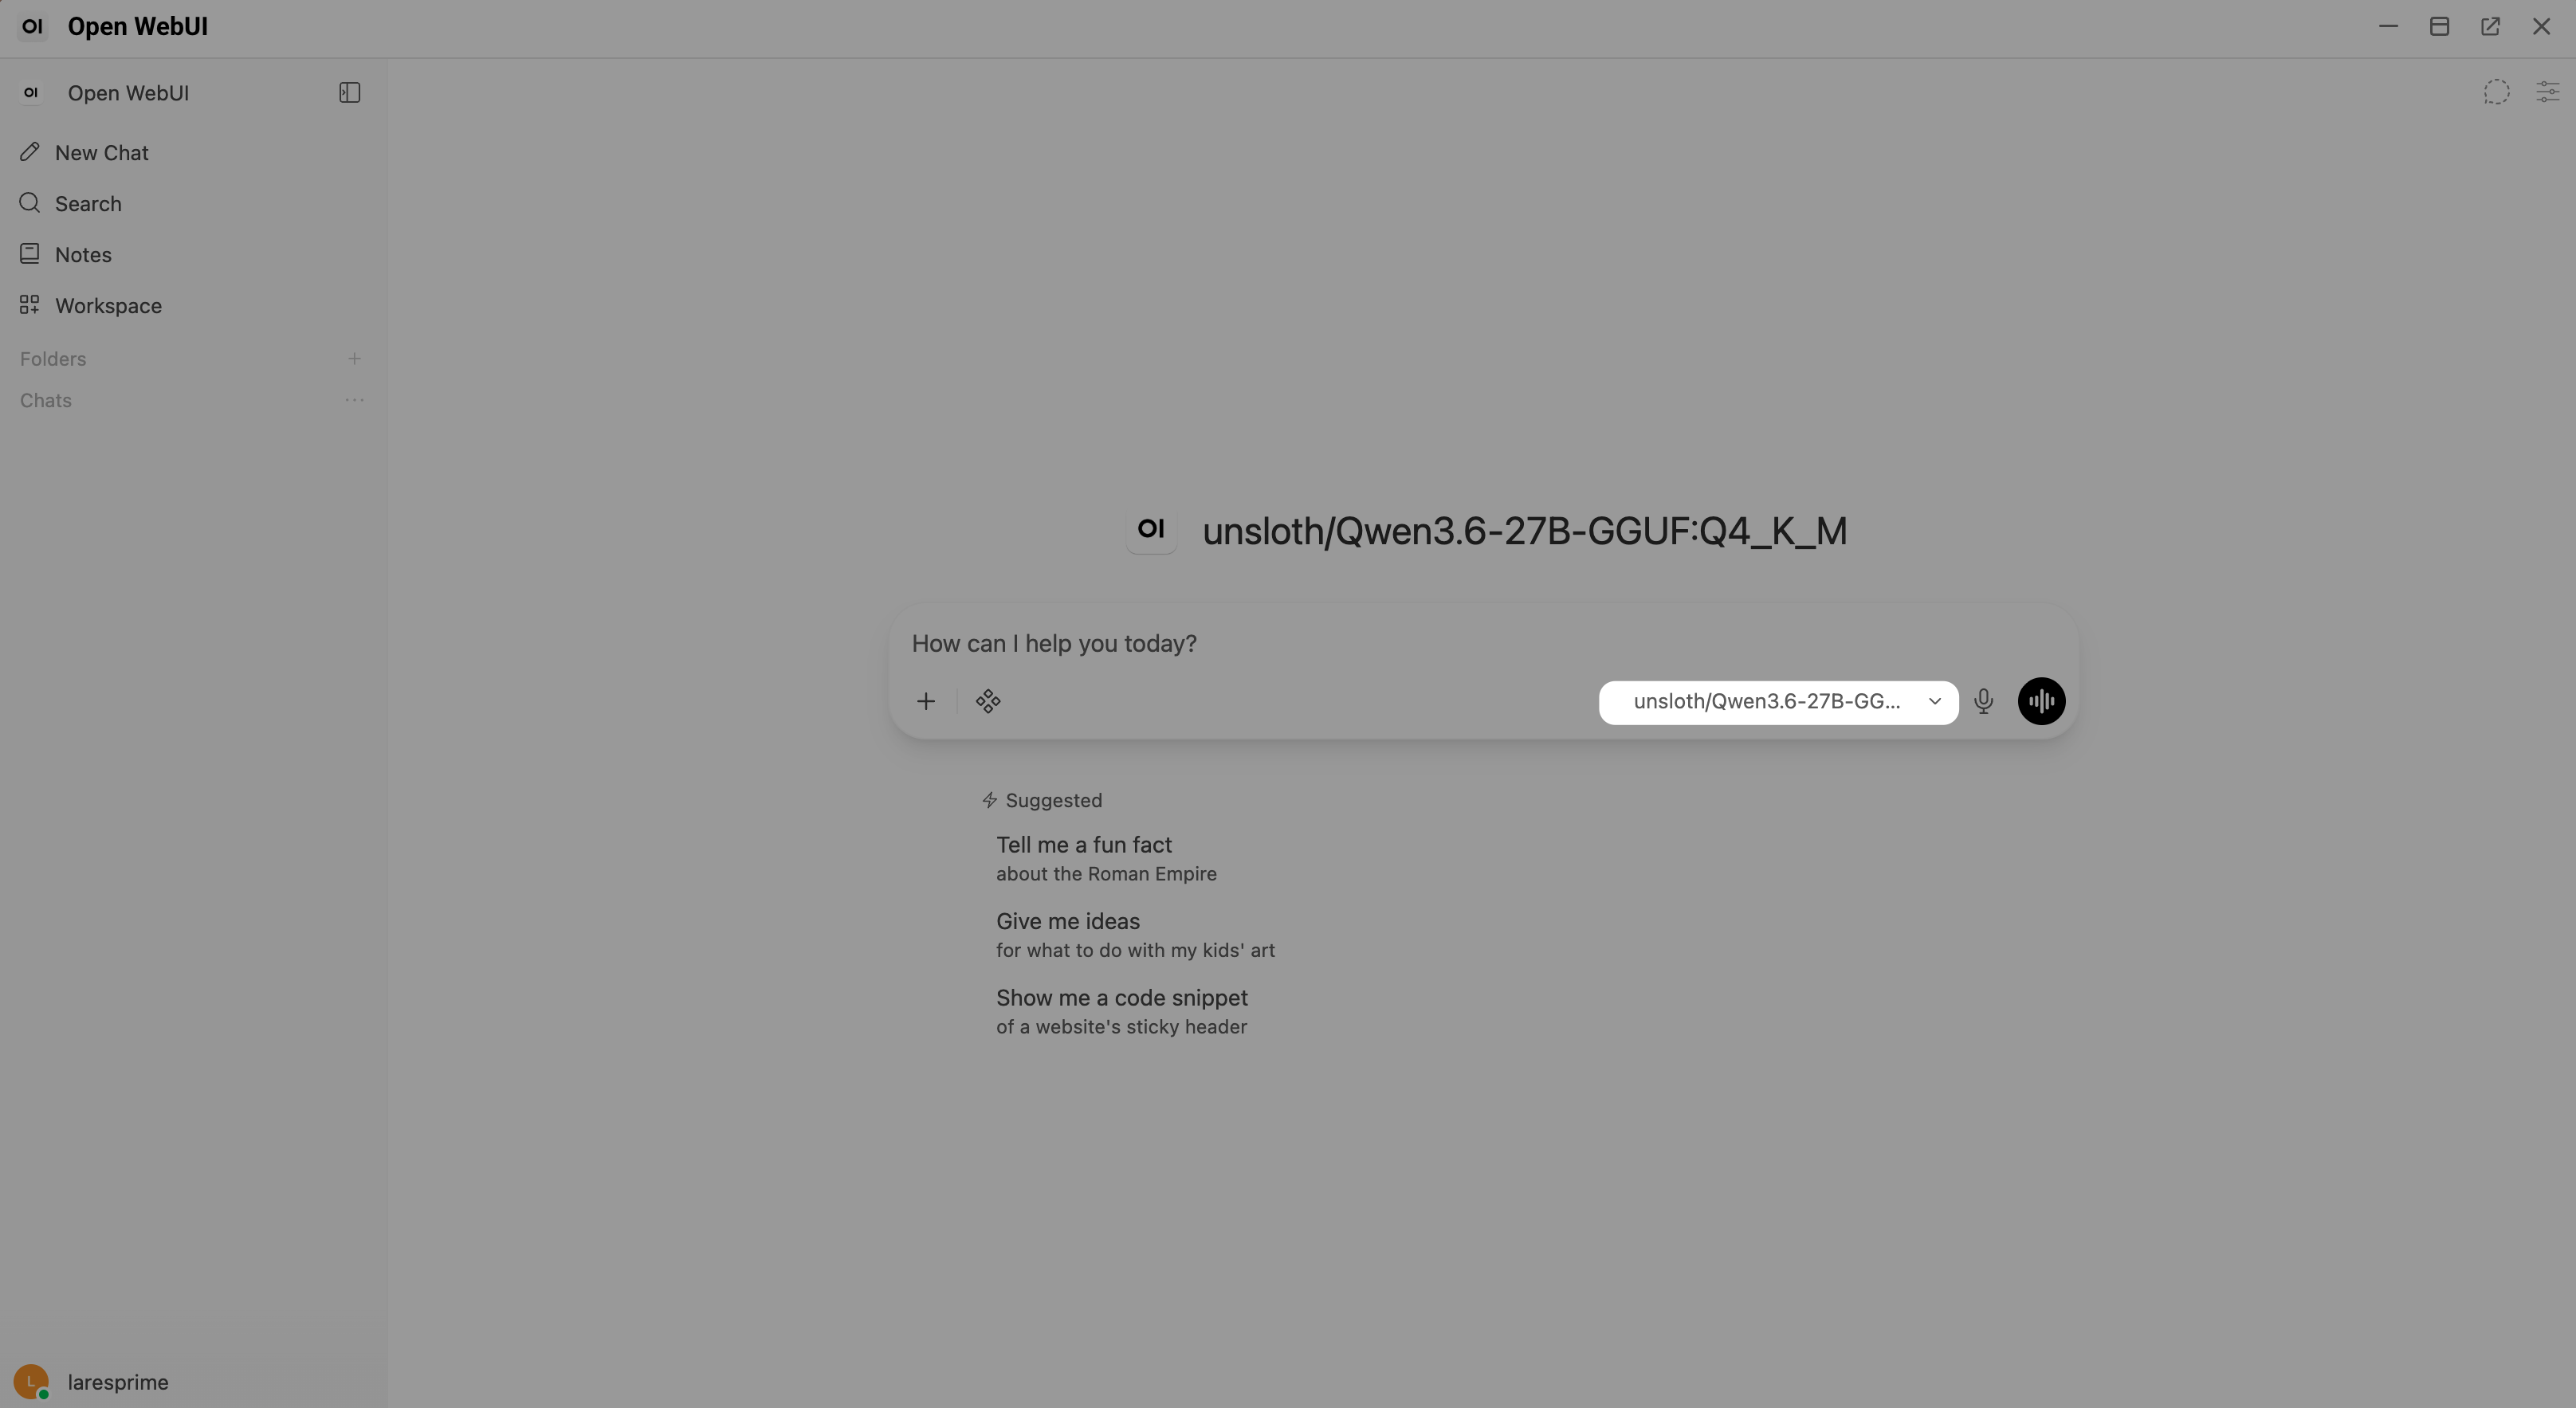
Enter your prompt in the text box, and then press Enter to start your conversation.
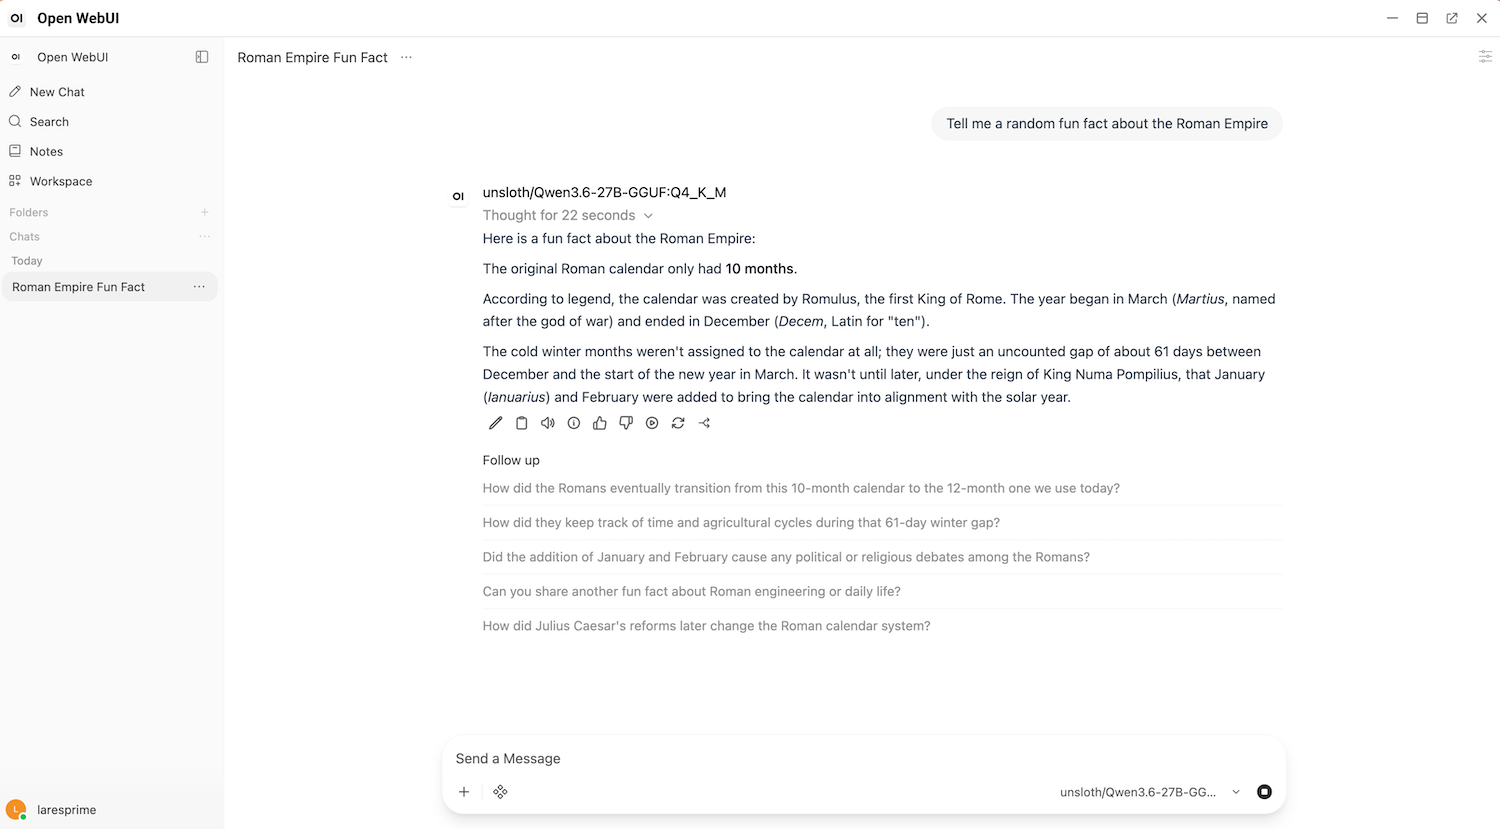
Learn more
- Set up multi-user access: Share Open WebUI with other users on your Olares device.
- Configure audio: Enable speech-to-text and text-to-speech.
- Enable web search: Add web search capabilities to your chats.
- Use knowledge base: Upload documents and create a knowledge base for RAG.
- Open WebUI common issues: Resolve common issues with Open WebUI.