Build your smart home hub with Home Assistant
Home Assistant is an open-source home automation platform that brings together your smart home devices.
This guide walks you through installing Home Assistant on Olares, connecting it to your local network, and adding smart home devices, both automatically and manually.
Learning objectives
In this guide, you will learn how to:
- Install Home Assistant from the Olares Market and set up your administrator account.
- Connect Home Assistant to your local network, and then discover and add nearby smart home devices.
- Manually add a device and monitor its live feed on your dashboard, using a Dahua IP camera as an example.
Install Home Assistant
Open Market, and search for "Home Assistant".
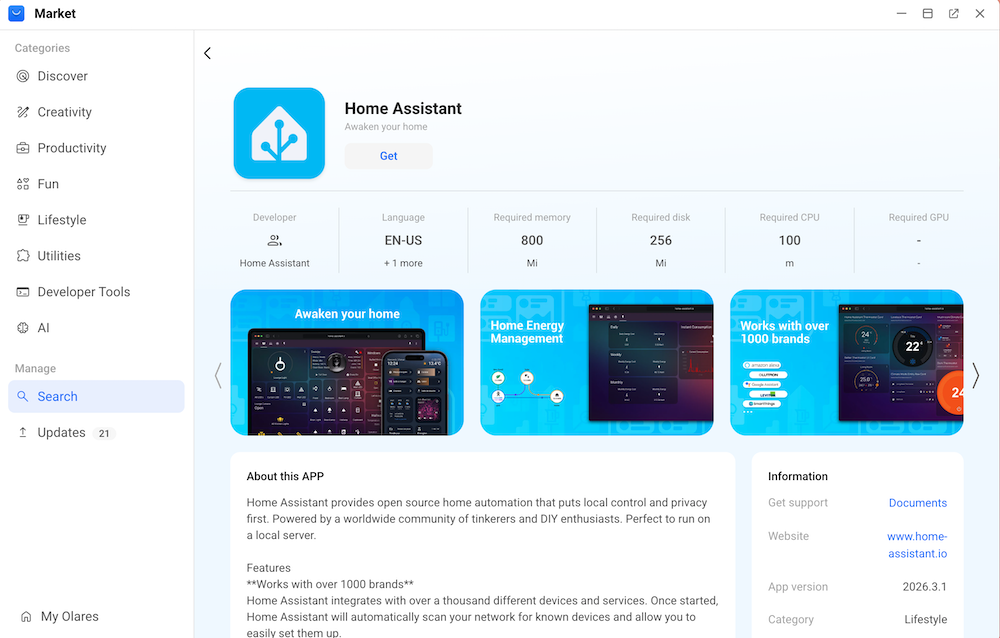
Click Get, and then click Install. Wait for the installation to finish.
Set up your account
Set up your local administrator account to begin using your Home Assistant dashboard.
Open Home Assistant from the Launchpad.
On the welcome screen, select your preferred language, and then select Create my smart home.
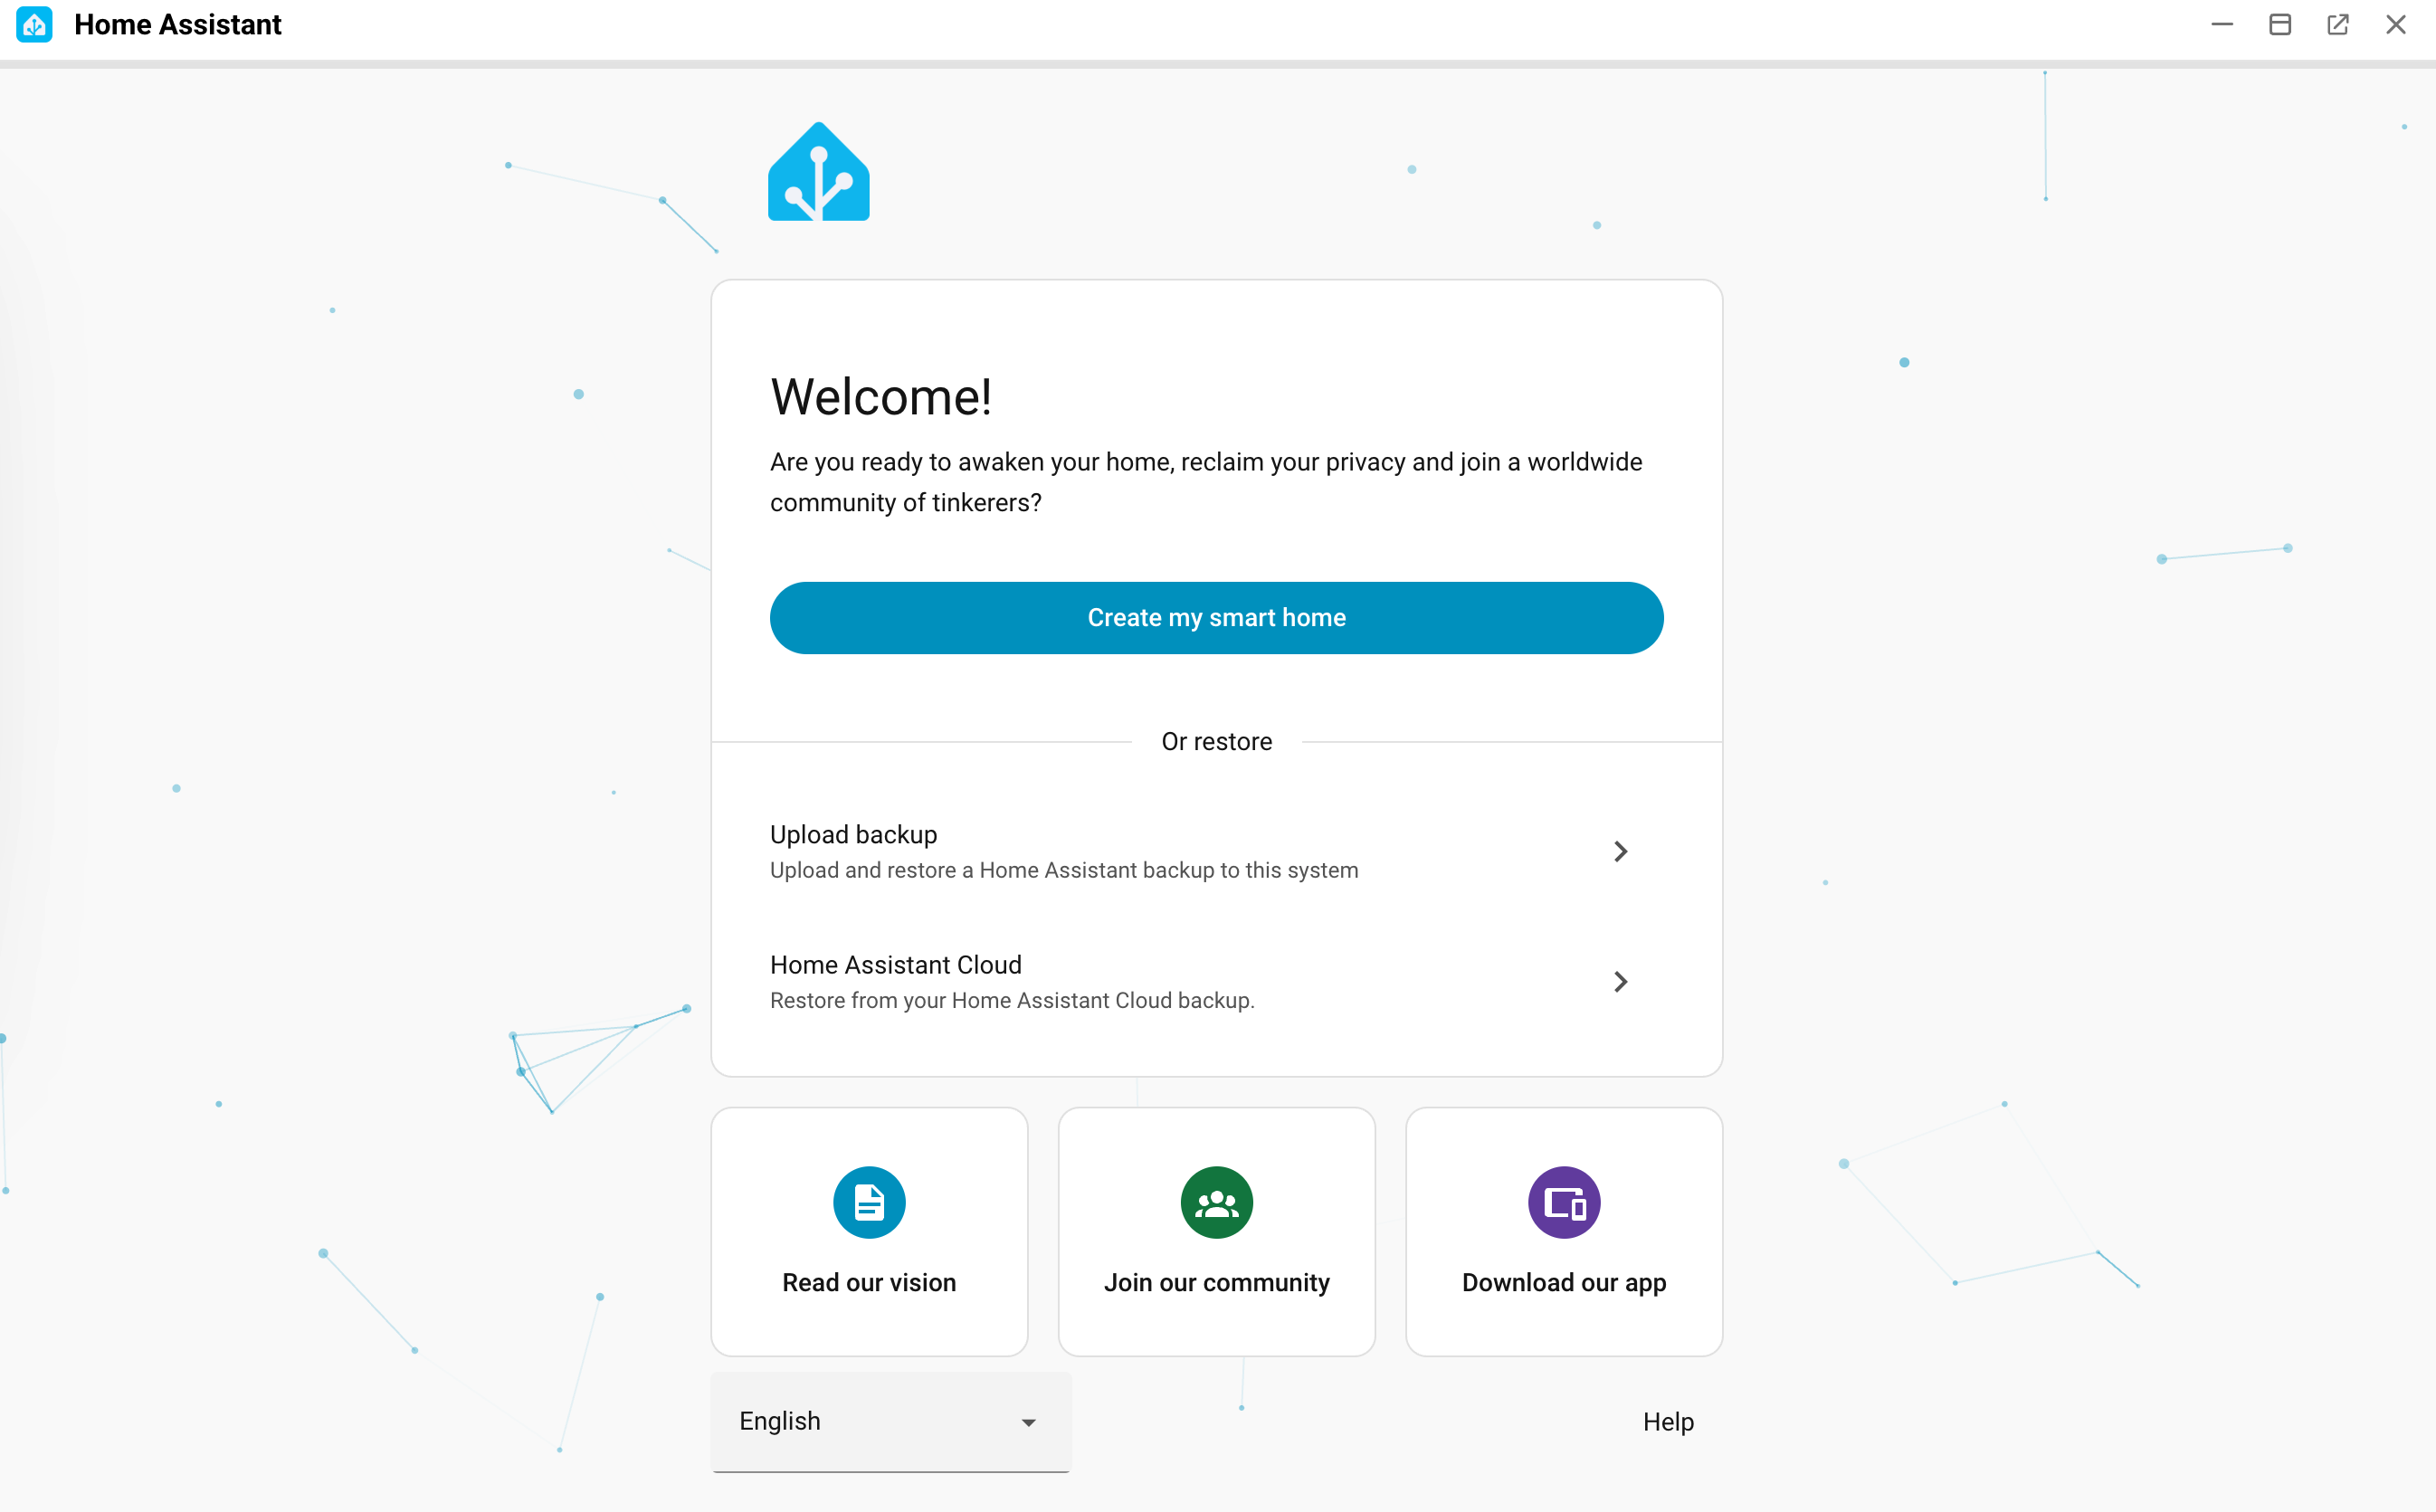
Enter the required profile information, including the username and password, and then click Create account.
Follow the remaining on-screen prompts to complete the setup.
Log in to the Home Assistant dashboard using your new credentials.
Discover and add local devices
By default, Home Assistant runs isolated from your local network and cannot automatically discover smart home devices. Olares can expose Home Assistant to your local network through an overlay gateway, giving it a local IP address. Once Home Assistant is on the local network, it can discover DLNA media renderers, UPnP devices, HomeKit accessories, and other local services.
Enable the overlay gateway
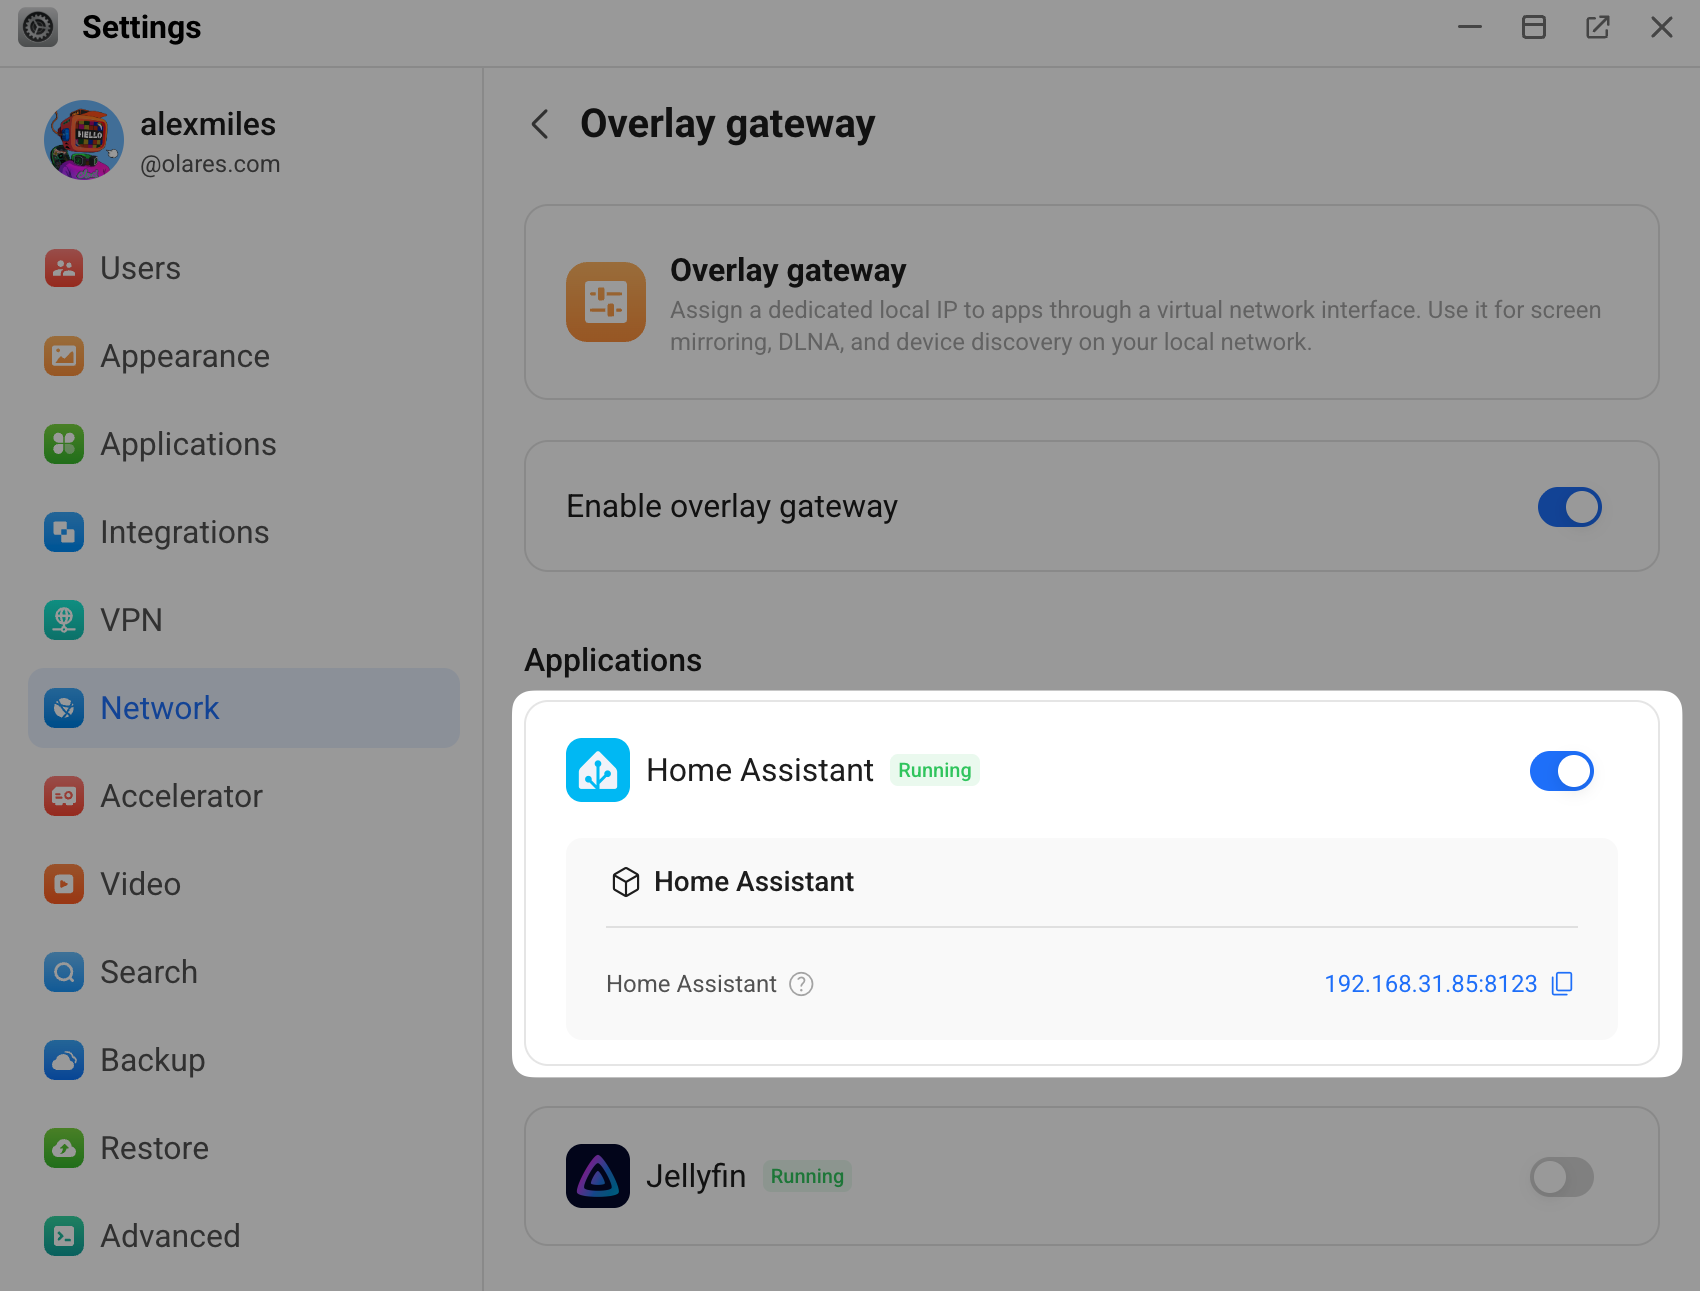
Open Olares Settings, and then go to Network > Overlay gateway.
Ensure the system-level Enable overlay gateway option is enabled. If you can't enable it, ask the Super Admin to enable it first.
Under Applications, find Home Assistant, and then enable overlay gateway for it.
In the confirmation dialog, click Confirm. Olares assigns a local IP address to Home Assistant.
Configure Home Assistant network adapters
After enabling the overlay gateway, configure Home Assistant to listen on the local network adapter.
Open Home Assistant, and then go to Settings > System > Network > Network adapter.
Clear the checkbox for Autoconfigure.
Select Adapter: eth0 and Adapter: net1.
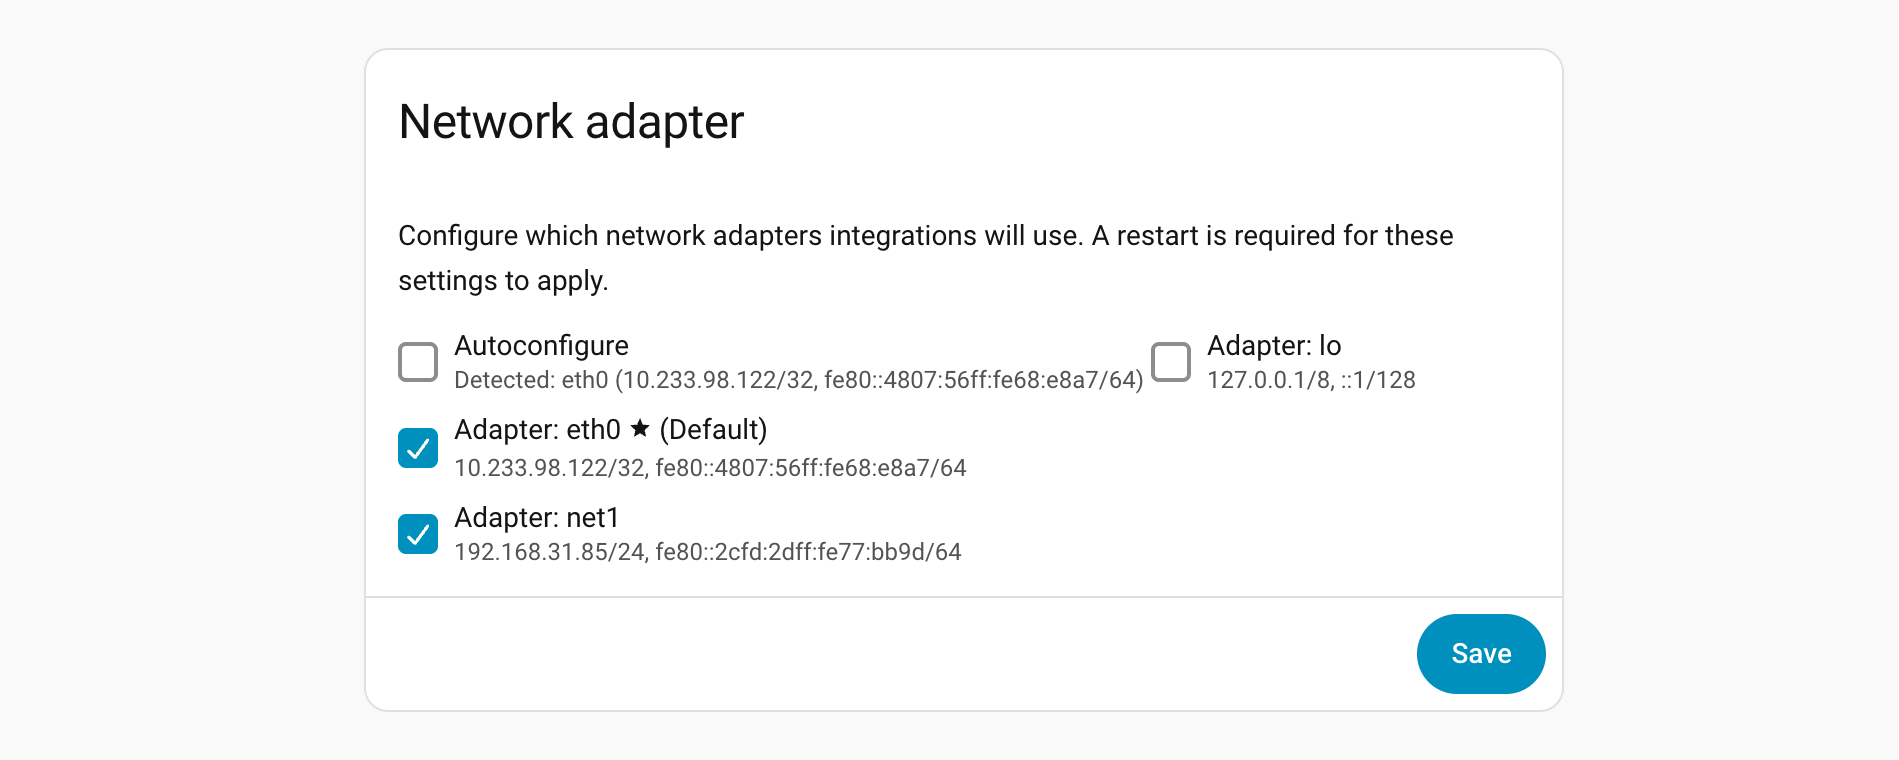
Click Save.
Go back to Settings > System, and then click power_settings_new in the upper-right corner.
Select Restart Home Assistant, and then confirm to restart.
After the restart, Home Assistant listens on your local network and can discover nearby devices.
Add a discovered device
In Home Assistant, go to Settings > Devices & services.
The Discovered panel appears, listing devices found on your local network. For example:
- DLNA Digital Media Renderer: Smart TVs, set-top boxes, or speakers that can play media streams from Home Assistant.
- UPnP/IGD: Routers or gateways that expose network information.
- Synology DSM: NAS devices on the local network.
- HomeKit accessory: HomeKit-compatible devices such as lights, plugs, or sensors.
- Internet Printing Protocol (IPP): network printers.
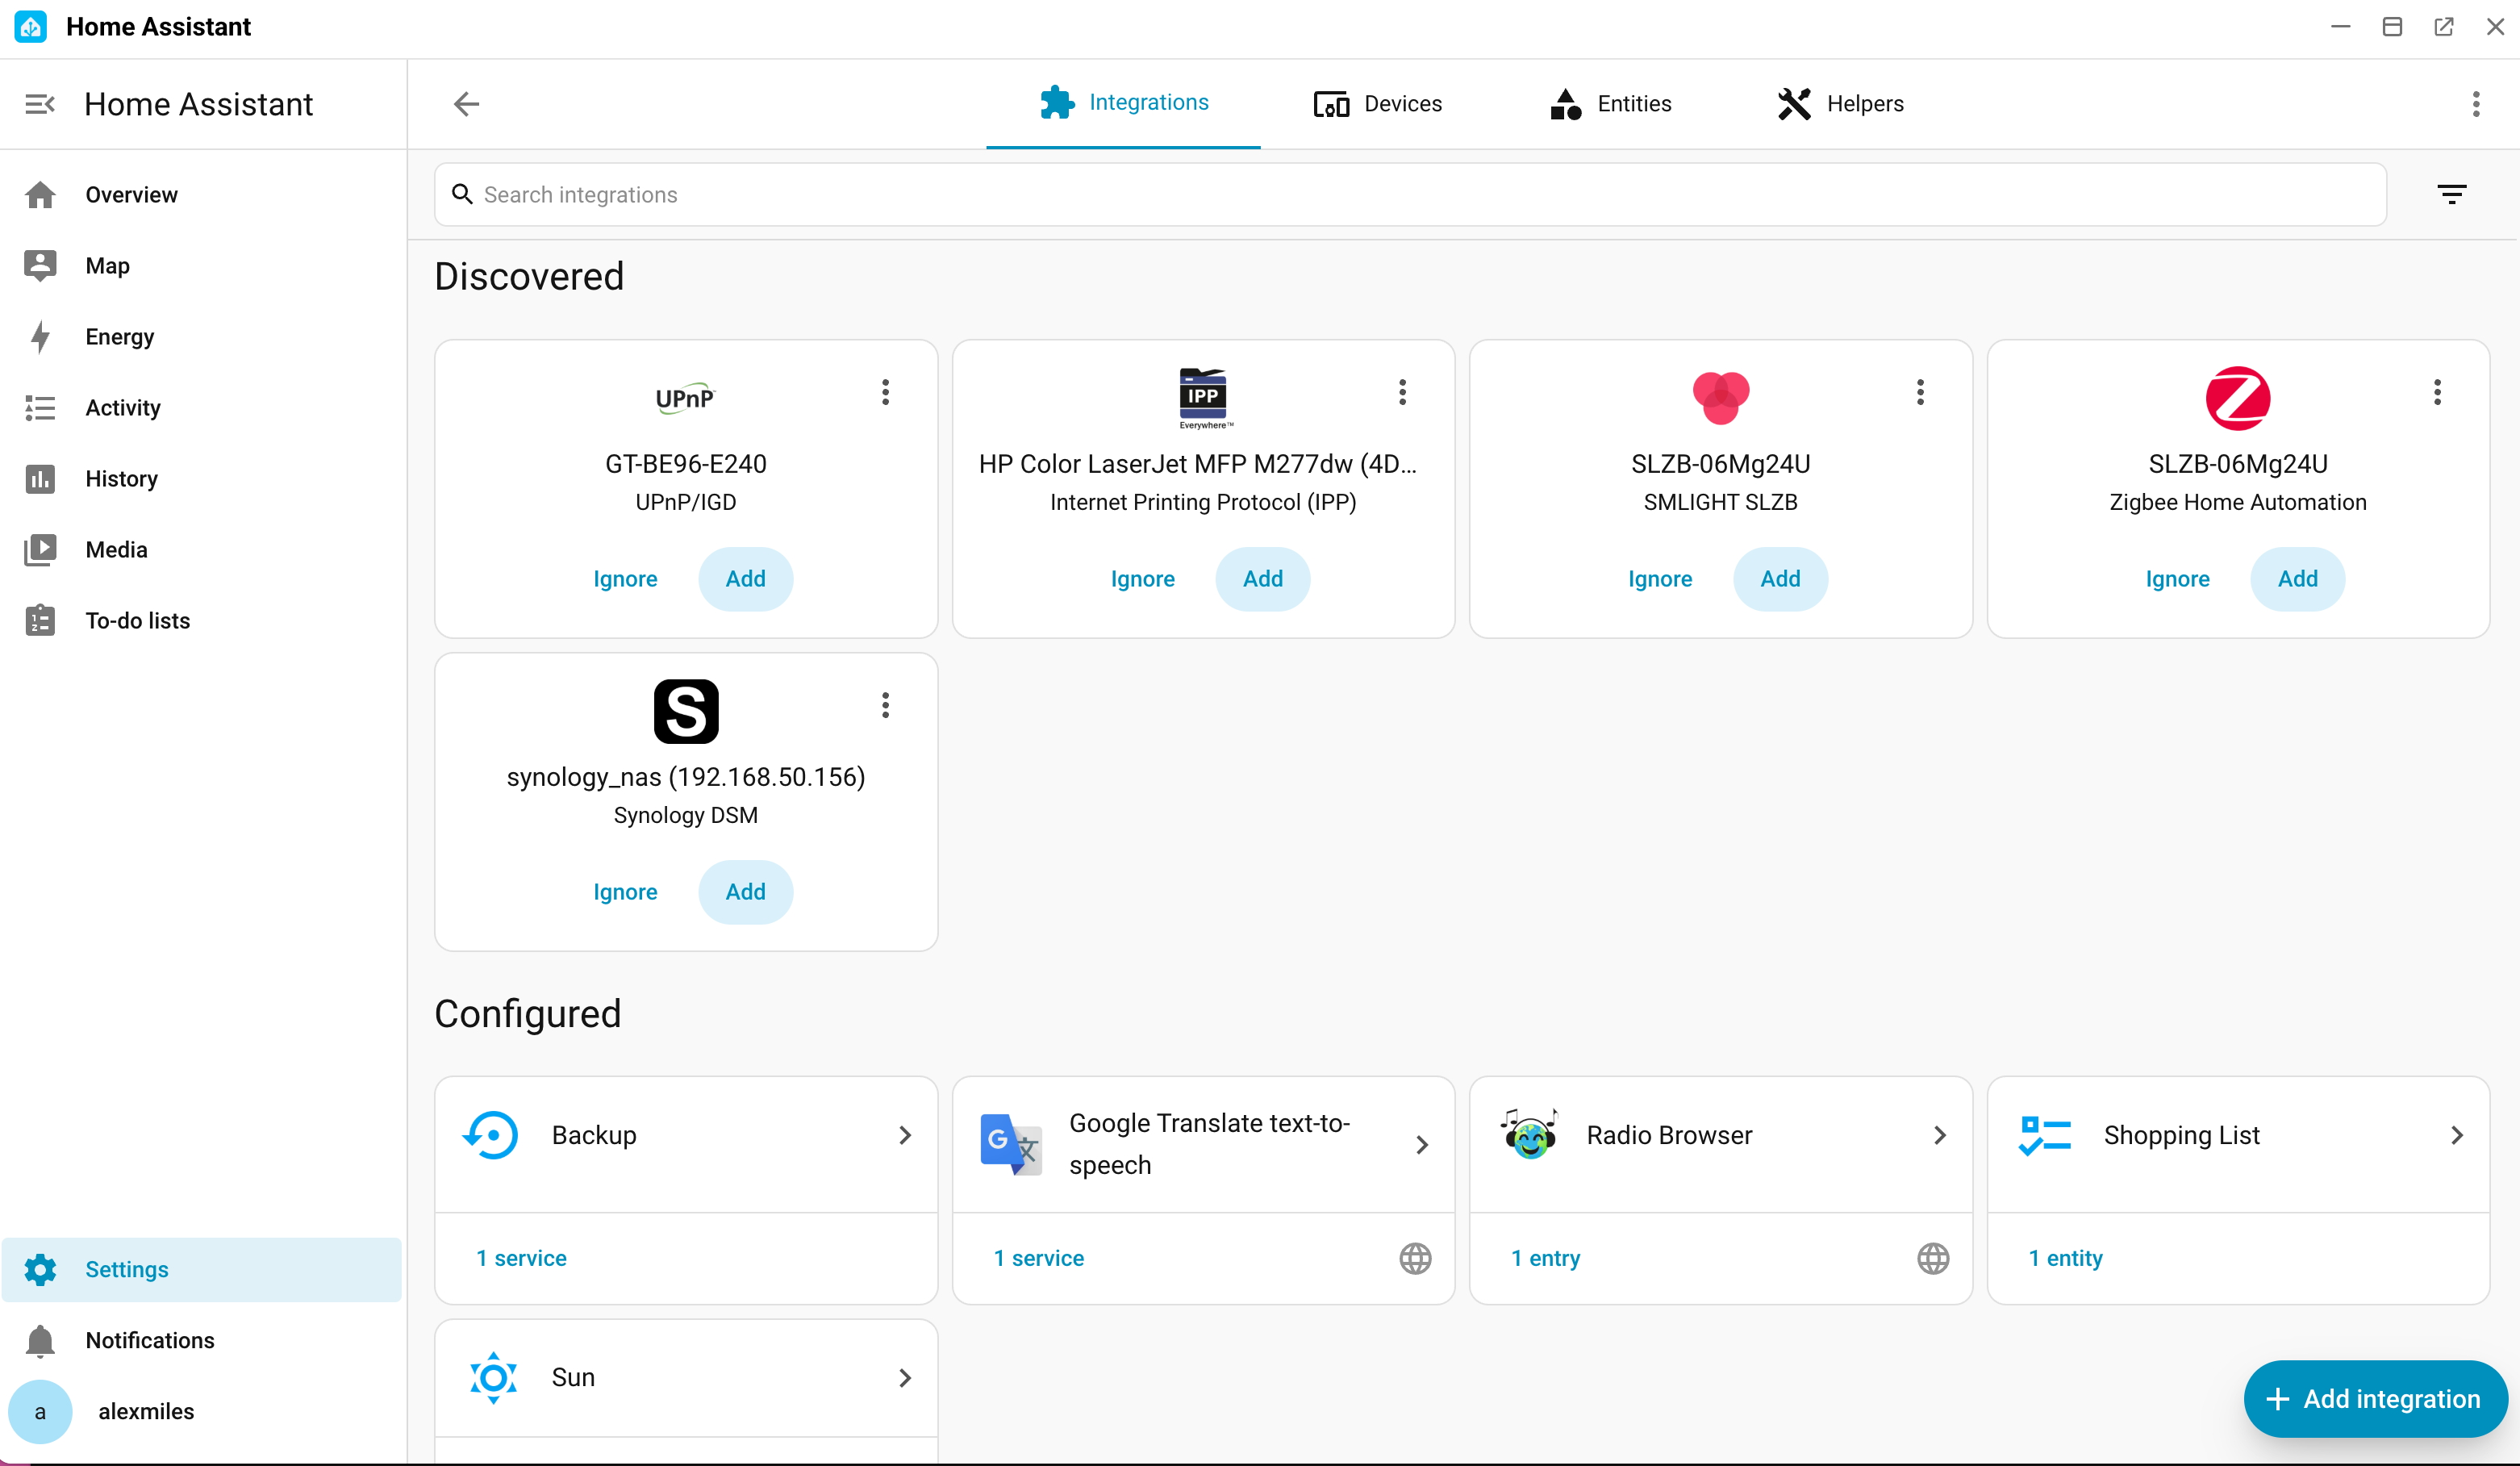
Click Add on the device you want to add, and then follow the on-screen prompts to finish pairing. Some devices might ask for a PIN code.
Assign the device to an area, and then click Finish. After pairing, you can find and control the device on your Overview dashboard.
Add devices manually
You can also add a device manually, whether it doesn't appear in the Discovered panel or you prefer to set it up yourself. This section uses a Dahua IP camera as an example.
Before you start, make sure that:
- You have a Dahua IP camera powered on and connected to the same local network as your Olares device.
- You have the administrator username and password for the camera.
Prepare your Dahua camera
To allow Home Assistant to discover and communicate with the camera, you must locate its network details via the Dahua web interface.
Obtain the camera IP address
Download the device discovery tool according to your operating system:
- Windows: Go to the Dahua Support website and download the ConfigTool.
- macOS: Open the App Store and install the CCTV Super Tool. This guide uses the CCTV Super Tool.
Open CCTV Super Tool, and then click Scan LAN.
When prompted to allow the application to find devices on your local networks, select Allow.
Click Scan LAN again. The camera device is discovered and listed.
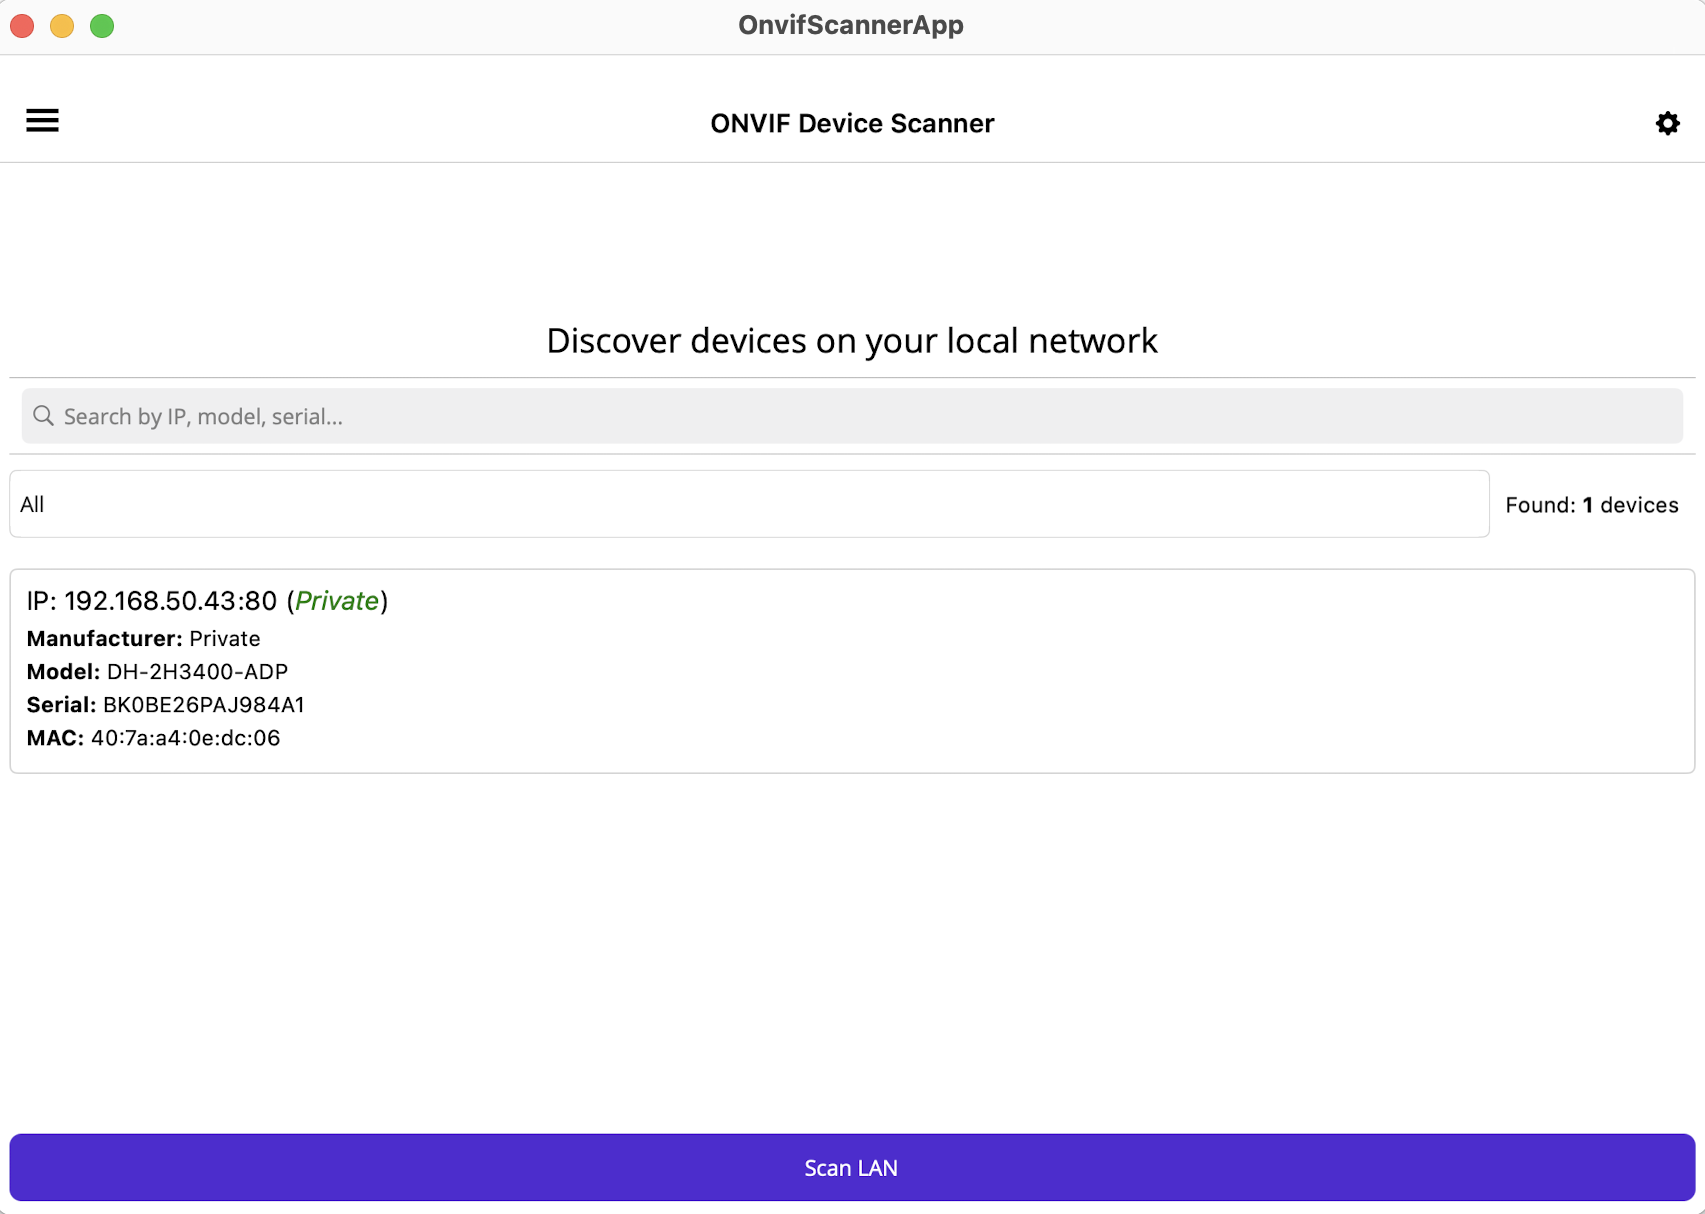
Locate your camera in the discovered device list, and then note down the IP address. For example,
192.168.50.43.
Get the camera ports
- From the discovered device list, click your device, and then select Open device website.
- Enter the username and password. The default is usually
adminfor both, which you must change on your first login. - Go to Network > Port.
- Note down the HTTP port (usually
80) and RTSP port (usually554).
Add the camera to Home Assistant
Integrate your camera using one of the following methods:
- Generic Camera (RTSP) integration for a quick, basic video feed.
- HACS integration for deeper device control and advanced features.