Set up a custom domain for your Olares
By default, when you create an account in LarePass, you get an Olares ID with the olares.com domain. This means you access your Olares services through URLs like desktop.{your-username}.olares.com. While this works out of the box, you might want to use your own domain instead.
Start with an unactivated Olares device
Set up the custom-domain Olares ID before you activate Olares. To complete this tutorial, you need a new device, a factory-reset device, or another device that you can activate from scratch.
If your device is already activated with an olares.com Olares ID, you cannot switch that activated device to a custom domain in place. Restore Olares to factory settings first, then follow this tutorial from the beginning.
Learning objectives
In this tutorial, you will learn how to:
- Add and verify your custom domain in Olares Space
- Create an organization and an Olares ID under your domain in LarePass
- Install and activate Olares with your custom domain on an unactivated device
- Add members to your organization in Olares Space
How custom domains work in Olares
Custom domains in Olares are managed through organizations. The custom-domain flow has two parts:
- Create an Olares ID under your domain while your account is still in the DID stage.
- Activate a new or factory-reset Olares device with that custom-domain Olares ID.
Whether you're an individual user or representing a company, you'll need to set up an organization first. The required actions depend on your role:
| Step | Organization admin | Organization member |
|---|---|---|
| Prepare a new or factory-reset Olares device that has not been activated | ✅ | ✅ |
| Create a DID in LarePass | ✅ | ✅ |
| Add custom domain to Olares Space | ✅ | |
| Create organization for the domain & create an Olares ID as the admin in LarePass | ✅ | |
| Add new user to the organization in Olares Space | ✅ | |
| Join the organization & create an Olares ID in LarePass | ✅ | |
| Install and activate Olares with the custom-domain Olares ID | ✅ | ✅ |
If you are joining an organization, you can skip to Join an organization as a member.
Prerequisites
Make sure you have:
- A valid domain name from a domain registrar.
- LarePass app installed on your phone. You will use LarePass to sign in to Olares Space and to associate your custom domain with an Olares ID.
- A new or factory-reset Olares device that has not been activated yet. If you want to reuse hardware that has already been activated, restore Olares to factory settings before you continue.
Step 1: Create a DID
A DID (Decentralized Identifier) is a temporary account state before you get your final Olares ID. You can only associate a custom domain with the account when it is in the DID stage. To create one:
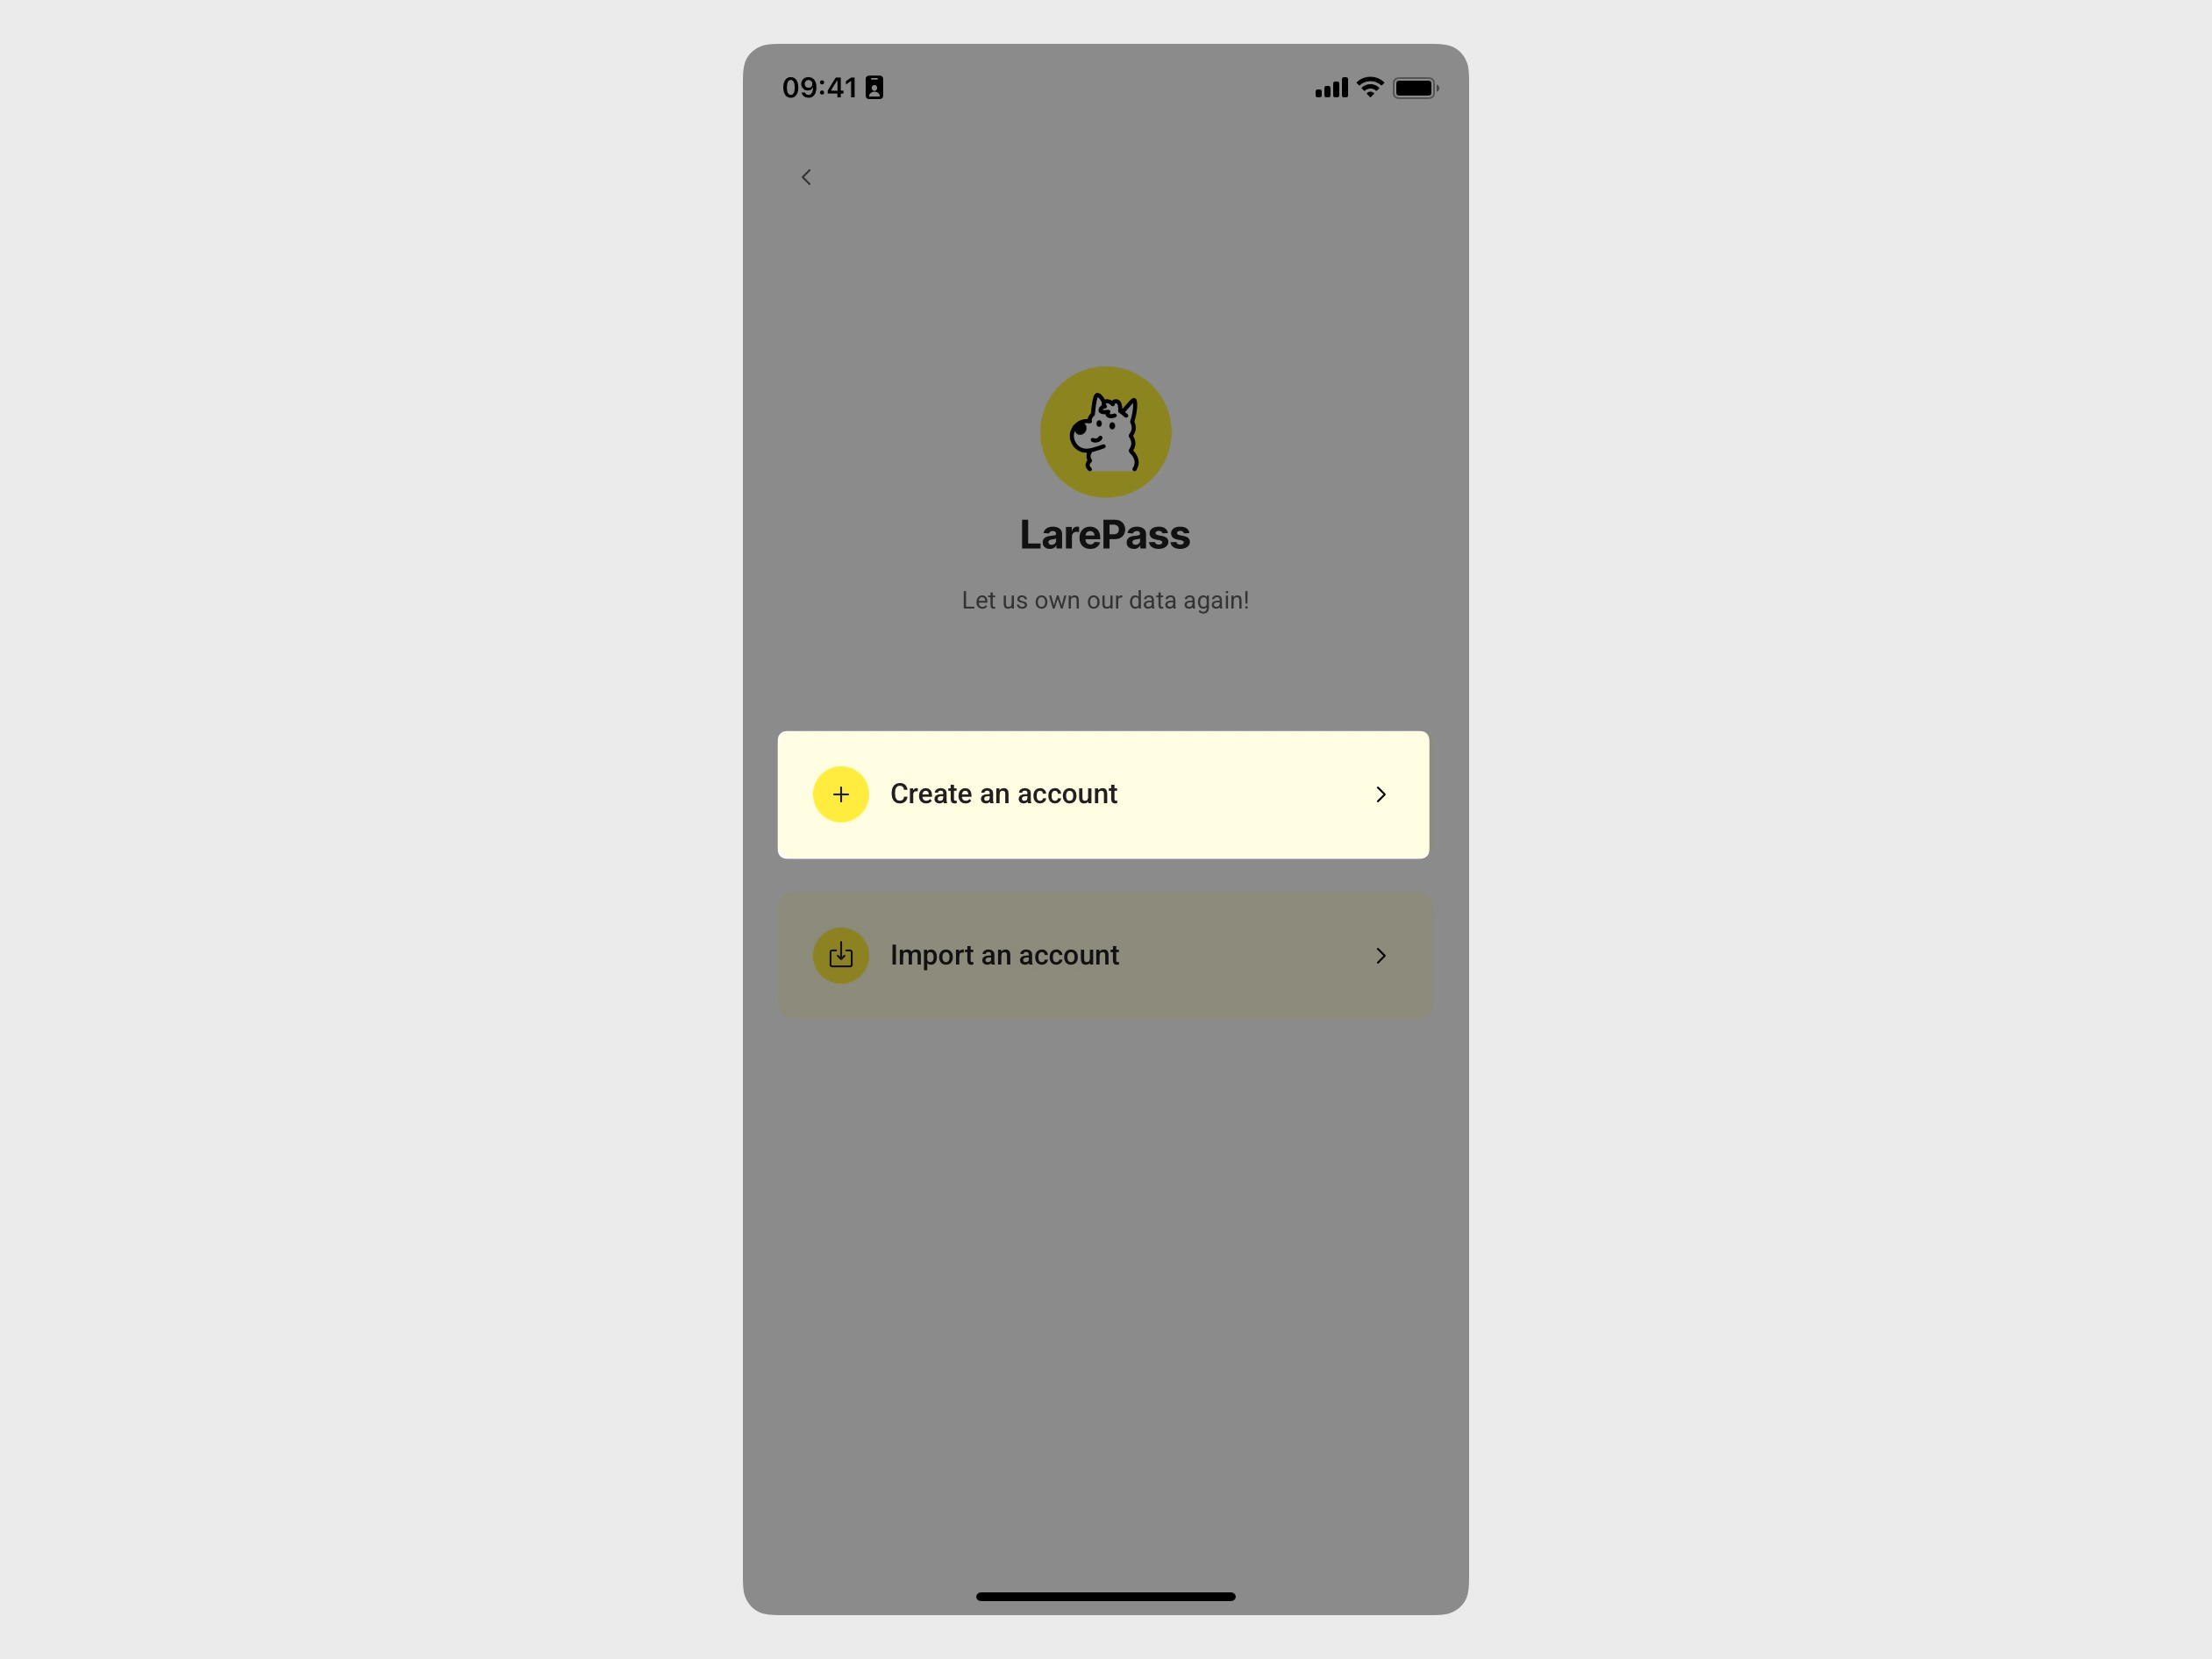
In the LarePass app, go to the account creation page.
Tap Create an account.
This creates an Olares account in the DID stage. On the Switch account page, it displays as "No Olares ID bound" with an identifier like
did:key:xxxx.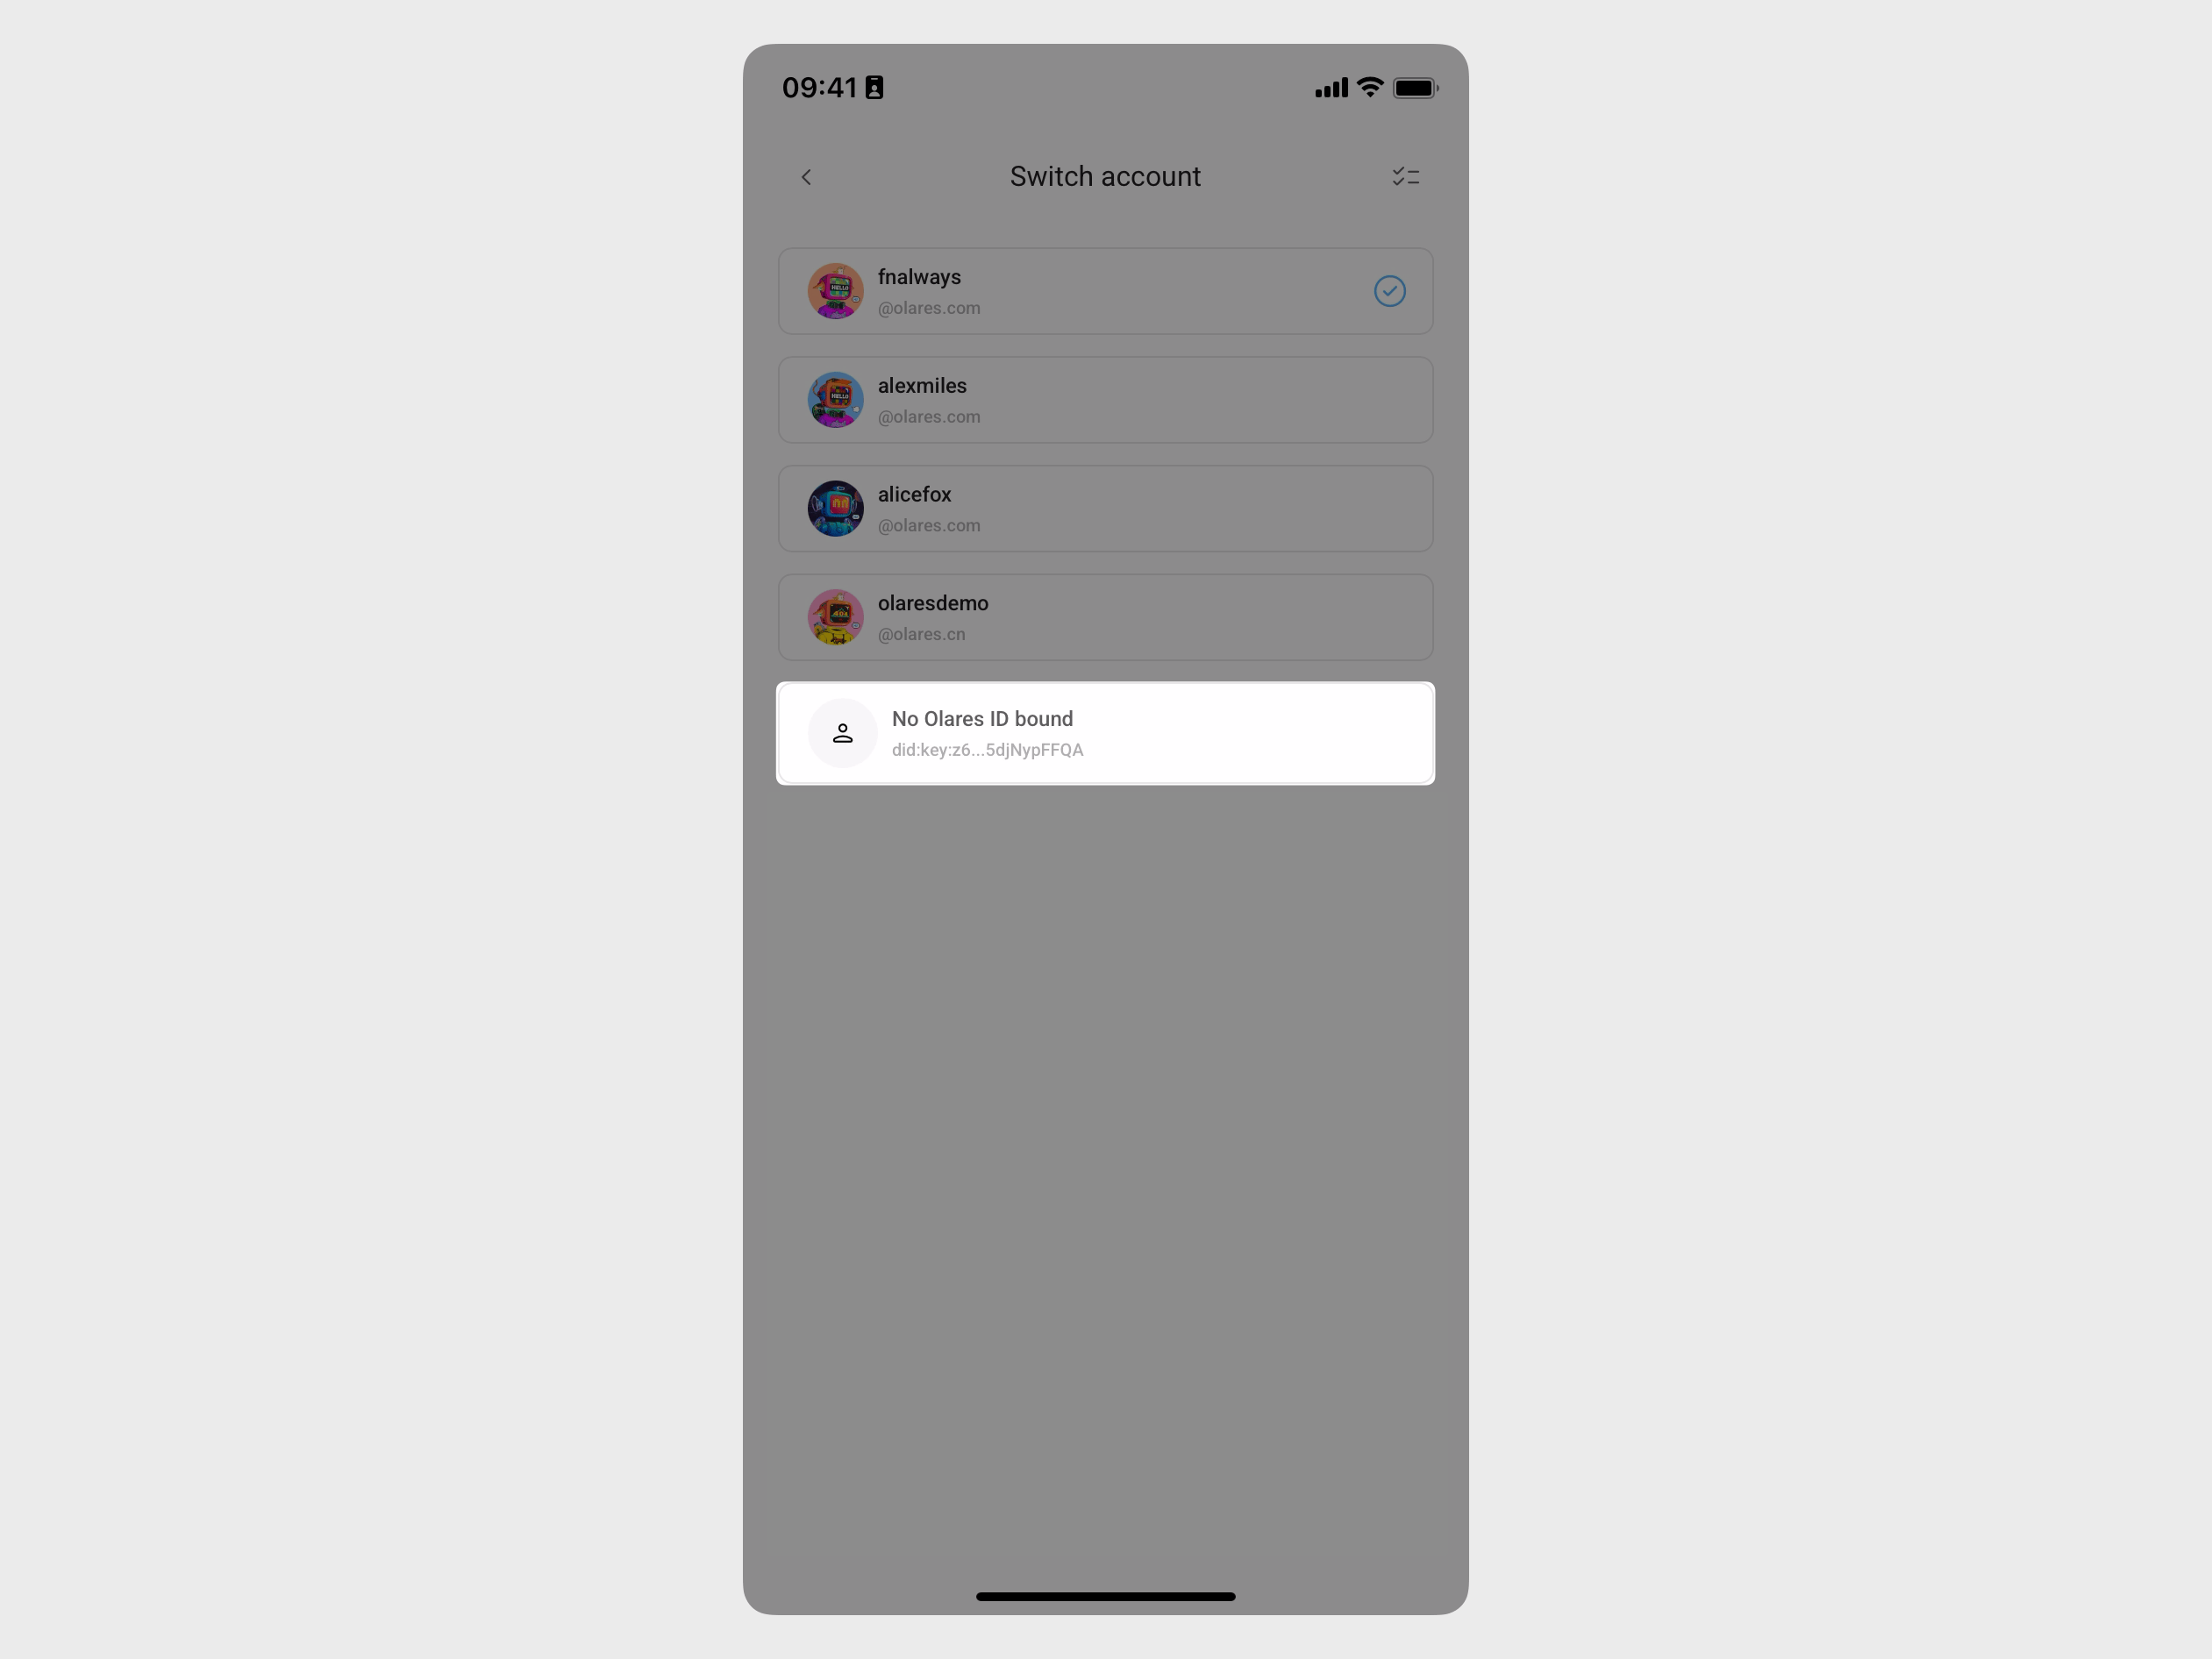
Step 2: Add your domain
The following steps use space.n1.monster as an example custom domain.
Open Olares Space in your browser and scan the QR code with LarePass to log in.
In Olares Space, go to the Domain management page and select Set up domain name.

In the pop-up dialog, enter a valid subdomain, and click Confirm.
Do not use a primary domain
Using a primary domain like
yourdomain.comwill move all DNS management to Olares Space and will not transfer your existing records automatically. Use a subdomain likeapp.yourdomain.cominstead.Add and verify a TXT record to prove ownership of the domain.
a. Click Guide in the Action column.
 b. In your DNS provider's settings, add a TXT record with the name and value provided in the dialog.
Once verified, the status updates to Awaiting NS record configuration.

Verify the Name Server (NS) record for your custom domain. This delegates the DNS resolution for your domain to Olares's Cloudflare.
a. Click Guide in the Action column.
b. In your DNS provider's settings, add two NS records for your subdomain with the values provided in the dialog.

Once verified, the domain status will update to Awaiting the application for the Domain's Verifiable Credential.

WARNING
Once verification is successful, do not modify the NS record. Doing so will cause the custom domain resolution to fail, making it inaccessible.
Once TXT and NS records are verified, you can proceed to create an organization in LarePass.
Step 3: Create an organization
In LarePass, create an organization for your domain and an Olares ID with admin privileges.
Check your account and device before continuing
Create the organization from an account in the DID stage, and make sure the Olares device you plan to use is not already activated. If you are reusing an activated device, stop here and restore it to factory settings first.
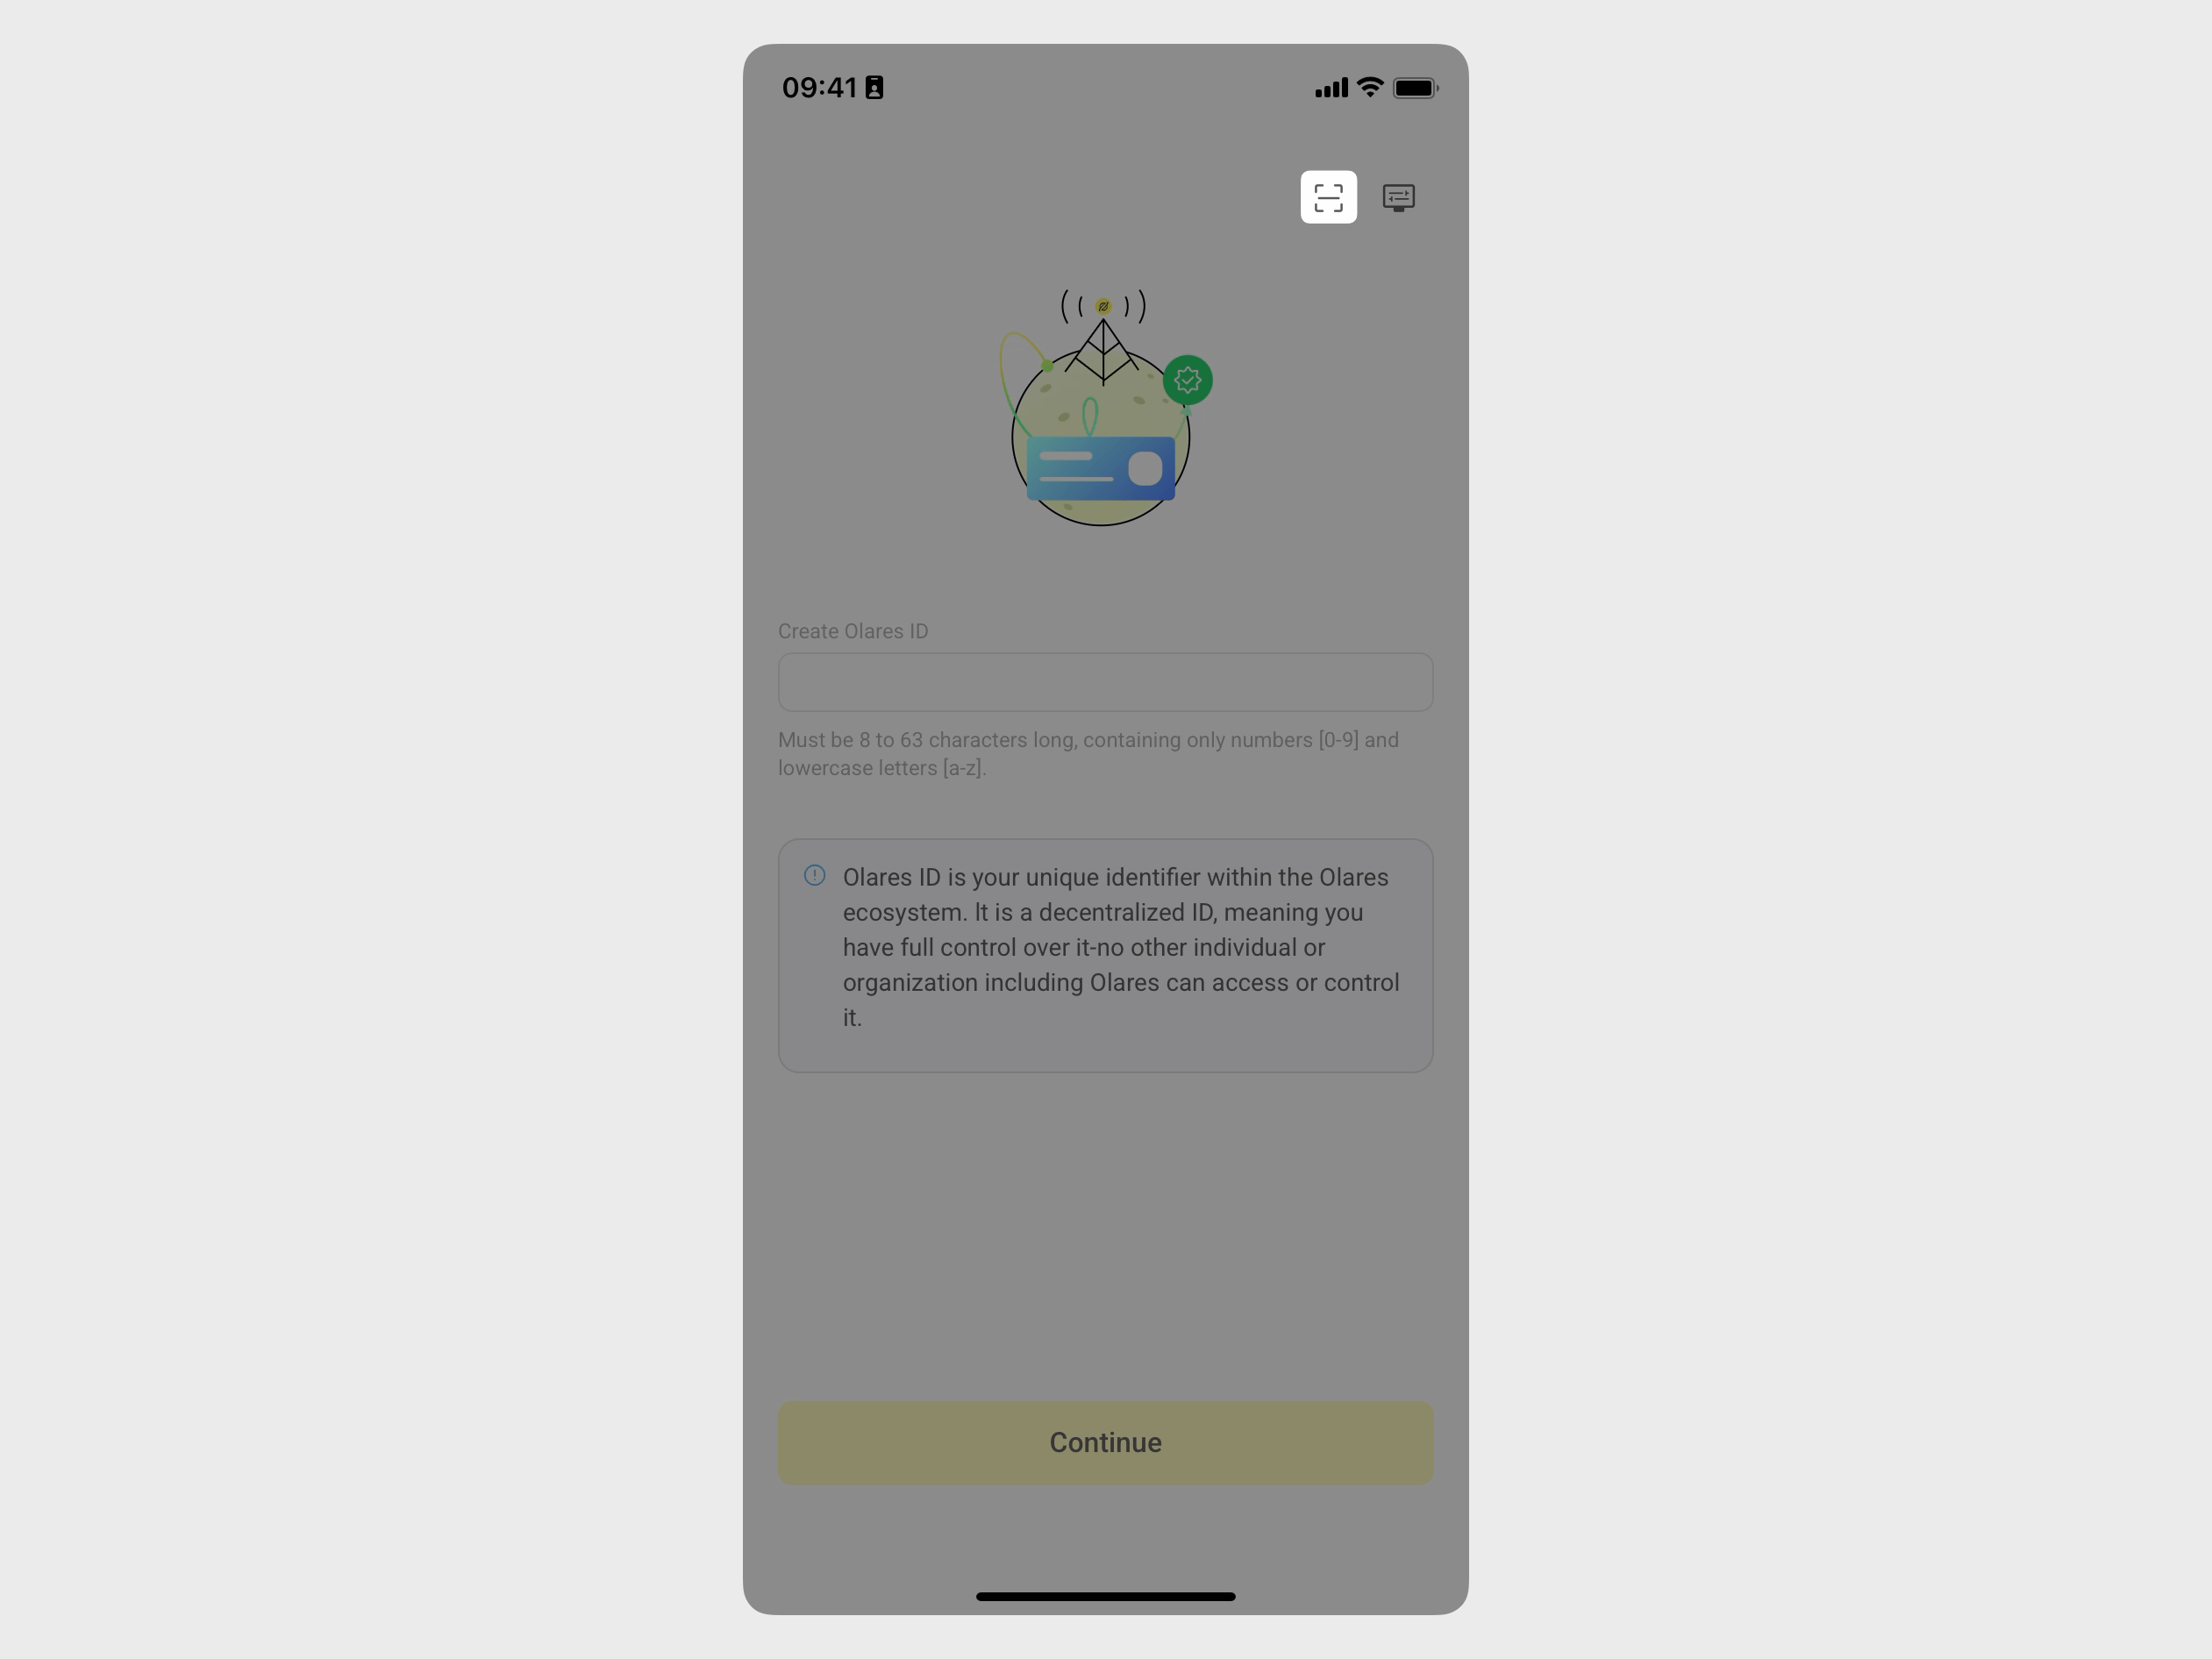
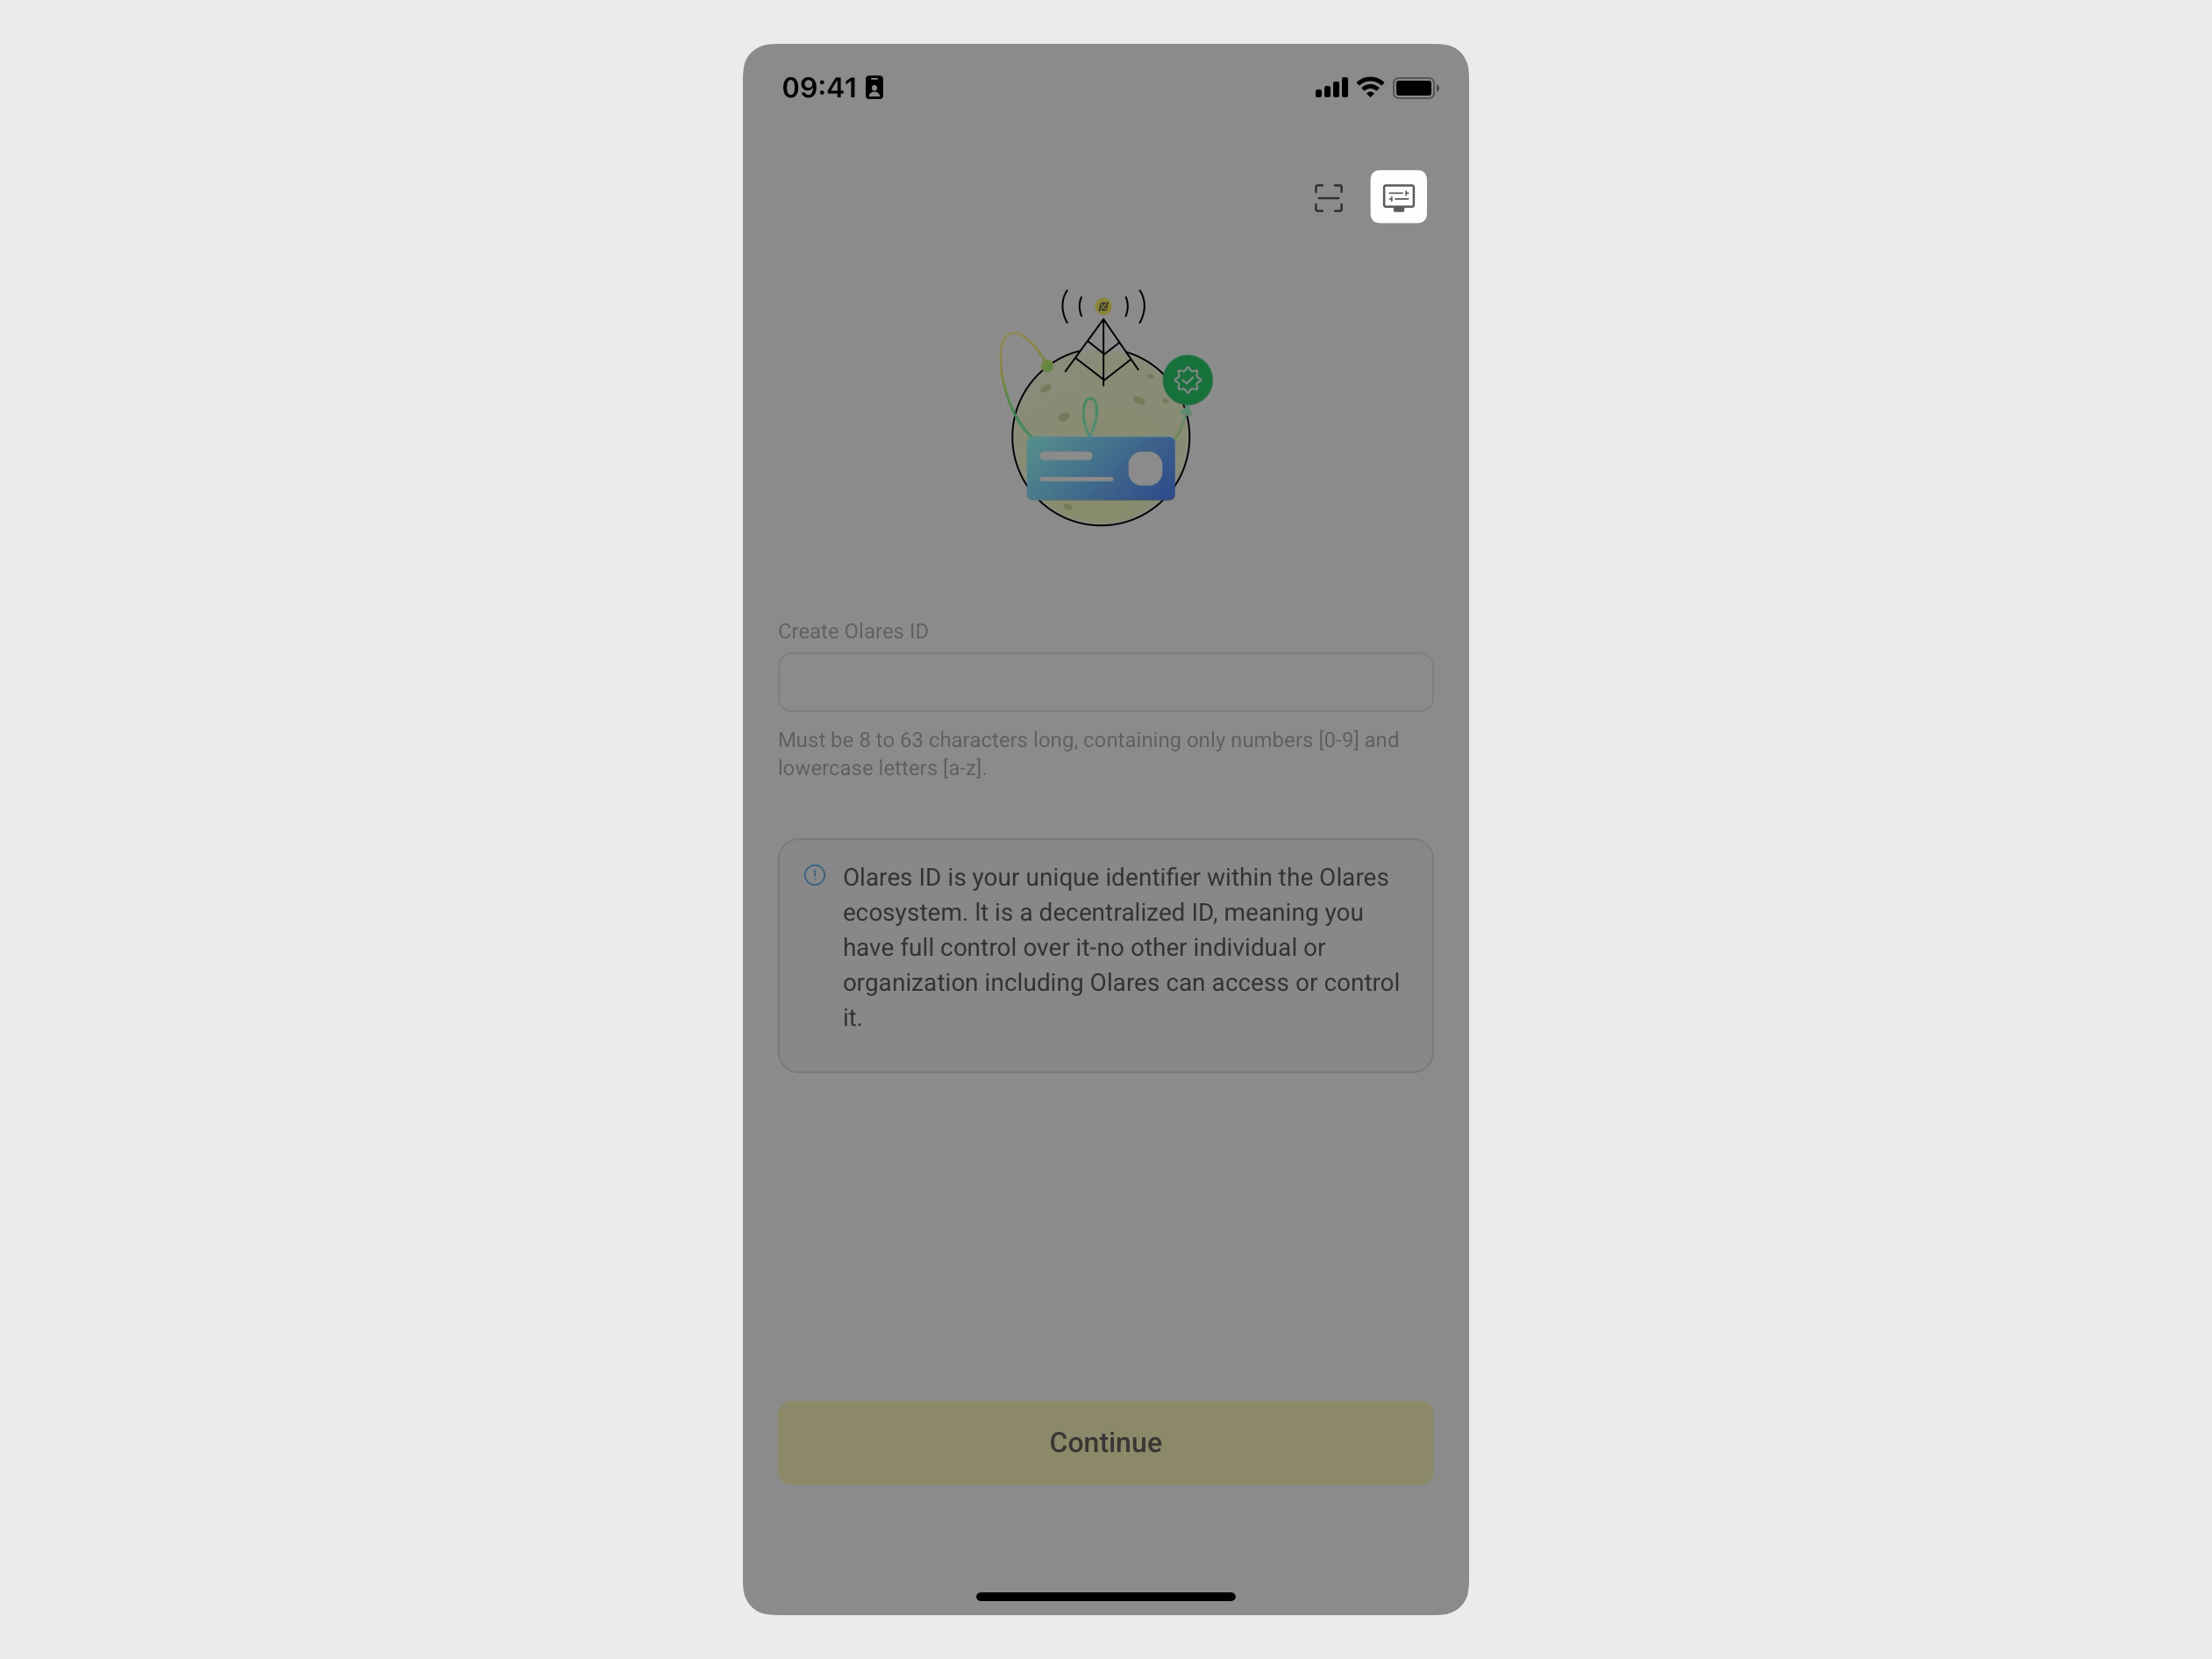
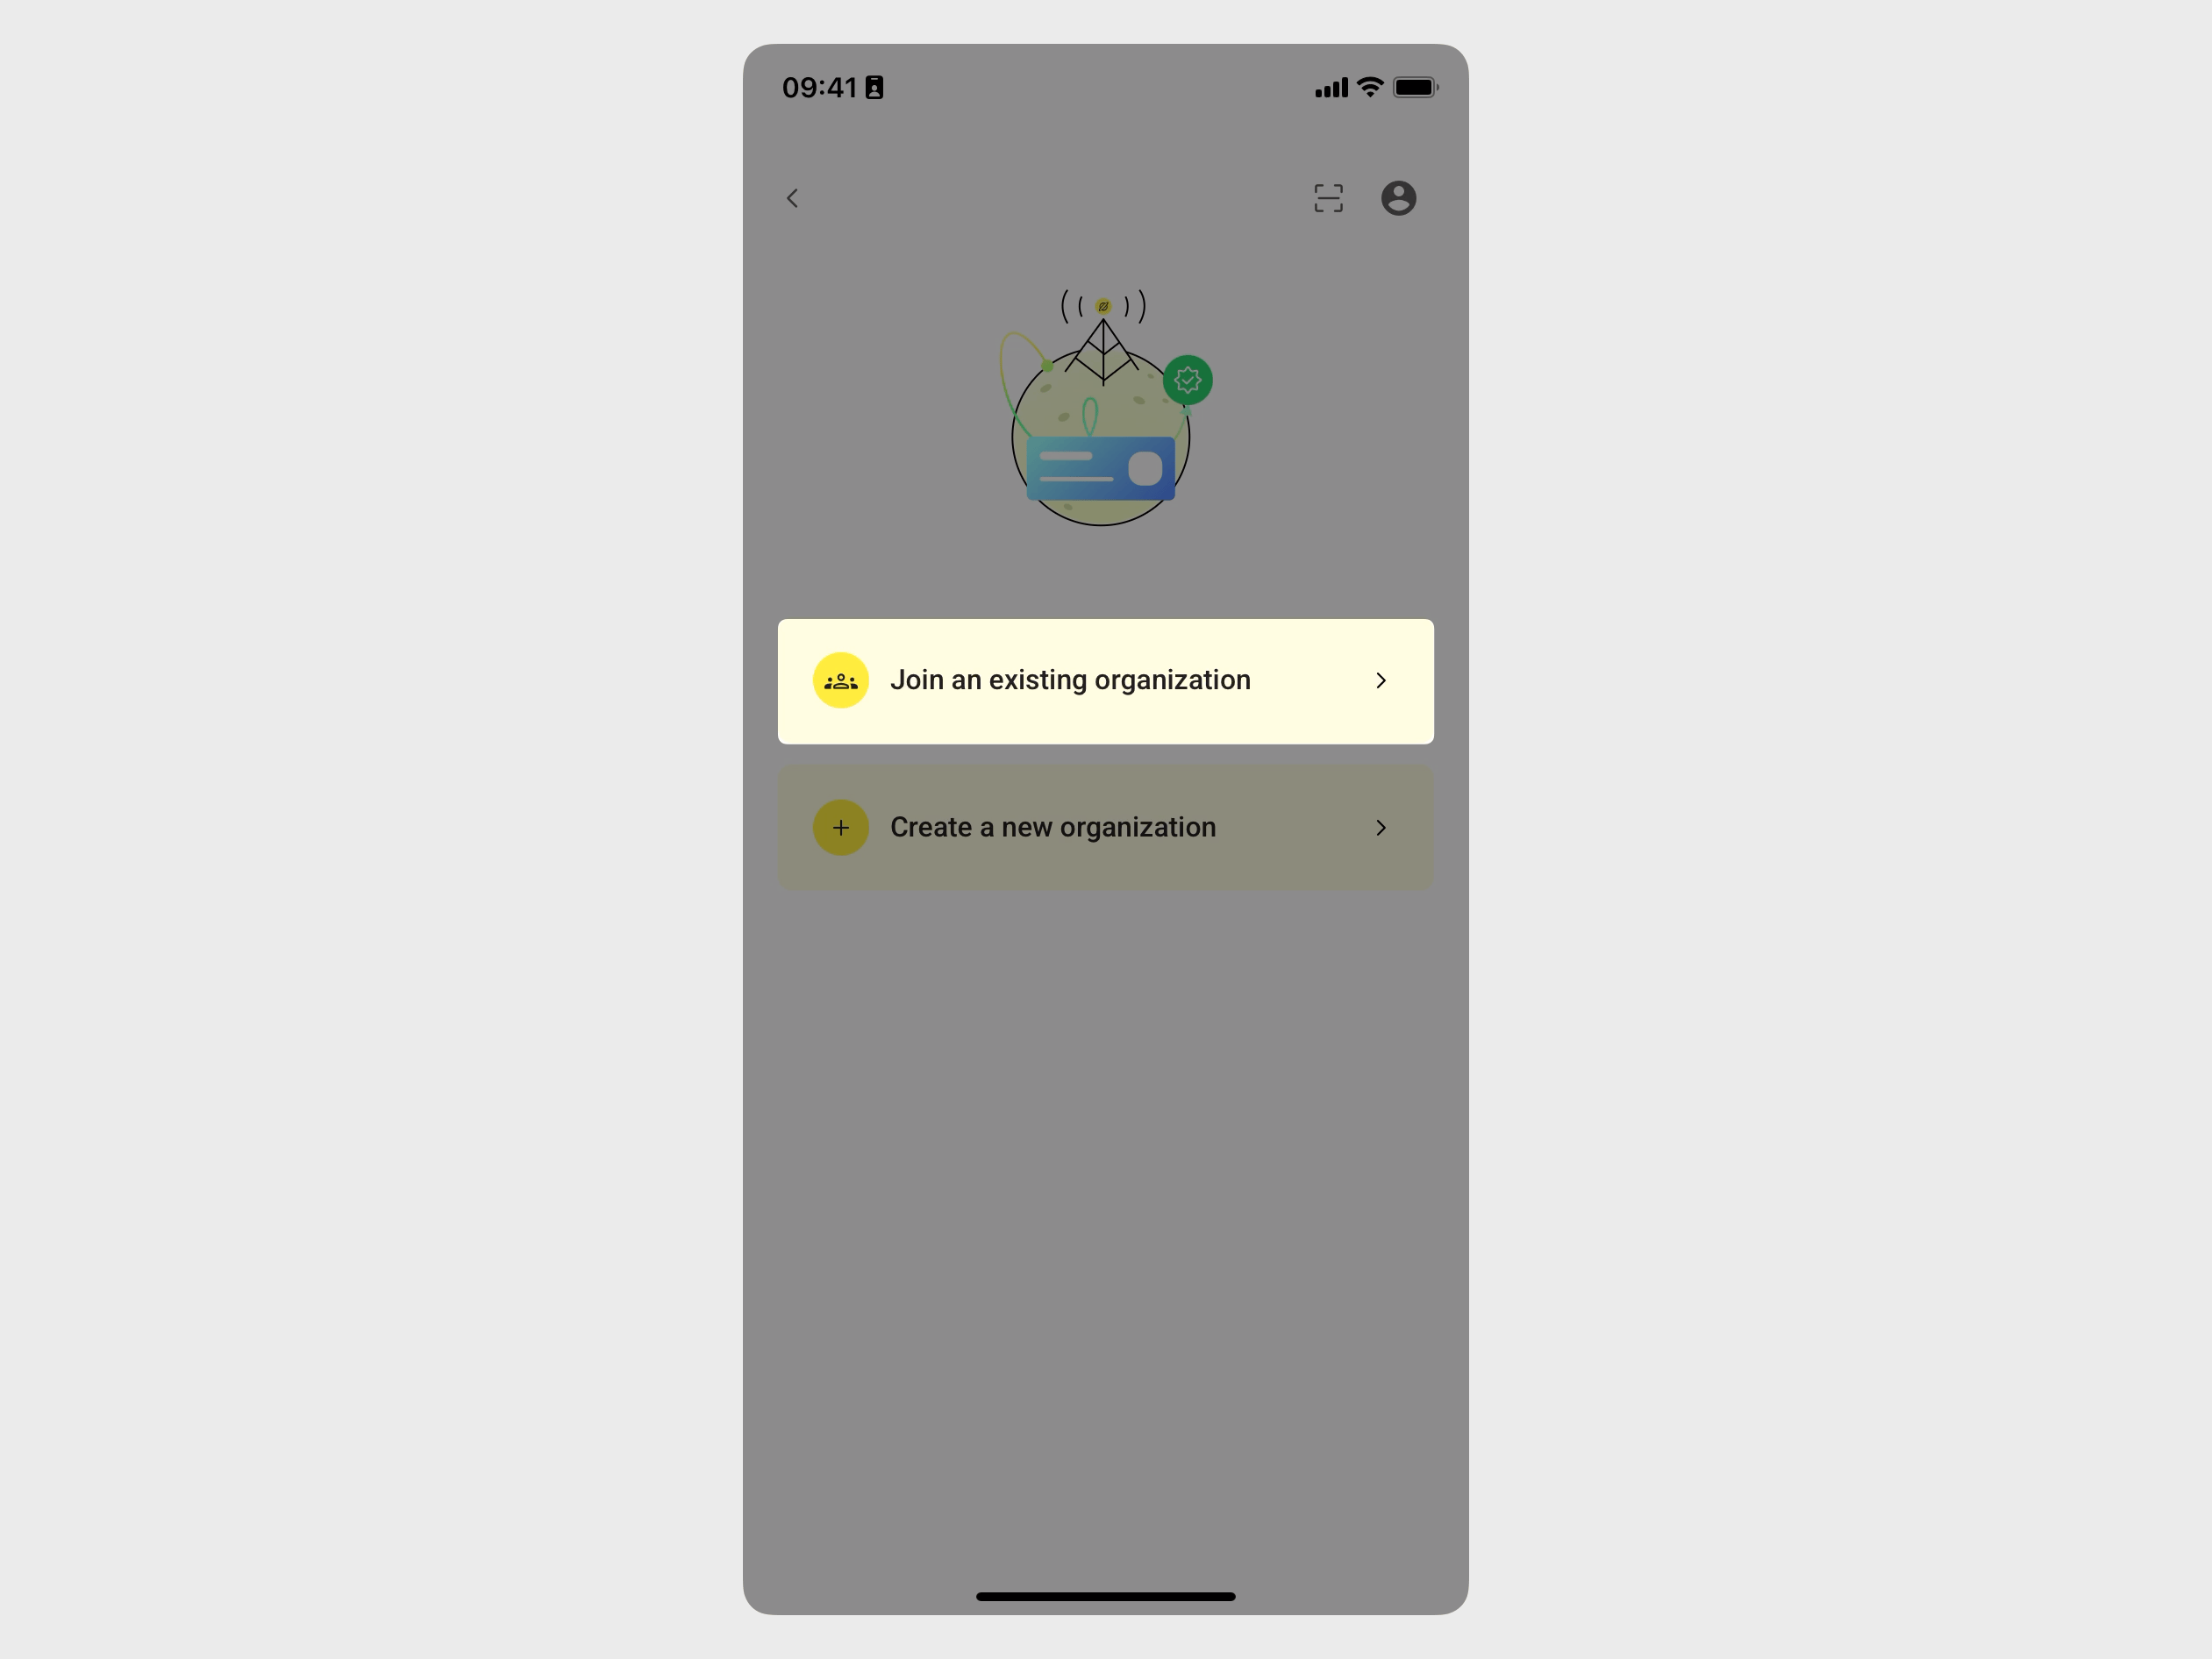
Open LarePass on your phone, and in the account creation page, tap display_settings in the top-right corner to go to the Advanced account creation page.
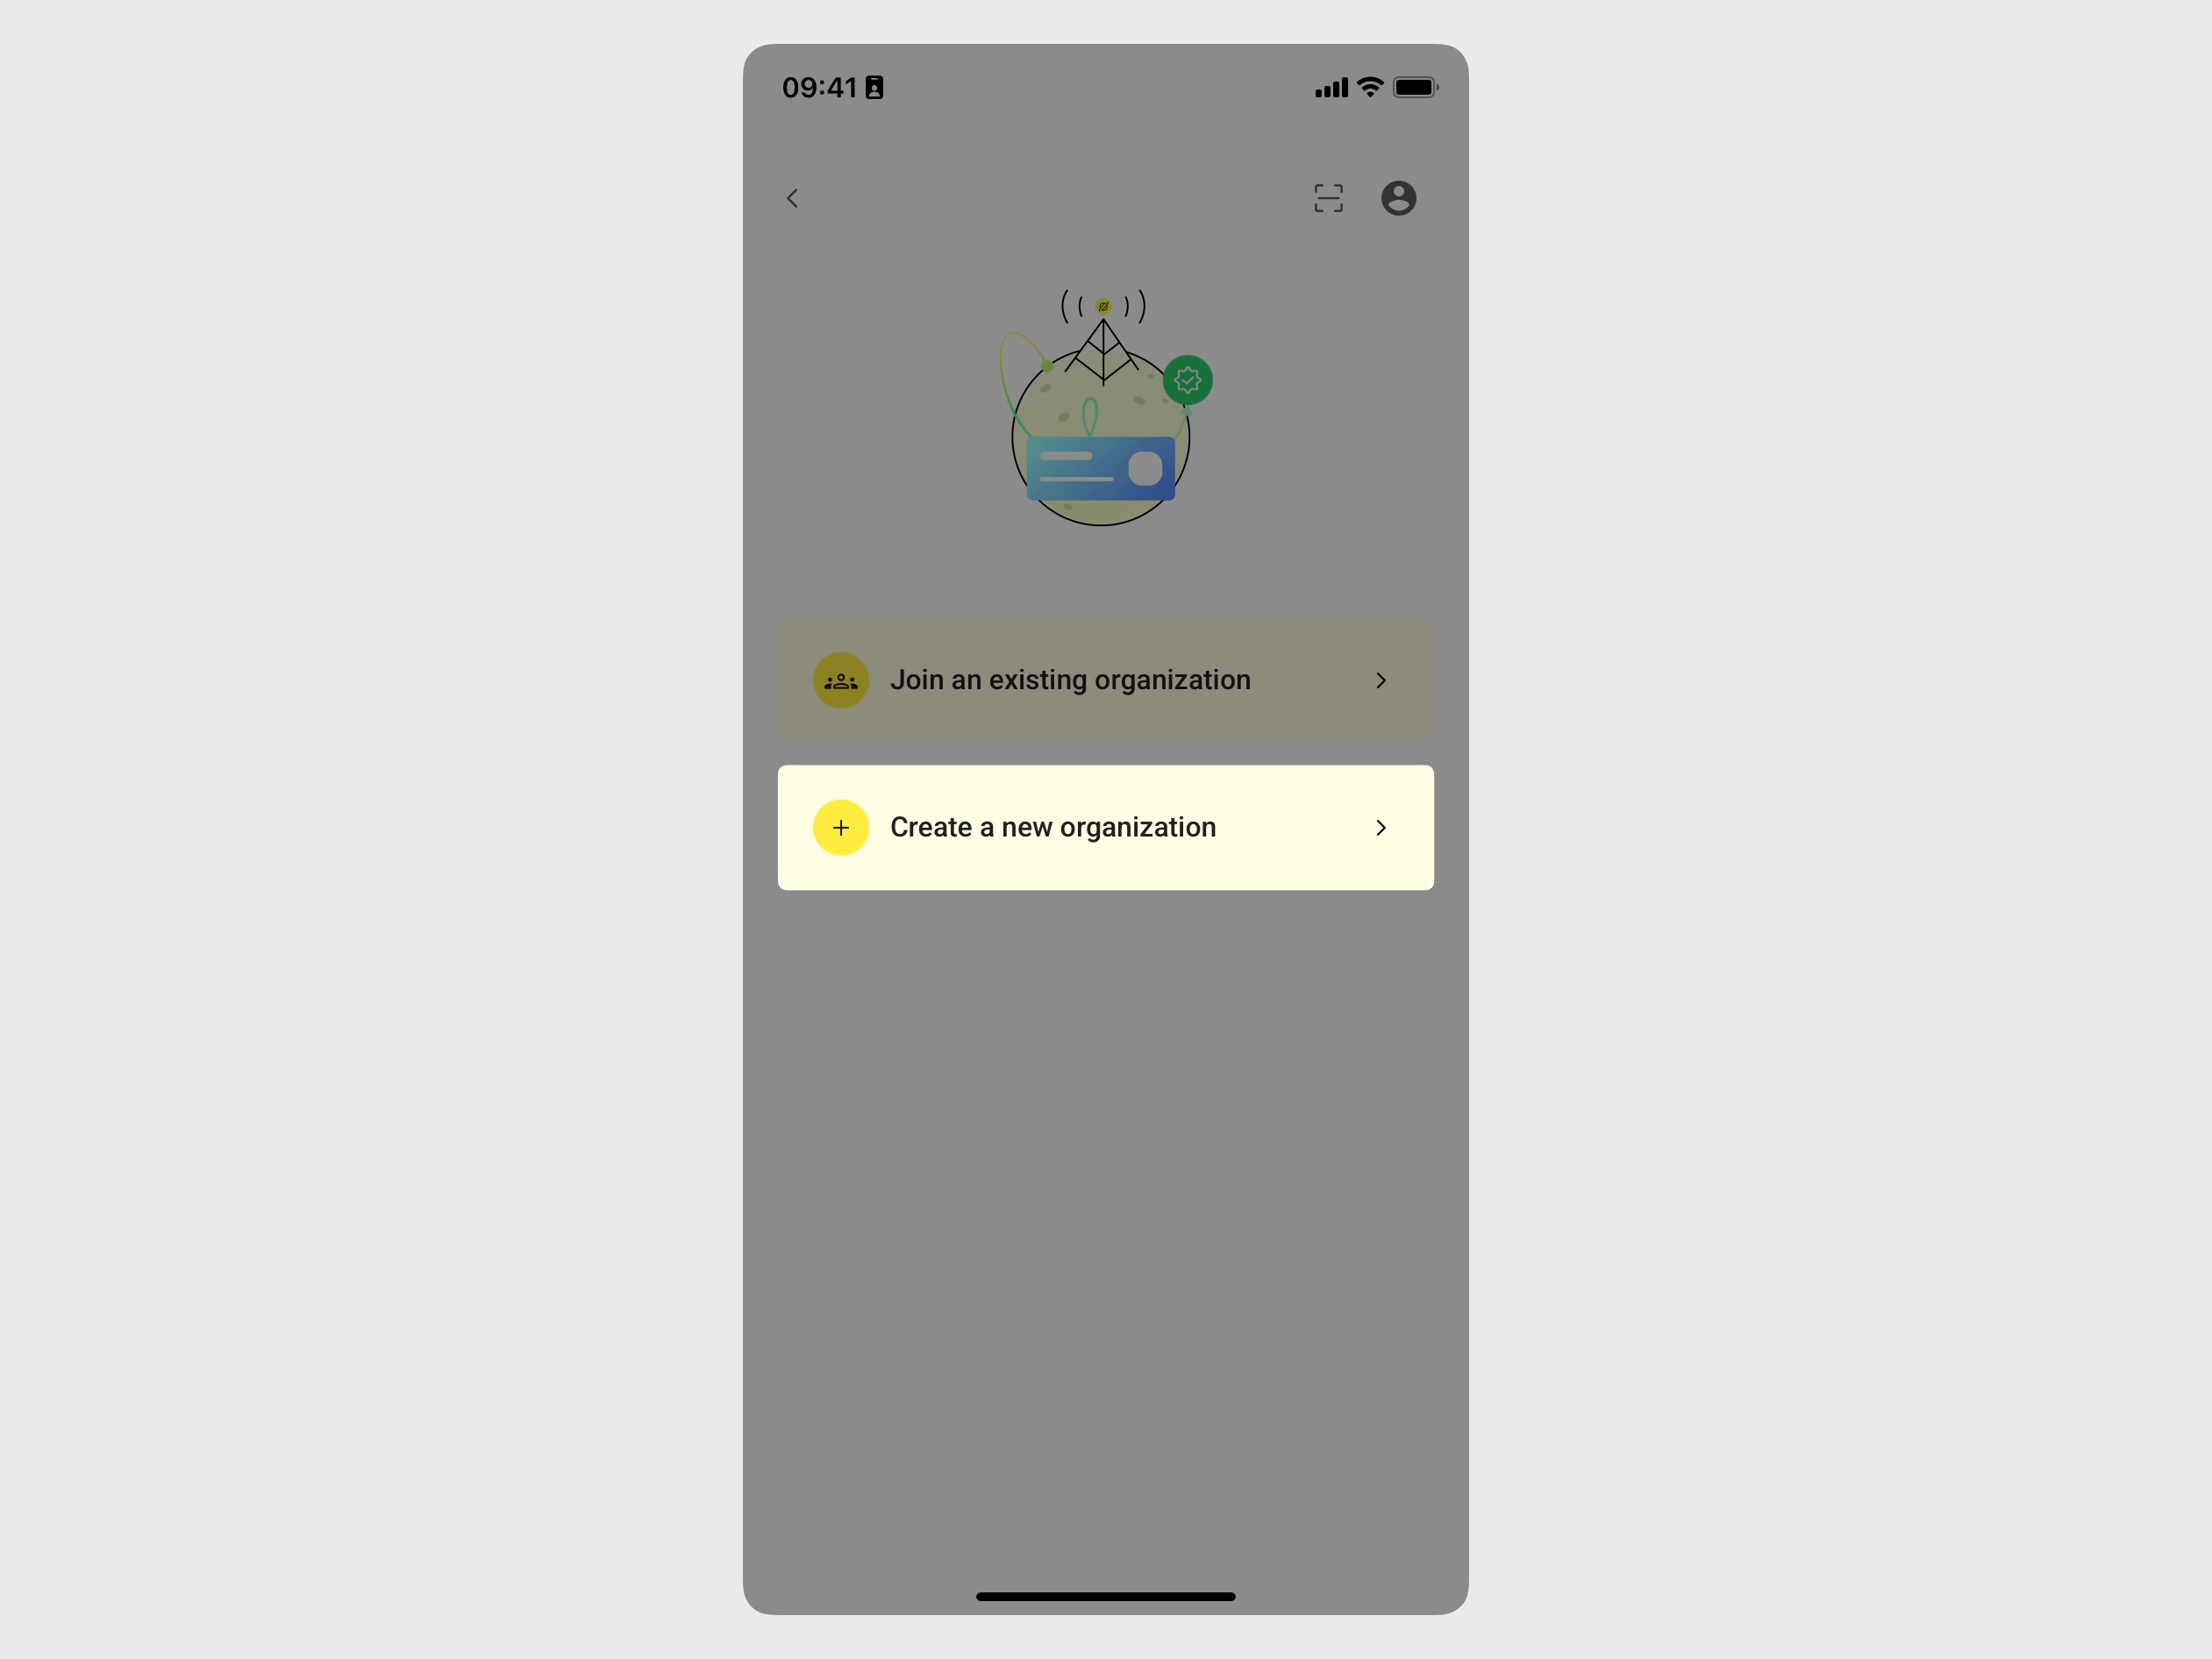
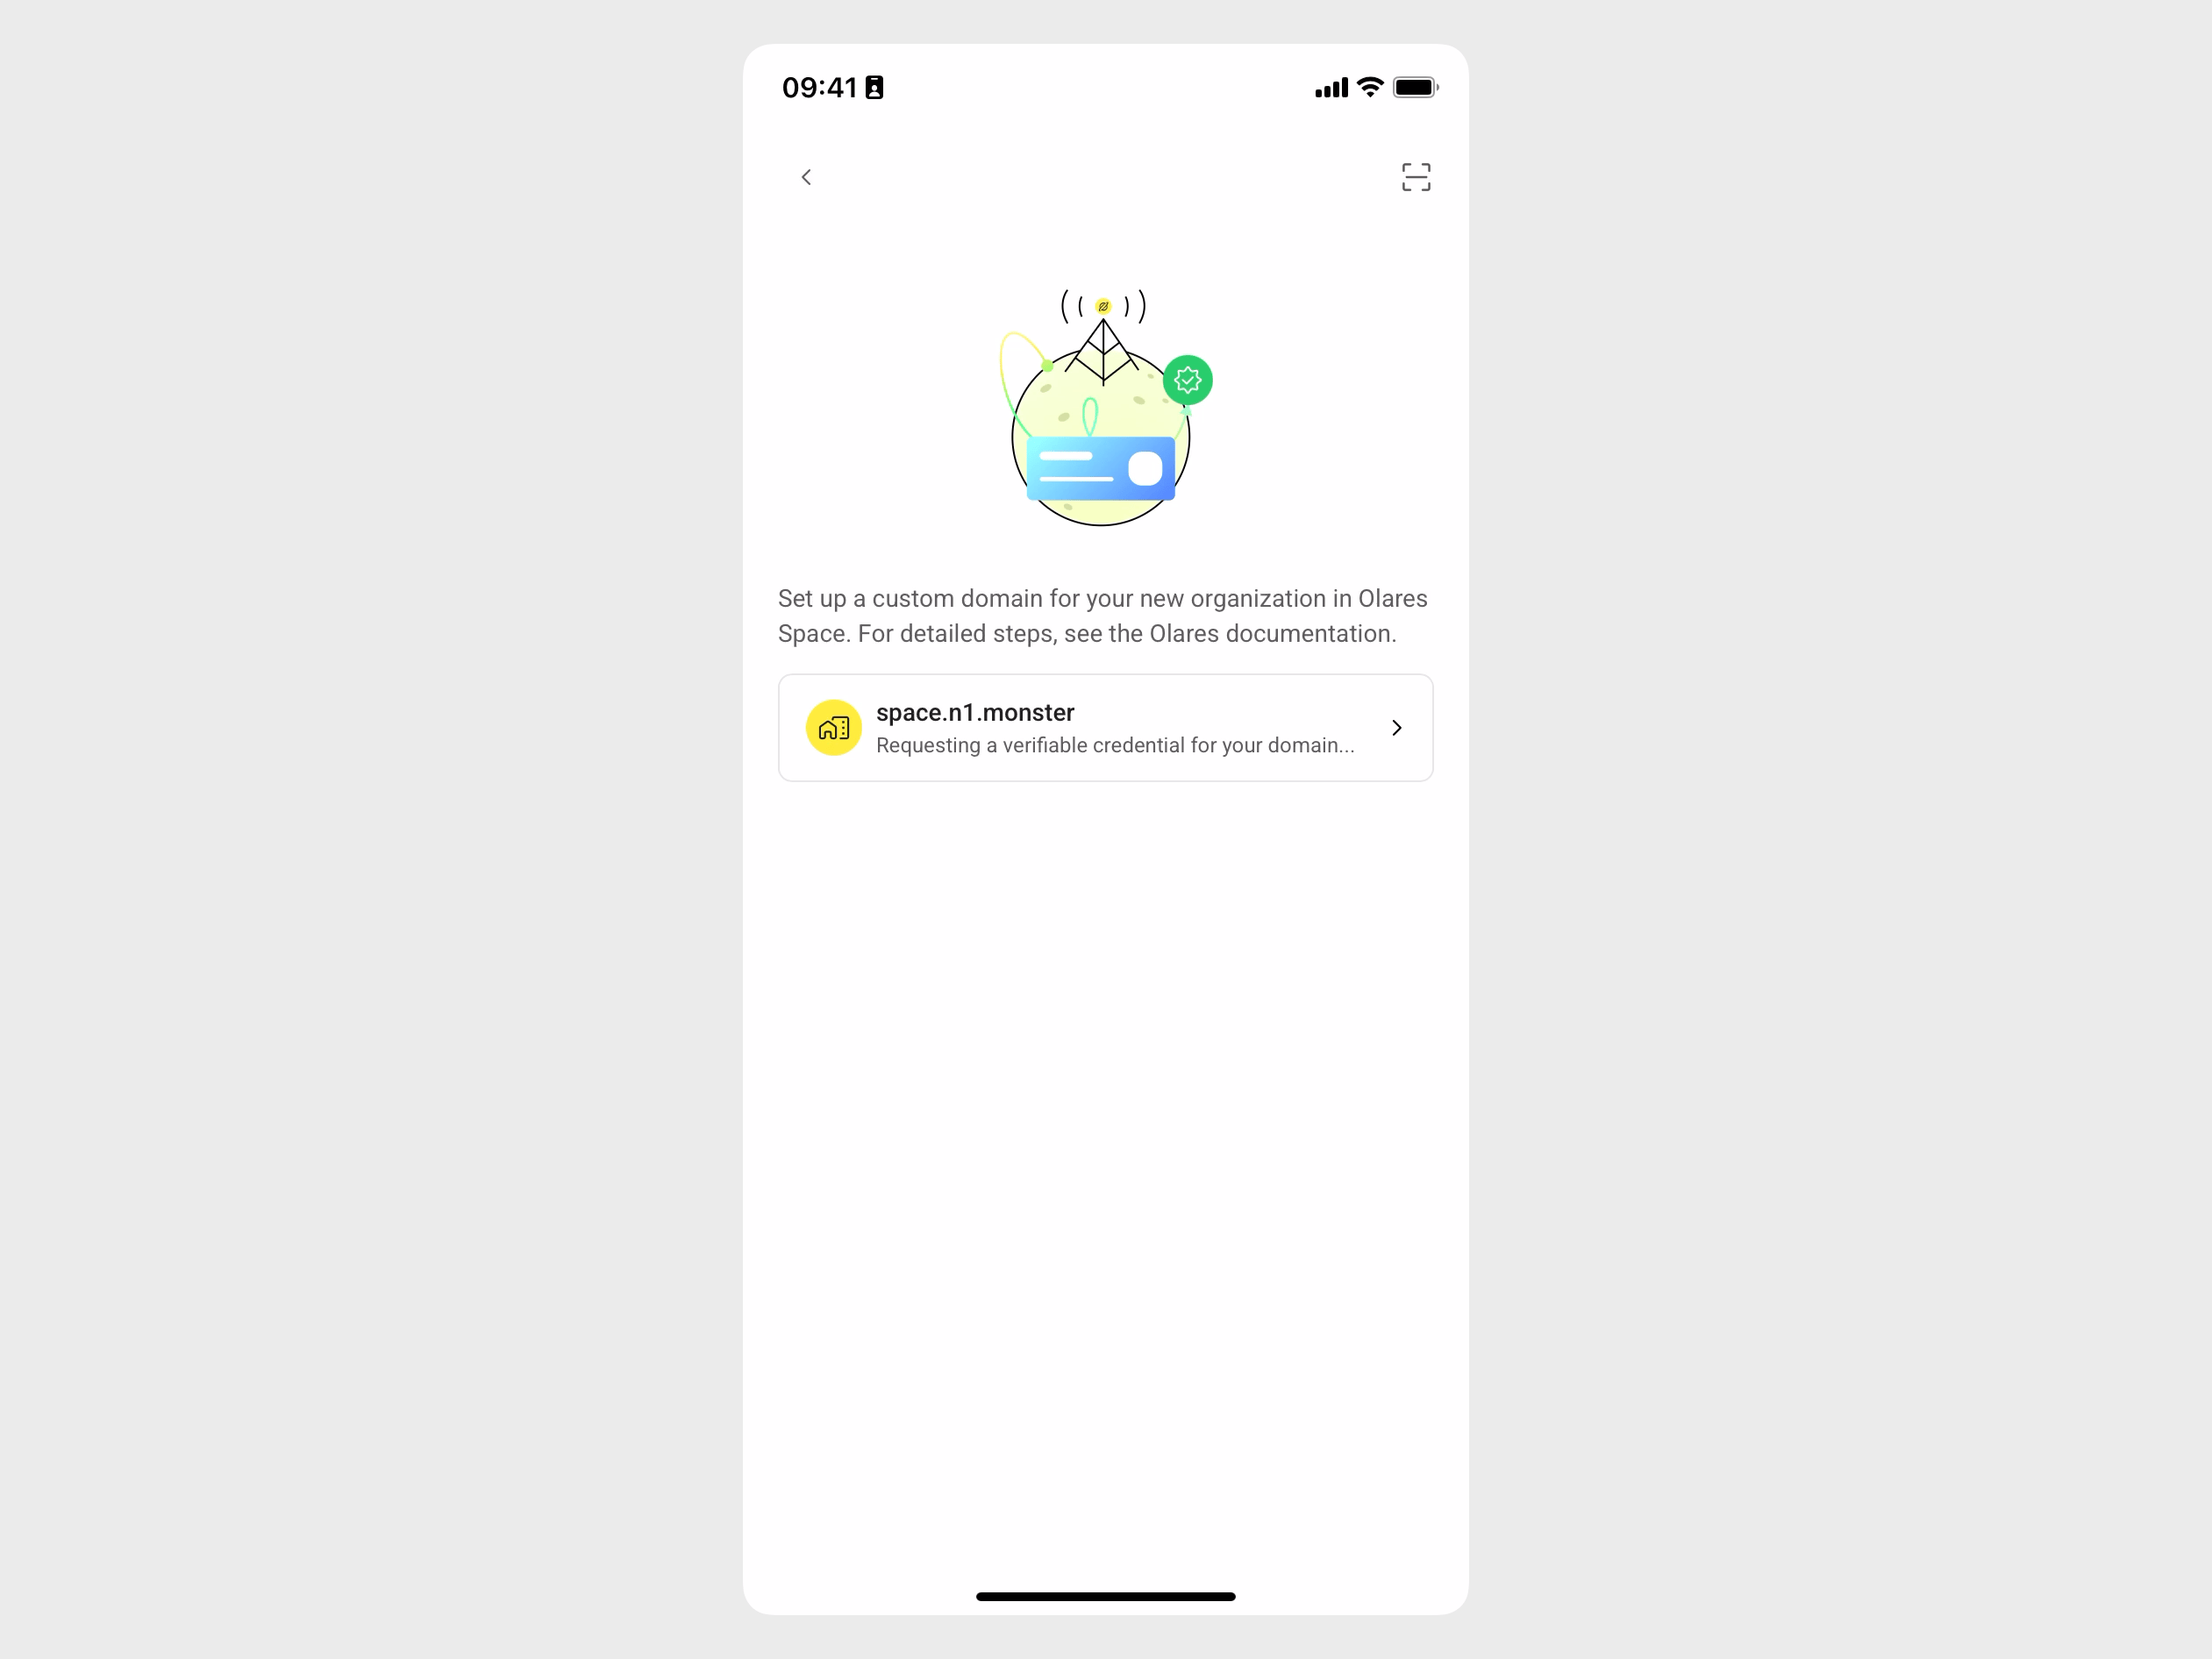
Go to Organization Olares ID > Create a new organization. Your verified domain will automatically show in the list.
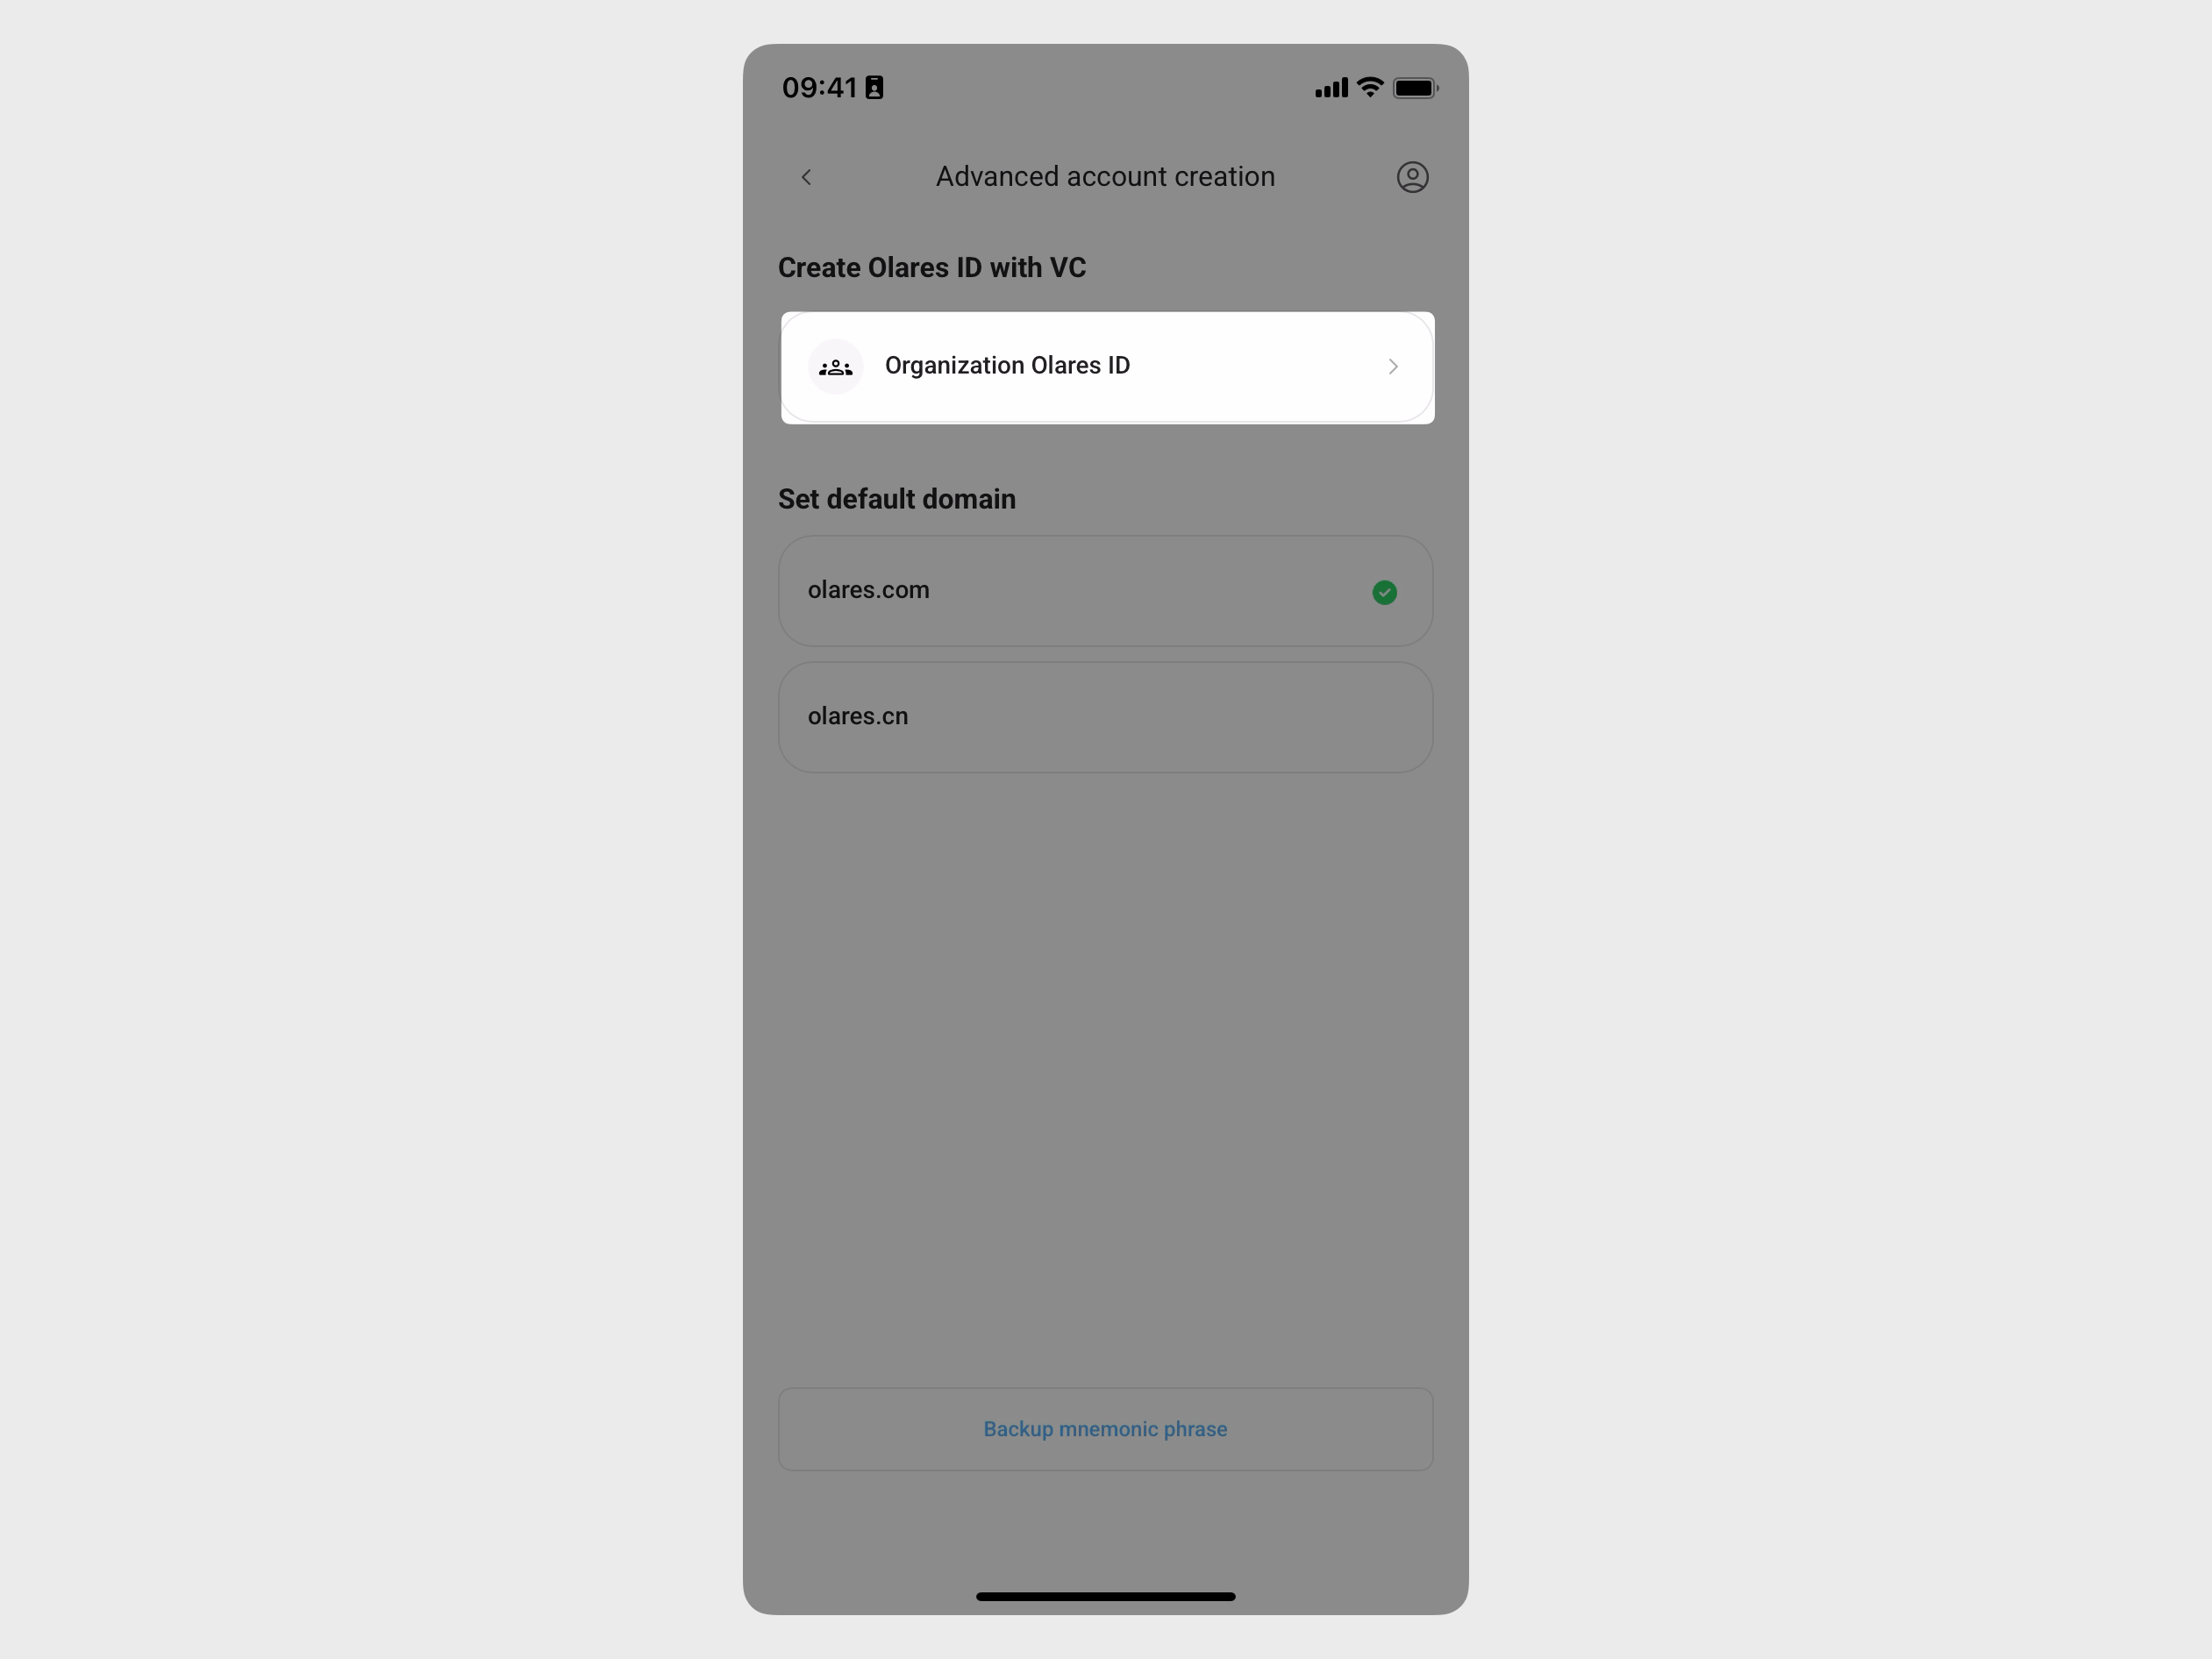
Tap the domain name.
WARNING
Once an organization is created for a domain, the domain cannot be removed from Olares Space.
Enter the username for your Olares ID. For example, if you enter
alex, your Olares ID will be[email protected].INFO
The username part of your Olares ID should be 1-63 characters long, with lowercase alphanumeric characters only.
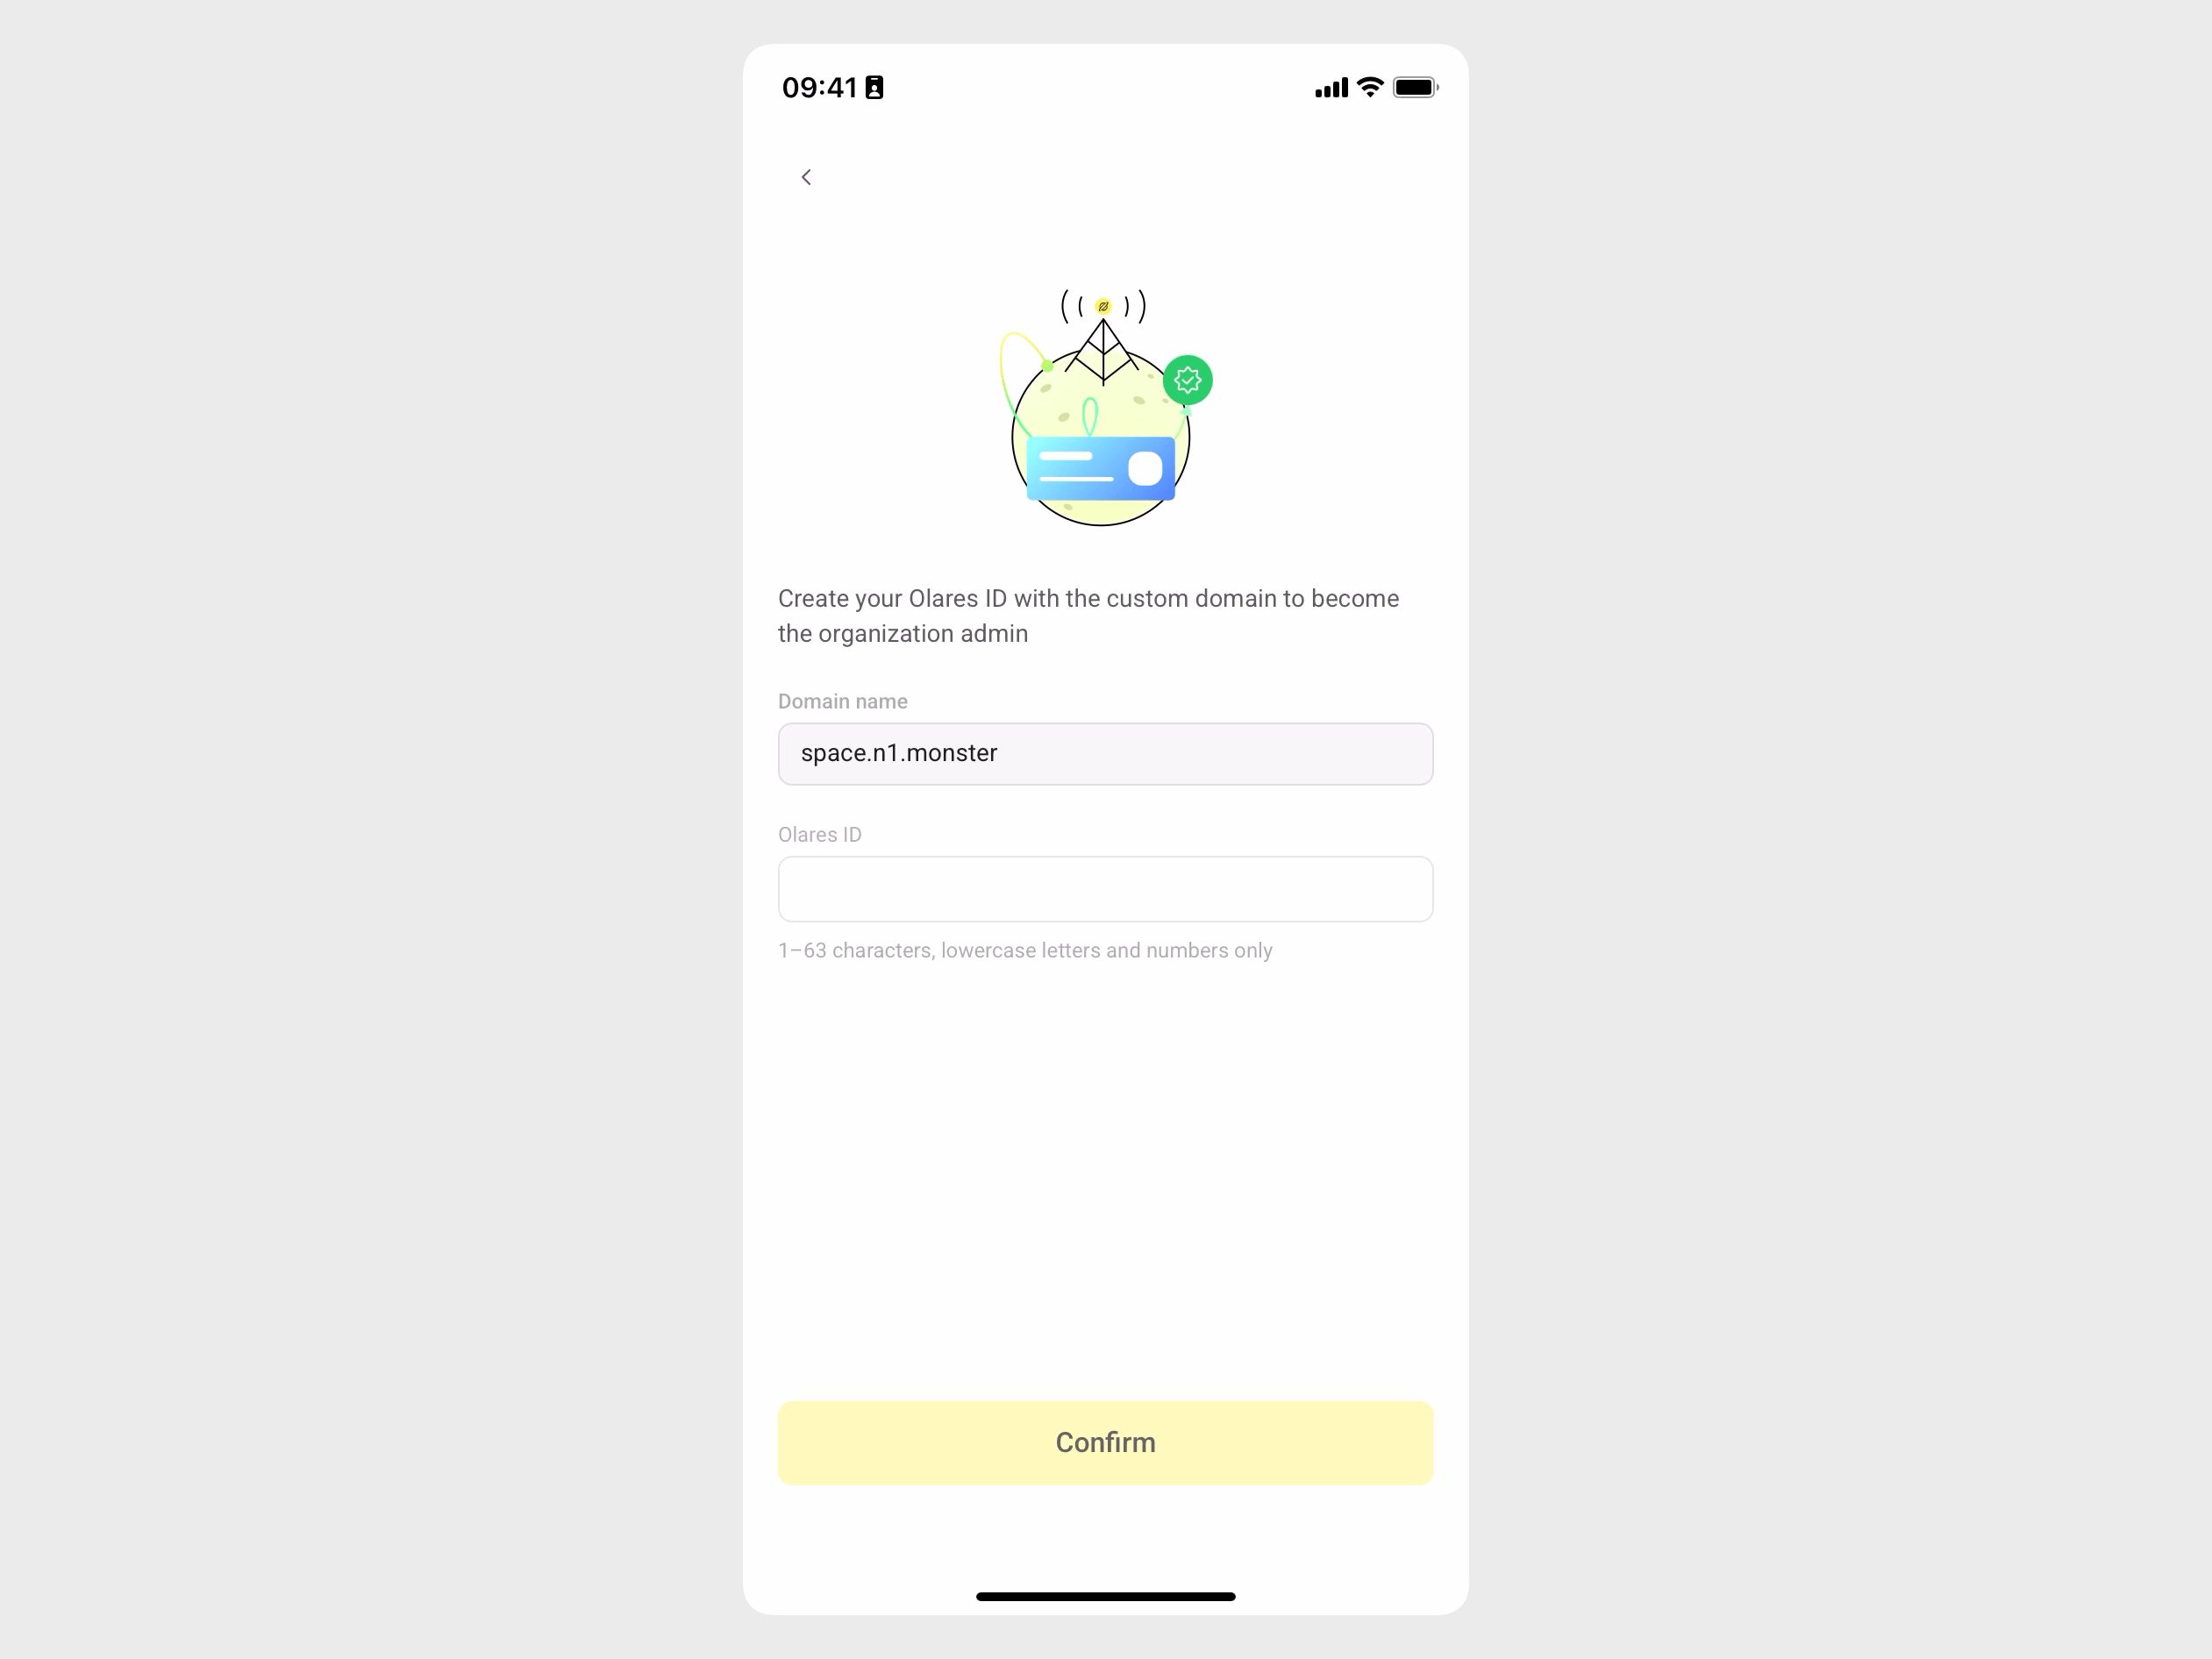
Tap Confirm.
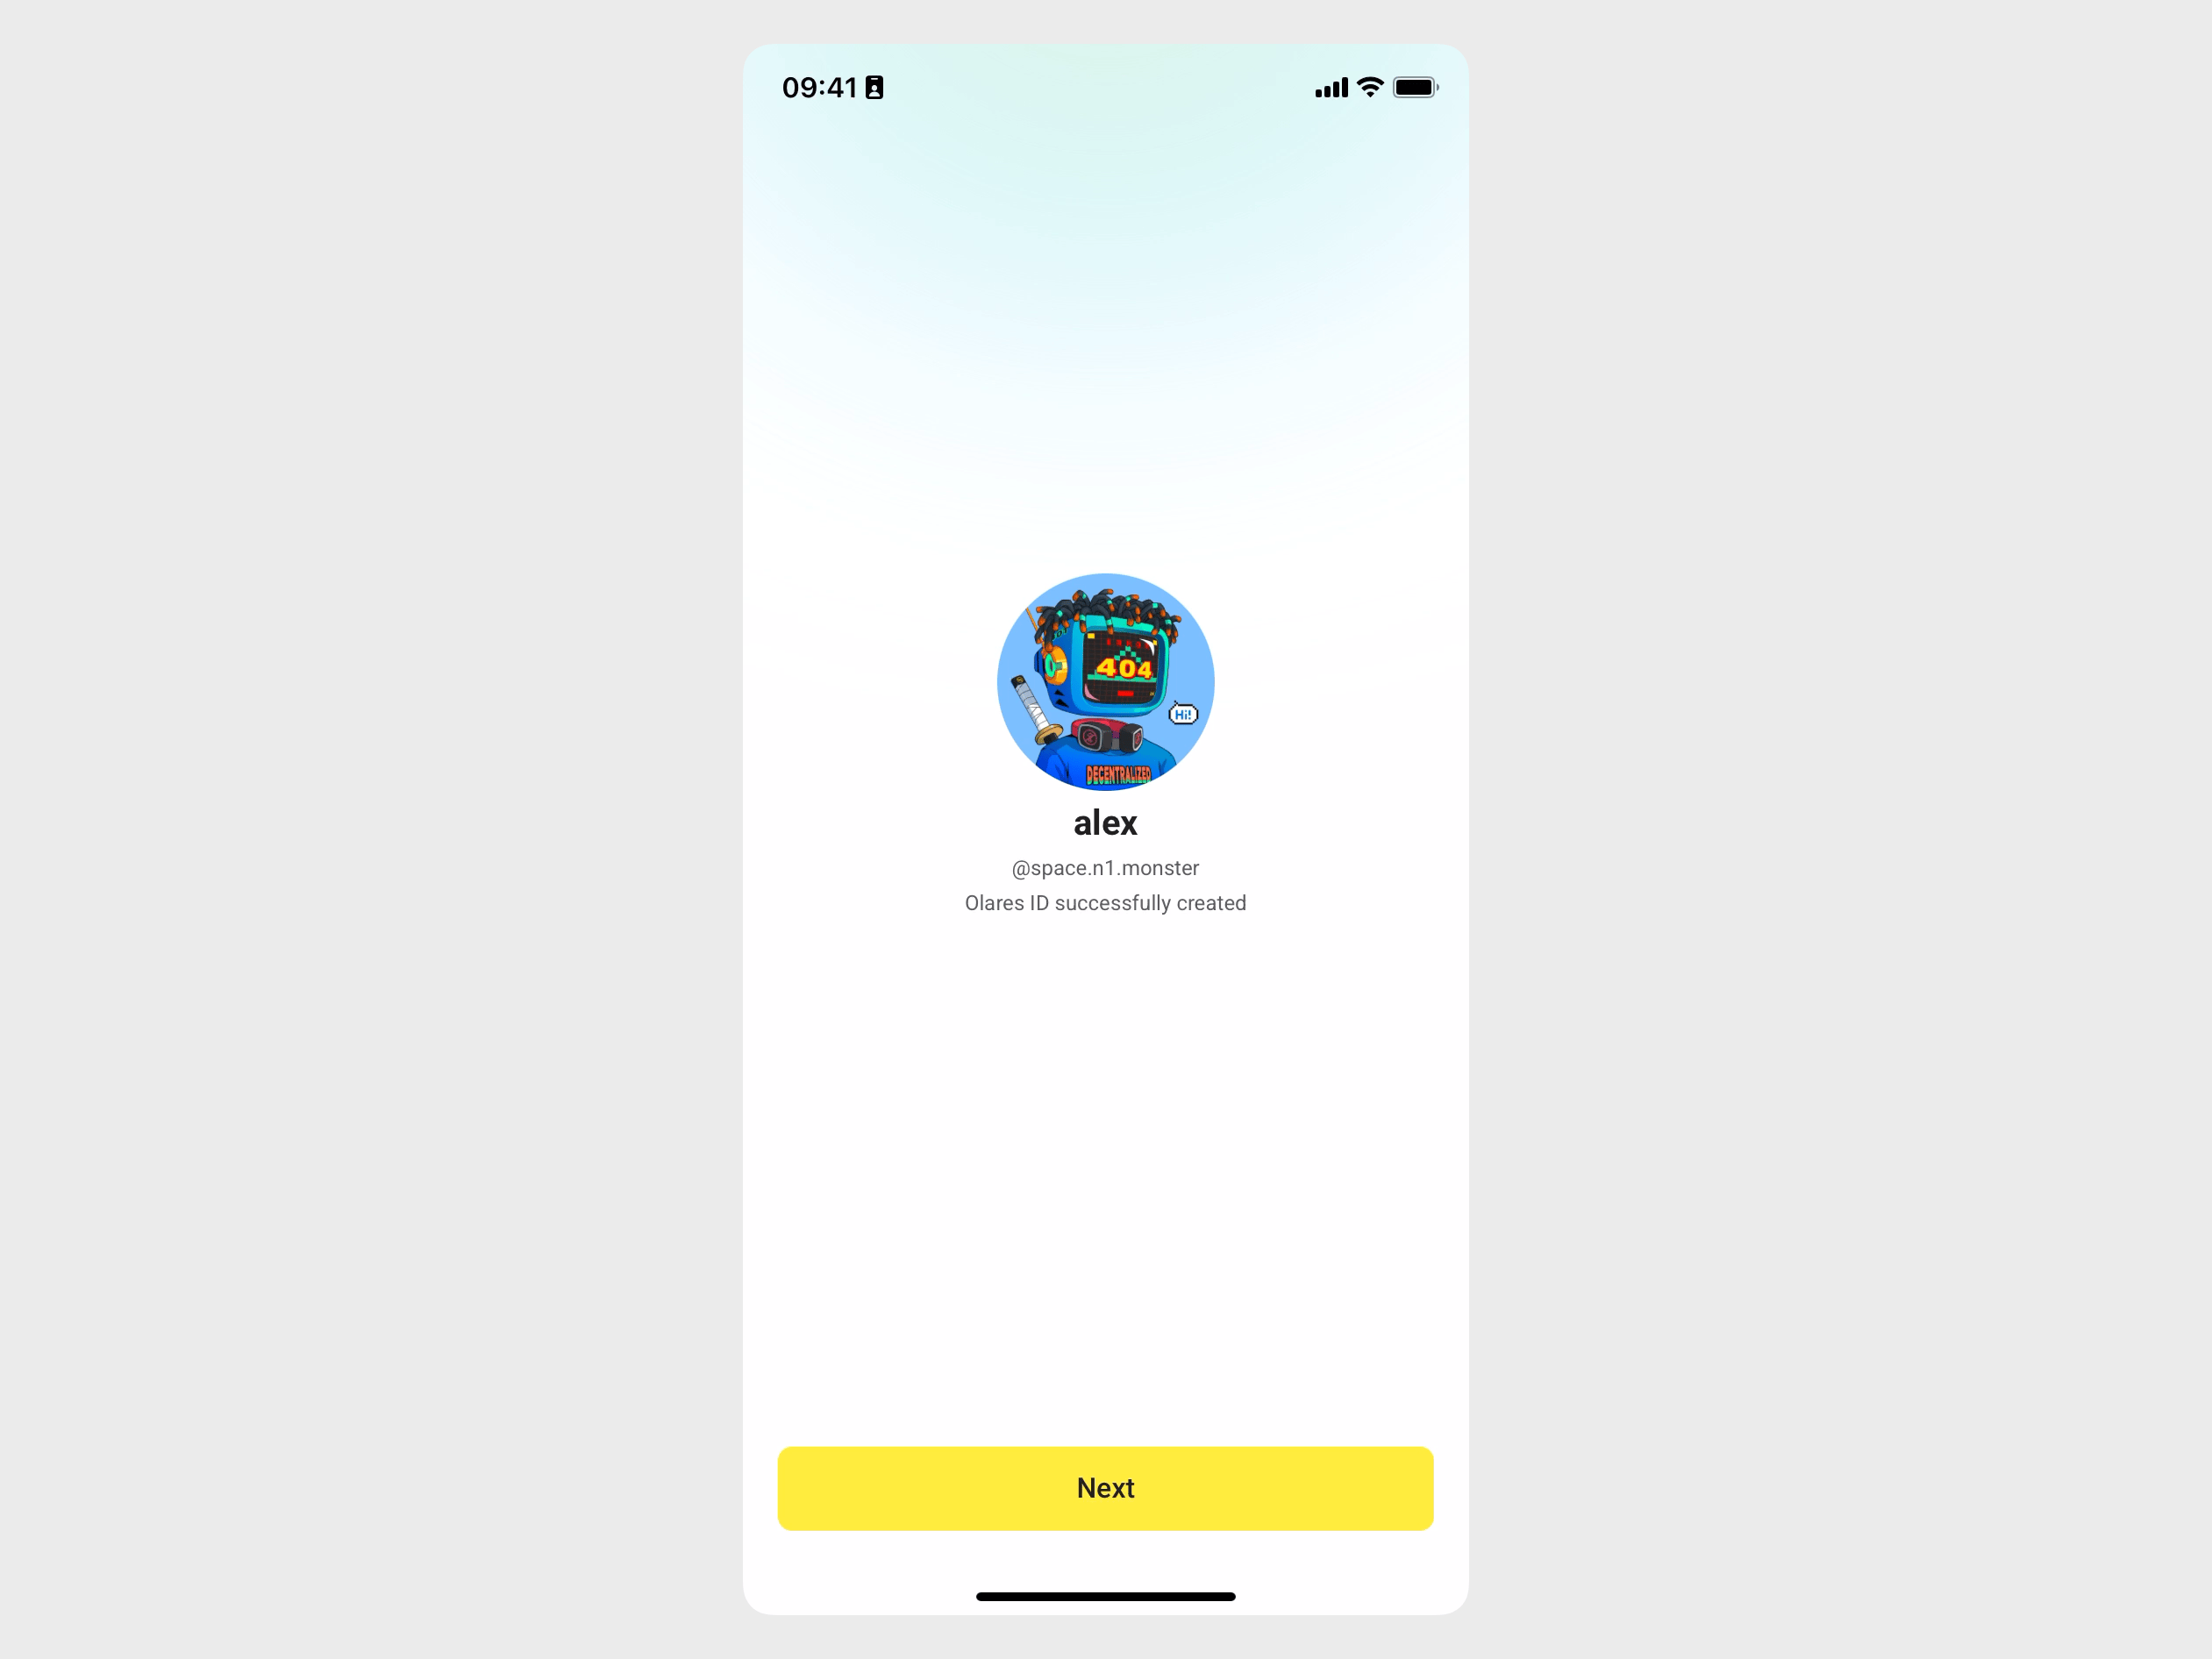
Your Olares ID is now created and has admin privileges to manage users under this domain.
Tap Next to navigate to the Olares activation page.
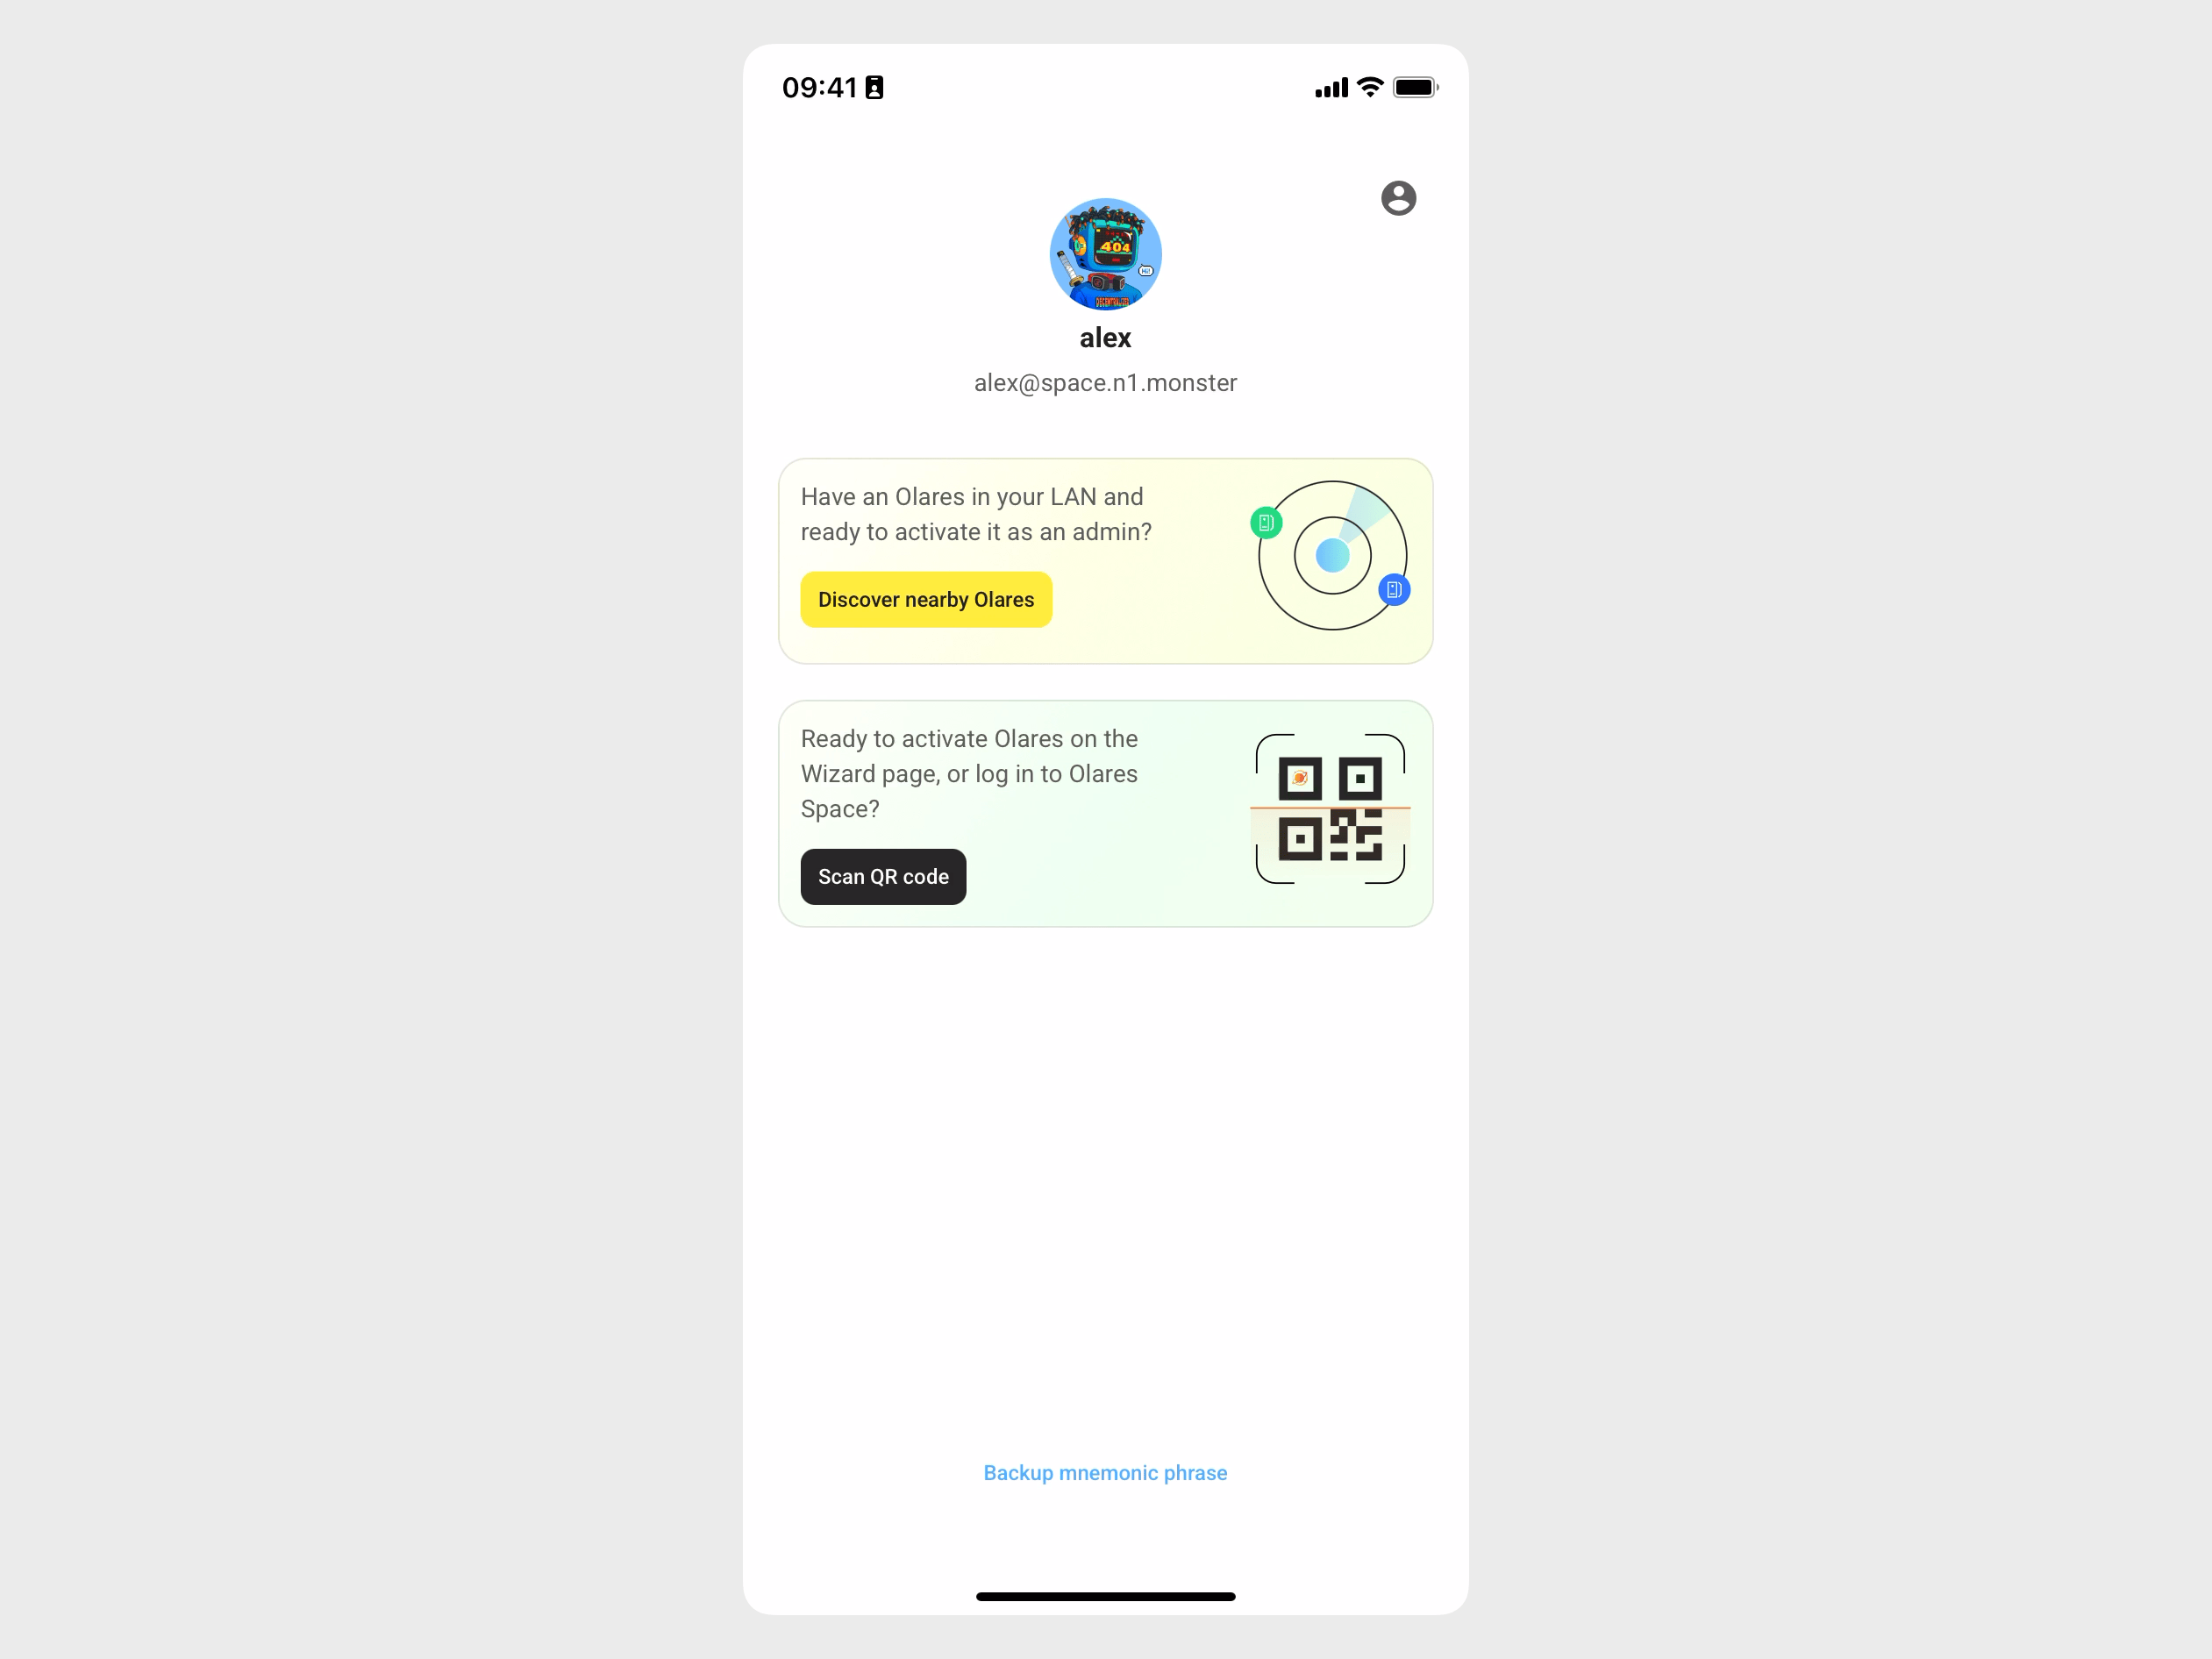
Step 4: Install and activate Olares
Now you can install and activate Olares with your Olares ID.
Use a new or factory-reset Olares device for this step. An Olares device that has already been activated with another Olares ID cannot be switched to the custom-domain Olares ID in place.
The installation steps are similar to the standard process. The following example uses Linux. For other systems, refer to the installation guide.
Same network required
To avoid activation failures, ensure that both your phone and the Olares device are connected to the same network.
Open a terminal on the machine where you want to install Olares, and run the following command:
bashexport PREINSTALL=1 && curl -sSfL https://olares.sh | bash -This runs a partial installation (prepare phase only) without proceeding to full setup.
Open LarePass on your phone, and on your Olares activation page, tap Discover nearby Olares. LarePass will list the detected Olares instances in the same network.
Select the target Olares instance from the list and tap Install now.

When the installation completes, tap Activate now.
In the Select a reverse proxy dialog, select a node that is closer to your geographical location. The installer will then configure the HTTPS certificate and DNS for Olares.
Note
- You can change this setting later on the Change reverse proxy page in Olares.
- If your Olares device is connected to a public IP network, this step will be skipped automatically.
Follow the on-screen instructions to set the login password for Olares, then tap Complete.

Once activation is complete, LarePass will display the desktop address of your Olares device with the custom domain, such as https://desktop.alex.space.n1.monster.
Step 5: Add members
As the admin, add members to your organization in Olares Space.
In Olares Space, refresh the Domain management page, the domain status now updated to Allocated.
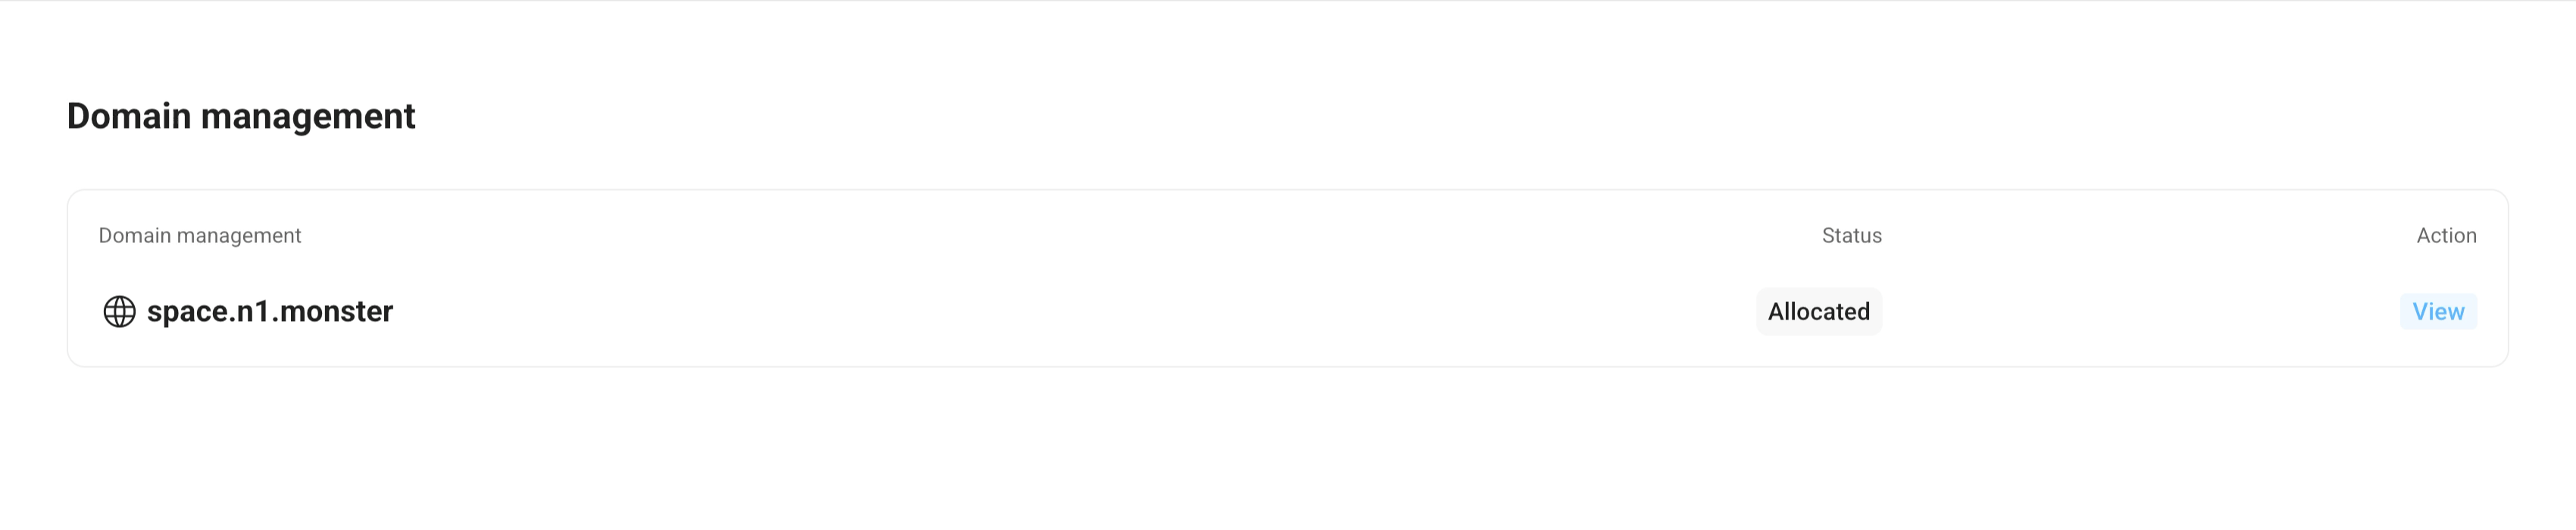
Click View in the Action column.
Click Add New User and enter the username (the part before your custom domain) for the member. For example,
alice.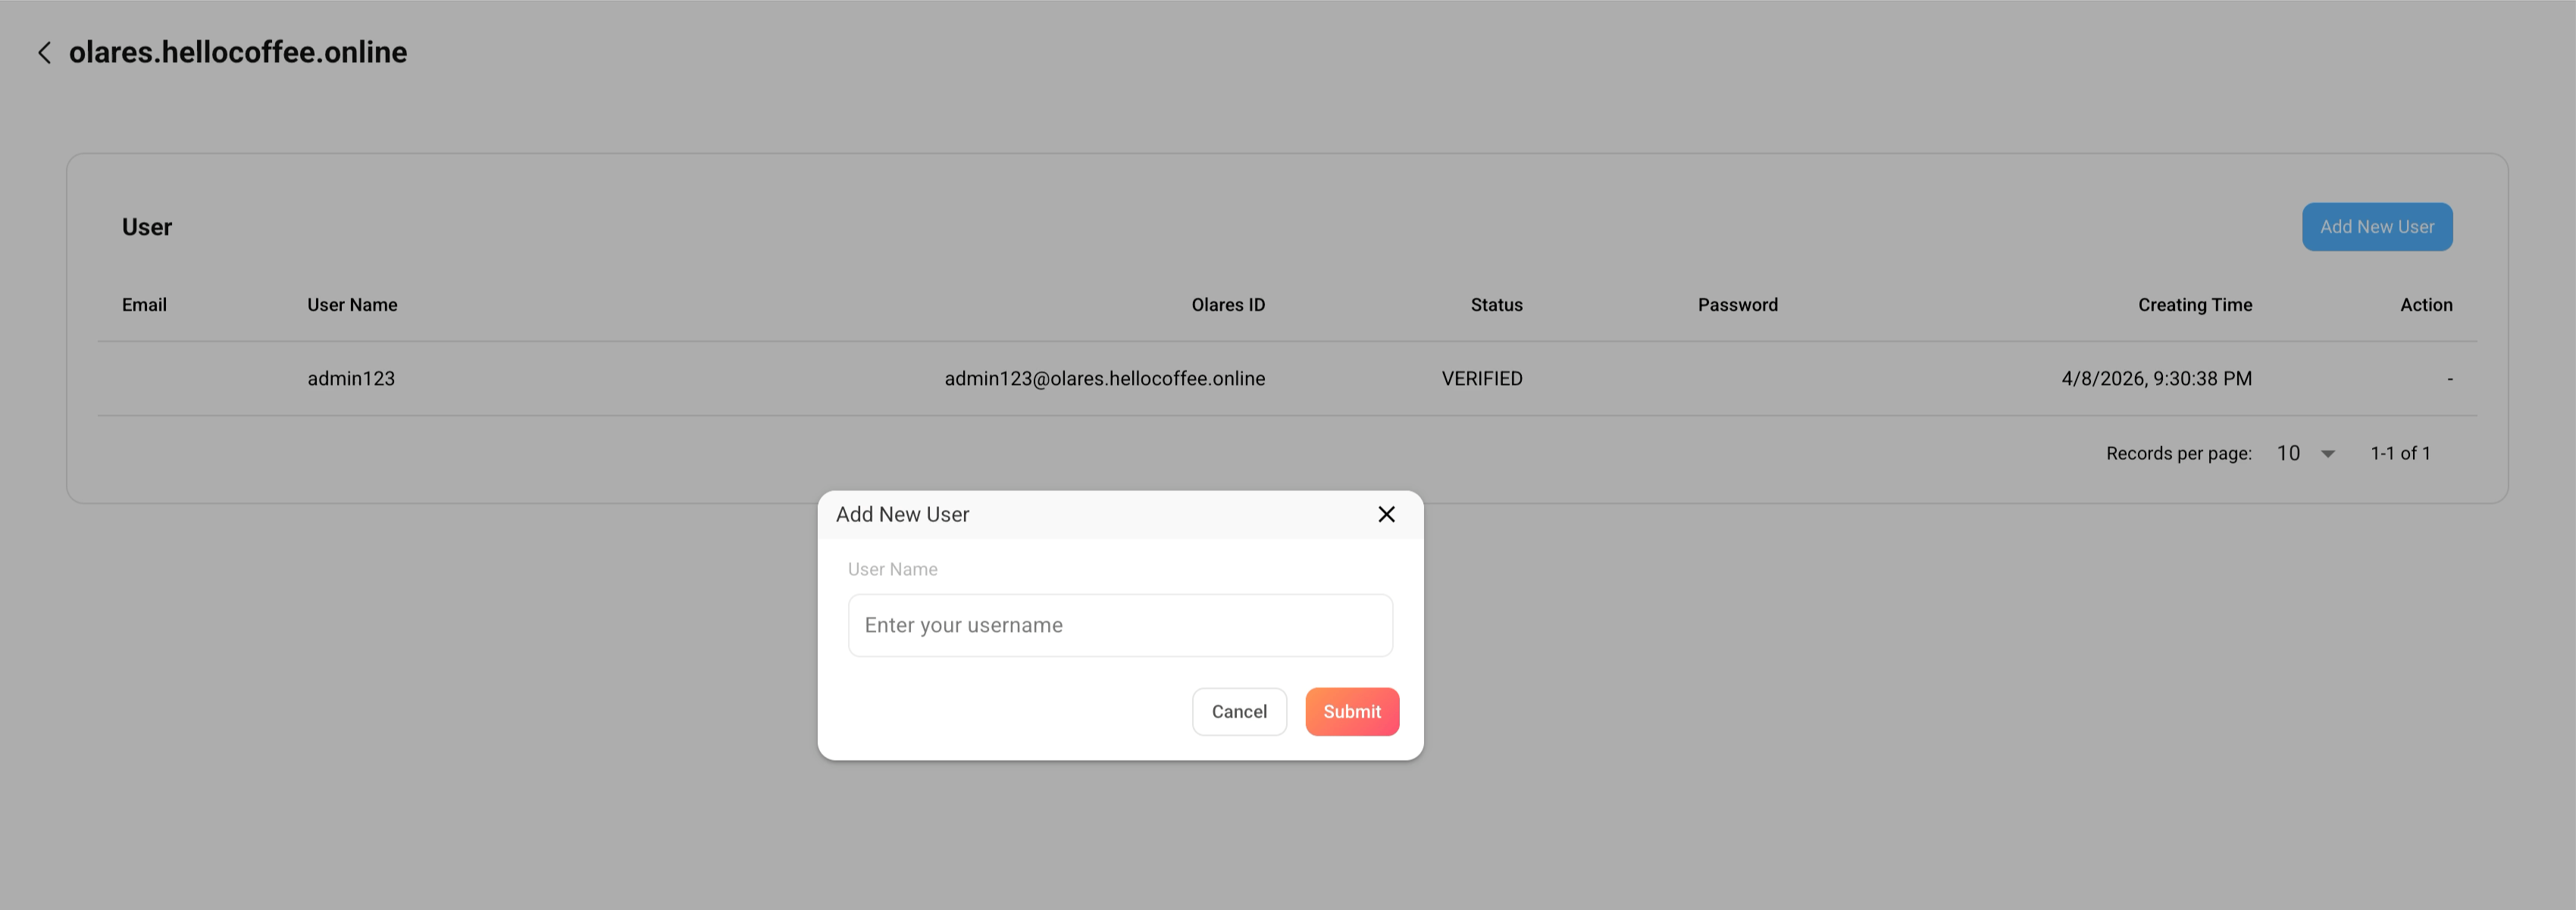
Click Submit.

(Optional) Repeat steps 2 and 3 to add more users.
Provide the username and password to the member.
The member will use these credentials to create their Olares ID in LarePass.
(Optional) If the member will use your existing Olares instance instead of installing on a separate device, you also need to create the user on your Olares and allocate resources. See Manage your team for details.
Join an organization as a member
In the LarePass app, tap Create an account to start the account creation flow.
On the account creation page, tap display_settings in the top-right corner to go to the Advanced account creation page.
Go to Organization Olares ID > Join an existing organization.
Enter the username with the domain part (e.g.,
[email protected]) and the password provided by the admin.One-time password
This password verifies your identity when you create your Olares ID, and is for one-time use only.
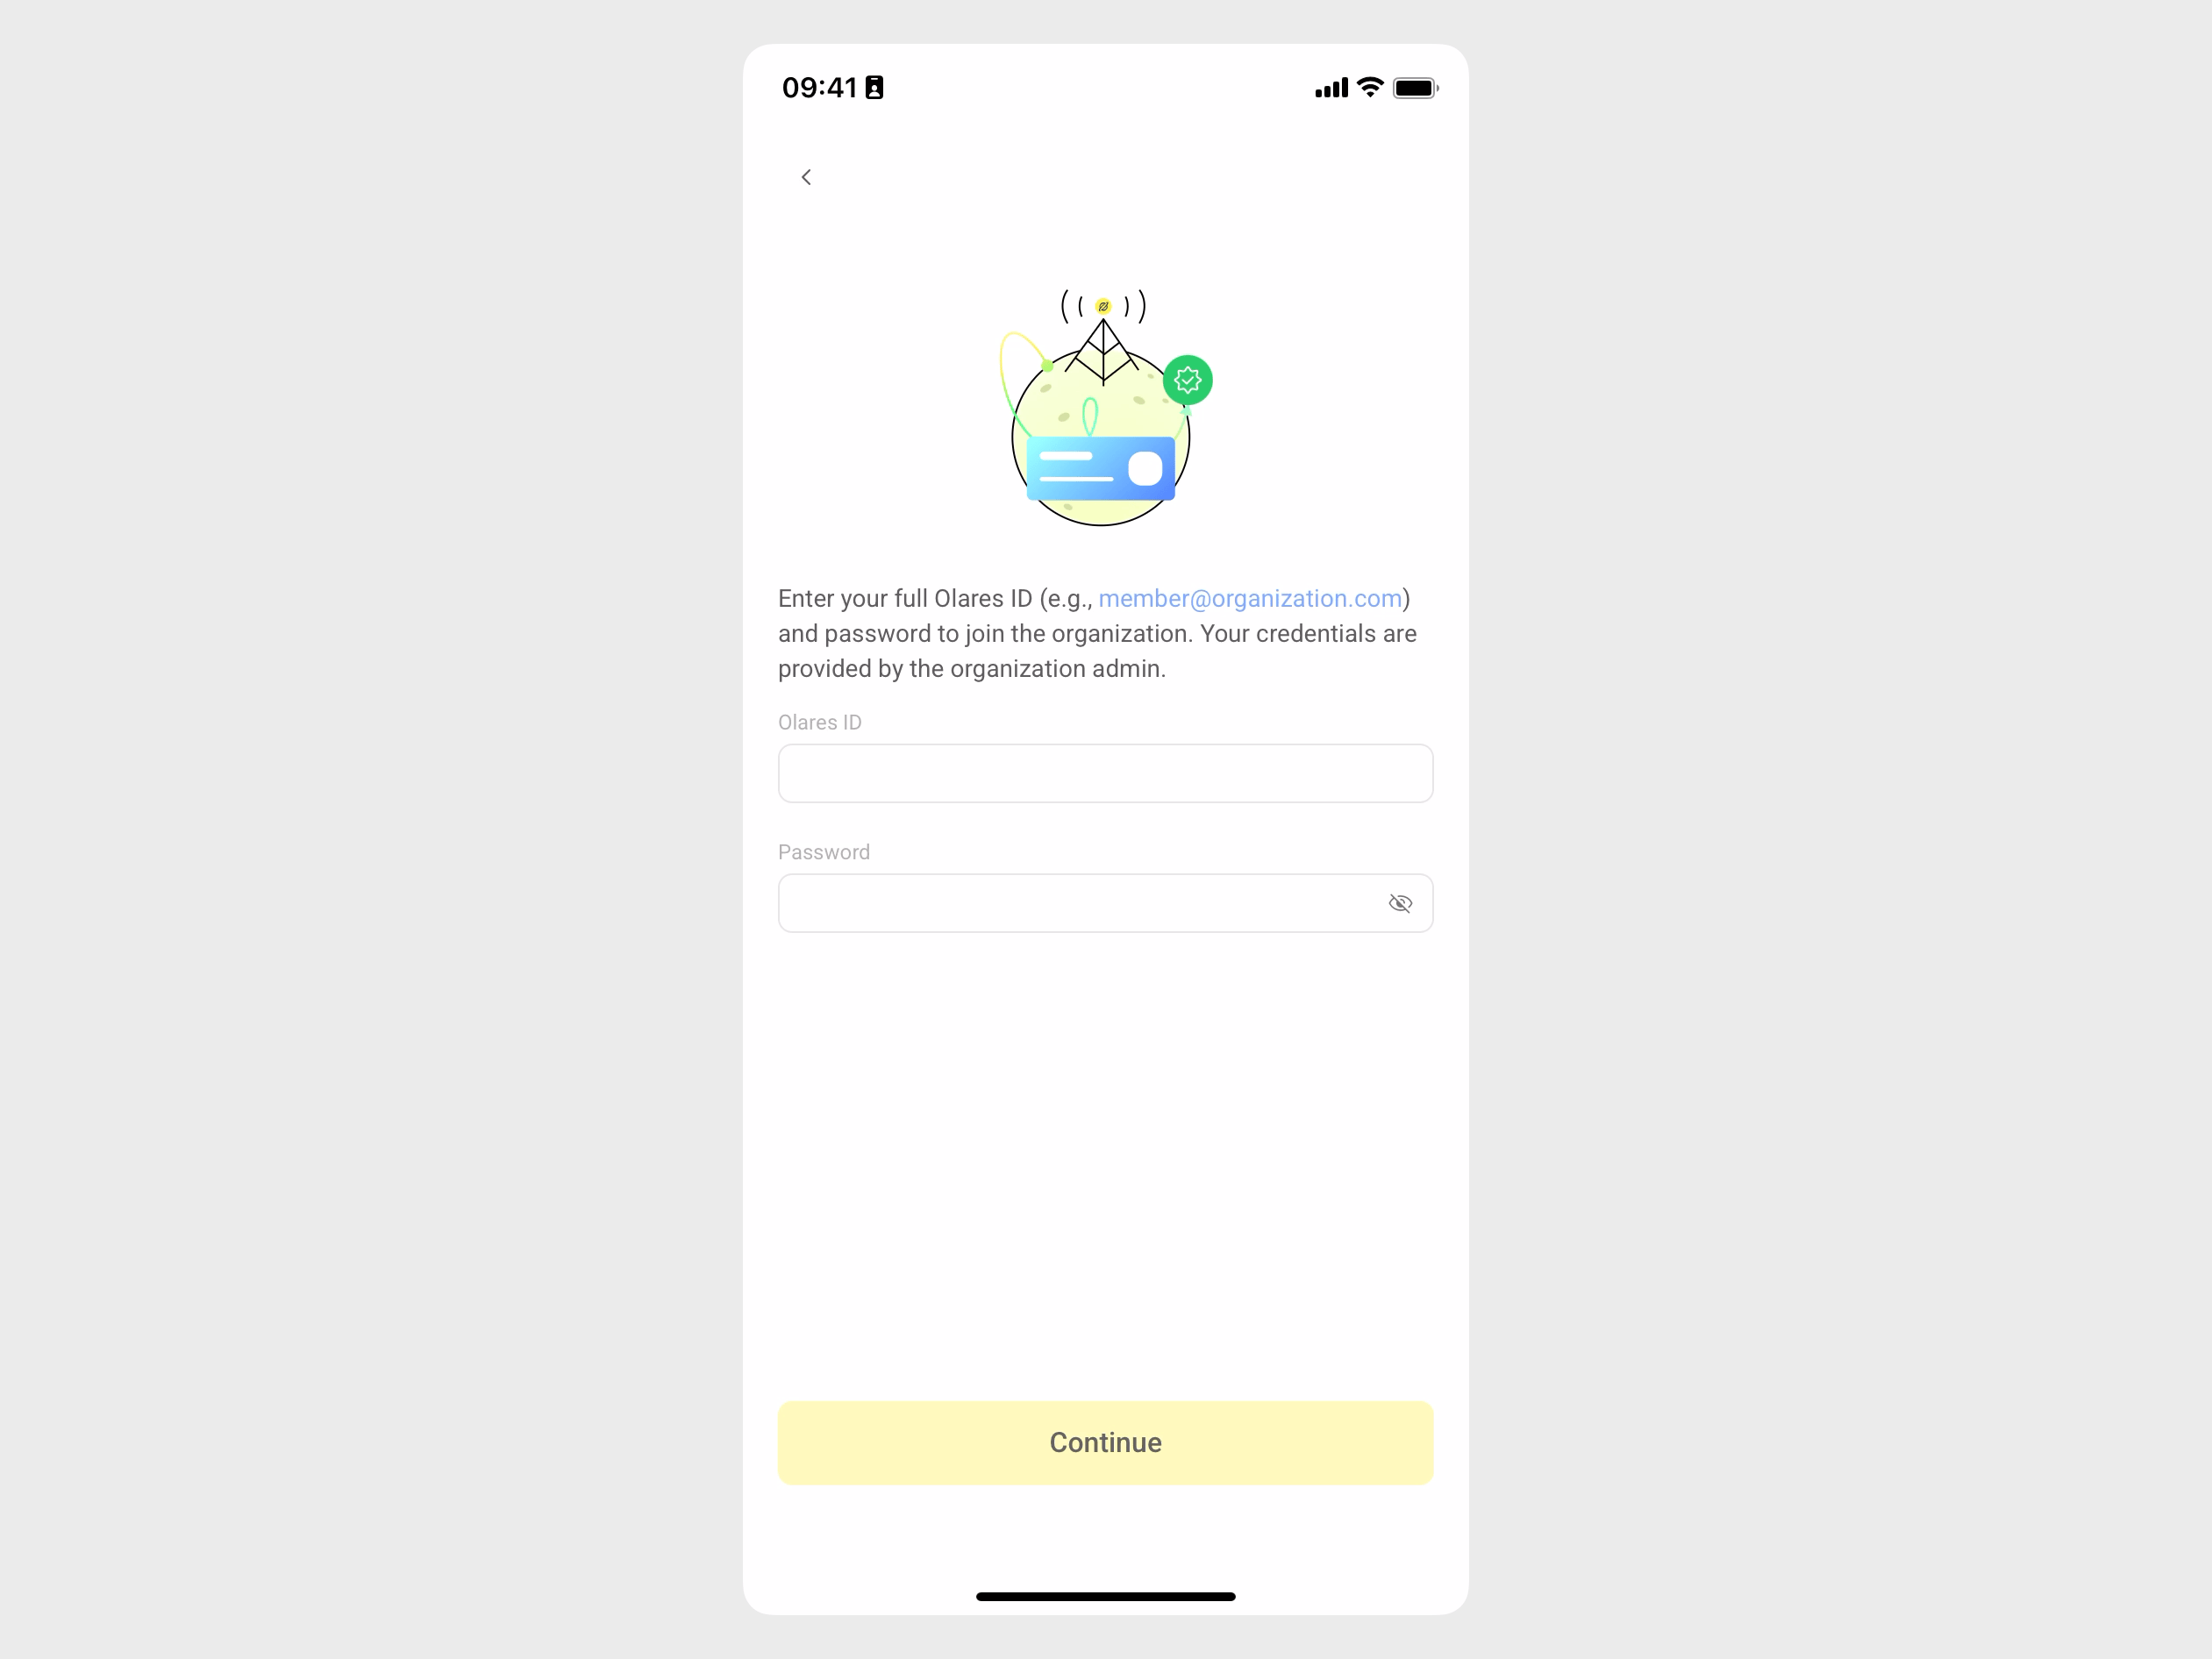
Tap Continue.
Your custom Olares ID is now created. Next, to activate Olares:
- On a separate device: Follow Step 4 to install and activate Olares on a new or factory-reset device.
- On the same device as the admin: Get the activation wizard URL and one-time password from the admin, then scan the wizard QR code in LarePass to activate. See Activate Olares for details.
Learn more
- Olares account: How DIDs, Olares IDs, and organizations work.
- Install Olares: Installation options for different platforms and environments.
- Manage your team: Create and manage user accounts within an Olares instance.