Install Ubuntu Desktop on Olares One 30 min
Replace the pre-installed Olares OS with a clean installation of Ubuntu Desktop on the primary NVMe SSD of Olares One.
This erases Olares OS
Installing Ubuntu Desktop on the primary drive permanently deletes Olares OS, local accounts, installed apps, settings, and data stored on that drive. Back up anything you need before continuing.
Learning objectives
By the end of this guide, you will learn how to:
- Create a bootable Ubuntu Desktop installation USB drive.
- Boot Olares One from the installation USB drive.
- Overwrite the primary drive and install Ubuntu Desktop.
Prerequisites
Hardware
- The primary NVMe M.2 SSD installed inside Olares One.
- A USB flash drive (8 GB or larger) for the installation media.
- A wired keyboard and mouse.
- A monitor connected to Olares One.
Step 1: Create a bootable Ubuntu Desktop USB drive
Download the Ubuntu Desktop ISO from the official Ubuntu website.
Download and install balenaEtcher.
Insert the USB flash drive into your computer.
Open balenaEtcher and follow these steps:
a. Click Flash from file and select the downloaded ISO.
b. Click Select target and select your USB drive.
c. Click Flash! to write the installer to the USB drive.
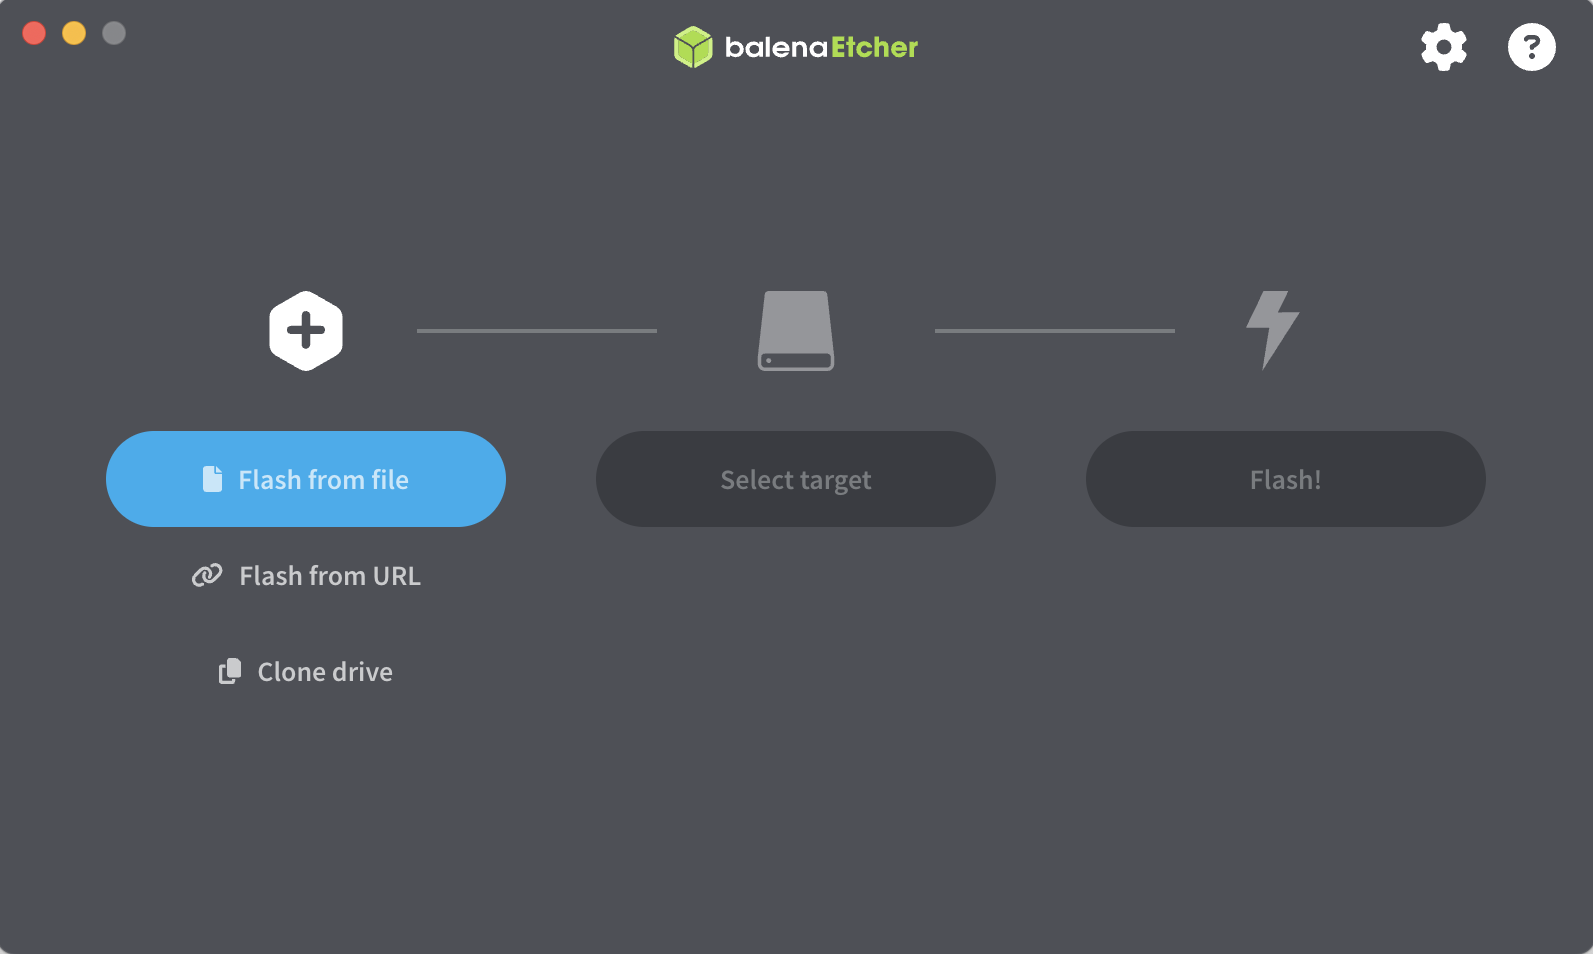
Wait for the flashing and validation processes to finish, and then safely eject the USB drive.
Step 2: Boot from the Ubuntu Desktop USB drive
Insert the Ubuntu Desktop USB drive into the USB port on Olares One.
Power on Olares One, or restart it if it is currently running.
When the Olares logo appears, press the Delete key repeatedly to enter the BIOS setup.
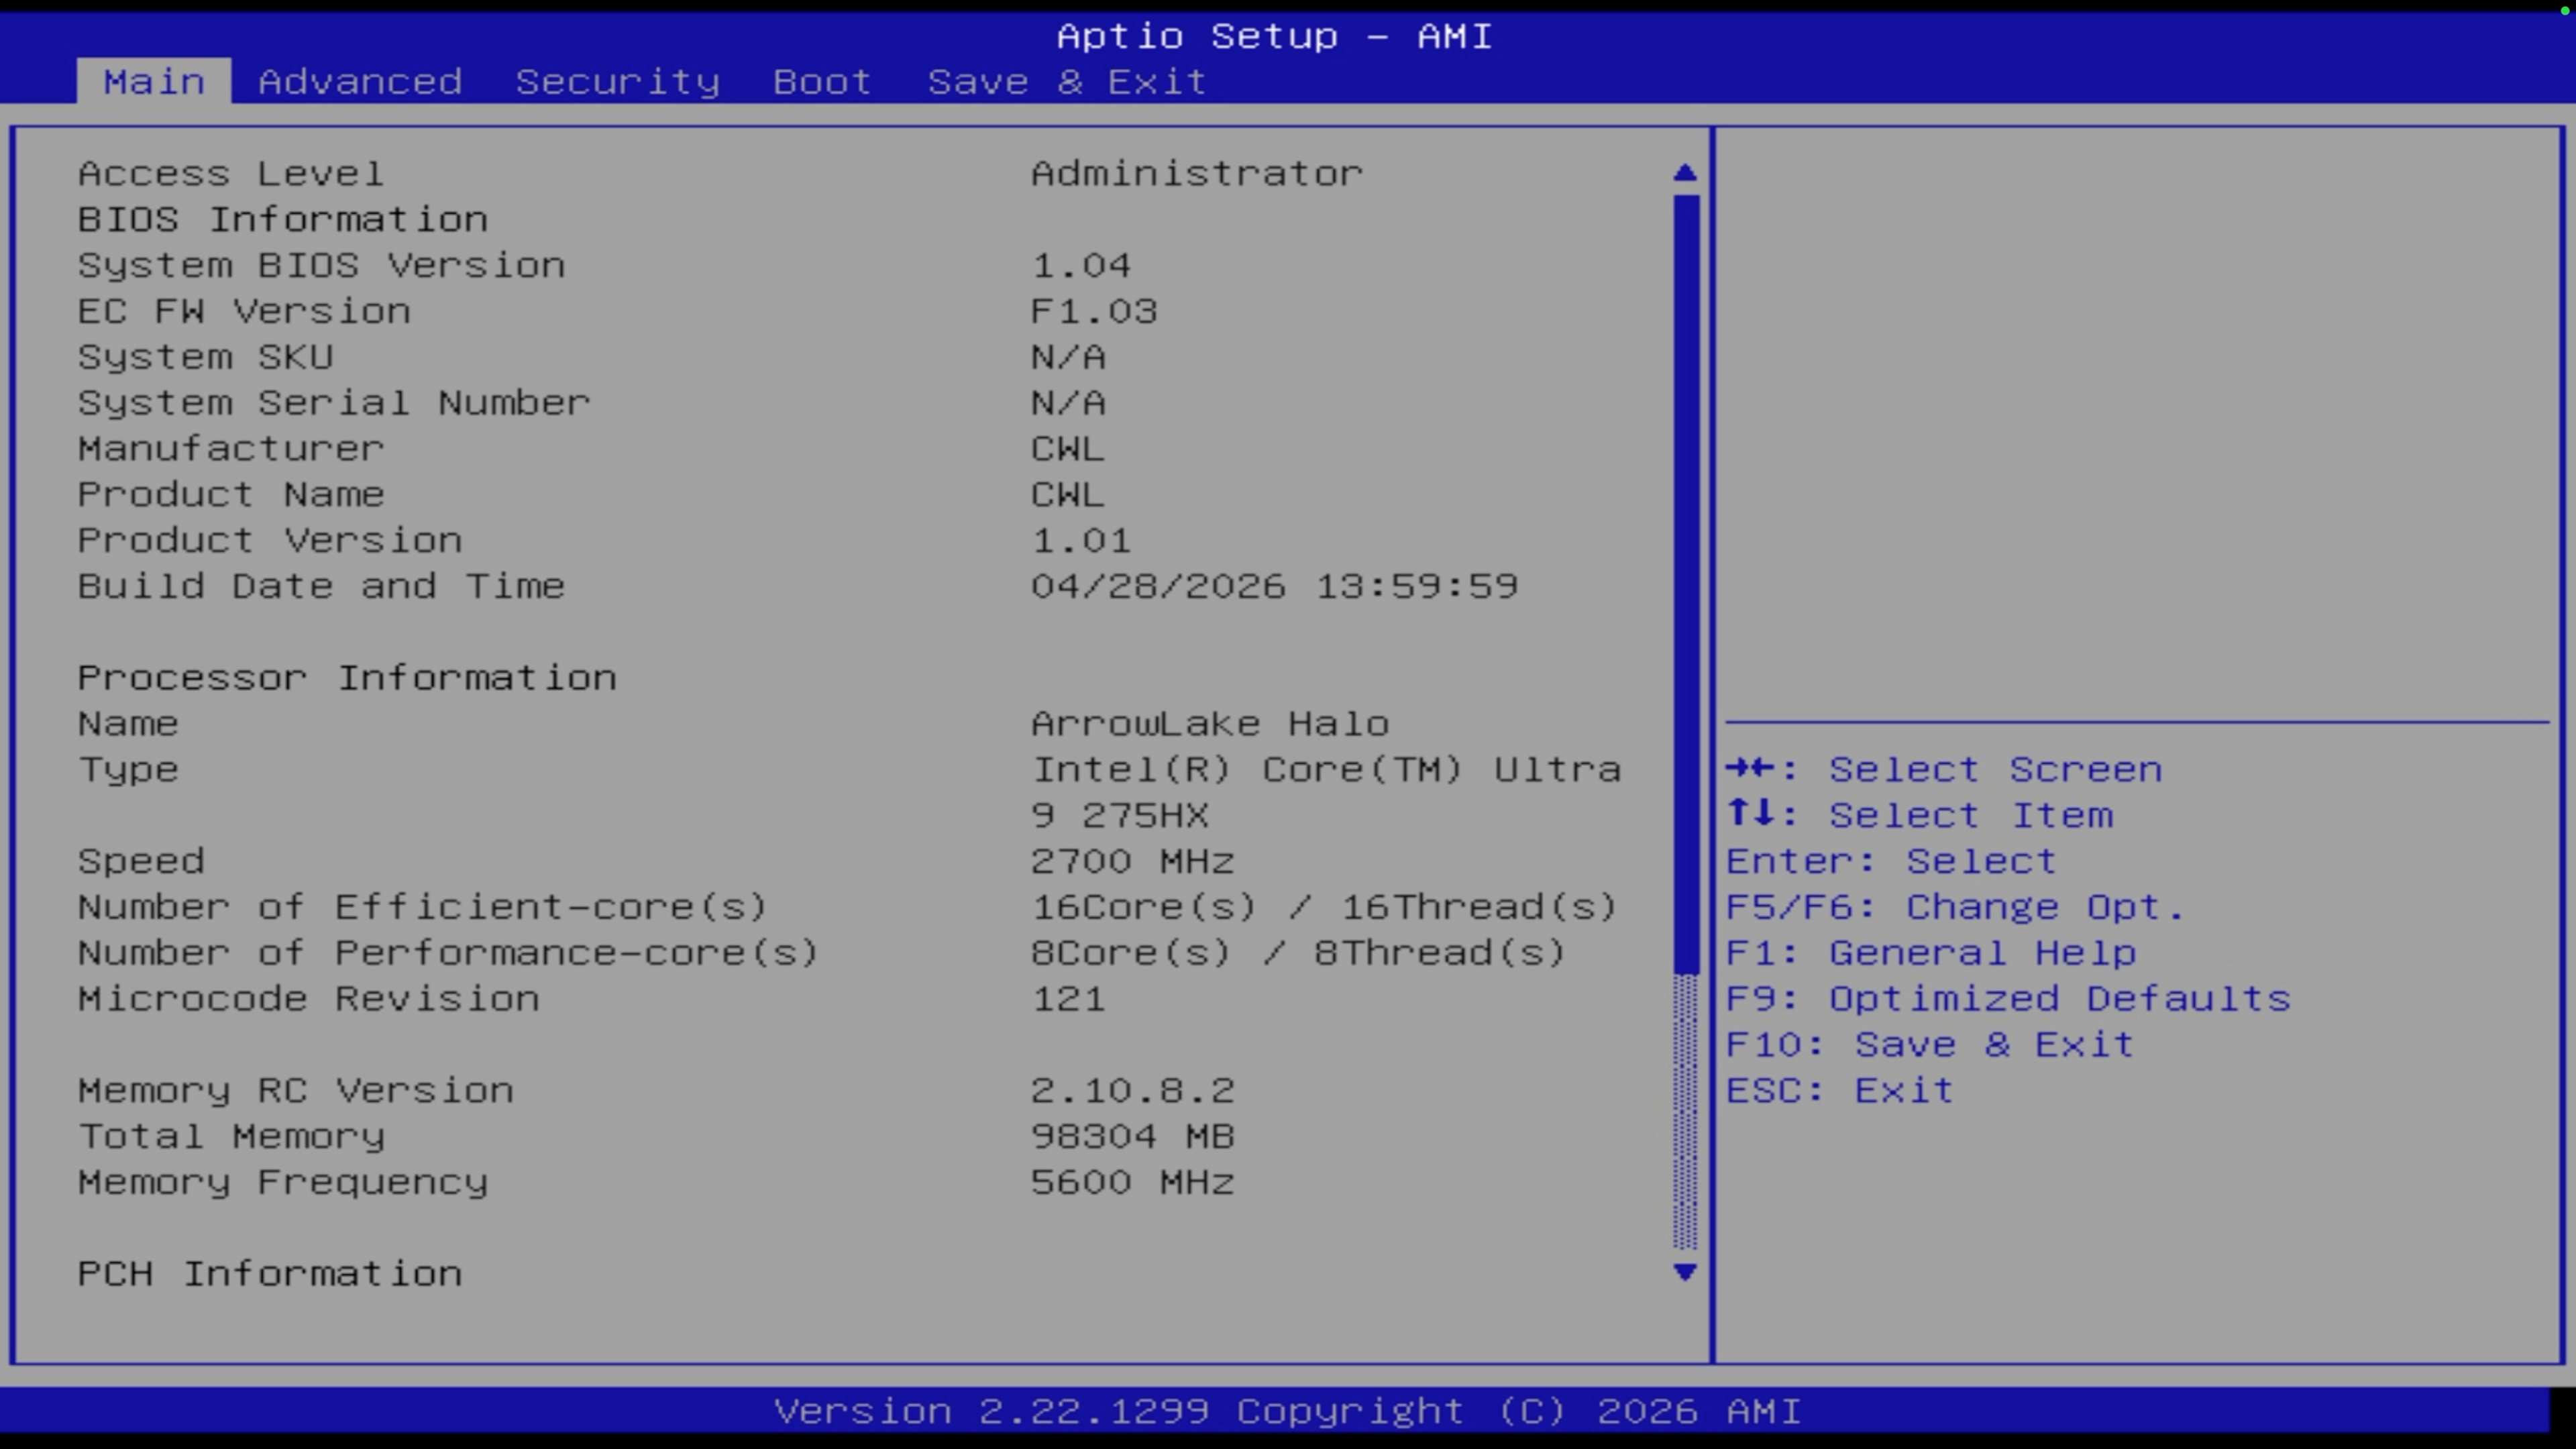
Go to the Save & Exit tab.
Under the Boot Override section, select your USB drive from the list, and then press Enter.
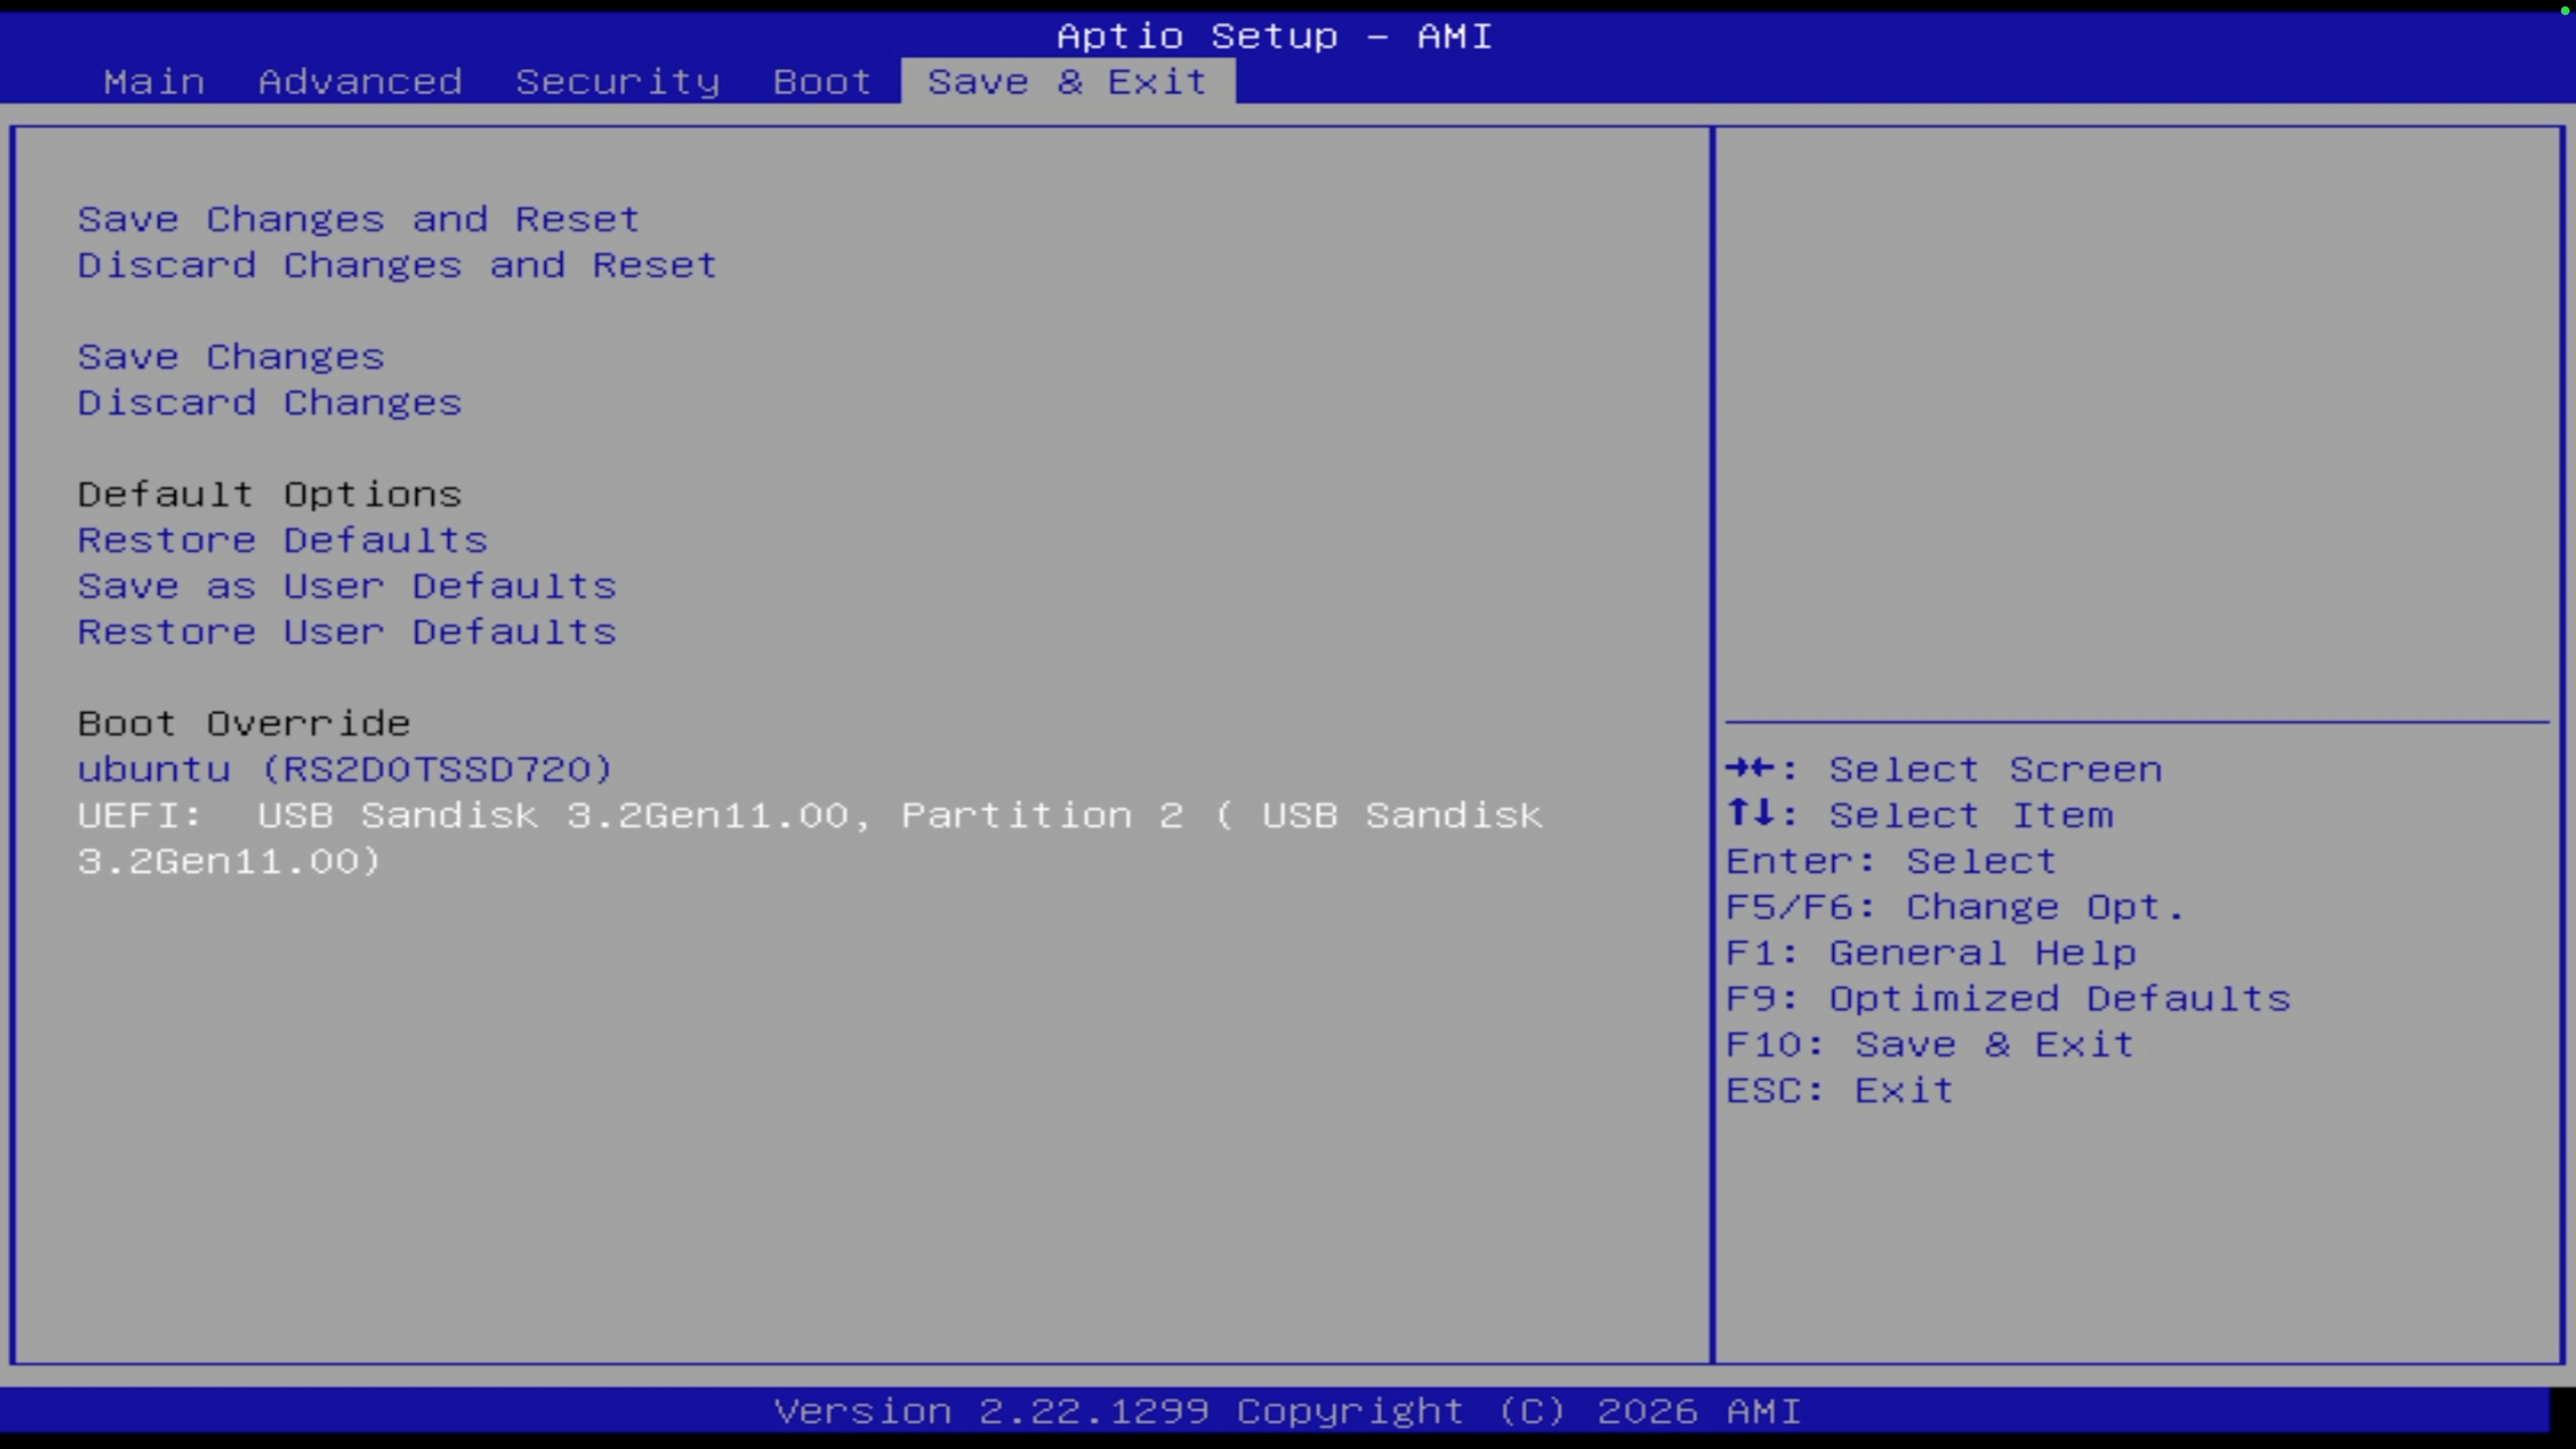
The system boots from the USB drive into the Ubuntu Desktop graphical boot menu.
Step 3: Install and configure Ubuntu Desktop
The graphical installation wizard guides you through replacing Olares OS on the primary drive.
In GNU GRUB, select Try or Install Ubuntu. Wait for the initial loading sequence to finish and the language selection screen to appear.
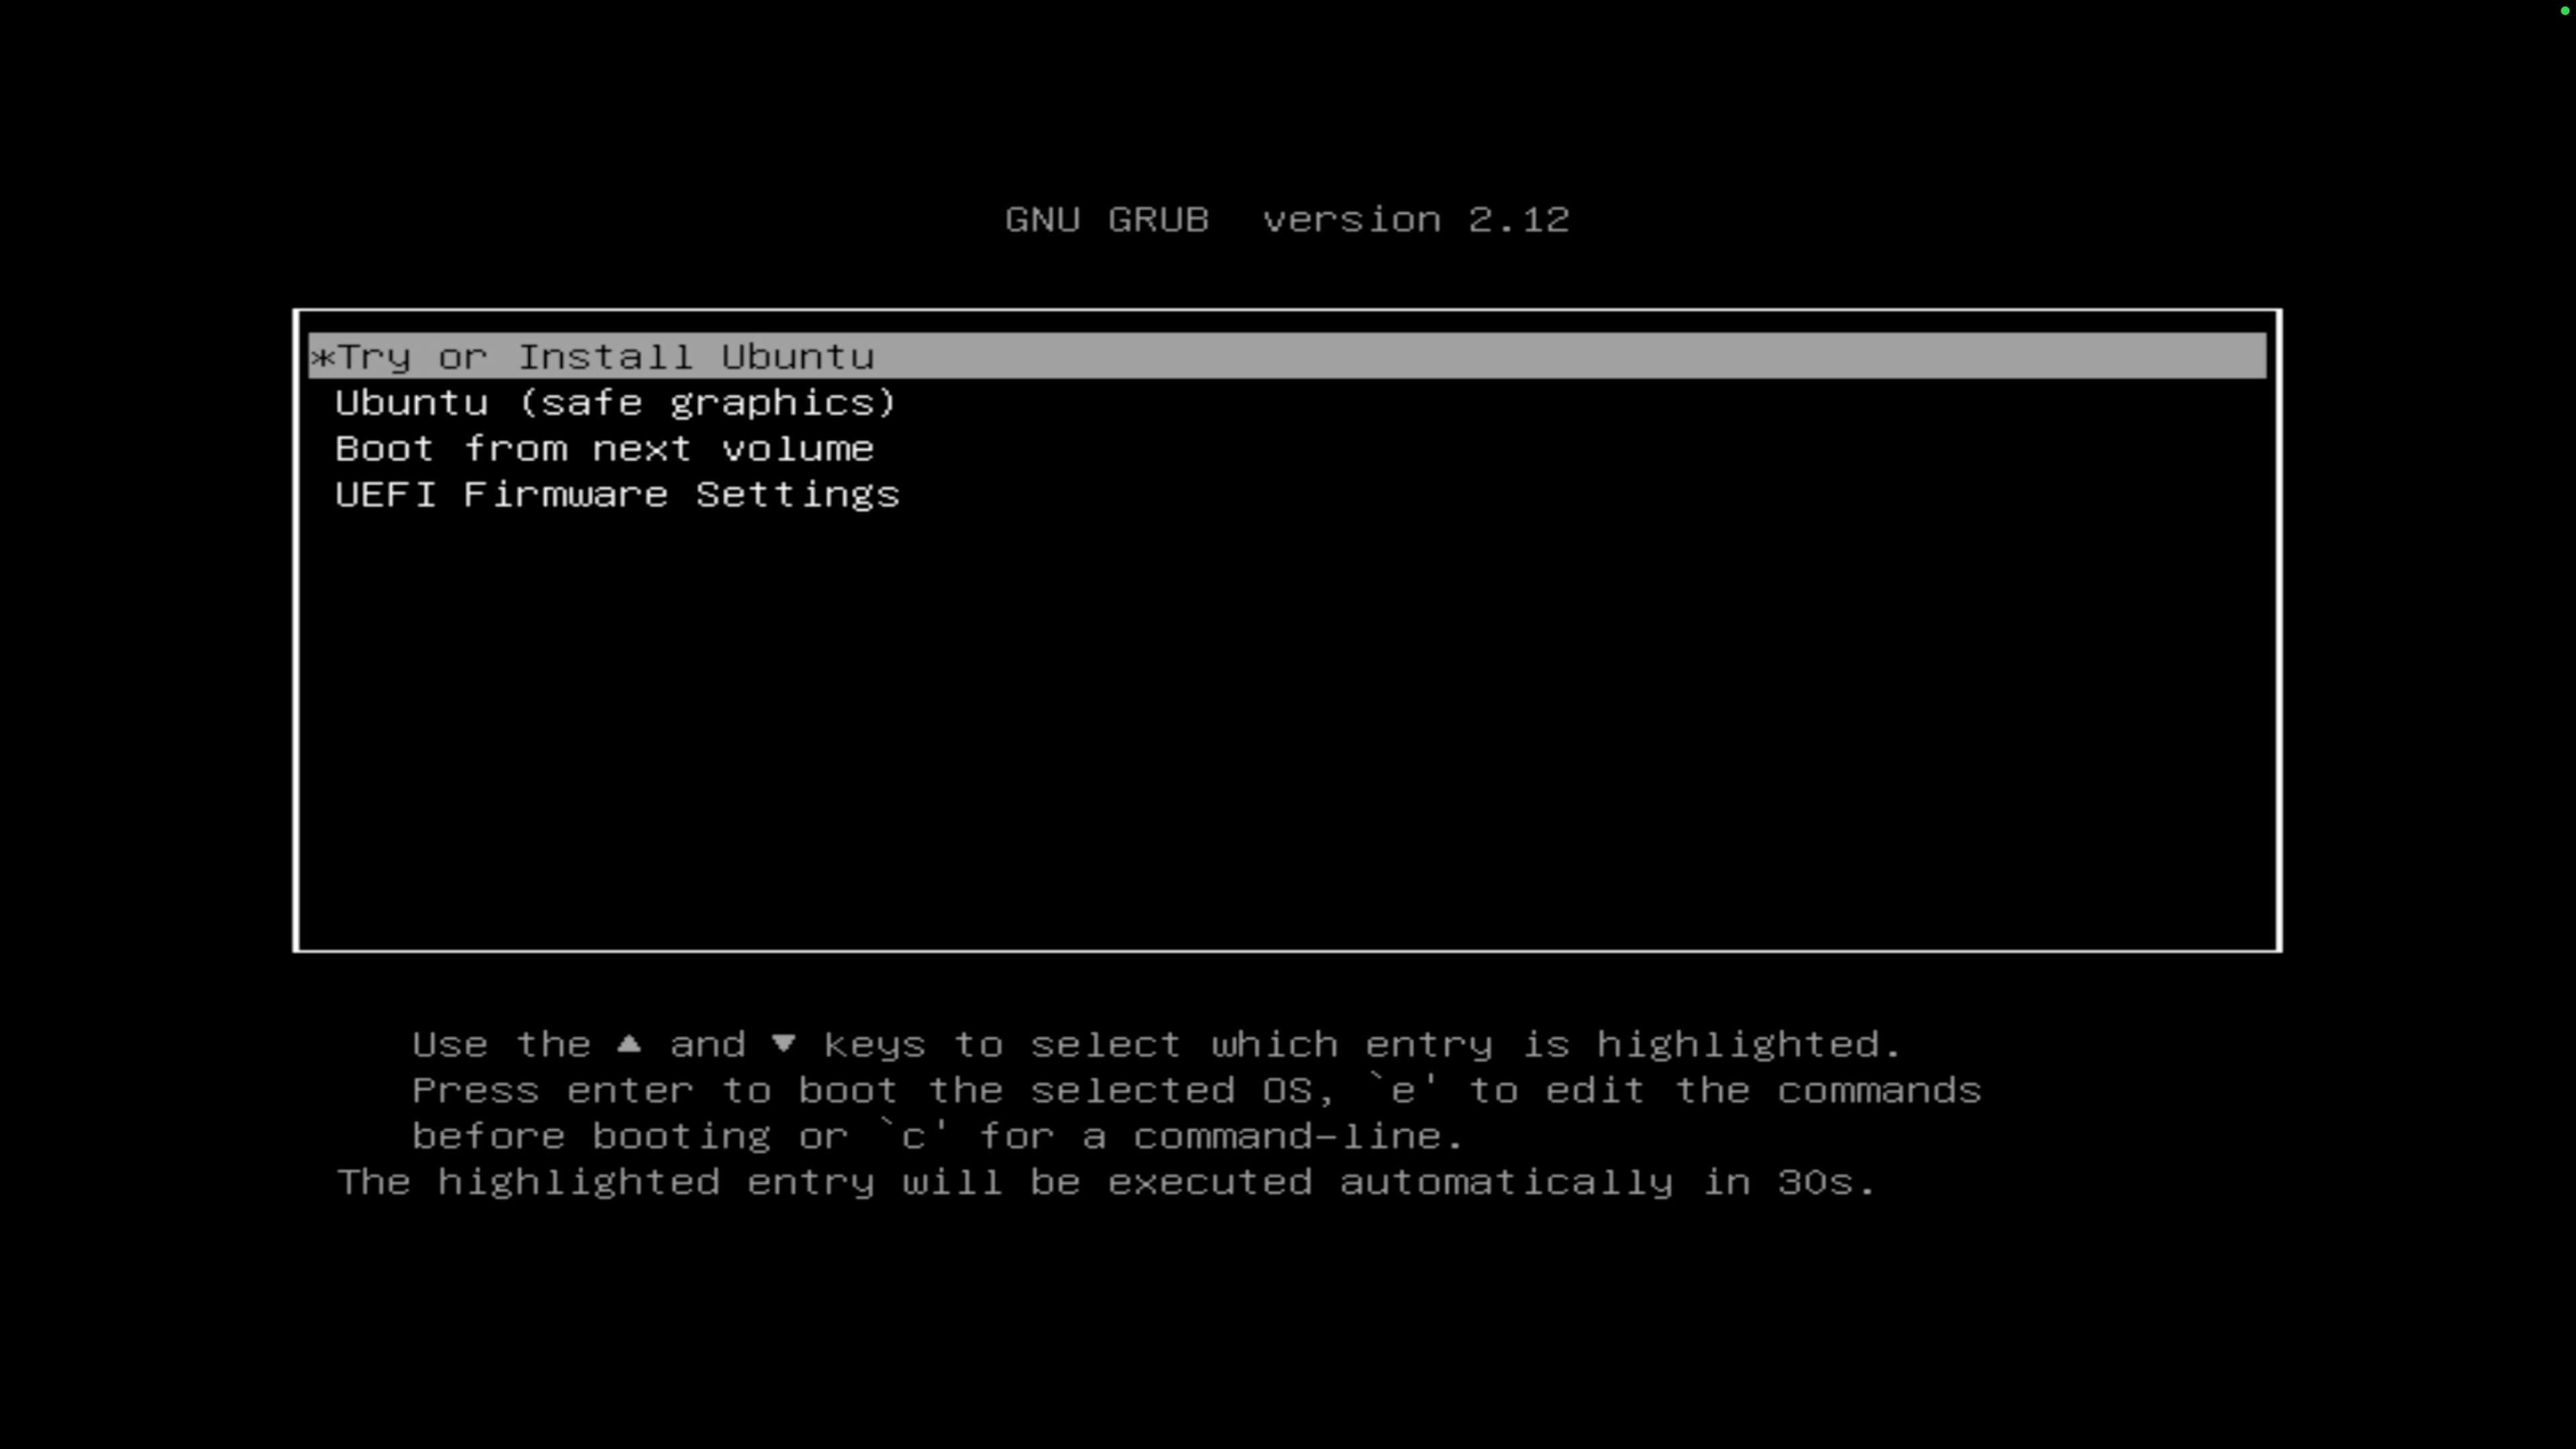
Follow the on-screen prompts to finish the standard setup.
When you see Ubuntu is installed and ready to use, click Restart now.
Remove the installation USB drive and press Enter when prompted. The system restarts and reboots into your fresh Ubuntu Desktop environment.
Log in using the account credentials you set during configurations.
Configure automatic startup
Configure Olares One to start automatically when AC power is connected or restored after a power outage.
Olares One only
These commands access the Embedded Controller (EC) directly and apply only to Olares One. Do not run them on another device.
Confirm that the EC firmware is version 1.03 or later. To check the version or update the firmware, see Manage BIOS and EC.
Install
ioport:bashsudo apt install ioportEnable automatic startup:
bashsudo outb 0x302 0x5e && sudo outb 0x303 0x01This writes the persistent automatic startup setting to the EC.
The setting remains enabled across restarts, power outages, and operating system reinstalls. You might need to configure it again after updating the EC firmware.
To optionally verify the setting:
- Fully shut down Olares One.
- Disconnect AC power briefly.
- Reconnect AC power.
Olares One should start automatically.