Use Olares One with a direct display Alpha
Connect an HDMI display, keyboard, and mouse to Olares One to access your apps and data directly, without another computer. You can use Olares Desktop on the connected display and in a browser at the same time without either session interrupting the other.
Alpha feature
This feature is currently in the Alpha stage and is not recommended for production environments. It is disabled by default and requires you to install the preview olares-desktop package. It may contain performance issues and require additional manual configurations. If you encounter any issues, please report them to the Olares GitHub repository.
Prerequisites
Hardware
- Your Olares One is set up and powered on.
- An HDMI display, keyboard, and mouse connected to Olares One.
- An audio output device connected to Olares One if you want game audio.
- If Olares OS is activated, a mobile device with the LarePass app installed is required to retrieve the login password from Vault.
System
- Olares OS v1.12.7 running on the Olares One.
Software
- Steam Headless updated to the latest version, if you plan to use Steam.
Step 1: Access Olares One directly
Prepare the Olares One host login password.
- If Olares OS is not activated, use the default password
olares. - If Olares OS is activated, open the LarePass app on your mobile device. In Vault, find the item marked with the terminal icon, and tap it to reveal the password.
Not the same as your Olares Desktop password
This password logs you in to the Olares One host system. It is different from the password you use to sign in to Olares Desktop in your browser.
- If Olares OS is not activated, use the default password
On the text-based login prompt displayed on the connected monitor, enter the username
olares, and then press Enter.textolares login:Enter the host login password you prepared above, and then press Enter. For security, characters will not appear on the screen as you type.
TIP
If you prefer to prepare Olares One remotely, you can use SSH or Control Hub to download and install the package before connecting the display. See Access Olares One terminal for the available methods.
Step 2: Download and install the Olares Desktop preview package
Download the package:
bashcd /tmp && wget https://cdn.olares.com/olares-one/desktop/olares-desktop_0.1.0_20260928_amd64.debAfter the download finishes, install the package:
bashsudo bash -c 'apt update && DEBIAN_FRONTEND=noninteractive apt-get install -y -f ./olares-desktop_0.1.0_20260928_amd64.deb'If prompted about the configuration file
/etc/default/apport, press Enter to accept the default optionNand keep the existing configuration.text*** apport (Y/I/N/O/D/Z) [default=N] ?Wait for the installation to finish and the terminal prompt to return.
textolares@olares:/tmp$
Step 3: Start the local desktop
Run the following command:
bashsudo start-desktopWait for the Olares sign-in screen to appear, and then enter your Olares Desktop password to log in.
Step 4: Configure Steam for local display
If you plan to use Steam, complete the following steps after the local desktop starts.
WARNING
Steam compatibility mode is temporary. Each time you start the local desktop with sudo start-desktop, complete Step 4 afterward. Each time you stop it with sudo stop-desktop, complete Step 7 afterward.
Press and hold Ctrl, then press Tab until the local terminal (
olares@olares:~) is highlighted. Release Ctrl to open it.Create the Olares Desktop configuration. This enables the configuration required for Steam compatibility mode.
bashkubectl apply -f - <<EOF kind: ConfigMap apiVersion: v1 metadata: name: olares-desktop-config namespace: os-framework data: enabled: 'true' EOFWhen the command finishes successfully, the terminal displays:
textconfigmap/olares-desktop-config createdUpdate the Steam Headless environment. Replace
<username>with your Olares user name (such aslaresprime). This sets Steam Headless to use the compatibility mode while the local desktop is running.bashkubectl patch appenv steamheadless-<username> -n steamheadless-<username> --type='json' -p='[{"op": "add", "path": "/envs/2/value", "value": "secondary"}]'When the command finishes successfully, the terminal displays:
textappenv.sys.bytetrade.io/steamheadless-<username> patchedPress and hold Ctrl, then press Tab to switch back to Olares Desktop.
Open Olares Settings, go to Applications > Steam Headless, stop the app and then resume it.
Open Steam Headless from the Launchpad and sign in.
Step 5: Switch between top-level windows
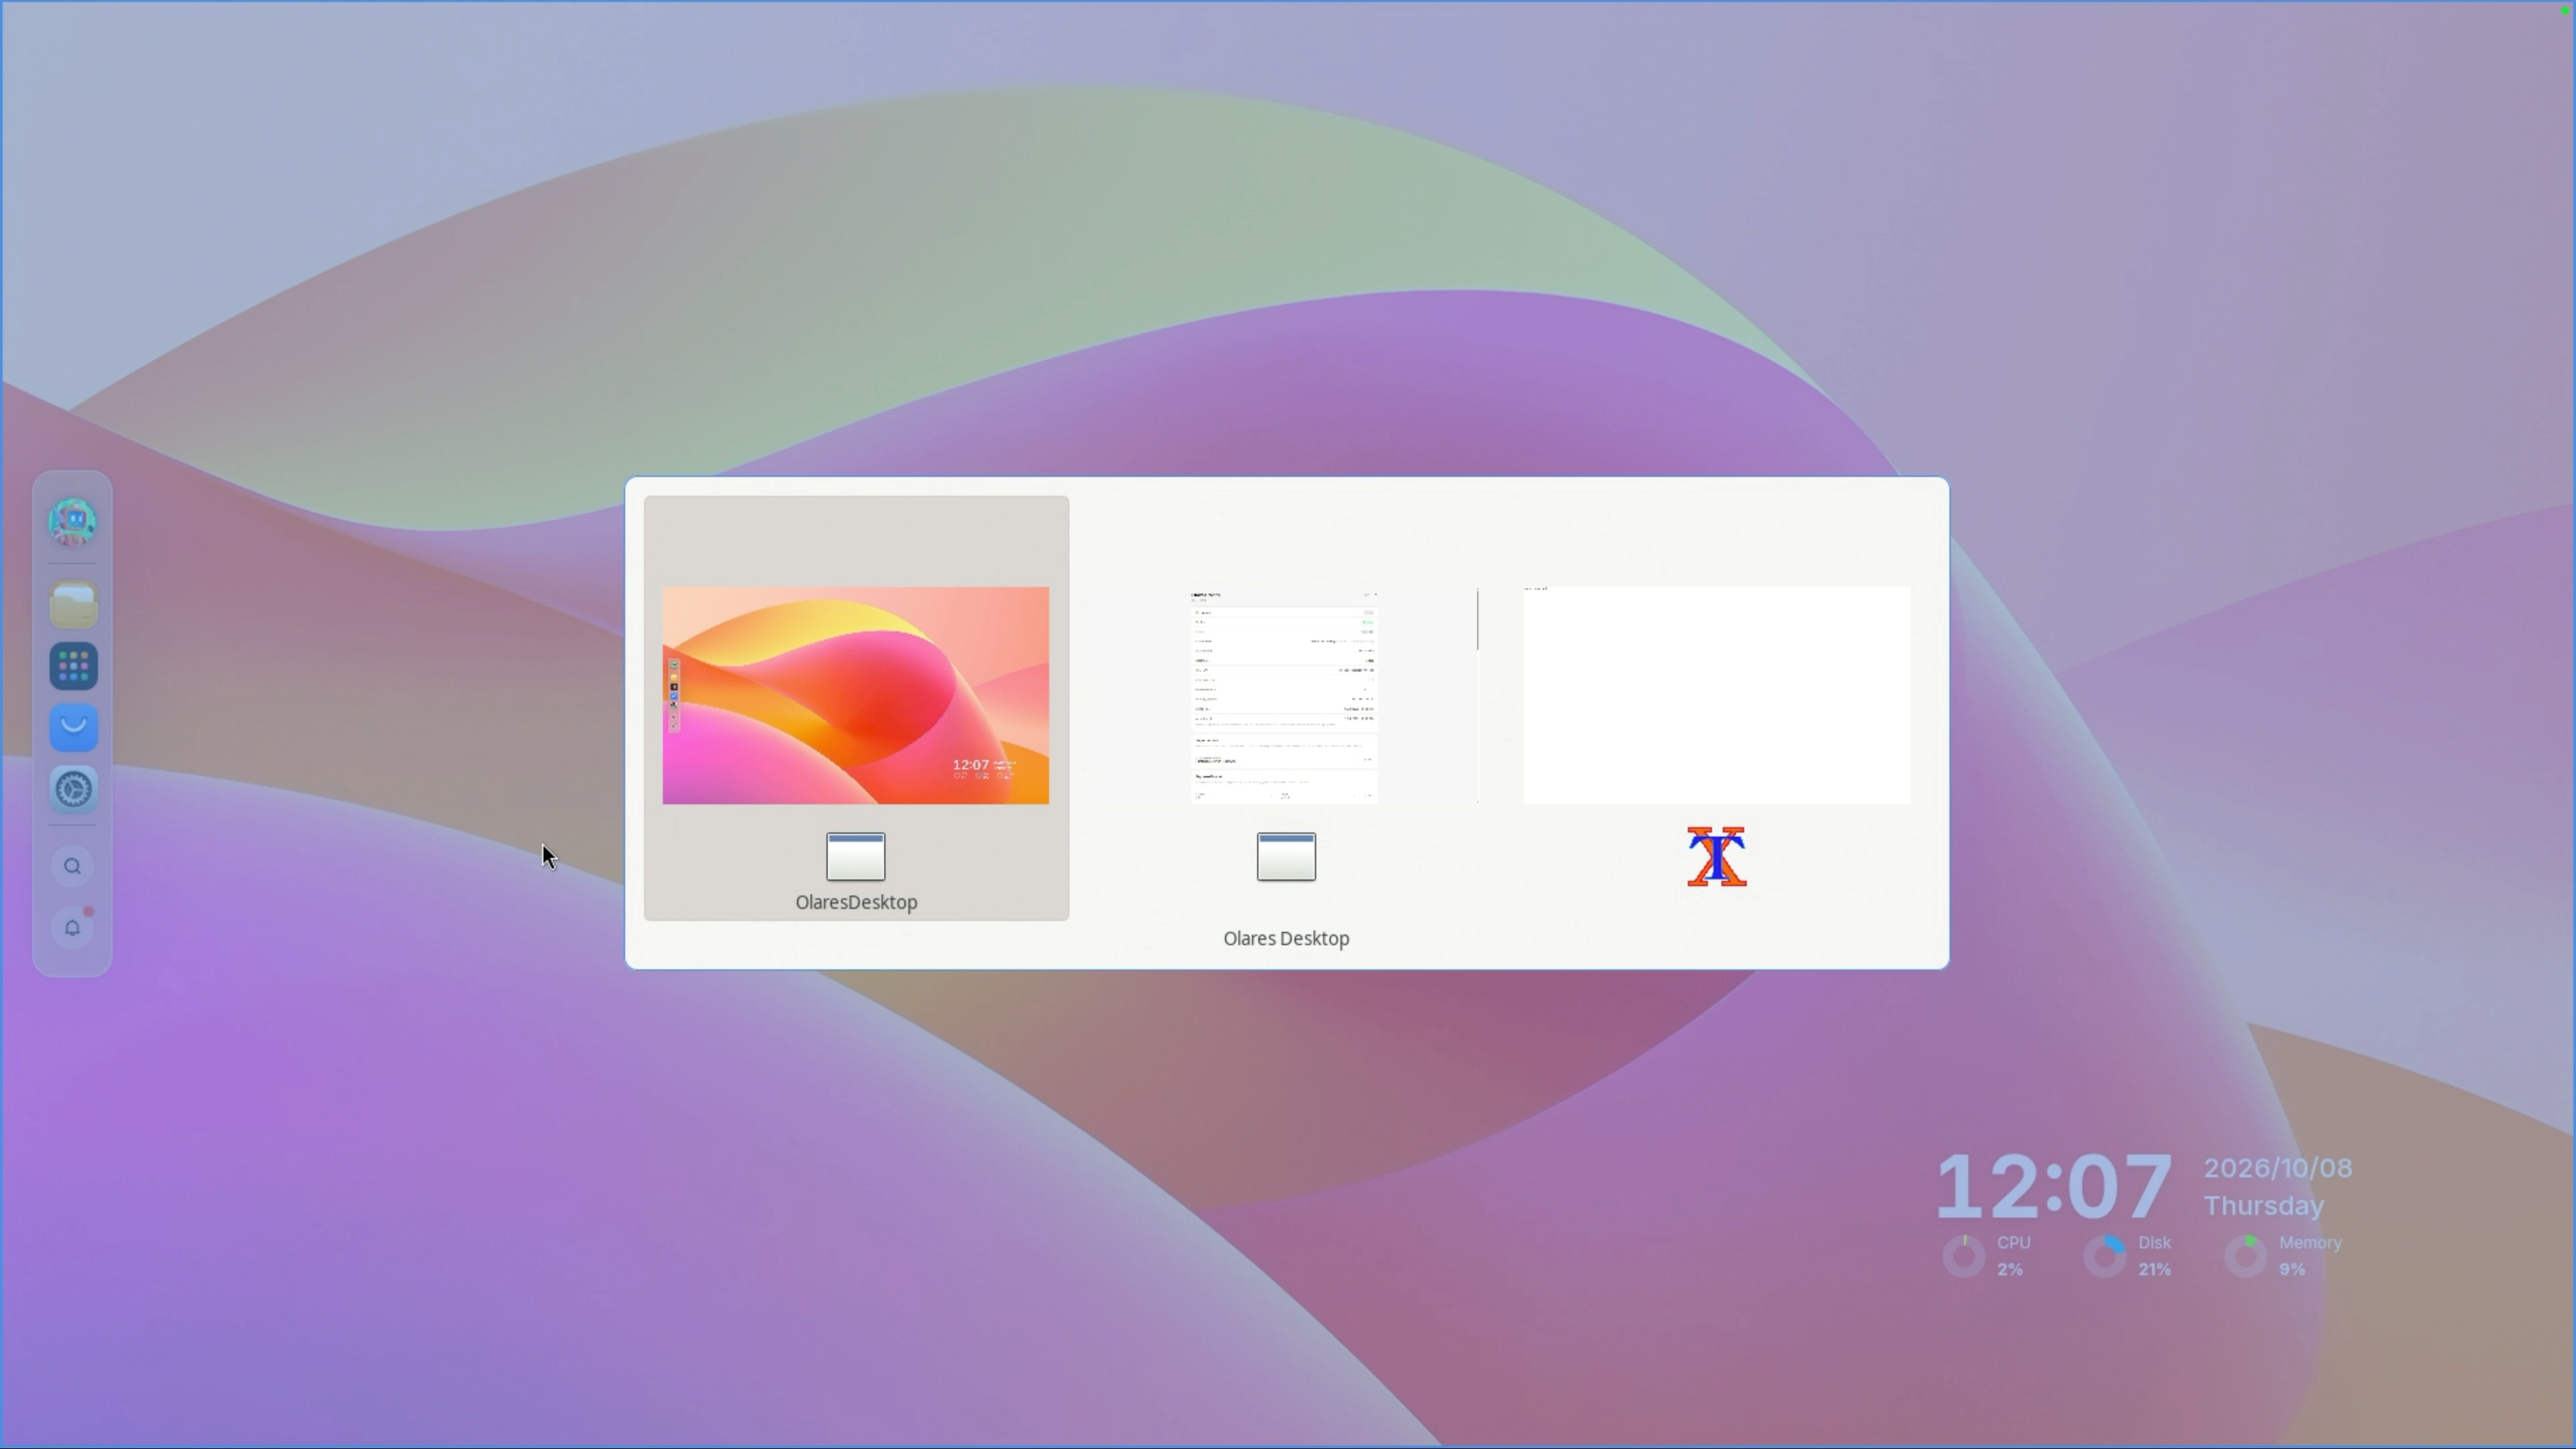
Press and hold Ctrl, then press Tab repeatedly to cycle through the available top-level windows. Release Ctrl to open the highlighted window.
The default windows are:
- Olares Desktop: The local Olares Desktop interface, which you can use just as in a browser.
- Node Display: A local interface for managing the Olares One device.
olares@olares:~: The local terminal.
Step 6: Stop the direct display interface
Save your work in any open app.
Use Ctrl+Tab to switch to the local terminal (
olares@olares:~), then run:bashsudo stop-desktop
Step 7: Restore Steam to its default mode
If you enabled Steam compatibility mode in Step 4, restore the Steam settings using the commands below. Run these commands only after stopping the direct display interface in Step 6.
Remove the Olares Desktop configuration. This disables the compatibility configuration after you stop the direct display interface.
bashkubectl delete cm -n os-framework olares-desktop-configWhen the command finishes successfully, the terminal displays:
textconfigmap "olares-desktop-config" deletedRestore the Steam Headless environment. Replace
<username>with your Olares user name (such aslaresprime). This removes the temporary compatibility setting from Steam Headless.bashkubectl patch appenv steamheadless-<username> -n steamheadless-<username> --type='json' -p='[{"op": "remove", "path": "/envs/2/value"}]'When the command finishes successfully, the terminal displays:
textappenv.sys.bytetrade.io/steamheadless-<username> patched